Looking at commercial buildings and older homes, you’ll often spot that distinctive pebbled surface covering flat roofs. That’s a tar and gravel system, and it’s been protecting buildings for over a century.
Many property owners wonder if this traditional roofing method still makes sense today. With newer alternatives available, choosing the right roof system feels complicated.
Tar and gravel roofing offers proven durability and cost-effectiveness. But it’s not right for every situation. Some buildings benefit from this time-tested approach, while others need modern solutions.
This guide covers everything from installation costs to maintenance requirements. You’ll learn when tar and gravel work best, what their types are, and other details in depth.
What Is a Tar and Gravel Roof?
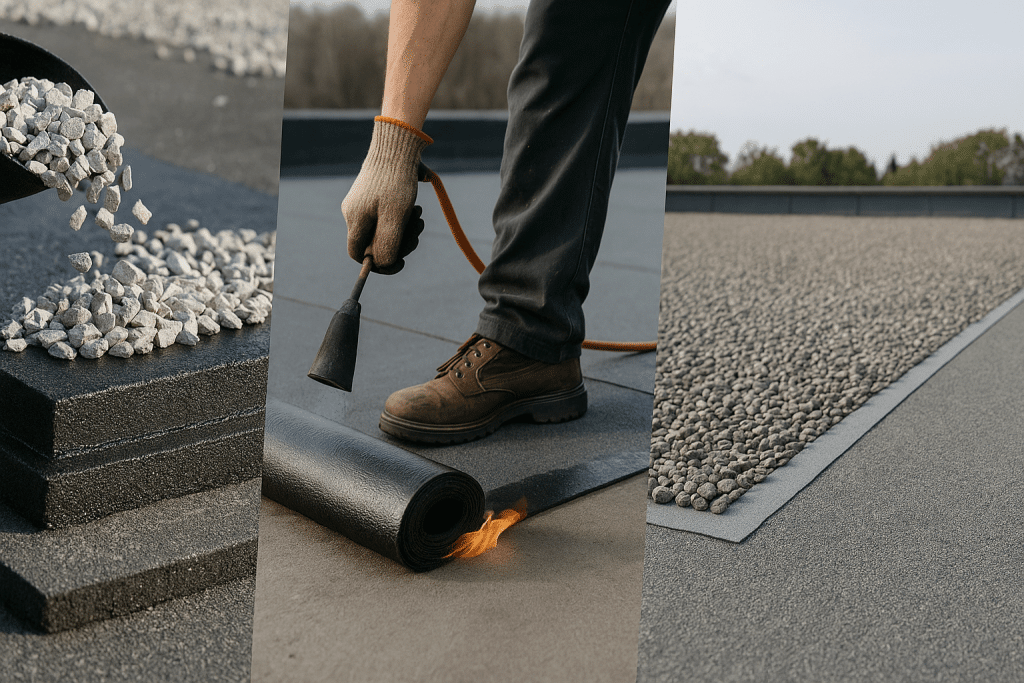
It is a flat roofing system made with layers of hot asphalt, roofing felt, and protective gravel. Also called built-up roofing (BUR) or conventional built-up roofing, this method works on flat and low-slope surfaces.
The construction process layers roofing felt with hot asphalt then covers everything with gravel while it is still warm. This is a system that has protected buildings for over 100 years, proving reliable across different climates.
The gravel provides UV protection, fire resistance, and weight to secure the membrane. Most systems use quarter-inch pea gravel or mineral granules that meet safety standards.
This time-tested approach offers dependable protection for commercial buildings and some residential properties with flat roof designs. Now that you know how the system works, let’s look at the different types available for various building needs.
Benefits of Choosing a Tar and Gravel Roof
Tar and gravel roofing systems offer several key advantages that make them a smart choice for many property owners:
1. Proven Longevity
These roofs typically last 20-30 years with proper maintenance. The multi-layer construction creates a durable barrier that withstands decades of weather exposure.
2. Cost-Effective Installation
Initial installation costs less than many modern alternatives. The materials remain affordable, and most roofing contractors know how to install them efficiently.
3. Superior UV and Fire Protection
The gravel layer shields asphalt from harmful sun rays while providing excellent fire resistance. This natural barrier prevents deterioration and helps protect your building from fire spread.
4. Low Maintenance Requirements
Once installed, these roofs need minimal upkeep. Annual inspections and occasional gravel redistribution keep them performing well for years without major expenses.
Types of Tar and Gravel Roofing Systems
It comes in three main types. Each serves different building needs based on structure, climate, and maintenance preferences.
1. Built-Up Roofing (BUR)
This method uses layers of felt and hot tar, finished with gravel on top. It’s known for strong weather resistance and long-term use.
The layered design helps block moisture and adds insulation.
2. Modified Bitumen
Made by mixing asphalt with rubber or plastic, this option is flexible and easier to fix. It works well in places with changing temperatures.
Installation can be done with heat, glue, or peel-and-stick sheets.
3. Ballasted Systems
These systems use loose gravel to weigh down a sheet layer. They install quickly but need a solid base and proper drainage.
The gravel protects the surface from sun and wind damage.
Choosing the right type is only part of the process. Next, you’ll want to understand what each option might cost.
Step-by-Step Tar and Gravel Roof Installation Guide
Installing a tar and gravel roof requires careful preparation and precise execution to ensure long-lasting performance. Professional contractors follow specific steps to create a waterproof, durable roofing system.
Step 1: Install Base Layer
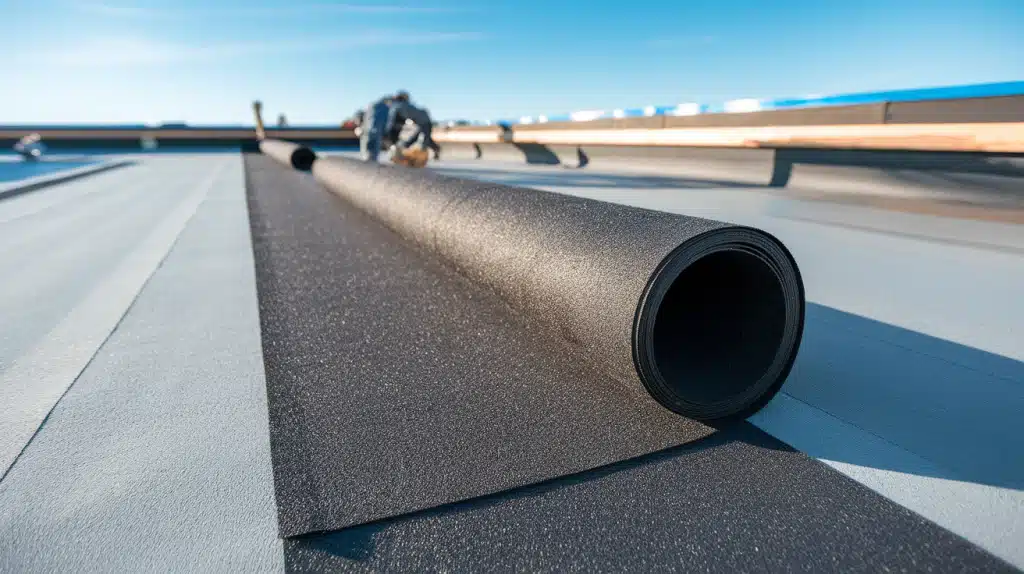
The installation begins with applying primer to the clean roof deck surface. Workers then roll out the first layer of roofing felt, ensuring a proper overlap of 2 to 3 inches between sheets.
This base layer creates the foundation for the waterproof barrier that protects the building structure.
Warning: Improper overlap can lead to water infiltration and roof failure.
Step 2: Apply Hot Asphalt
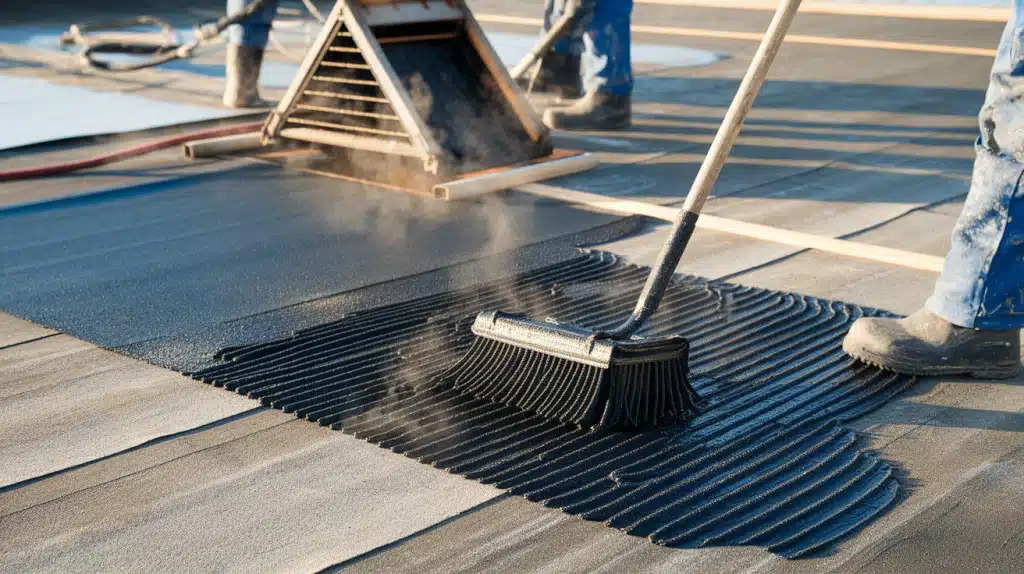
Professional contractors heat the asphalt to the correct temperature of 400-450°F using specialized equipment.
They apply the hot material evenly across the felt using roofing mops, working in manageable sections to maintain proper coverage.
The heated asphalt bonds the felt layers together and creates a waterproof seal.
Warning: Hot asphalt can cause severe burns, only trained professionals should handle this material.
Step 3: Add Additional Layers
Workers install the second and third felt layers following the same overlap pattern as the base layer. Hot asphalt is applied between each layer to ensure proper bonding and waterproofing.
Maintaining consistent thickness throughout this process is essential for performance.
Warning: Uneven layer thickness can create weak spots that may fail over time.
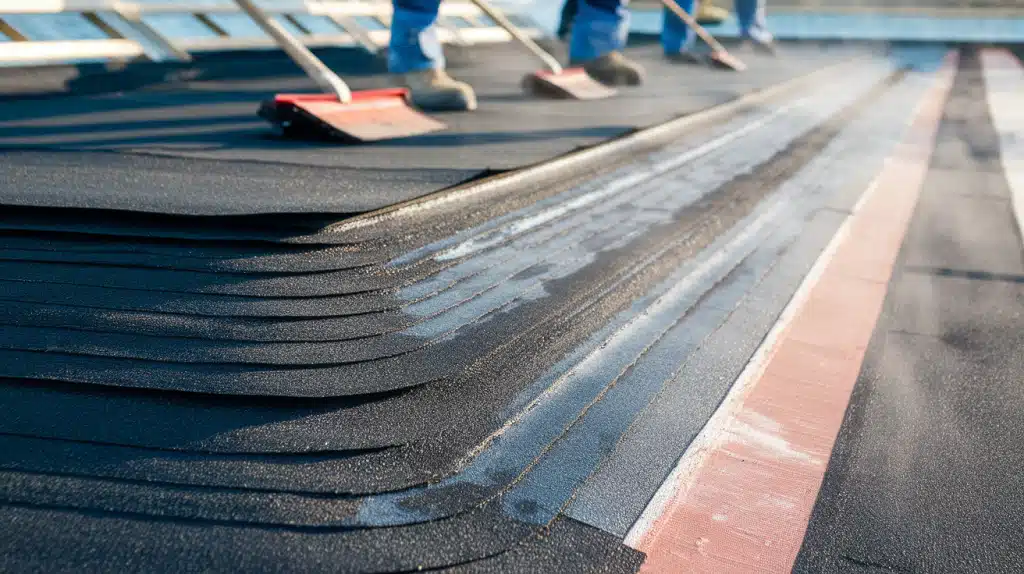
Step 4: Final Flood Coat
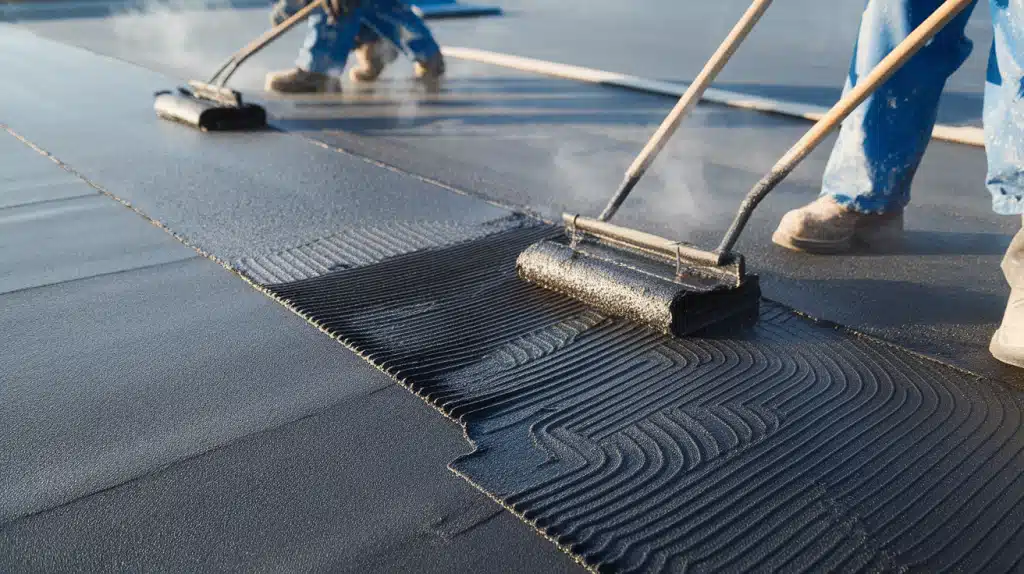
The final thick layer of hot asphalt covers the entire roof surface completely. Workers must apply this flood coat quickly and evenly before the material begins cooling and thickening.
This layer prepares the surface for gravel application and provides the final waterproof barrier.
Warning: Working too slowly can result in uneven coverage and poor gravel adhesion.
Step 5: Gravel Application
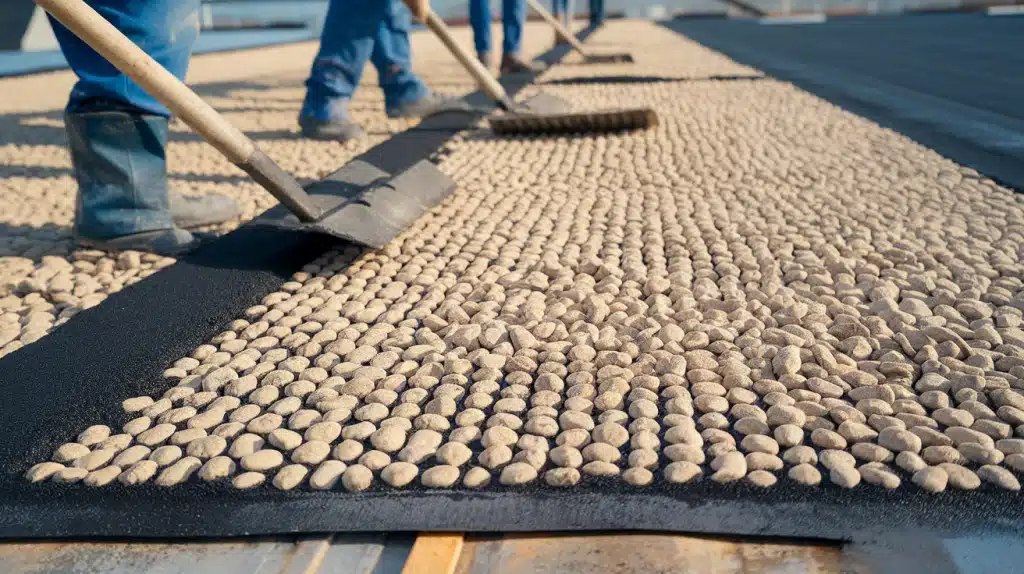
Contractors spread gravel evenly across the hot asphalt surface, using approximately 400 pounds per square foot. The stones must be distributed while the asphalt remains warm to ensure proper embedding.
Complete coverage with no bare spots protects it from UV damage and weather.
Warning: Insufficient gravel coverage exposes the roof membrane to premature deterioration.
Step 6: Final Inspection
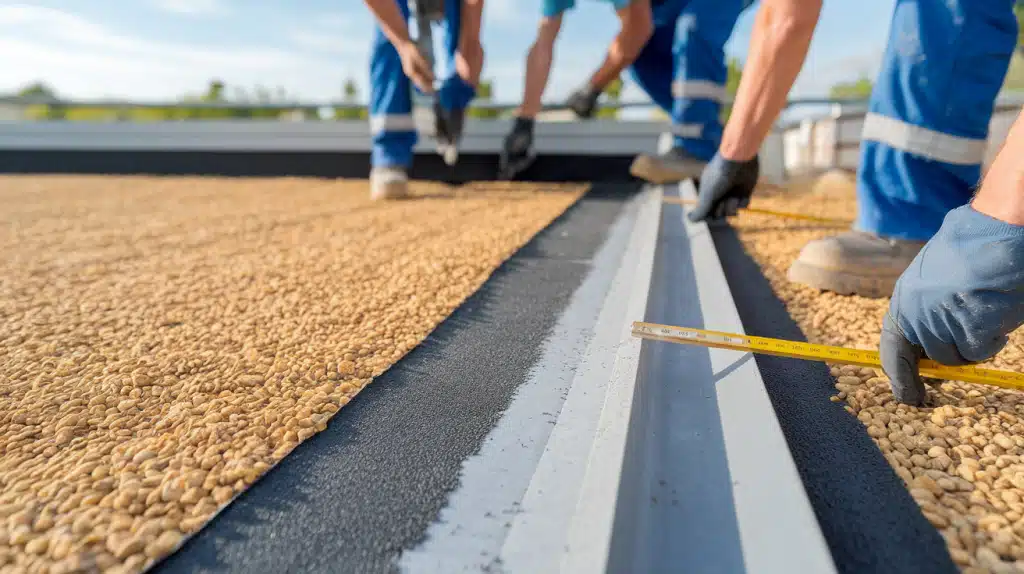
The installation concludes with a thorough inspection of gravel distribution across the entire surface. Workers check edge details and flashing for proper sealing and verify that the drainage systems function correctly.
This final review ensures that it meets quality standards and building codes.
Warning: Skipping final inspection can result in undetected installation defects and future problems.
Tar and Gravel Roof Costs: Installation and Repairs
Understanding costs for tar and gravel roofing helps property owners plan their budget. Below is a complete breakdown of installation and repair expenses.
Cost Overview
| Service Type | Details | Cost Range | Key Factors |
|---|---|---|---|
| New Installation | 1,500 sq ft | $3,750 – $6,750 | Basic prep, standard materials |
| 2,000 sq ft | $5,000 – $9,000 | Material layers, labor rates | |
| 2,500 sq ft | $6,250 – $11,250 | Extra layers, disposal fees | |
| 3,000 sq ft | $7,500 – $13,500 | Complex work, permits | |
| Minor Repairs | Crack sealing | $300 – $600 | Small patches |
| Gravel redistribution | $200 – $400 | Covering bare spots | |
| Maintenance coating | $500 – $800 | Surface protection | |
| Major Repairs | Water damage | $1,000 – $2,500 | Leak fixes |
| Membrane replacement | $1,500 – $3,000 | Partial replacement | |
| Multiple patches | $800 – $1,800 | Several problem areas |
Replacement Rule: Consider full replacement when repair costs exceed 25% of the new installation price.
Final costs vary based on roof access, local labor rates, and existing conditions. Professional assessment determines the most cost-effective solution for your property.
Professional Installation vs. DIY Considerations
Installing tar and gravel roofing requires handling 400°F materials and precise techniques.
Choose professional installation for full roof replacement, steep surfaces, multi-story buildings, or when you need warranties and building permits. Licensed contractors have safety equipment and experience to handle hot asphalt safely.
Consider DIY only for minor gravel redistribution, small patch repairs on ground-level structures, or if you have previous roofing experience with proper tools. Remember that insurance may not cover DIY mistakes. Most property owners find professional installation prevents costly errors and serious
Conclusion
Tar and gravel roofs remain a strong option for flat and low-slope buildings. When installed correctly, they offer dependable coverage, UV shielding, and fire resistance.
These systems perform best on structures with proper support and in areas with moderate rainfall.
Due to the temperature of the materials used and the steps involved, hiring trained professionals is the safer choice.
Regular inspections and minor repairs can extend the service life and prevent larger problems later on.
Before making a decision, consider your building’s structure, climate, and accessibility for maintenance. Getting a qualified inspection is a smart first step.
Need help planning your roof project? Contact a local roofing expert to evaluate your options and get accurate estimates for your property.