Mastering Window Framing for a Stronger Home
Framing a window correctly is more than just a construction step; it’s important for securing your home’s structural integrity, energy efficiency, and artistic appeal.
Proper window framing not only supports the window unit but also prevents issues like gaps, drafts, and water damage, which can lead to costly repairs.
Whether you’re building a new home or replacing windows, mastering the framing process will help you create a solid, durable opening that contributes to the longevity of your property.
This step-by-step guide will walk you through everything from selecting the right tools and materials to ensuring your window frames are built to last.
Let’s find out how to frame windows with precision and skill, keeping your home safe, energy-efficient, and beautiful for years to come.
Why Proper Window Framing is Important
-
Structural Integrity: Proper window framing ensures that the window unit is securely supported, preventing shifting or sagging over time.
-
Prevents Gaps and Drafts: Incorrect framing can lead to gaps, allowing drafts and water infiltration, which cause discomfort and potential damage.
-
Prevents Water Damage and Mold: Poor framing can lead to water leaks, resulting in costly repairs and mold growth.
-
Energy Efficiency: Correct framing enables proper insulation and sealing, which helps maintain a comfortable indoor temperature and reduces energy costs.
-
Aesthetic Appeal: Properly framed windows contribute to the overall aesthetic of the home, ensuring a clean and polished look.
-
Longevity of the Home: Well-framed windows help extend the life of the home by preventing long-term issues like shifting, water damage, and energy inefficiency.
Step-By-Step Window Framing Instructions
Tools and Materials Needed
| Tools | Materials |
|---|---|
| Tape measure | 2×4 lumber for king studs, jack studs, cripples, and sill |
| Framing square | 2×6 or larger lumber for header (depends on load requirements) |
| Pencil | 16d framing nails |
| Hammer or nail gun | Foam insulation (for hollow headers) |
| Level | Wood sheathing |
| Circular saw | Window schedule/specifications |
| Drill (for insulation holes) |
Step 1: Plan Your Window Placement

Begin by determining where you want the center of your window to be located. Consult your window schedule to confirm the exact rough opening dimensions required for your specific window.
Keep in mind that the rough opening is typically larger than the actual window size. For example, in the demonstration, a 30-inch-wide by 48-inch-tall window is being installed.
Once you’ve established the center point, mark it clearly on your bottom plate to use as a reference for all subsequent measurements.
Step 2: Mark the Rough Opening
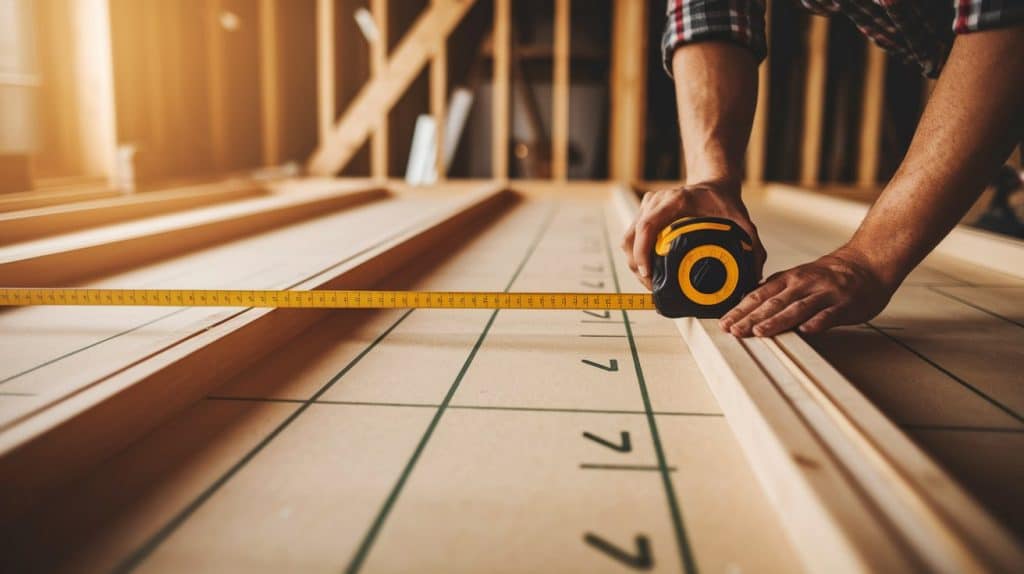
From the center mark on your bottom plate, measure outward half the width of your rough opening in each direction. For example, if your rough opening is 30 inches, measure 15 inches to either side of your center mark.
Make clear marks at these points and label them with a “J” to indicate the placement of your jack studs. These vertical members will support the header above the window.
Draw perpendicular lines across the plate at these marks to ensure accurate alignment when assembling the frame.
Step 3: Mark the King Stud Locations

Measure 1½ inches (the width of a standard 2×4) outside of each jack stud mark and make additional perpendicular lines. These marks indicate the king studs, which run continuously from the bottom plate to the top plate.
King studs provide stability for the entire window assembly and create a nailing surface for wall sheathing. Remember that windows 60 inches or wider require double jack studs on each side, according to residential building codes. You may also want to use double king studs.
Step 4: Transfer Markings to Top Plate

Make sure your top and bottom plates are aligned perfectly at the ends. Transfer all your markings from the bottom plate to the top plate, maintaining the same measurements and labeling.
This ensures your window frame will be plumb when the wall is standing up. Write the rough opening dimensions (in this case, 2’6″ × 4’0″) on both plates for easy reference during construction and for other workers who might need this information later.
Step 5: Lay Out the Cripple Studs

The cripple studs support the windowsill and should align with the standard stud layout of your wall (typically 16 inches on center).
This alignment ensures wall sheathing will break evenly on both regular studs and cripples. Mark the locations for these cripple studs on your bottom plate.
Remember to include cripples at the inside edges of each jack stud to provide support for the ends of the windowsill. These properly placed cripples create a solid foundation for the window assembly.
Step 6: Assemble the Frame Components

Begin assembly by installing the king studs first. These should be straight pieces with minimal crowning. Nail them securely to both the top and bottom plates at their marked locations.
Next, cut your jack studs to the appropriate length (typically 81 inches for standard residential construction, which aligns window headers with door headers).
Install these jack studs flush against the king studs, nailing through the bottom plate, top plate, and along the length where they meet the king studs.
Step 7: Install the Windowsill and Cripples
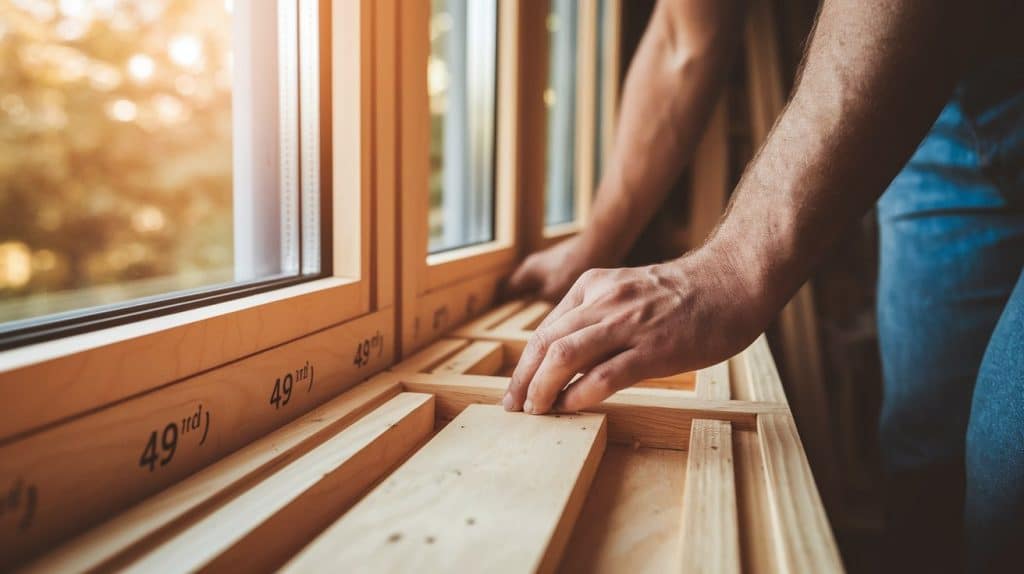
Measure down from the top of the jack studs to determine the location of the windowsill. For a 48-inch tall window, measure down 49 1/2 inches (48 inches plus 1 1/2 inches for the sill thickness).
Mark this height on the jack studs. Cut the cripple studs to the measured length (in this case, 31½ inches) and install them according to your layout markings. Start with the cripples adjacent to the jack studs, then add the middle cripples. Cut your windowsill to fit between the jack studs and install it atop the cripples.
Step 8: Install the Header
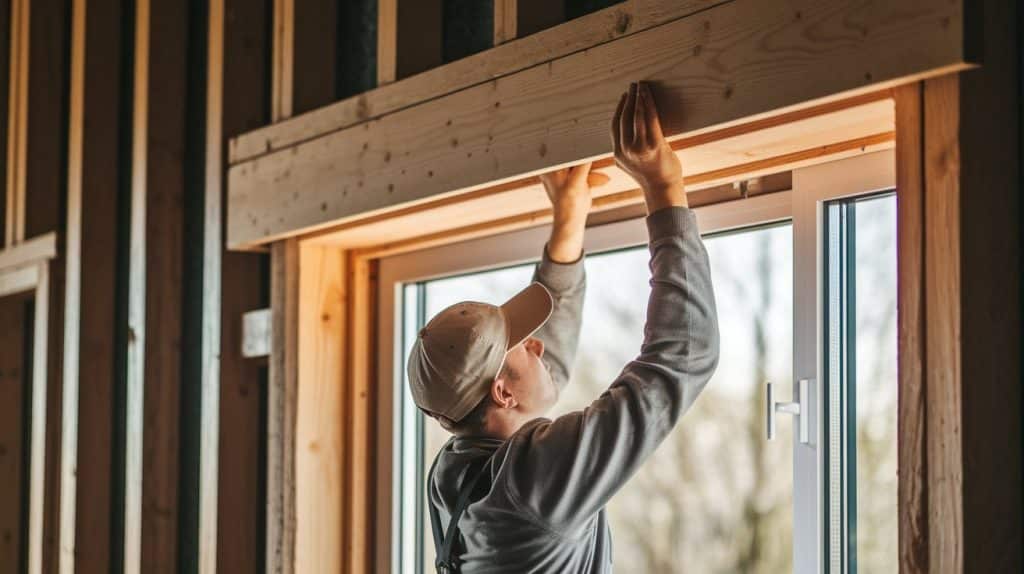
The final component is the header, which spans the top of the window opening and supports the weight above. For load-bearing walls, use a solid header sized according to the span and load requirements.
For non-load-bearing walls, you may use cripple studs above the header instead. If using a hollow header, drill holes later and fill with foam insulation for improved energy efficiency.
Ensure the header fits snugly between the king studs and sits directly on top of the jack studs for maximum structural integrity.
Step 9: Verify Dimensions Before Finishing

Before proceeding to wall sheathing, double-check that your rough opening dimensions are correct. Please measure the width and height of the opening to ensure they match your window specifications.
It’s much easier to make adjustments at this stage than after the wall sheathing has been applied. Once verified, your window frame is complete and ready for wall sheathing, house wrap, and eventually, window installation.
This verification step can save significant time and frustration later in the construction process.
Video Tutorial
Special thanks to Perkins Builder Brothers for providing valuable insights in their video, which I referenced while creating this guide.
Framing for Different Window Types
Framing requirements can vary depending on the type of window you’re installing. Here’s a breakdown of common window types and their specific framing needs:
Double-Hung Windows
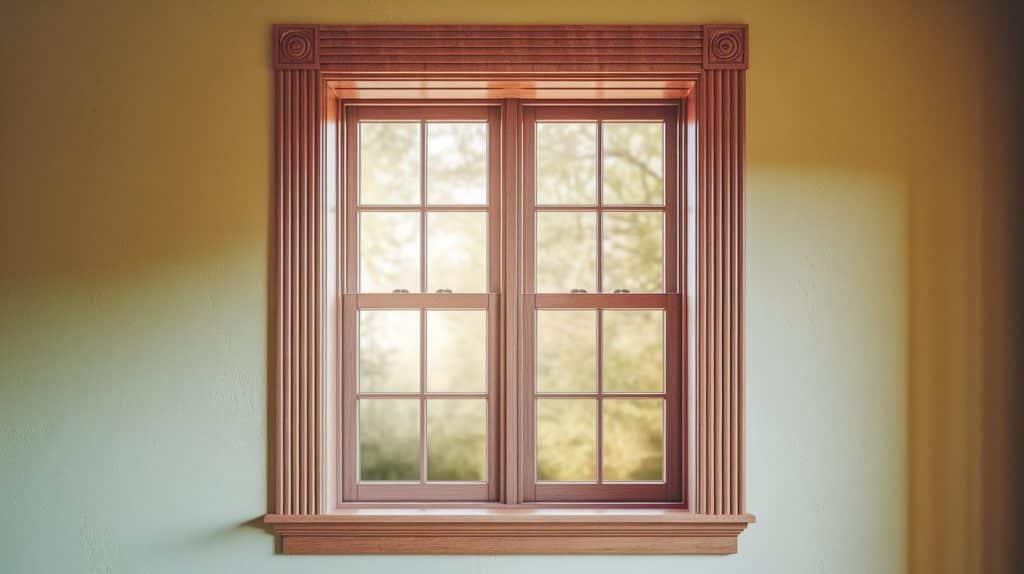
These are one of the most common window styles, featuring two movable sashes. They require a standard rectangular frame with king and jack studs.
The rough opening for double-hung windows should be slightly larger than the window dimensions to allow for proper fitting and operation. Ensure there is sufficient space for both sashes to slide up and down without obstruction.
Casement Windows

Casement windows are hinged on one side and swing outward, similar to a door. They require a slightly deeper frame to accommodate the hinges and locking mechanisms.
Ensure that the rough opening is wide enough to allow the window to open fully without interference from surrounding framing. You should also leave extra space for weather stripping and seals around the perimeter for energy efficiency.
Sliding Windows

Sliding windows feature one or more movable sashes that slide horizontally within the frame.
The rough opening for sliding windows is similar to that of double-hung windows, but it must also account for the tracks and wheels that enable the window to slide smoothly.
Ensure that the frame is level and the track area is clear for smooth operation.
Picture Windows
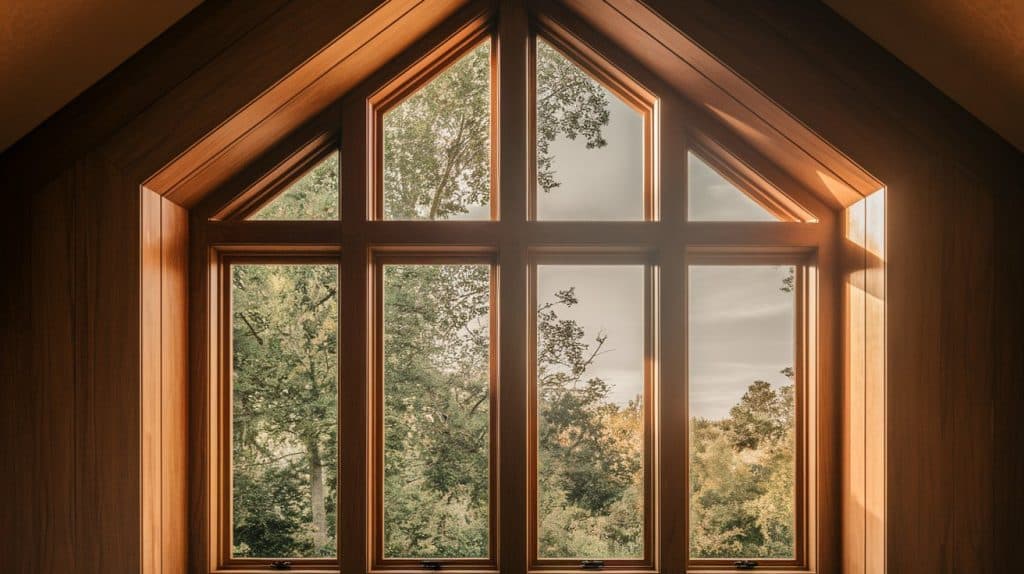
These large, fixed windows are typically non-operational and provide unobstructed views. Due to their size and weight, picture windows require a more robust frame with a strong header for support.
The rough opening must be carefully measured and reinforced to handle the weight of the large glass panels. Ensure that the header is properly sized to meet the load-bearing requirements.
Safety Tips for Window Framing
-
Wear Protective Gear: Use safety goggles, gloves, and steel-toed boots to protect yourself from debris and sharp tools.
-
Use Proper Lifting Techniques: Lift heavy materials with your legs, not your back, to avoid injury.
-
Keep the Work Area Clean: Remove clutter and tools not in use to prevent tripping hazards.
-
Check for Electrical Hazards: Be mindful of electrical wiring in the walls before starting work.
-
Work with a Partner: Always have someone nearby to assist with lifting and ensuring safety.
-
Use Stable Ladders or Scaffolding: Ensure your ladder or scaffolding is secure and on level ground when working at height.
-
Inspect Tools Before Use: Ensure that all tools are in good working condition to prevent malfunctions or accidents.
Essential Window Frame Maintenance Tips for Longevity
Regular Inspections Save You Money- Inspect your window frames twice a year for signs of water damage, such as discoloration, warping, or soft spots, to prevent further damage. Early detection helps avoid costly repairs. Also, ensure the window operates smoothly and check for any gaps around the frame. This simple step can prevent larger structural issues.
Seal It Right, Keep Energy Costs Low- Check the caulking and weather stripping around your windows annually. Replace any cracked or missing caulk with high-quality silicone to prevent drafts and moisture. Additionally, consider adding foam tape insulation to older windows to enhance energy efficiency and lower energy costs.
Address Water Damage Quickly- Water damage can weaken window frames; therefore, address issues such as stains, swelling, or soft wood immediately. Replace damaged wood with pressure-treated lumber and apply a water-resistant primer to protect repairs from further moisture damage.
Watch for Pests- Inspect window frames for signs of pests, such as termites or carpenter ants. Look for small holes, sawdust, or hollow-sounding areas in the wood. Keep wood away from soil and treat it with borate solutions to prevent pest infestations. A professional inspection every couple of years can help catch infestations early.
Keep Exposed Wood Refined- Wooden window frames require regular refinishing to protect against UV and weather damage. Sand down peeling finishes and apply a fresh coat of exterior-grade paint or penetrating oil to protect the wood from the sun and moisture. South- or west-facing windows require more frequent attention due to their higher exposure to the sun.
Common Window Framing Mistakes to Avoid
| Common Mistakes | Why to Avoid |
|---|---|
| Using warped or curved lumber | Creates alignment issues and prevents proper window operation |
| Incorrect rough opening size | The window won’t fit or will have excessive gaps requiring additional shimming. |
| Failing to account for load requirements | Can lead to structural failure and sagging above the window |
| Skipping the verification step | Much harder to fix dimensions after the wall is sheathed |
| Improper nailing techniques | Weakens the structural integrity of the window frame |
| Ignoring moisture protection | Leads to premature wood rot and window failure |
| Misaligning cripple studs | Creates problems when installing sheathing and drywall |
| Forgetting insulation in headers | Reduces energy efficiency around windows |
| Using undersized headers | May not meet code requirements and can cause structural issues |
| Incorrect jack stud length | Results in uneven header heights throughout the building |
Conclusion
Framing a window correctly is a foundational skill that affects not only the appearance of your home but also its structural integrity and energy efficiency.
By following these detailed steps, you’ve learned how the five key components—jack studs, king studs, cripples, windowsill, and header—work together to create a solid window opening.
Remember that attention to detail during the framing stage prevents costly problems later. Whether you’re working on a new construction project or a renovation, these techniques will help you achieve professional results.
With practice, you’ll develop the confidence to tackle window framing with precision and skill, creating openings that’ll securely support your windows for decades to come.
Frequently Asked Questions
How to Close the Gap Between a Window and A Frame?
To close the gap between the window and frame, apply caulk or foam sealant around the perimeter of the gap. For larger gaps, use a backer rod as a first step. Smooth the sealant and let it dry for a secure seal.
What Size Wood for The Window Frame?
For a standard window frame, use 2×4 lumber for the studs and 2×6 lumber or larger for the header, depending on the load requirements. How Thick Should a Window Frame Be? A window frame should typically be 3 1/2 inches thick, which is the standard width of a 2×4 stud.
How Thick Should a Window Frame Be?
A window frame should typically be 3 1/2 inches thick, which is the standard width of a 2×4 stud.


