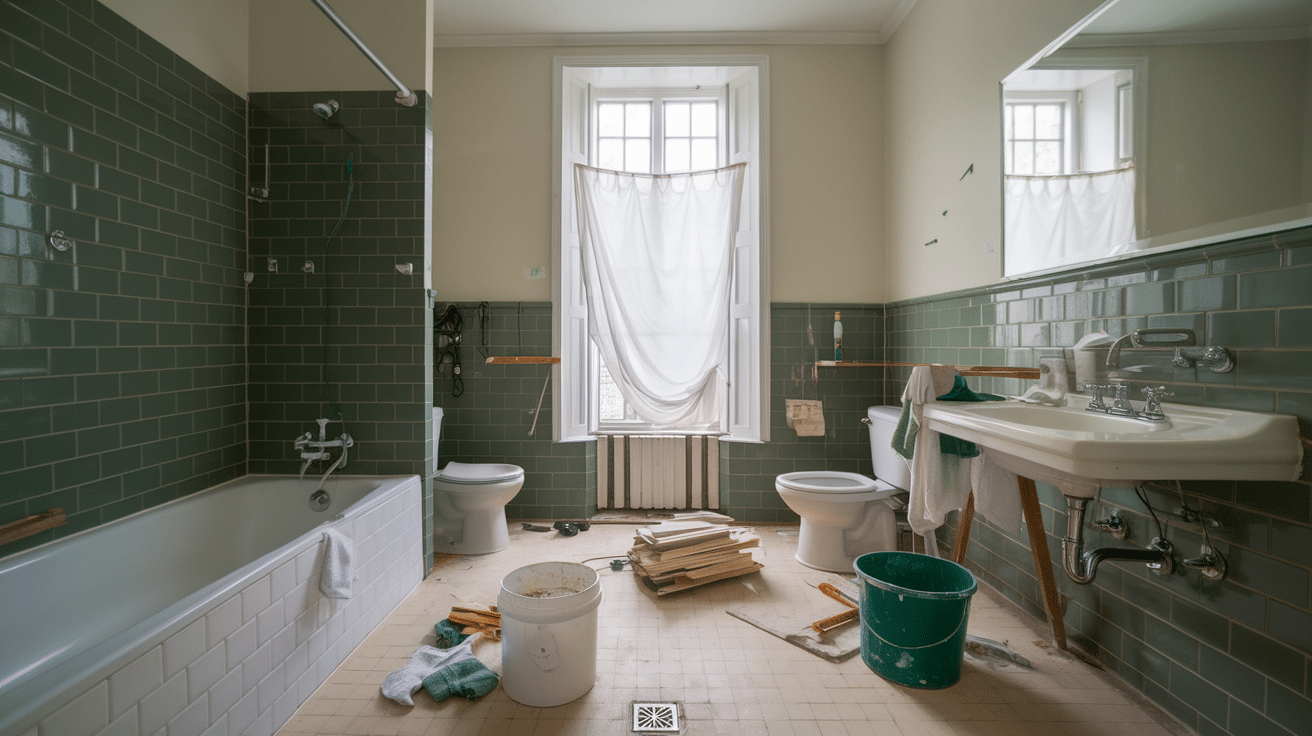
Complete Guide to Bathroom Remodeling: Step-by-Step Process
Are you tired of your old, worn-out bathroom that lacks function and style? Many homeowners feel stuck with outdated fixtures and poor layouts that don’t work for their needs.
Good news! A well-planned bathroom update can fix these issues while adding value to your home. With the right steps, you can turn your basic bathroom into a useful, relaxing space.
This guide walks you through each phase of the bathroom remodeling process. You’ll learn how to plan your budget, pick the right materials, work with contractors, and avoid common mistakes that cost time and money.
Ready to start creating a bathroom that meets your needs? Let’s look at what you need to know before tearing out that first tile.
Why Remodeling is Necessary?
Bathroom remodeling is often needed, not just wanted. Old plumbing can lead to water damage that harms your home’s structure. Outdated electrical work might not meet current safety codes and could pose risks.
Space issues are another key reason. Many older homes have tiny bathrooms that don’t work well for today’s needs. Poor layout makes the room hard to use, especially for families or those with limited mobility.
Energy costs add up too. Older toilets, showers, and faucets use more water. New, water-saving fixtures can cut your bills each month.
Home value is an important factor as well. Bathroom updates offer good return on investment when you sell. Buyers often pay more for homes with modern bathrooms.
Lastly, your daily comfort matters. A bathroom that fits your needs and looks good can make your morning routine better and provide a calm spot to wind down at night.
Tools and Materials Required
This table clearly outlines the materials, tools/equipment, and their uses in the context of a bathroom remodel.
| Category | Materials | Tools/Equipment | Use |
|---|---|---|---|
| Demolition | Hammer, crowbar, utility knife, pliers, saw | Dust masks, gloves, goggles, disposal bags | Remove old fixtures, tiles, and debris |
| Flooring | Ceramic, porcelain, stone tiles, vinyl, laminate | Thinset mortar, grout, trowel, tile cutter | Install new floors and tiles |
| Wall Treatments | Ceramic/stone tiles, moisture-resistant paint | Waterproof membrane, backer board, grout | Tile walls, paint, and waterproof wet areas |
| Plumbing | PVC/PEX/copper pipes, sink/toilet fixtures, shower, valves | Pipe cutter, wrench set, plumber’s tape | Install plumbing and fixtures |
| Electrical | Light fixtures, GFCI outlets, exhaust fan | Wiring, outlets, LED bulbs, drill | Set up lighting, electrical outlets, exhaust |
| Cabinets & Storage | Vanity, countertop (granite, quartz), shelving, hardware | Drill, screwdriver, level | Install cabinets, countertops, and storage |
| Decor & Miscellaneous | Mirrors, shower doors, towel racks, caulk, silicone sealant | Sponges, rags, vacuum | Add mirrors, hooks, and seal gaps to prevent leaks |
Bathroom Remodeling: Step-by-Step Process
Follow this clear and detailed guide to convert your outdated bathroom into a functional and fresh space, without the stress of costly mistakes or planning gaps.
Step 1: Plan and Set Your Goals
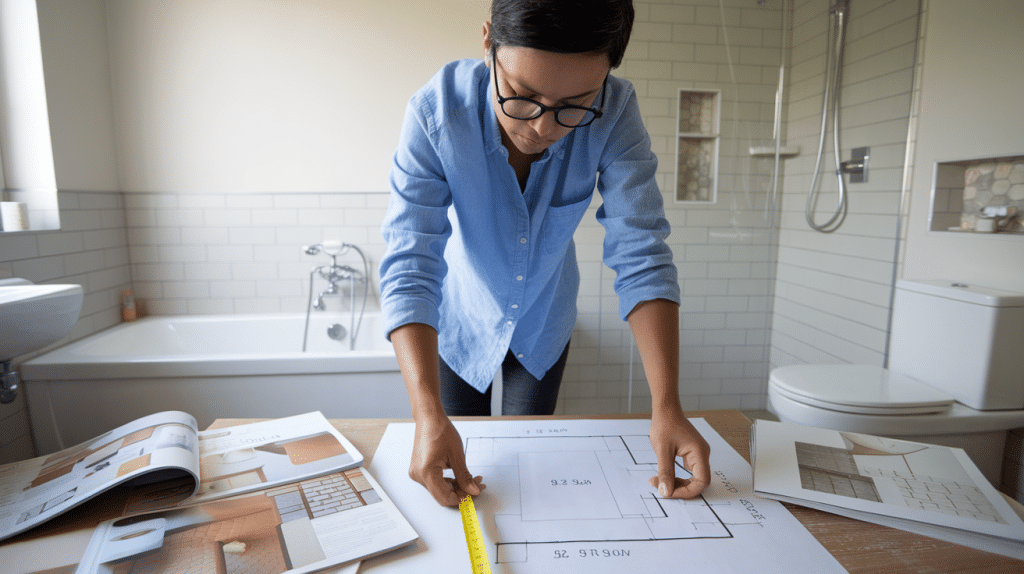
Taking time to set clear goals helps avoid costly changes later. Think about how you use the bathroom now and what isn’t working for you.
- Make a list of must-have items versus nice-to-have features
- Look at bathroom photos online to find styles you like
- Consider who uses the bathroom and their specific needs
- Think about how long you plan to stay in your home
Pro Tip: Measure your bathroom space carefully and draw a simple layout with dimensions before planning any changes.
Step 2: Set a Realistic Budget

Your budget guides all choices in your project. Research costs in your area and add 15-20% extra for surprises that often come up.
- Get quotes from multiple contractors to compare prices
- Price out fixtures, tiles, and other materials ahead of time
- Decide where to spend more (quality fixtures) and where to save
- Keep track of all costs in a spreadsheet as you go
Pro Tip: Ask friends who have done similar projects what their final costs were compared to their initial budget.
Step 3: Choose Your Design and Materials
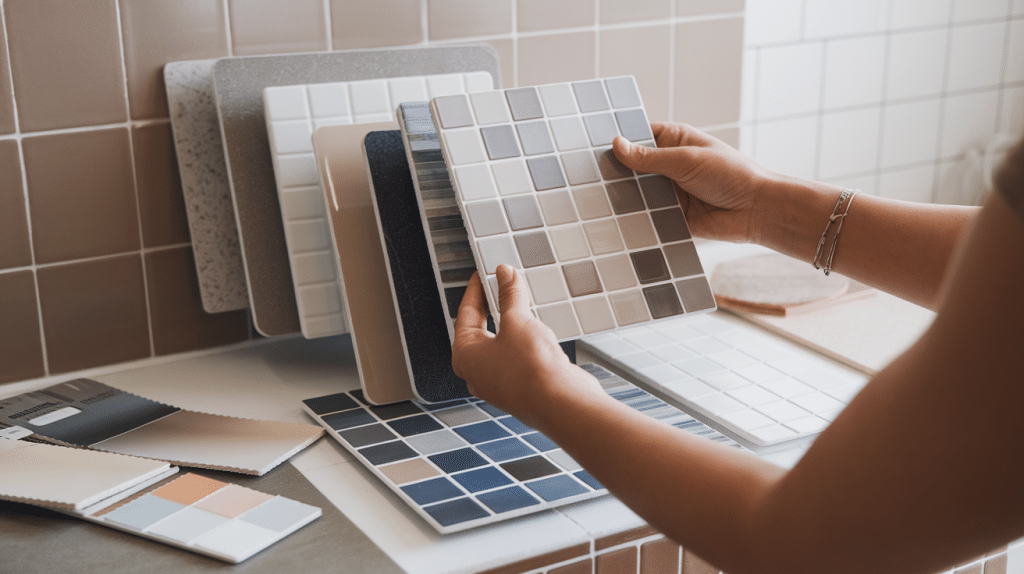
Your choices should match both your style and how the bathroom will be used. Focus on items that can handle moisture well.
- Select moisture-resistant materials made for bathroom use
- Choose a color scheme that makes the space feel bigger
- Think about upkeep – some materials need more cleaning than others
- Pick non-slip flooring for safety, especially in homes with children or older adults
Pro Tip: Buy samples of tiles and paint to see how they look in your actual bathroom lighting before making final decisions.
Step 4: Obtain Permits and Hire Professionals

Most areas require permits for bathroom work that involves plumbing, electrical, or structural changes. Good pros know this process well.
- Check with your local building department about needed permits
- Ask for license, insurance, and references from all contractors
- Get at least three written bids with detailed scope of work
- Make sure your contract includes a timeline and payment schedule
Pro Tip: The cheapest bid often isn’t the best – look for contractors who ask detailed questions and seem thorough.
Step 5: Demolition and Preparation
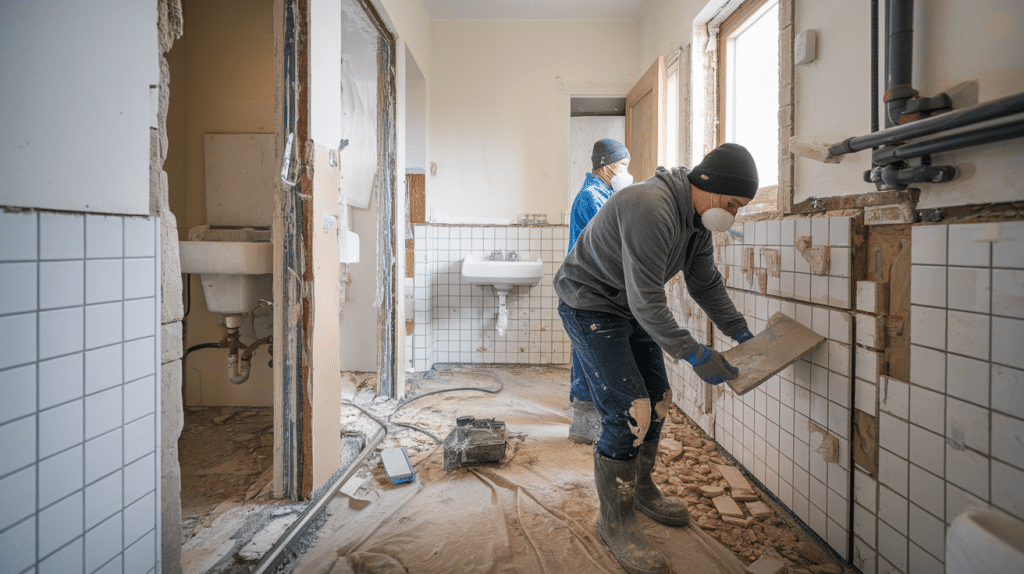
Removal work can be messy and reveal hidden issues. Plan how to handle waste and protect other parts of your home.
- Take photos of wall interiors before closing them up
- Turn off water and power to the bathroom before starting
- Put down floor protection in areas workers will walk through
- Set up a dust barrier with plastic sheeting and tape
Pro Tip: Save some extra tiles from your old bathroom if possible – they can be useful for small repairs in other matching bathrooms.
Step 6: Install New Fixtures and Features
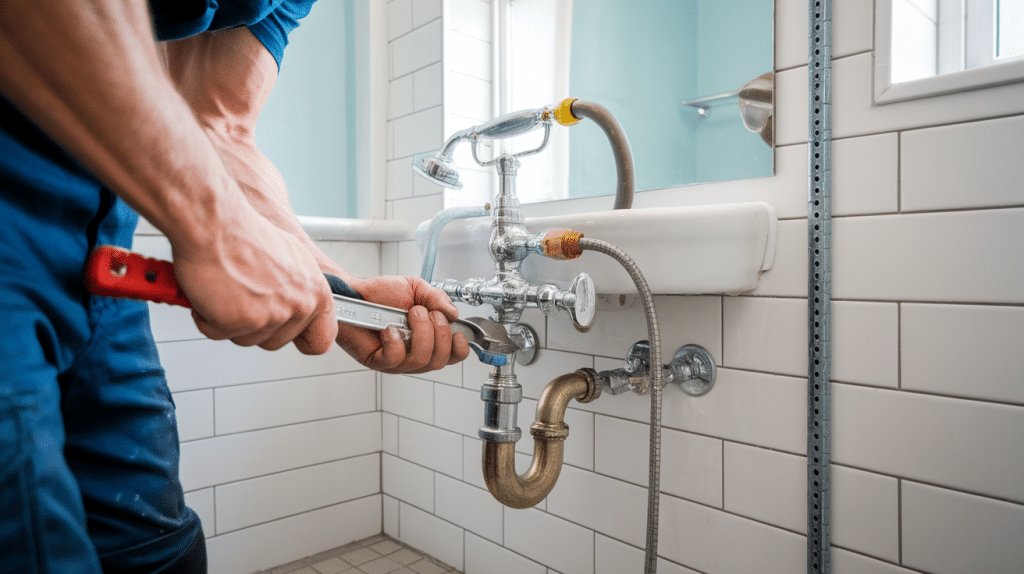
Work should follow a logical order – usually rough plumbing and electrical first, then walls, floors, and finally fixtures.
- Follow the right sequence: plumbing/electrical, walls, floors, fixtures
- Check each step before moving on to the next
- Keep product manuals and installation guides handy
- Test all plumbing connections for leaks before closing walls
Pro Tip: Take photos of the inside of walls showing where pipes and wires run before they’re covered up.
Step 7: Final Touches and Inspection
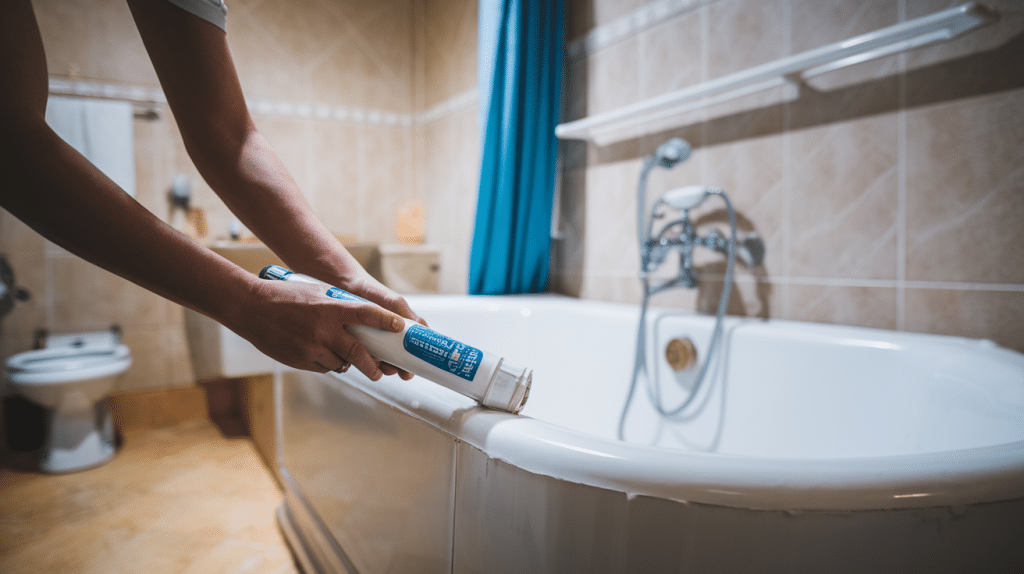
Small details make a big difference in how the finished bathroom looks and works.
- Clean thoroughly after all work is done
- Apply caulk around all fixtures and where surfaces meet
- Install shower curtain, towel bars, and other small items
- Have final inspections done for any permit work
Pro Tip: Wait 24 hours after grouting tile before using the shower to allow proper curing time.
Maintenance Tips for Your New Bathroom
- Wipe down shower walls after each use to prevent soap scum and mineral buildup
- Clean grout lines monthly with a soft brush and mild cleaner to prevent staining and mold
- Check under sinks every few months for leaks or moisture that could damage cabinets
- Replace caulking around tubs, sinks, and toilets when it starts to crack or peel
- Test your exhaust fan regularly to ensure it removes moisture that can lead to mold issues
- Tighten any loose screws on cabinets, towel bars, and toilet seats as part of routine cleaning
- Use a squeegee on glass shower doors to prevent water spots and mineral deposits
5 Common Bathroom Remodeling Mistakes to Avoid
1. Poor Ventilation: Failing to install or upgrade bathroom exhaust fans, which leads to excess moisture, paint damage, and mold growth in walls and ceilings.
2. Incorrect Spacing: Placing fixtures too close together or ignoring proper clearances around toilets, sinks, and shower doors, making the bathroom uncomfortable to use.
3. Budget Shortcuts: Choosing the cheapest materials and fixtures that wear out quickly, resulting in higher long-term costs and early replacement needs.
4. Inadequate Lighting: Installing only one ceiling light that creates shadows and dark areas, rather than planning for task, ambient, and accent lighting needs.
5. Overlooking Storage: Focusing only on visual appeal while forgetting practical storage solutions, leaving no place for towels, toiletries, and bathroom supplies.
Conclusion
A bathroom remodel needs careful planning and good choices at each step. By following the steps we’ve shown, you can create a bathroom that works well and looks good.
Start with clear goals, set a proper budget, and choose materials that last. Getting the right permits and skilled workers makes the job go smoothly. Good planning during demolition and installation helps avoid problems.
The final details and proper upkeep keep your new bathroom in top shape for years. Stay away from common errors like poor air flow, wrong spacing, and not enough storage.
Your updated bathroom will make your daily routine better and add value to your home. The effort pays off when you see the finished space and enjoy using it every day.
Frequently Asked Questions
In What Order Should You Renovate a Bathroom?
Bathroom renovation order: Start with demolition, then plumbing and electrical work, followed by walls/ceiling, tub/shower, floor, toilet, and finally vanity and fixtures.
Should You Install Vanity Before or After Flooring?
Vanity installation: Install flooring first, then the vanity. This creates a cleaner look and prevents damage to the vanity during floor installation.

