Looking at your tiered tray sitting empty on the counter, wondering how to make it look like those perfect home decor photos you see online?
You’re not alone. Many people buy these beautiful trays but feel stuck when it comes to styling them. They end up looking cluttered, boring, or just don’t match the vibe you want for your space.
But here’s the good news: styling a tiered tray doesn’t require special skills or expensive items. With the right approach, you can create stunning displays that change with every season and occasion.
This guide will walk you through simple steps to transform your plain tray into a showpiece. You’ll learn how to pick themes, choose the right items, and arrange everything so it looks professionally styled.
Ready to make your home feel more put-together? Let’s start creating your perfect tray display.
What Makes a Great Tiered Tray Display?
A well-styled tiered tray has three key qualities that make it stand out.
- Balance is the first thing people notice. Each tier should feel right without looking too heavy or empty. The eye should move smoothly from top to bottom.
- Purpose matters too. Every item should have a reason for being there. Random objects make displays look messy and confused.
- Personality brings it all together. The best trays tell a story about the home and the people who live there. They feel natural, not forced.
Understanding these basics helps create displays that appear intentional rather than hastily put together. With these principles in mind, styling becomes much easier.
Now let’s look at the step-by-step process to create these beautiful displays.
Decorate Your Tiered Tray with These Simple Steps
Follow these five basic steps to create a well-balanced tray that works for any space or season.
1. Choose a Tray
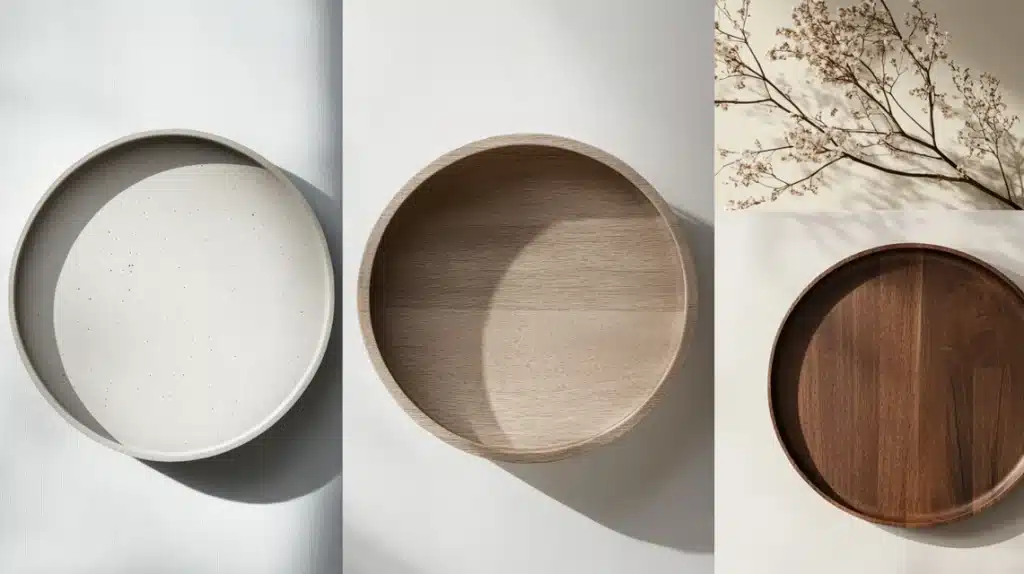
When starting with tiered trays, picking the right one can feel overwhelming. Metal trays give a clean look, while wooden ones add warmth. Ceramic pieces bring a soft touch.
For kitchens, white enamel trays work well beside sinks. They hold cleaning items within reach.
For beginners, measure the space first. Start with a three-tier tray – it gives enough room to play with items without taking up too much counter space.
2. Choose a Theme

When starting with tiered trays, picking the right one can feel overwhelming. Metal trays give a clean look, while wooden ones add warmth. Ceramic pieces bring a soft touch.
For kitchens, white enamel trays work well beside sinks. They hold cleaning items within reach.
For beginners, measure the space first. Start with a three-tier tray – it gives enough room to play with items without taking up too much counter space.
3. Select Core Element
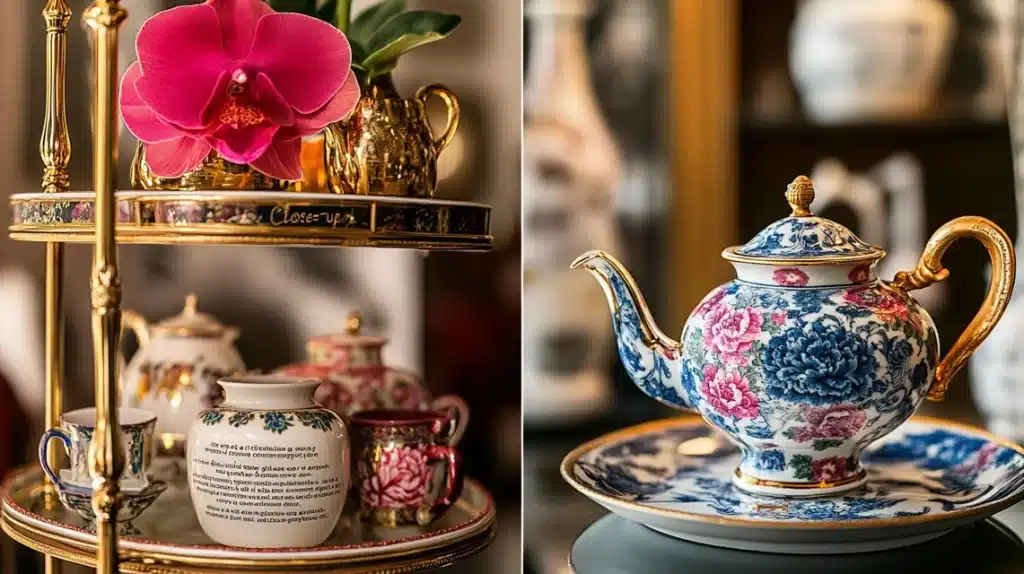
The main piece sets the tone for the entire tray. Always pick this first. Small vintage glass vases work as centerpieces. They catch everyone’s eye.
Choose something tall enough to stand out, but not so big that it takes over. Old bottles, meaningful photos in simple frames, or even special teacups work great.
Put this piece on the top tier – it’s like the star on a Christmas tree.
4. Give Your Tray a Floral Touch
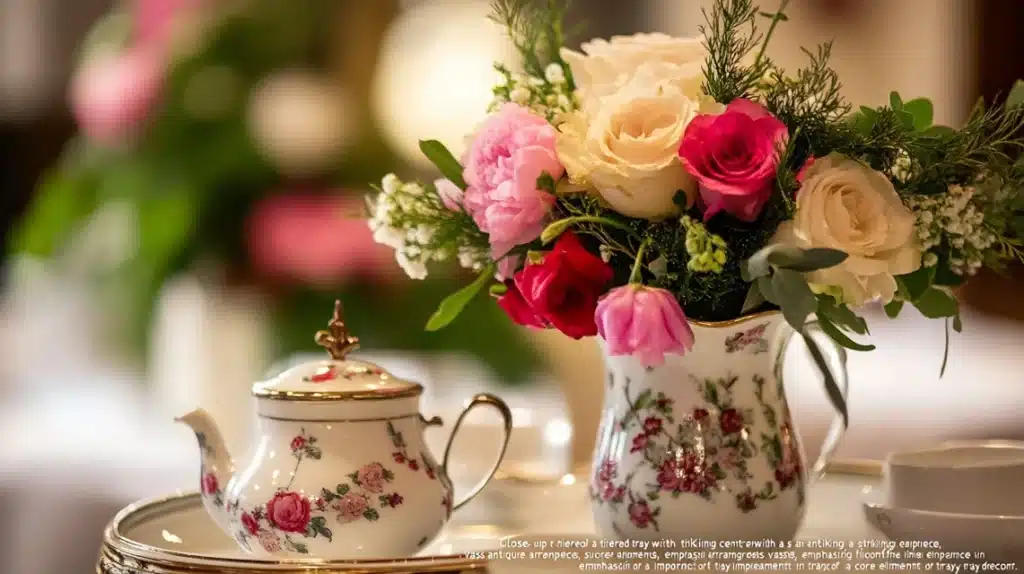
Plants make any tray feel alive. Mix real and fake ones based on the season. In summer, clip fresh flowers from gardens. During winter, use good-quality silk flowers that last.
Small succulents work year-round and need little care. Place them at different heights – some trailing down the sides, others standing tall.
Don’t worry about perfect symmetry. Slightly uneven arrangements look more natural and pleasing.
5. Add Filler Elements
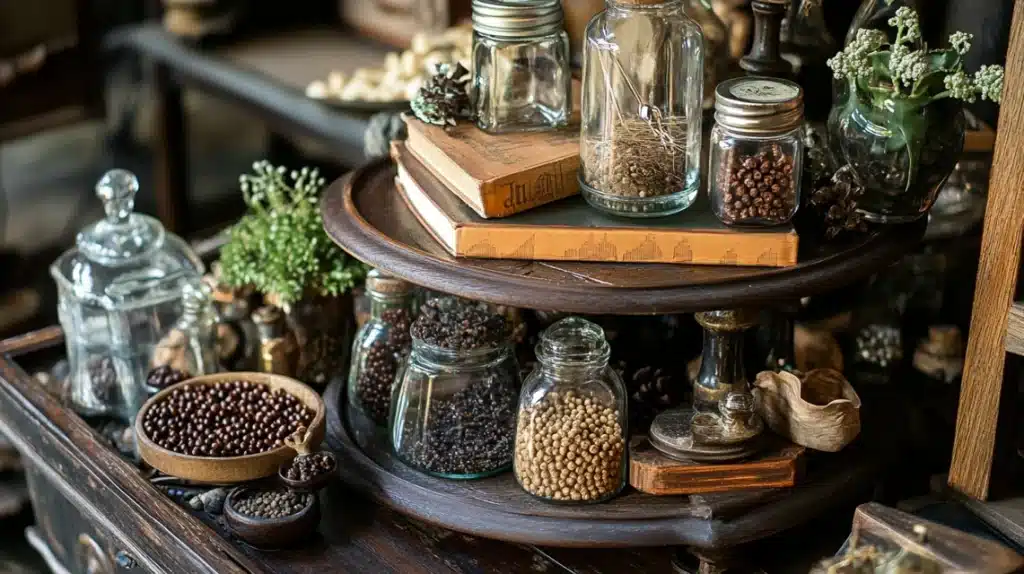
Small items turn a nice tray into something special. Use wood beads, tiny books, and small glass jars to fill empty spots.
These pieces should match the theme but not steal attention from the main item. For French-themed trays, add little white stones and short candles around the base.
Remember to leave some empty space – there’s no need to fill every inch. Step back and look at the whole picture before adding more.
Some Inspiration Ideas To Decorate a Tiered Tray
These seasonal and holiday themes show how to apply the basic steps throughout the year. Each idea uses simple items that most people already have at home or can find easily at local stores.
A. Christmas

Keep Christmas trays sweet and simple. On each tier, place mini trees sprinkled with tiny ornaments. Small battery-operated candles add a warm glow. Little candy canes tucked into corners work well.
Try adding peppermint sticks in clear jars. Green sprigs between the tiers make everything feel complete.
B. Winter Feels
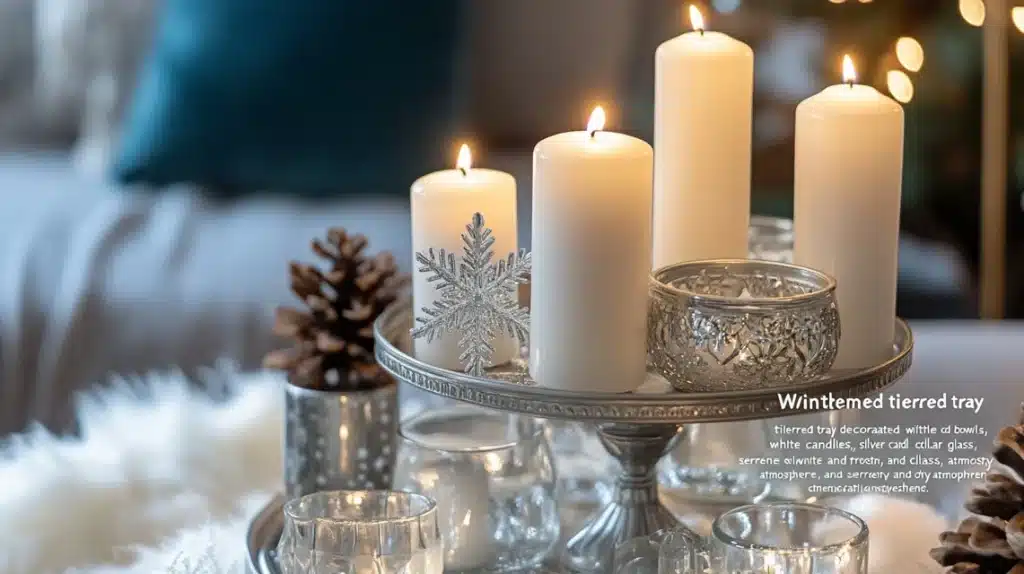
After the holidays, switch to calm winter decor. White candles, silver bowls, and clear glass pieces create a quiet mood. Small white flowers in tiny vases remind me of snow. Add pinecones and white beads for texture.
The soft colors help create cozy feelings during cold days.
C. Valentine’s Day

Valentine trays start with small pink and white flowers. Mix in heart-shaped items and red accents.
A tiny teacup with paper hearts spilling out sits on top. Coffee bars get extra sweet with red mugs and pink stirring spoons.
It’s simple but makes everyone smile.
D. Spring Vibes
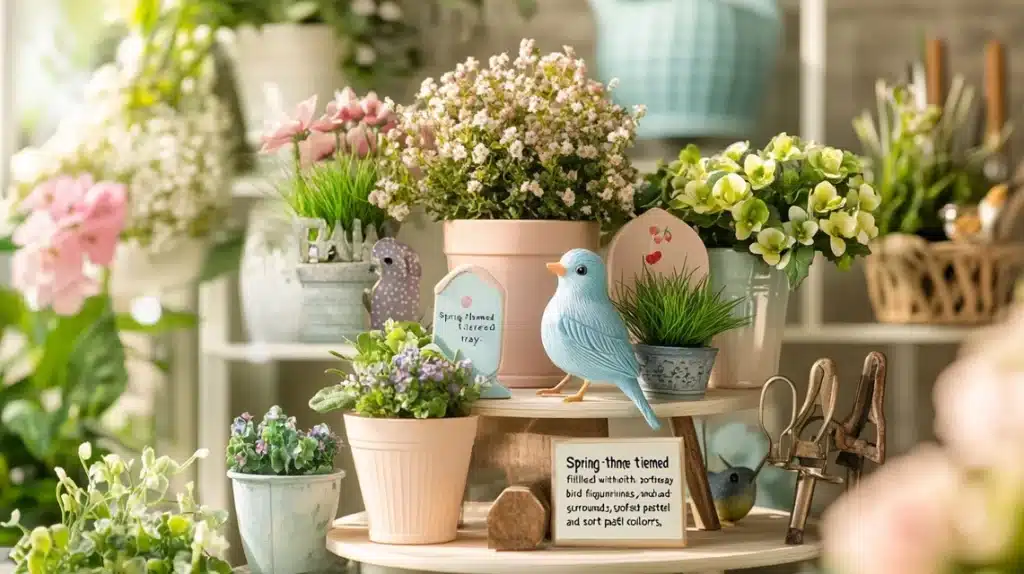
When spring comes, fill trays with small potted plants and soft colors. Tiny bird figures nest between the greenery.
Small watering cans and garden tools make perfect decorations. Use real flowers from gardens when they start blooming.
E. Summer Season
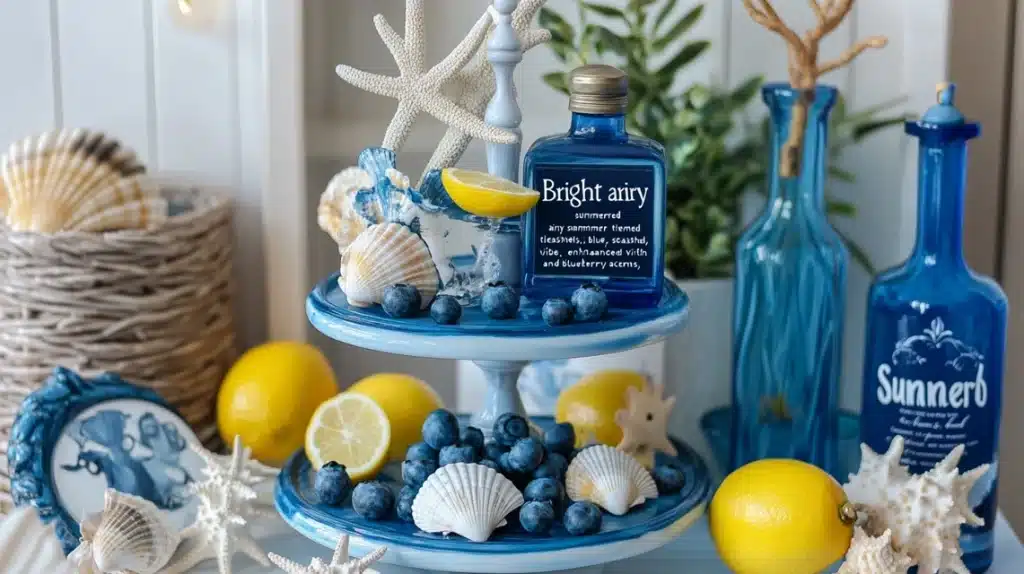
For summer, keep things light and bright. Small shells mix with blue glass pieces. Tiny jars filled with sand bring the beach home. Add paper straws in clear containers for color.
Lemon and blueberry decorations make kitchen trays feel fresh and clean.
F. Fourth of July

Patriotic trays stay simple. Small flags stand tall on each level.
White candles add height, while blue and red beads fill spaces between. Old tin cups make perfect holders for small flags. A favorite touch is using blue and white striped straws in clear jars.
G. Autumn
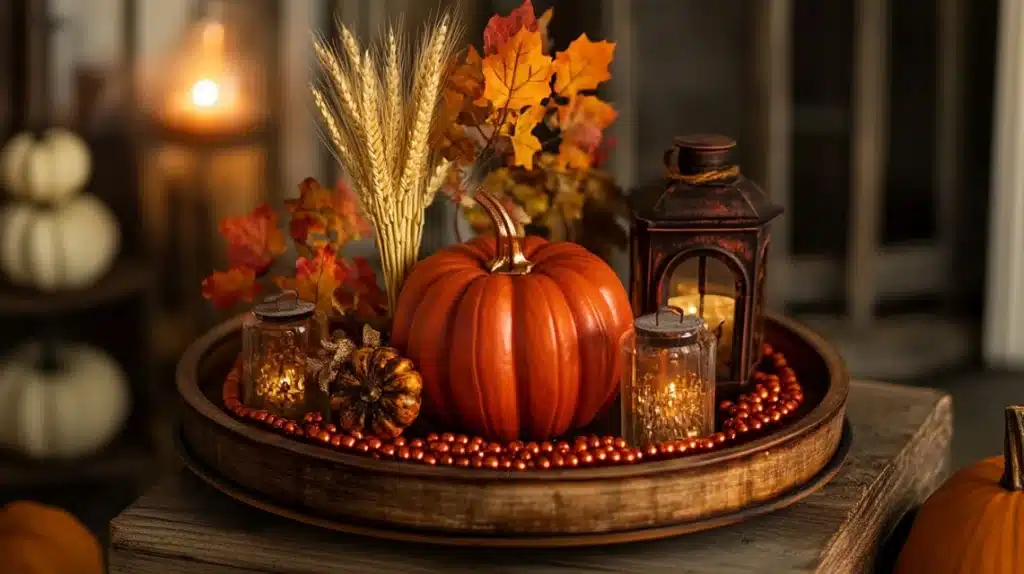
During fall, fill each tier with small pumpkins in different shapes. Dried corn cobs and wheat stems add height.
Brown and orange beads warm up the spaces between. Wooden trays work best for fall – they add to the warm feeling.
Small lanterns with battery candles make everything glow at night.
Tips for Success
Before exploring seasonal themes, keep these key points in mind for better results.
- Start Small and Build Up- Begin with fewer items rather than cramming everything at once. Add pieces slowly until the display feels balanced.
- Mix Heights and Textures- Combine tall and short items for visual interest. Smooth glass pieces work well with rough wood or textured fabrics.
- Follow the Rule of Odds- Group items in sets of three or five when possible. Odd numbers create more pleasing arrangements than even ones.
- Keep It Functional- Don’t forget that trays can serve a purpose. Kitchen trays can hold salt, pepper, or napkins alongside decorative items.
- Change It Up Regularly- Swap out one or two pieces every few weeks to keep displays fresh. This prevents the eye from getting bored with the same arrangement.
- Trust Your Instincts- If something doesn’t look right, move it. The best displays happen when you listen to what feels good rather than following strict rules.
Conclusion
Creating beautiful tiered tray displays comes down to practice and personal style. You now have all the tools to turn any ordinary tray into something special that reflects your home’s personality.
Remember the key steps: pick your tray, choose a theme, select your main piece, add plants or flowers, and fill with smaller items. These basics work for every season and occasion.
Your tray should make you smile every time you see it. Don’t stress about perfection – the best displays feel natural and lived-in.
Start with one seasonal theme this week. Try it out, move things around, and see what feels right in your space.
What theme will you try first? Share your tray styling wins in the comments below – I’d love to see how you make these ideas your own!
Frequently Asked Questions
Why Are Tiered Trays So Popular?
Tiered trays are popular because they make decorating quick and simple. They take up little space but still let you show off your style easily.
Are Gold Accents Out of Style?
Gold accents remain fashionable in home decor. They add warmth and shine to any room, and mix well with many styles and colors.