Do you have a cedar deck with thick puddles of stain that never properly cured? This common problem creates spots that continue to flake off when touched.
Many homeowners try power washing first, but this can harm soft cedar wood. A floor sander offers a better solution that saves time and effort.
This blog will guide you through using a floor sander on your deck. You’ll find which sandpaper grits work best for this task, how to sand without creating burn marks, and tips for handling tricky spots.
With these steps, you can turn your sticky, marked deck into a smooth surface that’s ready for a fresh, even coat of stain.
Why Choose a Floor Sander for Your Deck?
Thick, gummy stain puddles on cedar decks need the right fix. After looking at options, floor sanders stand out as the best choice.
Floor sanders treat soft woods, such as cedar, with care. Power washing can harm the wood grain. With a sander, you can manage the pressure and sand all boards evenly.
Using a floor sander saves time on big deck jobs. Its wide base covers large areas fast, making the task easier when fighting sticky stains.
For cedar deck fixes, this tool gives both good results and speed. It takes off bad stains while keeping the wood safe.
Step-By-Step Process to Sand a Deck
Sanding your deck with a floor sander isn’t difficult, but following the correct steps will yield the best results. Here’s how to do it properly.
Essential Tools & Materials Needed
Before starting your deck sanding project, gather all the necessary supplies. Having everything ready will make the job go smoothly and help you avoid delays once you’ve rented the sander. Here’s what you’ll need:
| Category | Materials/Tools | Purpose |
|---|---|---|
| Floor Sander | Floor sander rental, foam pads, 60 & 120 grit sandpaper | Sand deck surface, remove stains, and smooth finish |
| Additional Tools | Orbital sander (corners), clean towels, broom/leaf blower | Reach tight spots, clean debris |
| Safety Gear | Dust mask, safety glasses | Protect from dust and debris |
Step 1: Preparing the Deck Surface

Clear everything off your deck first. Remove all chairs, tables, plants, and other items so you can reach every part of the deck surface.
Sweep the deck well to get rid of all leaves, dirt, and small bits that might get in the way. Find any nails or screws that are sticking up and secure them by hammering them down or tightening them.
Key preparation points:
- Make sure the deck is dry – wet spots will clog your sandpaper
- Look for and mark badly damaged boards that might need extra work
- Take “before” photos to track your progress
Key Consideration: Block off the area to keep pets and kids away during your project.
Step 2: Installing the Foam Pad and Sandpaper
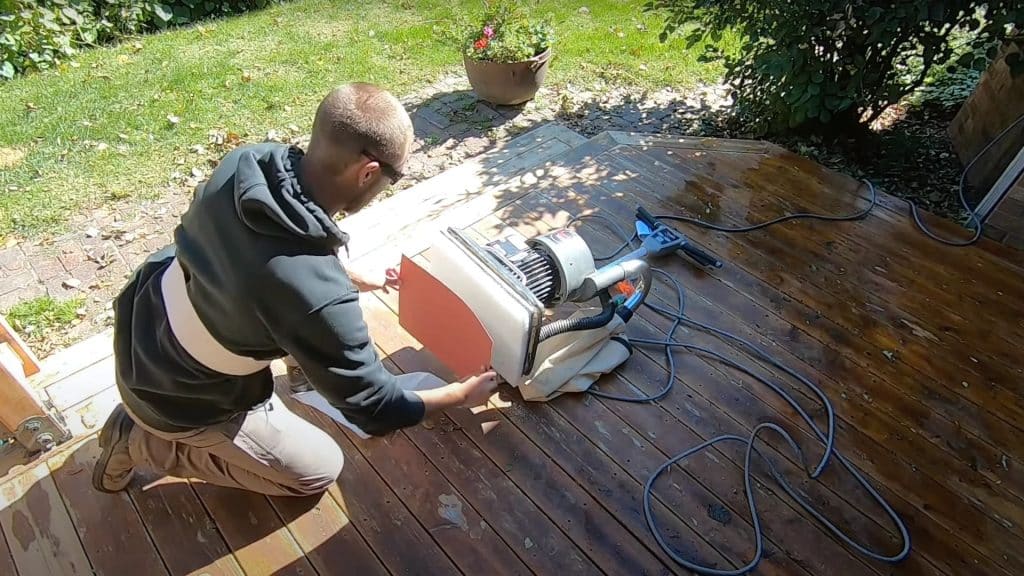
Put the foam pad that comes with your rental on the bottom of the sander. Ensure it sits squarely in the middle and is securely attached.
Place your first piece of sandpaper (start with 60 grit) on the foam pad. Line it up well so it sticks flat without wrinkles or loose spots.
Setup checklist:
- Check that sandpaper edges don’t stick out past the pad
- Have extra sandpaper ready – it wears out quickly on rough spots
- Make sure the sander’s dust bag is empty and properly attached
Key Consideration: Mark which side of the sandpaper sheets you’ve used if you need to flip them over.
Step 3: Proper Technique for Sanding
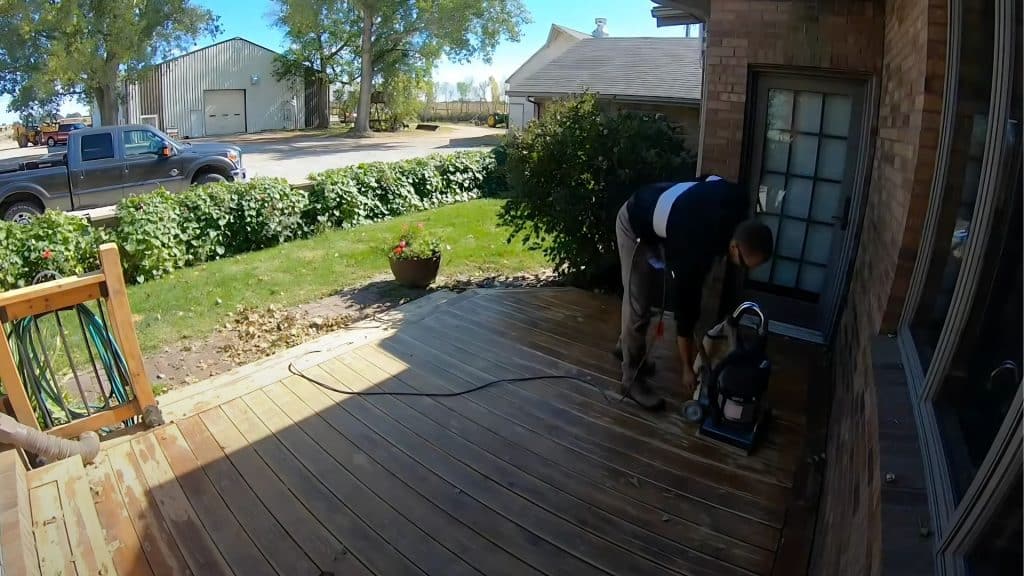
Sand in straight lines that follow your deck boards. Never sand across the grain, as this can leave visible marks that appear after staining.
Please don’t turn the sander while it is in contact with the wood. This causes round marks that are hard to fix. Instead, lift the sander at the end of each pass, move it, then start a new pass.
Simple technique rules:
- Let the sander’s weight do the work – don’t push down
- Move at a steady, medium pace – not too fast or slow
- Slightly overlap each pass to avoid missing spots
Key Consideration: Many first-timers try to sand in circles like they would when hand-sanding. Always use straight lines with a floor sander.
Step 4: Moving from Coarse to Fine Grit
Begin with 60-grit sandpaper for your first pass. This rough paper removes old stain and evens out the wood surface.
After sanding the whole deck with 60 grit, switch to 120 grit for a second pass. This finer paper smooths out the scratches from the first round.
Grit tips:
- Clean all dust between grit changes
- Check your work in good light before moving to finer grit
- Sand by hand in corners and edges that the machine can’t reach
Key Consideration: Cedar is soft wood – don’t sand too long in one spot or you’ll create dips in your deck.
Video Tutorial
For more tips and step-by-step guidance, check out the video tutorial that inspired this blog.
By – AMAYERICAN MADE
Safety Precautions When Using a Floor Sander
1. Wear safety glasses: Protect your eyes from flying wood particles and dust, which can cause irritation or injury. Use impact-resistant or sealed goggles for best protection.
2. Use a dust mask: Fine sanding dust is hazardous when inhaled and can cause respiratory problems. A dust mask or respirator filters out these particles to protect your lungs.
3. Use ear protection: Floor sanders produce loud noise that can damage hearing over time. Earplugs or earmuffs help prevent hearing loss during prolonged use.
4. Wear closed-toe shoes: Protect your feet from heavy equipment or sharp debris by wearing sturdy, closed-toe shoes or work boots.
5. Avoid loose clothing: Loose clothes, jewelry, or long hair can get caught in the machine, causing injury. Wear fitted clothing and secure your hair before operating the sander.
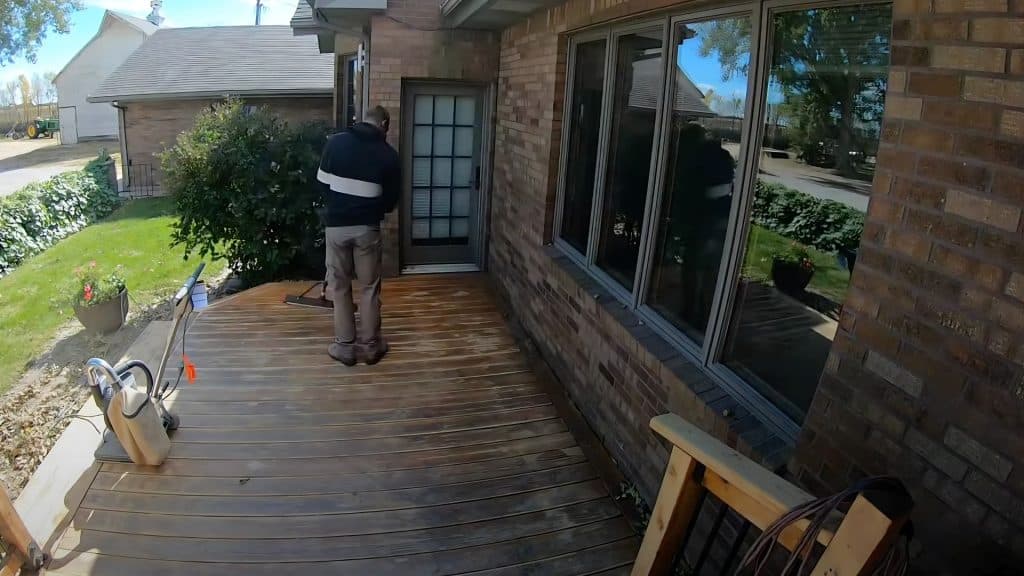
6. Keep cord away from sanding path: Prevent trips or electrical hazards by keeping the power cord clear of the sanding area. Regularly inspect cords for damage and avoid exposing them to wet conditions.
Tips and Tricks
After sanding several decks, I’ve picked up a few helpful tips that can make your project go more smoothly.
- Dry wet areas with clean towels before sanding
- Look for spots where leaves have trapped moisture
- If the sandpaper starts gumming up, stop and check for dampness
- Replace sandpaper when it stops cutting effectively
- Don’t push harder when the sander starts dragging
Conclusion
Sanding your deck with a floor sander proves faster and more effective than hand sanding or power washing. The technique works especially well on cedar decks with stubborn stain issues that other methods can’t fix.
The right equipment makes all the difference in deck restoration projects. Starting with 60-grit sandpaper removes the tough spots, while finishing with 120-grit sandpaper creates a smooth surface ready for a new stain.
Proper technique matters as much as having the right tools. Making straight passes, avoiding turns while the sander is running, and checking for damp spots help prevent common problems.
With this step-by-step approach, you can transform even the most damaged deck into a clean, smooth surface. Just remember to let the wood dry completely before applying a new stain for lasting results.
Frequently Asked Questions
What Is the Easiest Way to Sand a Deck?
Use a floor sander for the main areas and an orbital sander for the edges. Start with 60-grit and finish with 120-grit for a smooth finish. Saves time over hand sanding.
What Is the Best Tool to Sand a Deck With?
Floor sanders handle large areas efficiently while orbital sanders tackle corners, edges, and stairs. This combination effectively covers all deck surfaces with minimal effort.
How Long After Washing a Deck Can You Sand It?
Wait 24-48 hours after washing until the wood is completely dry. Moisture will clog sandpaper. Check weather forecasts to ensure dry conditions for both sanding and staining.