I know the frustration of finding a perfect piece of furniture ruined by peeling veneer. Most people pass on these treasures because they think fixing veneer is too hard.
I promise you can fix damaged veneer without special skills. With basic tools and some patience, you can restore furniture that others throw away.
In this guide, I’ll show you my tried-and-true method for removing veneer without harming the wood beneath. You’ll learn which tools work best, how to apply heat correctly, and the best ways to prep your surface for a beautiful finish. I’ll also share common mistakes to avoid and helpful tips I’ve learned from restoring dozens of pieces.
What to Know About Veneer and Glue Types?
Before grabbing your tools, let’s discuss veneer. Veneer is a thin layer of premium wood glued to a less expensive base. Furniture makers use it to give pieces a high-end look without the cost of solid wood.
Most older furniture has hide glue holding the veneer in place. This glue softens with heat and moisture—the key to our removal method. Newer pieces might use synthetic adhesives, which can be tougher to work with.
You’ll often find veneer damage in specific spots: edges, areas exposed to water, or places that get direct sunlight. The good news? The wood underneath is usually structurally sound.
When you see bubbling, peeling, or missing chunks, don’t panic. These are signs the adhesive has failed, not that the furniture is beyond saving. With the right approach, you can fix these issues.
Essential Tools and Materials for Safe Veneer Removal
Ensure a smooth veneer removal process without harming your wood by preparing these essential tools and materials beforehand.
Tools
| Tool | Quantity | Purpose |
|---|---|---|
| Old iron (non-reusable) | 1 | Loosens veneer adhesive with heat |
| Paint scraper | 1 | Removes loosened veneer |
| Detail or orbital sander | 1 | Smoothens wood surface post-removal |
| An old towel (non-reusable) | 1 | Protects wood surface from direct heat |
| Sandpaper (120 grit) | 2-3 sheets | Smooths surface and removes glue residue |
Materials
| Material | Quantity | Purpose |
|---|---|---|
| Water | As needed | Moistens towel and veneer for removal |
| Dawn dish soap | 2-3 tablespoons | Cleans surface from adhesive residues |
| Wood glue (Titebond 2) | 4 oz | Repairs lifted wood fibers |
| Sawdust | Small container | Fills larger holes |
| Wall spackle | 1 small container | Repairs small surface imperfections |
| Paint (DIY clay-based paint) | 1 quart | Final refinishing of cleaned wood surface |
How to Remove Veneer: Step-by-Step Guide
Follow these detailed steps to safely and effectively remove the veneer while preserving the integrity of the wood underneath.
Step 1. Clean and Prep

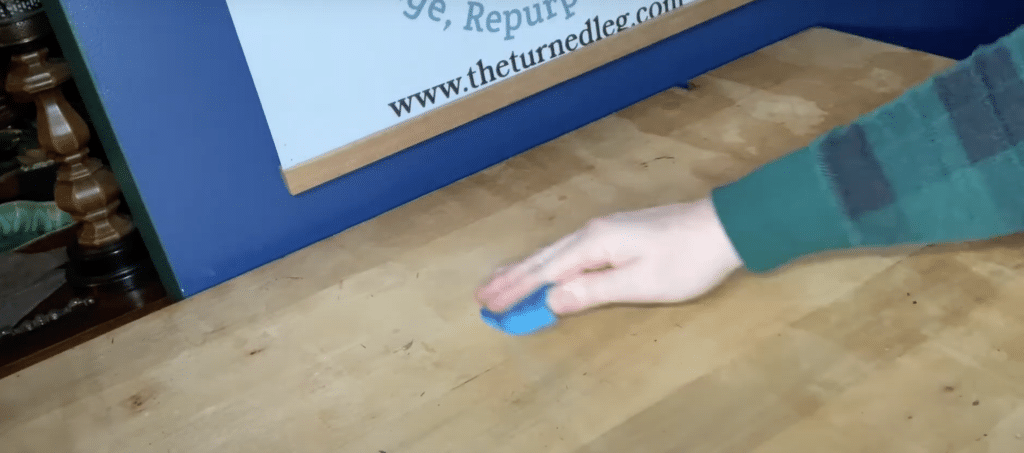
Wash the furniture piece thoroughly. Use a paint scraper to remove any loose veneer. Stop if the veneer is still firmly attached. This initial preparation helps identify problem areas and eliminates parts that would come off anyway.
Step 2. Heat Application

Fill an iron with water. Wet a towel and wring it until damp. Place the towel on the damaged area and set the iron to high heat with steam. Let it sit. The heat and moisture will loosen the glue under the veneer.
Step 3. Veneer Removal

Work in small sections. After heating, quickly remove veneer with the scraper. If it resists, apply more heat. You may find multiple layers – the top decorative layer and a base layer beneath it.
Step 4. Clean Residue
After veneer removal, scrub with dish soap and water to remove sticky glue residue. Let the piece dry completely. This step ensures good adhesion for subsequent repairs and paint.
Step 5. Sanding

Sand the surface with 120-grit sandpaper using a detail sander (indoors) or orbital sander (outdoors). This removes any remaining tape, glue residue and smoothens the surface for repairs.
Step 6. Fill Holes

For large holes, mix wood glue with sawdust and apply to cracks. For smaller holes, use wall spackle. Let dry completely and sand lightly with 120-grit paper. This creates an even surface for painting.
Step 7. Paint Application

Remove all sawdust and apply paint. The transcript uses clay-based paint. Multiple coats may be needed for complete coverage. Allow proper drying time between coats for best results.
Video Tutorial
Check out this YouTube video tutorial for detailed step-by-step guidance to remove veneer.
Veneer Removal Tips for Delicate Wood Surfaces
- Try a heat gun held 6-8 inches from the surface to soften glue bonds without excess moisture.
- Apply commercial veneer softener products designed to break down adhesives without harming base wood.
- Use a wallpaper steamer for larger areas – the steady steam loosens many sections at once.
- Inject white vinegar under loose edges with a syringe for small, stubborn patches.
- Try citrus-based adhesive removers for a less harsh chemical option on delicate woods.
- For thin veneers, very fine grit sandpaper can sometimes work to sand through without going too deep.
- Use a plastic putty knife instead of metal to reduce the risk of gouging the base wood.
Key Steps to Preserve Wood and Tools During Veneer Work
1. Seal Raw Wood Promptly
After removing the veneer, don’t wait to seal the exposed wood. The bare surface can absorb moisture from the air, leading to warping or splitting. Apply a wood sealer or primer within 48 hours of finishing your removal job.
I recommend oil-based primers for most projects as they block moisture effectively. For antique pieces, look for sealers designed for restoration work that won’t change the wood’s color too much.
2. Clean and Store Tools Properly
Your veneer removal tools need proper care to last for many projects. Wipe down your iron while it’s still warm to remove glue residue. Use mineral spirits on a cloth to clean stubborn glue from your scraper blades.
Store everything in a dedicated box rather than mixing it with other tools. I keep my veneer kit in a plastic container with clear labels. This prevents rust on metal parts and keeps damp towels from being used on other projects.
3. Ensure Proper Ventilation
The heating process releases fumes from old glue that you don’t want to breathe. Some vintage furniture used adhesives containing formaldehyde and other chemicals. Always work in an area with good airflow. I open windows on opposite sides of the room to create cross-ventilation.
If the weather doesn’t permit open windows, use fans positioned to blow fumes away from your workspace. Consider wearing a mask for extra protection during longer removal sessions.
4. Check for Moisture Damage
Once the veneer is off, inspect the base wood carefully for water damage. Dark spots, soft areas, or a musty smell indicate moisture problems. Allow these spots to dry completely before moving to the next step. I place pieces in sunlight briefly or use a fan to speed drying.
Test questionable areas by pressing with your fingernail – if it leaves an indent, more drying time is needed. Address any mold growth with a diluted bleach solution.
5. Monitor for Structural Changes
Keep watching your piece for several days after veneer removal. Wood can respond slowly to being uncovered. Check daily for new cracks, warping edges, or joints that begin to separate. Quick action can save a piece that starts to show problems. I place small weights on areas prone to warping.
For valuable pieces, maintain stable room temperature and humidity during this critical period. Take photos daily to spot subtle changes you might otherwise miss.
Common Mistakes When Removing Wood Veneer
| Mistake | Explanation |
|---|---|
| Using Too Much Water | Excessive moisture can warp the base wood, raise fibers, or promote mold growth. |
| Rushing the Process | Insufficient heat application leads to tearing wood beneath; add more heat rather than force removal. |
| Skipping the Test Area | Not testing can cause unforeseen damage due to unknown glue types and wood composition. |
| Incorrect Tool Angle | Steep scraper angles gouge wood; hold the scraper nearly parallel to avoid damage. |
| Neglecting Proper Cleanup | Glue residues left behind interfere with new finishes adhering properly. |
| Working Without Protection | Risk exposure to lead-based finishes or chemicals; always use gloves and proper ventilation. |
| Partial Removal | Leaving the veneer partially removed creates uneven surfaces difficult to refinish. |
| Using Excessive Force | Forceful removal damages underlying wood; patience and additional heat are key. |
| Forgetting About Wood Direction | Scraping against the grain causes splintering; always scrape in the direction of the grain. |
Fascinating Facts About Furniture Veneer
- Did you know that veneer work dates back to the ancient Egyptians? They used thin wood slices on royal furniture over 4,000 years ago.
- The golden age of veneer was during the 1920s-1950s when mass furniture production took off. Many pieces from this era have veneer issues today.
- Some high-end veneers are more costly than solid wood. Rare burls and exotic wood veneers can cost hundreds per square foot.
- The thinnest veneers are cut to 1/42 of an inch – about as thick as a credit card! This allows craftsmen to make intricate patterns impossible with solid wood.
Conclusion
So what’s the real win in learning veneer removal? You can now save beautiful furniture others toss away. This skill helps your wallet and keeps good pieces out of landfills.
Why does this matter? Because underneath that damaged veneer often sits a solid, well-made piece waiting for new life. The methods I shared work on tables, dressers, desks, and more.
What next? Start small. Find a simple piece with minor veneer damage to practice on. Take your time with the heat method first—it’s the most forgiving for beginners.
Got questions about your project? Drop them in the comments below.
I’d love to see your before-and-after photos too!
Frequently Asked Questions
1. Can I Put New Veneer Over Old Veneer?
Yes, you can put new veneer over old veneer if the existing veneer is stable and flat. Sand the old surface first, then apply contact cement and the new veneer carefully.
2. How Much Does It Cost to Sand Veneer?
Sanding veneer typically costs between $1-$3 per square foot for DIY projects. Professional services range from $3-$8 per square foot, depending on veneer condition and project size.
3. Does Liquid Sandpaper Work on Veneer?
Yes, liquid sandpaper works on veneer. It’s gentler than regular sandpaper and helps prepare the surface for new finishes without damaging the thin veneer layer. Always test in a small area first.