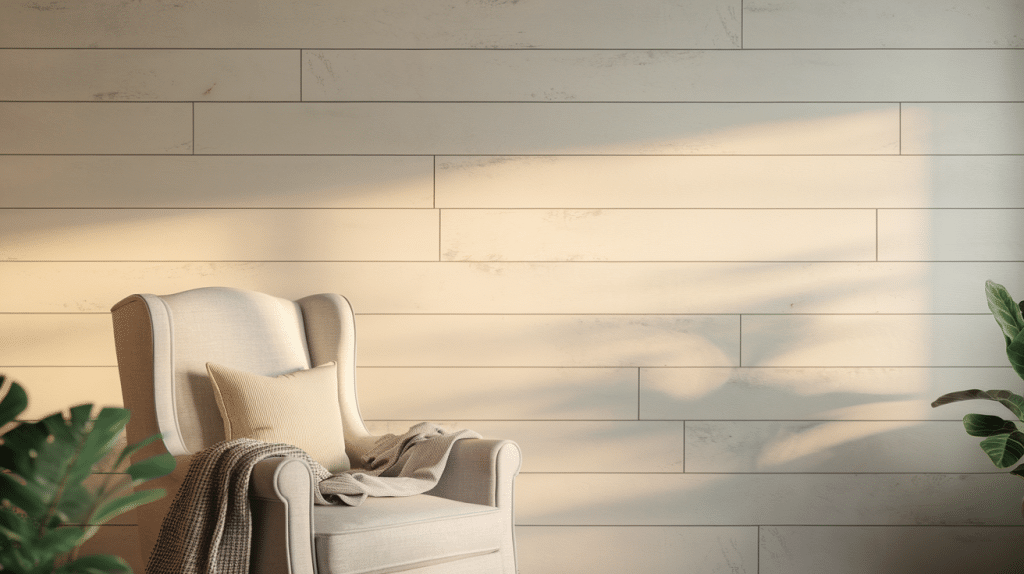
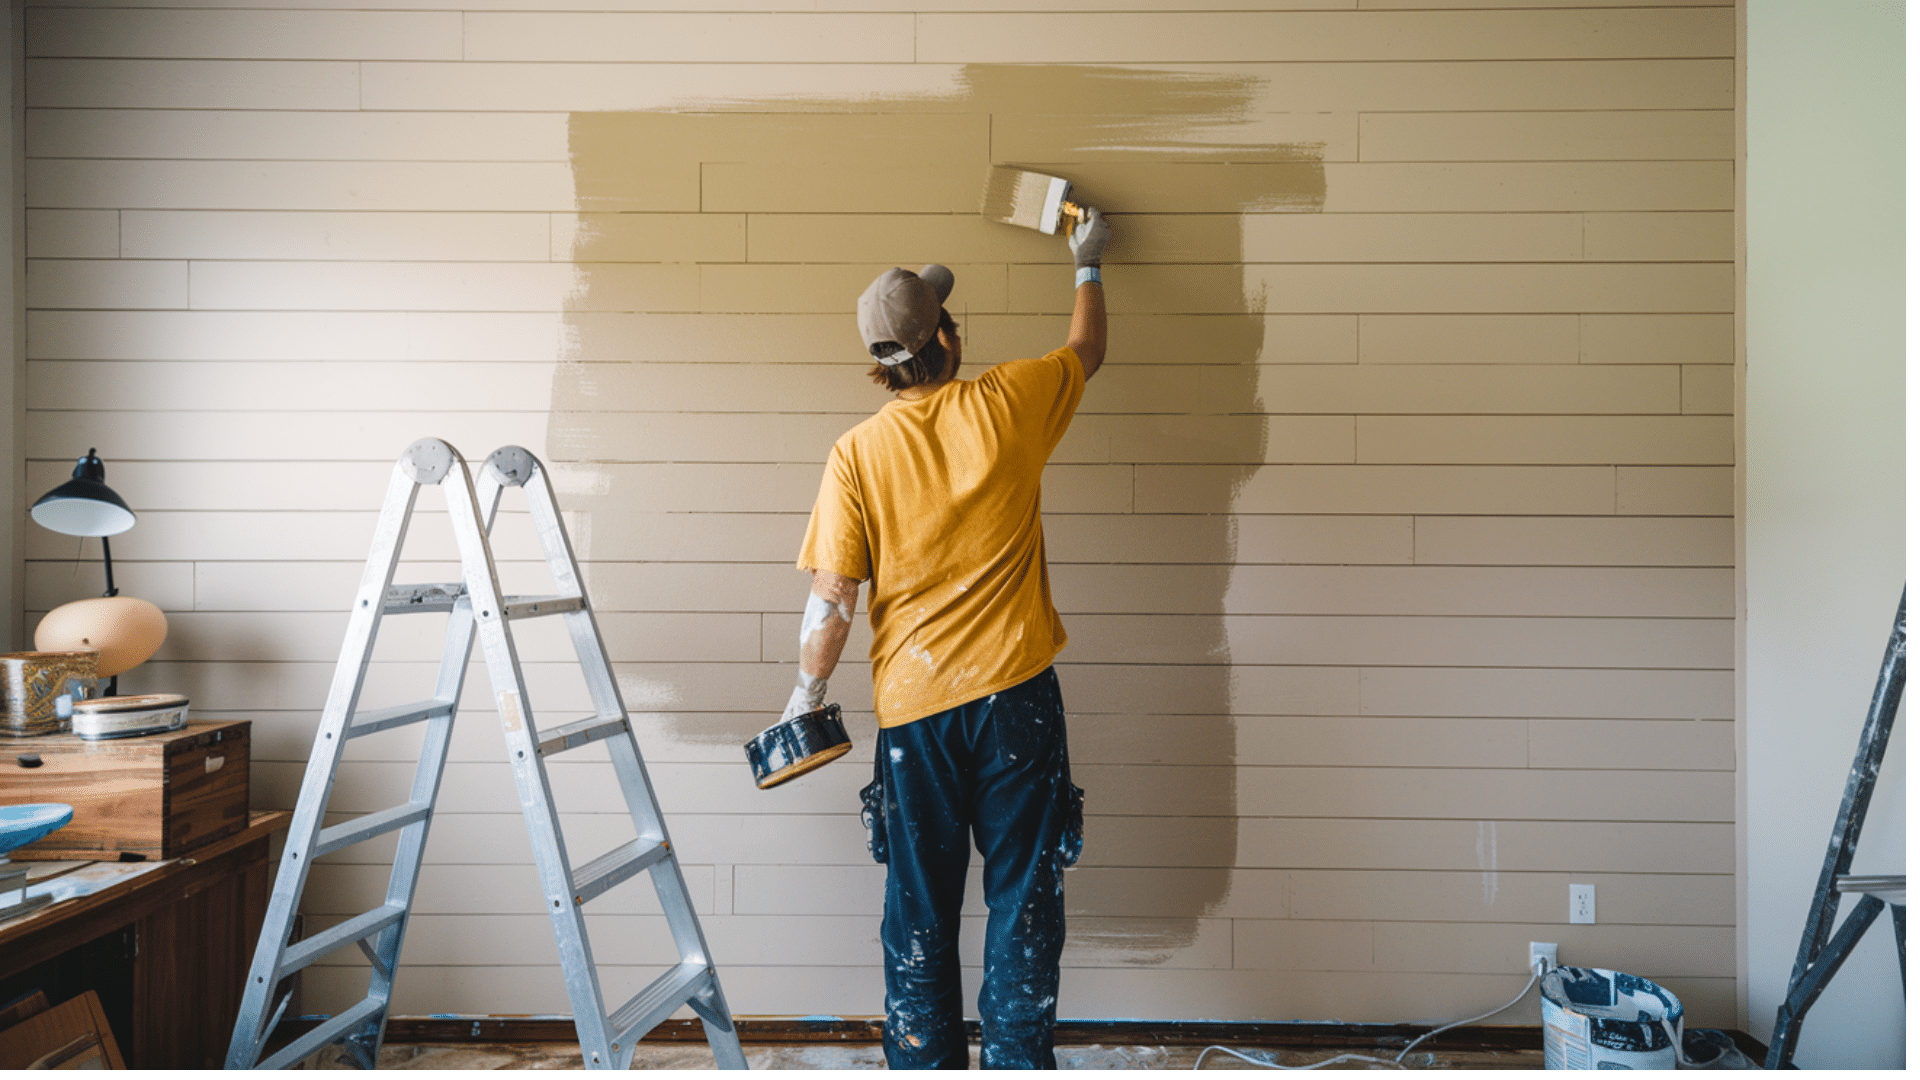
People love shiplap walls for their clean lines and timeless appeal.
The horizontal wooden boards bring charm and character to any room, from farmhouse styles to modern spaces. Shiplap adds texture and visual interest that paint alone can’t match.
Getting the paint job right on shiplap matters more than you might think. The grooves and edges need special attention to create an even, smooth finish that lasts.
Many DIY painters struggle with drips, uneven coverage, and paint buildup in the joints between boards.
This guide walks you through each step of painting shiplap correctly. It teaches you the tools, techniques, and tips that ensure beautiful results.
Following our simple process, you’ll avoid common mistakes and create a professional finish.
Why Painting Shiplap Requires Special Attention
Shiplap’s unique structure sets it apart from regular walls. The overlapping wooden boards create natural shadows and depth, making the surface more complex to paint. Each board has edges and gaps that need careful coverage.
The grooves between boards present the biggest painting challenge. Paint can build up too thick in these spots, leading to drips and uneven areas.
Some painters miss spots in the gaps, leaving visible raw wood that ruins the final look.
Poor technique shows up clearly on shiplap. Missed spots stand out more than on flat walls. Excess paint creates an obvious buildup that’s hard to fix later. Paint can also stick boards together if it pools in the joints.
The good news is that you can avoid these issues with the right approach. Understanding proper painting methods helps create clean, lasting results highlighting shiplap’s natural beauty.
Key Supplies for Painting Shiplap
Having the right tools by your side makes painting shiplap much easier and helps create the clean, professional look you want.
I know it might seem like a lot of supplies at first, but trust me—each one serves a key purpose in getting those perfect results.
Let me break down what you’ll need in a way that makes sense:
| Tools | Materials |
|---|---|
| 2-inch angled brush | Latex paint |
| 4-inch foam roller | Wood primer |
| 1/4 inch artist brushes | Semi-gloss finish |
| Mini foam rollers | Satin finish |
| Cotton rags | Blue painter’s tape |
| 120-150 grit sandpaper | Drop cloths |
| Plastic syringes | Tack cloth |
| Cotton swabs | Safety goggles |
| Small foam brushes | Work gloves |
| Ventilation fans | Dust mask |
Good tools save time and prevent frustration. Cheap brushes often leave bristles in the paint and create streaky coverage. Quality materials cost more upfront but deliver better results that last longer.
Step-by-Step Guide for Painting Shiplap
Step 1: Prep the Shiplap Surface
For the best results, start with a clean surface. Use a vacuum and damp cloth to remove dust, dirt, and old paint flakes. Let the surface dry completely.
Check for rough spots or damage. Sand uneven areas with medium-grit sandpaper until smooth. Wipe away sanding dust with a tack cloth.
Step 2: Priming the Shiplap
A good primer creates a strong base for paint to adhere to. Use a foam roller to apply thin, even coats of primer. Work in small sections, about 3 to 4 boards at a time.
Let the primer flow into board gaps, but avoid thick buildup. Allow the primer to dry fully—usually 4 to 6 hours—sand lightly if needed before painting.
Step 3: Applying Paint to the Grooves
Fill a plastic syringe with paint to cover the grooves precisely. Apply the paint in a steady line along each groove, using enough paint to coat without pooling.
A small brush helps spread the paint evenly in tight spots. Work in 3-foot sections to maintain a wet edge. Let the grooves dry before painting flat surfaces.
Step 4: Painting the Flat Surfaces
Use a 4-inch foam roller to cover flat areas smoothly. Roll in one direction to avoid streaks. Keep a wet edge by slightly overlapping each stroke.
Don’t overload the roller—less paint means fewer drips. Paint in good light so you can spot any missed spots. Let the first coat dry completely.
Step 5: Touch-ups and Final Coats
Inspect the surface in bright light to find missed spots. Use a small brush for touch-ups. Look for drips or heavy spots – sand these gently if needed.
Apply a second coat using the same method as the first. Focus on even coverage. Check the grooves for paint build-up. Clean any excess before it dries.
Each step builds on the last to create a smooth, lasting finish. Take your time and let each layer dry properly. Good preparation and patience lead to professional-looking results.
Video Tutorial
Check out this video for a detailed video on How to Easily Paint Shiplap Grooves (Jena Beach):
Common Mistakes to Avoid When Painting Shiplap
- Too Much Paint in Grooves: When painting shiplap grooves, many people overload them with paint. This leads to pooling, slow drying, and drips down the wall. The thick paint layers often crack and peel once dry. Apply thin coats with control, allowing each layer to dry fully.
- Paint Build-up on Edges: The edges of shiplap boards need careful attention. Excess paint here stands out and affects how boards fit together. Keep brush strokes light and even. To maintain clean lines, check for and wipe away extra paint before it dries.
- Skipping the Primer: Skipping primer saves time now but causes problems later. Without primer, paint won’t stick well to wood. You’ll need more coats, and wood stains might show through. The paint could start peeling within months. Good priming creates a solid base for lasting results.
Tips for a Flawless Shiplap Finish

- Using the Right Tools: Small foam rollers and fine brushes greatly impact your results. Foam rollers spread paint smoothly on flat areas. Thin brushes reach into corners and grooves. Keep clean clothes ready to catch drips. Quality tools help create smooth, even coverage.
- Taking Time Between Coats: Paint needs proper drying time between coats. Rush this step, and you’ll see brush marks and uneven spots. Wait at least four hours between coats, longer in humid weather. Light sanding between coats helps create a smooth surface. Test dry areas by touching them gently—if the paint feels tacky, wait longer.
- Preventing Paint Problems: Watch for drips as you work—they will show clearly once dry. When painting grooves, hold a thin piece of cardboard behind the boards to catch spills. Paint in good light so you can spot problems early. Work in small sections to keep a wet edge. Remove the painter’s tape while the paint is still slightly damp to avoid peeling.
Clean tools between coats for the best results. Keep your work area dust-free during painting. These small steps add up to a finish that looks professionally done.
Conclusion
A well-painted shiplap wall brings lasting beauty to your space. The right methods and tools change a basic paint job into something special.
Small details, such as proper priming, careful groove painting, and even coverage, make the final result stand out.
Following these steps might take more time than rushing through the job. Yet the results speak for themselves. Clean lines, smooth coverage, and perfect edges create a finish you’ll enjoy seeing every day.
Good preparation and proper painting techniques prevent problems that could spoil the look.
Your shiplap project deserves attention to detail. With the tools and techniques we’ve shared, you can create a beautifully painted surface that lasts. Take your time, follow each step carefully, and watch your vision come to life.
Remember, the care you put into painting shows in the final result.


