Do you look at your front door and see chipped, faded paint?
Most homeowners think they must remove the door to paint it well. This task feels too big and complex for many of us.
What if I told you that you could paint your door while it hangs? Yes, you can skip the hard work of door removal. This method saves you time, money, and stress.
I will show you how to paint your front door without taking it down. You will learn each step from prep to final coat. Your door will look fresh and new, ready to wow your guests.
This simple guide makes door painting easy for anyone to do in a weekend.
Why Keep Your Door on Its Hinges While Painting?
Keeping your door on its hinges while painting offers many perks. You save hours of work since taking doors down is hard and often needs a helper.
You avoid fit problems too. Many doors, once removed, can be tough to hang back just right. This is most true for pre-hung doors.
You can use your door between work sessions. Paint one side, let it dry, and you still have a working door. No need to block doorways or leave openings in your home.
One person can handle this job easily. With the door stable on its hinges, you have both hands free for tools and paint without holding the door up.
Tools and Materials Needed
Before you start, gather these items for a smooth painting process:
| Tool/Material | Purpose |
|---|---|
| Screwdriver or screw gun | For removing door hardware |
| Sandpaper (medium and fine grit) | To smooth the door surface |
| Cleaning solution | To remove dirt and oils (acetone or denatured alcohol) |
| Painter’s tape | To protect areas you don’t want painted |
| Razor blade | For precise tape cutting around hinges |
| Mini paint roller and tray | For smooth paint application |
| Small paintbrush | For detail work and hard-to-reach areas |
| Exterior-grade paint | Withstands weather and frequent use |
| Primer (if needed) | Helps paint stick to difficult surfaces |
| Drop cloth | Protects your floor from drips |
| Clean rags | For wiping and cleaning surfaces |
Having all items ready before you start will make your job faster and help you avoid stops while working.
Kind of Paint Should You Use for a Front Door
Choosing the right paint is key for a good result. For front doors, you need paint that can stand up to weather changes and frequent use.
Exterior-grade paints are made to handle sun, rain, and temperature shifts. Look for these options:
- Oil-based paints: Last longer and dry with fewer brush marks
- Latex paints: Easier to clean up and dry faster
- Acrylic paints: Good middle ground with strong color and fast drying
For finish, most people choose semi-gloss or gloss for front doors. These finishes:
- Resist dirt and stains
- They are easy to clean
- Show off the door’s features
- Handle moisture well
Many brands now offer paint-and-primer combos made just for doors, which can save you a step in the process.
To select the perfect finish for your door, refer to our Exterior Paint Sheen Chart: All You Need to Know! for guidance.
8 Simple Steps to Paint Your Front Door Without Removing It
Let’s walk through the steps to get a smooth, clean finish on your door without taking it off the hinges.
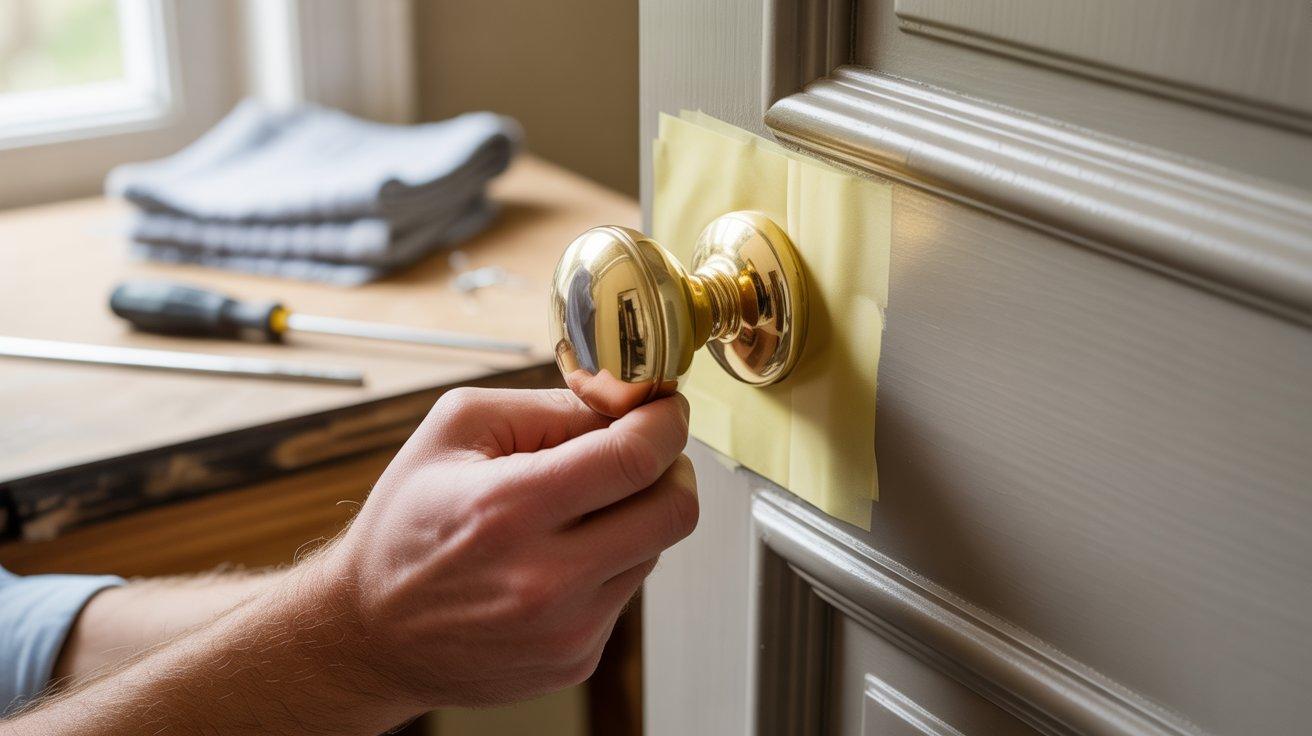
Step 1: Remove Hardware
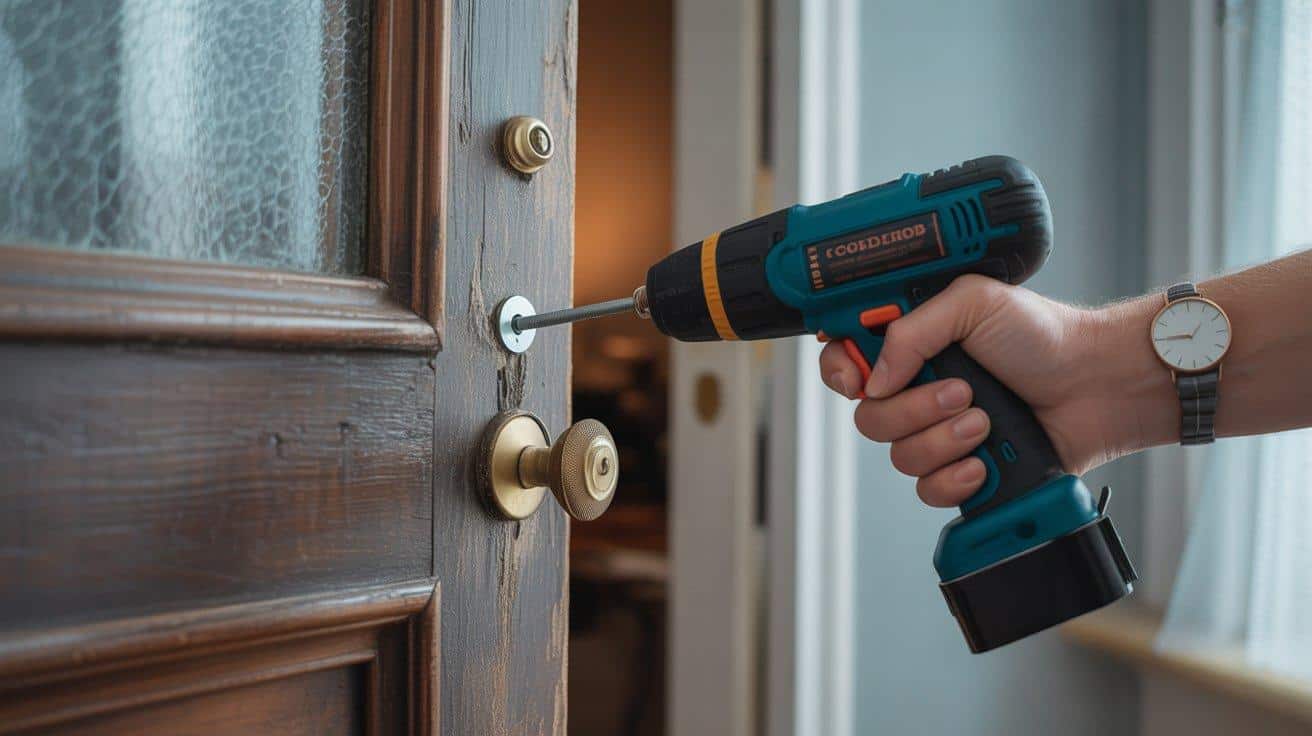
Take off the doorknob and other hardware using a screwdriver. This makes painting easier and gives you a clean finish without tape lines around fixtures.
Keep the door on its hinges, especially if it’s pre-hung. Store all screws and small parts in a container so you can find them later.
- Put all hardware in labeled bags.
- Take photos before removal if needed.
- Use WD-40 on stuck screws.
Step 2: Prepare the Surface

Sand the door with medium-grit sandpaper first, then fine-grit for smoothness. Your goal is to create a surface the new paint can stick to, not remove all old paint.
Clean the door with acetone or alcohol to remove dust, dirt and oils. Wipe it with a tack cloth as a final step to catch any last bits of dust.
- Sand with the wood grain
- Focus on rough or peeling spots
- Let the door dry fully after cleaning
Step 3: Tape Off Areas to Avoid Painting
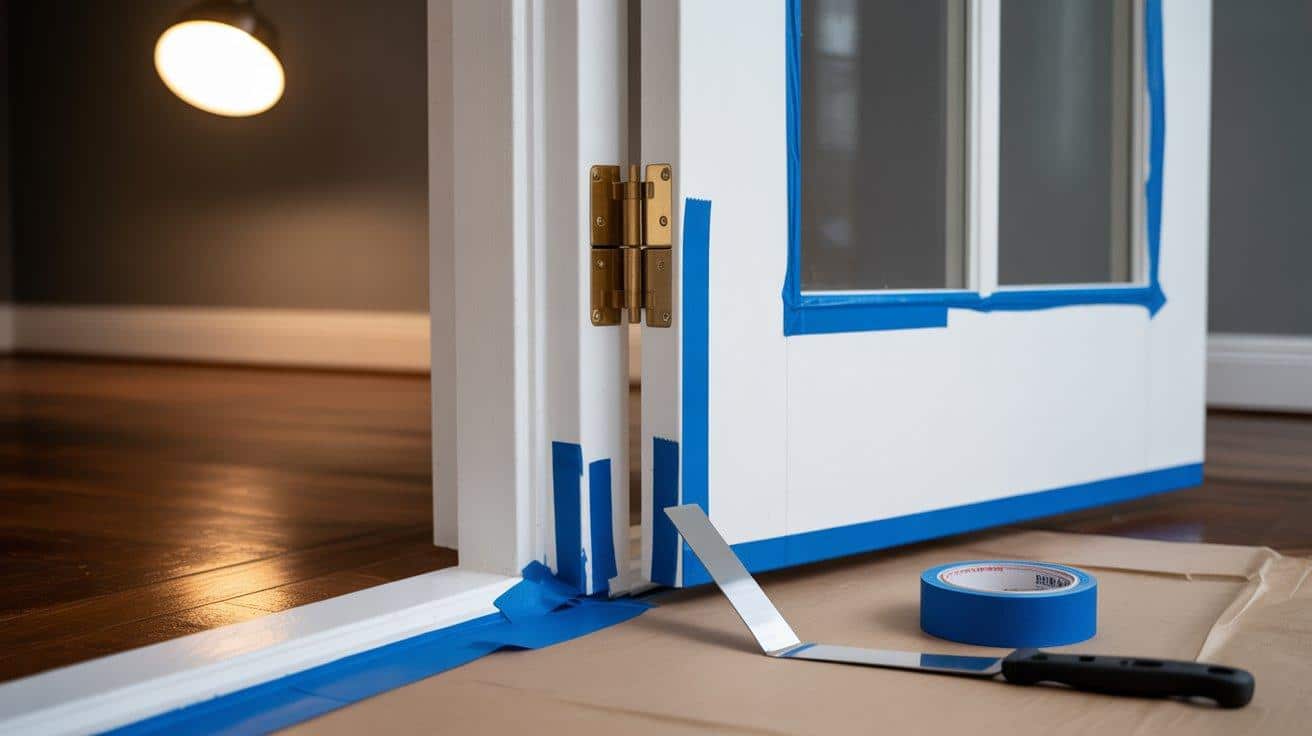
Use painter’s tape to cover hinges and any glass or areas you don’t want painted. Press down firmly on all tape edges to keep paint from seeping under.
For curved areas like hinges, use a razor blade to trim the tape for a perfect fit. A drop cloth under the door will catch any drips or spills.
- Use small tape pieces for tight spots
- Don’t stretch tape as you apply it
- Cover door frame edges if needed
Step 4: Choosing the Right Paint

Pick paint made for outdoor use that matches your door material. Wood, metal, and fiberglass doors each work best with specific paint types.
Choose a finish that withstands the weather in your area. Semi-gloss or gloss finishes work well for doors because they resist dirt and are easy to clean.
- Test your color on a hidden spot first
- Buy enough paint for at least two coats
- Check if you need primer for your door type
If you're considering a bold yet classic hue, explore the Hale Navy Front Doors: A Trend Worth Following for inspiration.
Step 5: Apply the First Coat of Paint
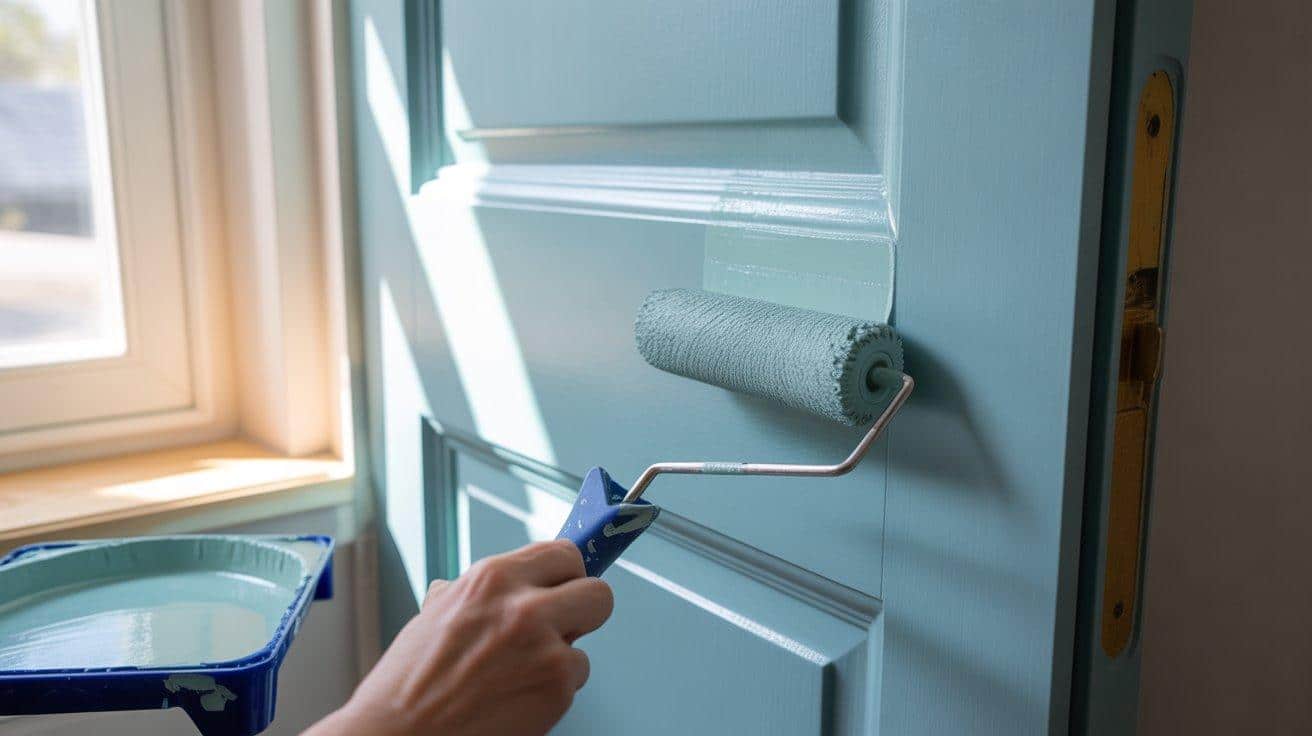
Use a mini roller for flat parts and a brush for panels and details. Start at the top and work down, painting panels first, then rails, then stiles on paneled doors.
Apply paint with light pressure in one direction when possible. This helps you avoid streaks and drips that can ruin your door’s look.
- Don’t overload your brush or roller.
- Work in sections for best control.
- Fix drips right away if they form
Step 6: Allow the Paint to Dry

Let the first coat dry fully before adding more paint. Check the can for drying times – usually 2-4 hours for water-based and 6-8 hours for oil-based paints.
Keep the door slightly open during drying if you can. This prevents the paint from sticking to the frame and helps with air flow around all sides of the door.
- Don’t touch the paint to check dryness
- Avoid painting in high humidity
- Use a fan nearby to speed drying if needed
Step 7: Apply the Second Coat of Paint
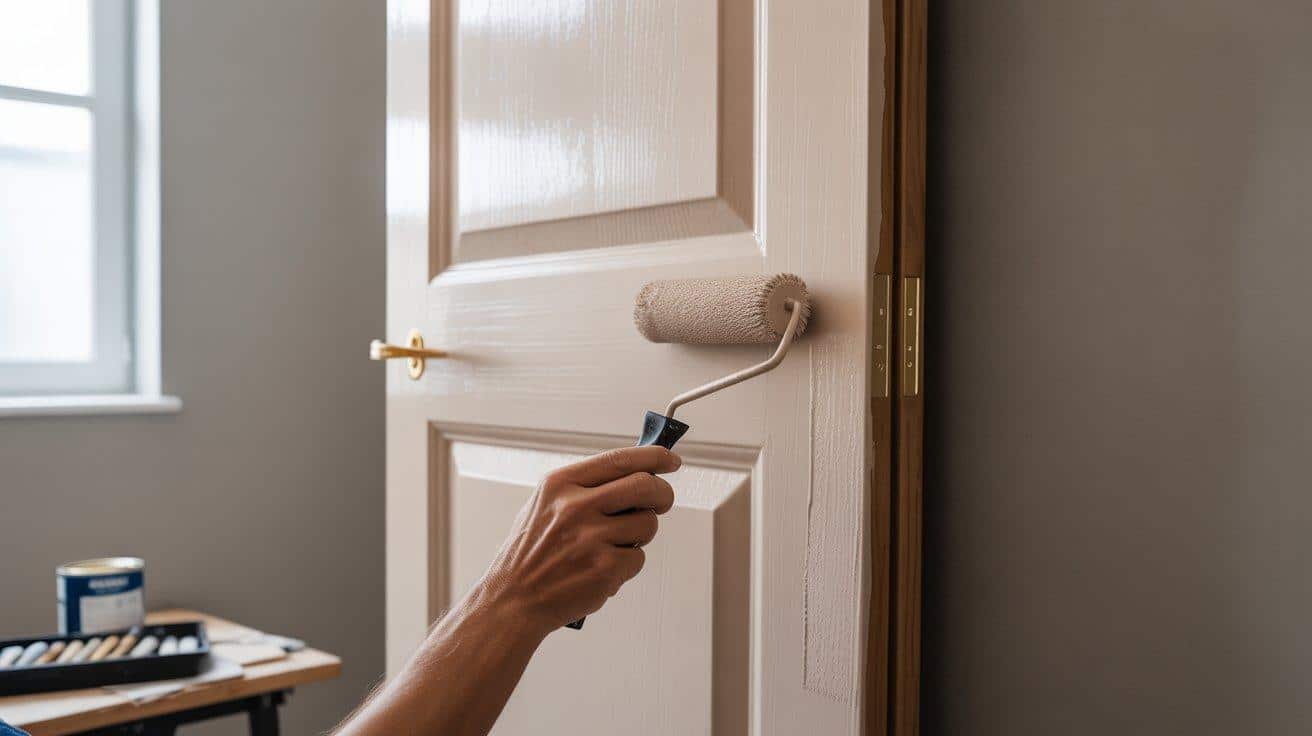
Add a second coat for the best color and longest life. Use the same method as the first coat, checking for and fixing any rough spots before you start.
Make sure your tools are clean, or use new ones for the second coat. This helps you avoid getting bits of dried paint in your fresh coat.
- Apply in the same direction as the first coat
- Pay extra attention to edges and corners
- Use less paint than on the first coat
Step 8: Reinstall Hardware and Clean Up
After 24 hours, when the paint is fully dry, put the hardware back on. Be careful not to scratch your new paint with tools during this step.
Remove tape by pulling at a 45-degree angle. If the tape sticks to the paint, score along the edge with a razor before pulling to get a clean line.
- Clean any paint from the hardware first.
- Don’t overtighten screws in fresh paint.
- Touch up any spots damaged during reinstall.
Video Tutorial
I’d like to give credit to That’s Genius! for their informative video, which served as a reference for this guide.
How Can You Achieve a Professional Finish on Your Front Door?
Getting that smooth, store-bought look takes a few extra steps:
- Use quality tools: Good brushes and rollers cost more but give much better results. Cheap brushes often leave bristles in the paint and create streaks.
- Paint in good weather: Aim for a dry day with mild temperatures (60-85°F). Too hot and the paint dries too fast; too cold and it won’t dry right.
- Add a thin coat of clear sealer: For extra protection, add a clear top coat after the color dries. This helps the door stand up to weather and use.
- Sand between coats: For the smoothest finish, lightly sand with very fine sandpaper between coats. Wipe away all dust before adding more paint.
- Use slow, steady strokes: Rush jobs show in the final result. Take your time, especially on the parts of the door that show the most.
6 Common Mistakes People Make When Painting a Front Door
Watch out for these common problems:
1. Not cleaning well enough: Paint won’t stick to dirt, dust, or oil. Clean, clean, clean!
2. Using indoor paint outside: Interior paints can’t handle weather and will fade, crack, or peel quickly.
3. Painting in direct sunlight: This makes the paint dry too fast and often leaves marks and uneven color.
4. Applying too much paint: Thick coats run and drip. Two thin coats look better than one thick one.
5. Not letting it dry fully: Using the door too soon can damage the paint job and leave marks or smudges.
6. Forgetting the edges: The top, bottom, and side edges need paint, too. Moisture can creep in through unpainted edges.
Conclusion
Painting your front door without taking it off is a doable weekend job. With the right tools, paint, and steps, your door can look brand new in just a day or two.
The most vital parts? Good prep work, quality paint, and patience between coats. Take care with each step, and you’ll be happy with the results.
Got questions about your door project? Ask them in the comments below. And remember, a freshly painted door makes a big first impact on guests and may even raise your home’s value.
Why not try this project next weekend? Your home will thank you!
Frequently Asked Questions
Can I Paint My Door During Rainy Weather?
No, it’s best to pick a dry day with low humidity. Moisture affects drying time and finish quality. Plan to paint when the forecast shows 2-3 dry days ahead.
How Long Should I Keep My Door Open While Painting?
Keep it ajar but secured during drying, about 2-3 hours between coats. Don’t swing it closed until the final coat has dried for at least 24 hours.
Will My Door Look Streaky if I Use a Roller Instead of A Brush?
A mini foam roller actually gives a smoother finish than a brush on flat areas. Use a brush only for detailed sections and edges for best results.