Do you dread the mess and effort of sanding before painting your old furniture?
Many people skip furniture makeovers because of this time-consuming step. But what if you could skip sanding entirely?
This guide shows you how to update your furniture pieces with fresh paint—no sanding needed. You’ll learn simple methods that save time while still getting clean, lasting results on your next project.
In this step-by-step guide, I’ll share the tools, primers, and paints that work best for no-sand methods. You’ll find out how to test surfaces, clean properly, and apply coatings that stick to wood, metal, and laminate furniture.
Read on to turn your worn items into stunning statement pieces without the dust and hassle.
Why You Should Consider Redoing Your Furniture?
When old furniture starts looking worn, many people think about getting rid of it. They believe fixing it means hours of sanding – a dusty, tiring job that makes most folks quit before they start.
But what if you could skip this step?
Not sanding saves you time and effort. A typical dresser might take 2-3 hours to sand properly. Without this step, you can finish your project much faster.
The dust-free method also helps people with breathing issues. Sanding creates tiny particles that float in the air for days. These particles can bother your lungs and make cleaning harder.
No-sand methods also cost less. You won’t need to buy sandpaper, dust masks, or special tools. The money saved can go toward better paint or new handles instead.
Your home stays cleaner throughout the project. No dust means no extra cleanup or worry about particles settling on other items in your house.
The Science Behind Skipping Sanding
Sanding has always been a key step in furniture painting. It creates tiny scratches on smooth surfaces. These scratches help paint stick better to the furniture.
But why do some products let us skip this step? The answer lies in chemistry.
Special bonding primers contain sticky resins. These resins can grab onto slick surfaces without needing rough texture. They form a tight bond between the old finish and your new paint.
- Special primers use sticky resins
- Chalk elements naturally stick to surfaces
- Bonding agents work like glue for paint
- Works on glass, metal, laminate, and wood
- Many contain hardeners for durability
- Best results in rooms between 65-75°F
- Warm, dry conditions improve bonding
These no-sand products don’t just stick – they last. The chemical process creates a surface that resists chips and scratches over time, giving your furniture a fresh look that stays beautiful.
Tools & Products You Actually Need (No Sandpaper Required)
Gone are the days of dragging out your sander and covering your workspace in dust. With the right tools and modern products, you can skip the grit and still get flawless results.
Here’s everything you’ll need to pull off a smooth, durable furniture makeover—no sanding required.
| Category | Item | Purpose/Usage |
|---|---|---|
| Cleaning Supplies | Drill attachment brush | For scrubbing off dirt and grime |
| Simple Green | Cleaning solution | |
| Vinegar water / Mineral spirits | Degreasing and cleaning before paint (recommended by Beyond Paint) | |
| Repair Materials | Wood glue (Titebond) | To fix cracks on the top surface |
| Clamps | To hold cracks together while glue dries | |
| Bondo Glazing Putty | To fill in screw holes and imperfections | |
| Smoothing tool | For leveling Bondo putty | |
| Sanding Tools | Sanding block (manual) | Light sanding to smooth Bondo (not full sanding of furniture) |
| Painting Supplies | Beyond Paint (Pebble Matte) | All-in-one paint: bonder, primer, and finisher |
| 3/8-inch nap microfiber roller | For rolling paint onto flat surfaces | |
| Small roller frame | Holds the paint roller | |
| Paint roller tray | To pour and hold paint | |
| Chip brush | For stippling into details and edges | |
| Furniture Accessories | Tapered wooden legs (from Amazon) | To modernize the base of the nightstands |
| Mounting plates for legs | To secure the feet onto the nightstand | |
| Styling Extras | Drawer liners | Added inside drawers for a fresh, decorative touch |
The Step-By-Step Process of Painting Furniture Without Sanding
Ready to refresh that outdated piece without all the extra work? This simple, no-sanding method is perfect for beginners and seasoned DIYers alike. Follow these clear steps to achieve a smooth, professional-looking finish—no mess, no stress.
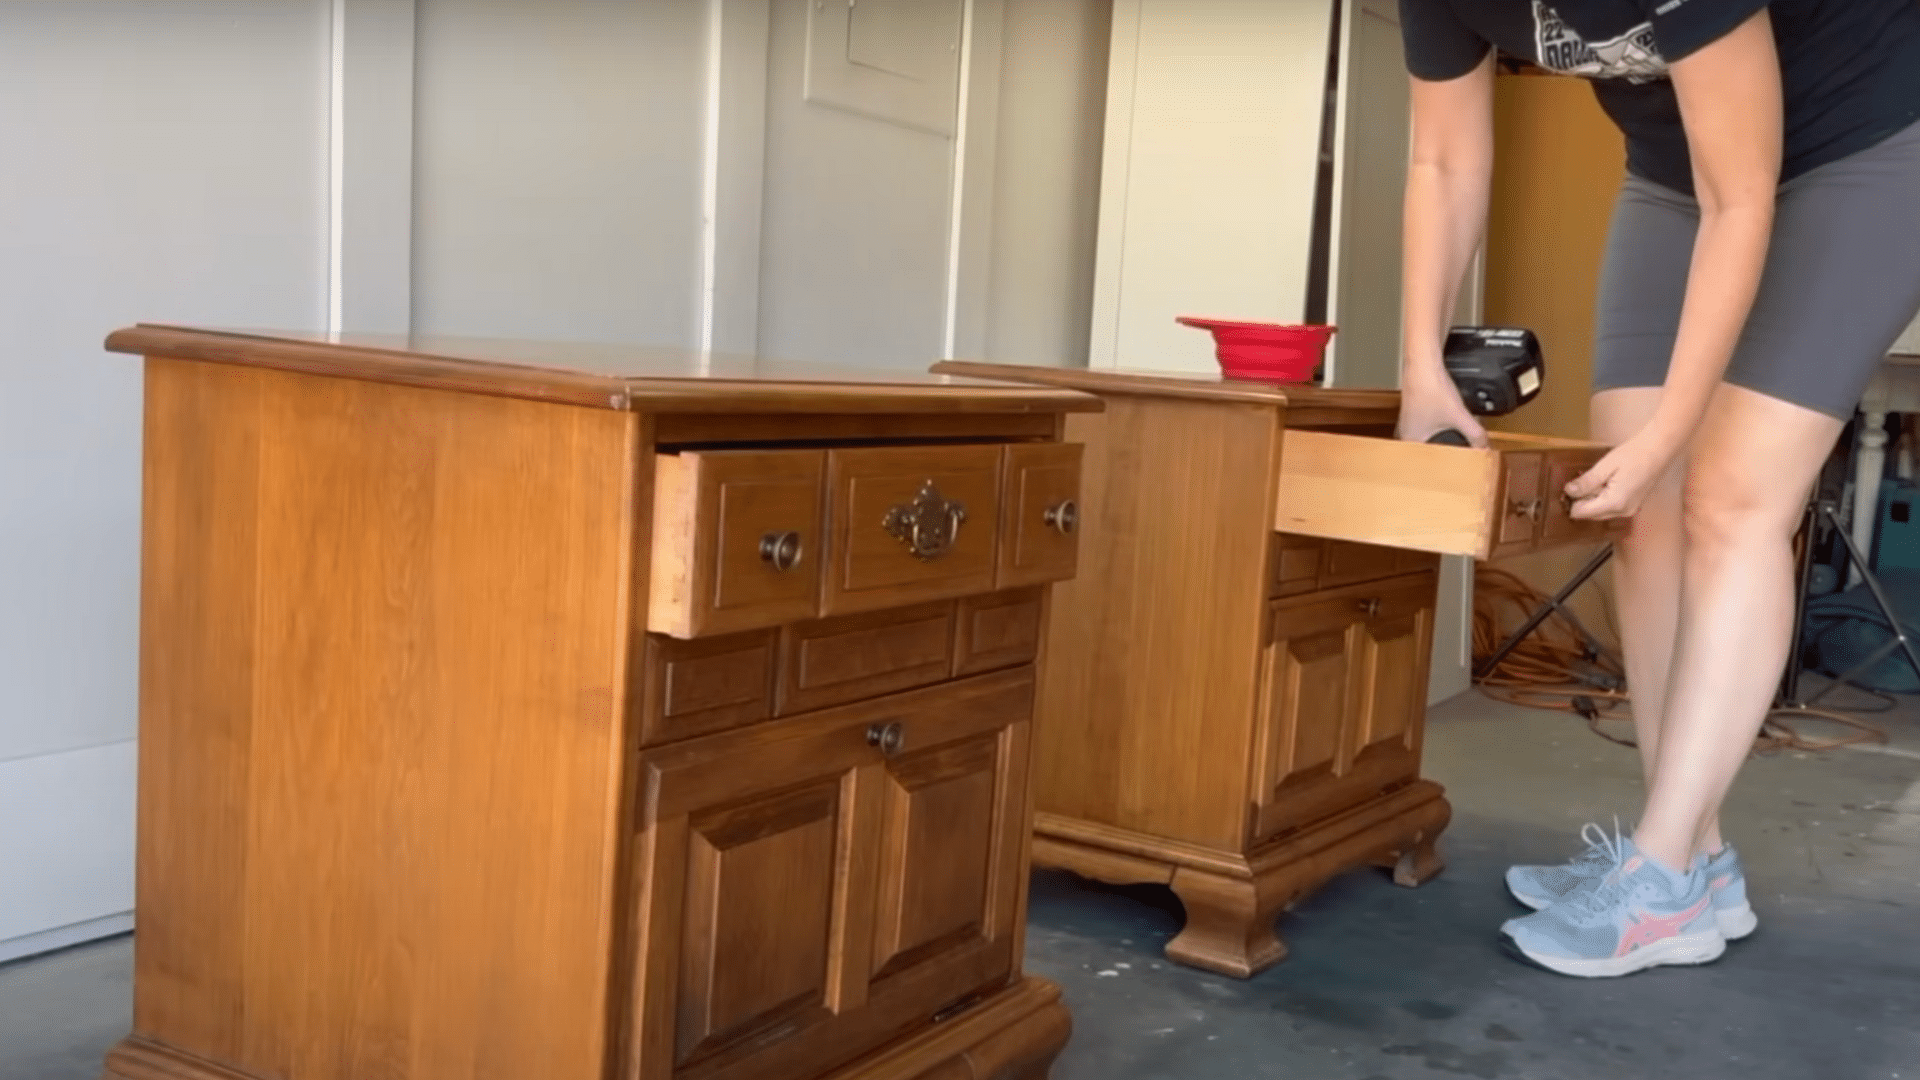
Step 1: Clean the Furniture Thoroughly

Start by cleaning your furniture piece completely. Remove all dirt, grime, and buildup using a cleaning solution like Simple Green mixed with water.
For stubborn dirt, you can use a drill attachment with a brush to scrub more effectively. Make sure the piece is completely clean before moving forward, as any dirt left behind will affect how well your paint adheres.
Step 2: Assess and Fix Any Damage
Check your furniture for cracks, holes, or damage that needs repair. For cracks in wood, apply wood glue and clamp the pieces together until dry. For holes (like those left from hardware you’ve removed), use a product like Bondo glazing putty to fill them.
Apply the putty to the holes and smooth it out with a putty knife. Once dry, you’ll need to lightly smooth these filled areas with a sanding block—this is spot-fixing, not full sanding.
Step 3: Remove Unwanted Parts

Take off any dated or unwanted features from your furniture. This might include old hardware, decorative moldings, or doors that don’t fit your vision for the piece. This step helps modernize older pieces and gives you a clean slate to work with.
Step 4: Prepare Your Paint and Supplies
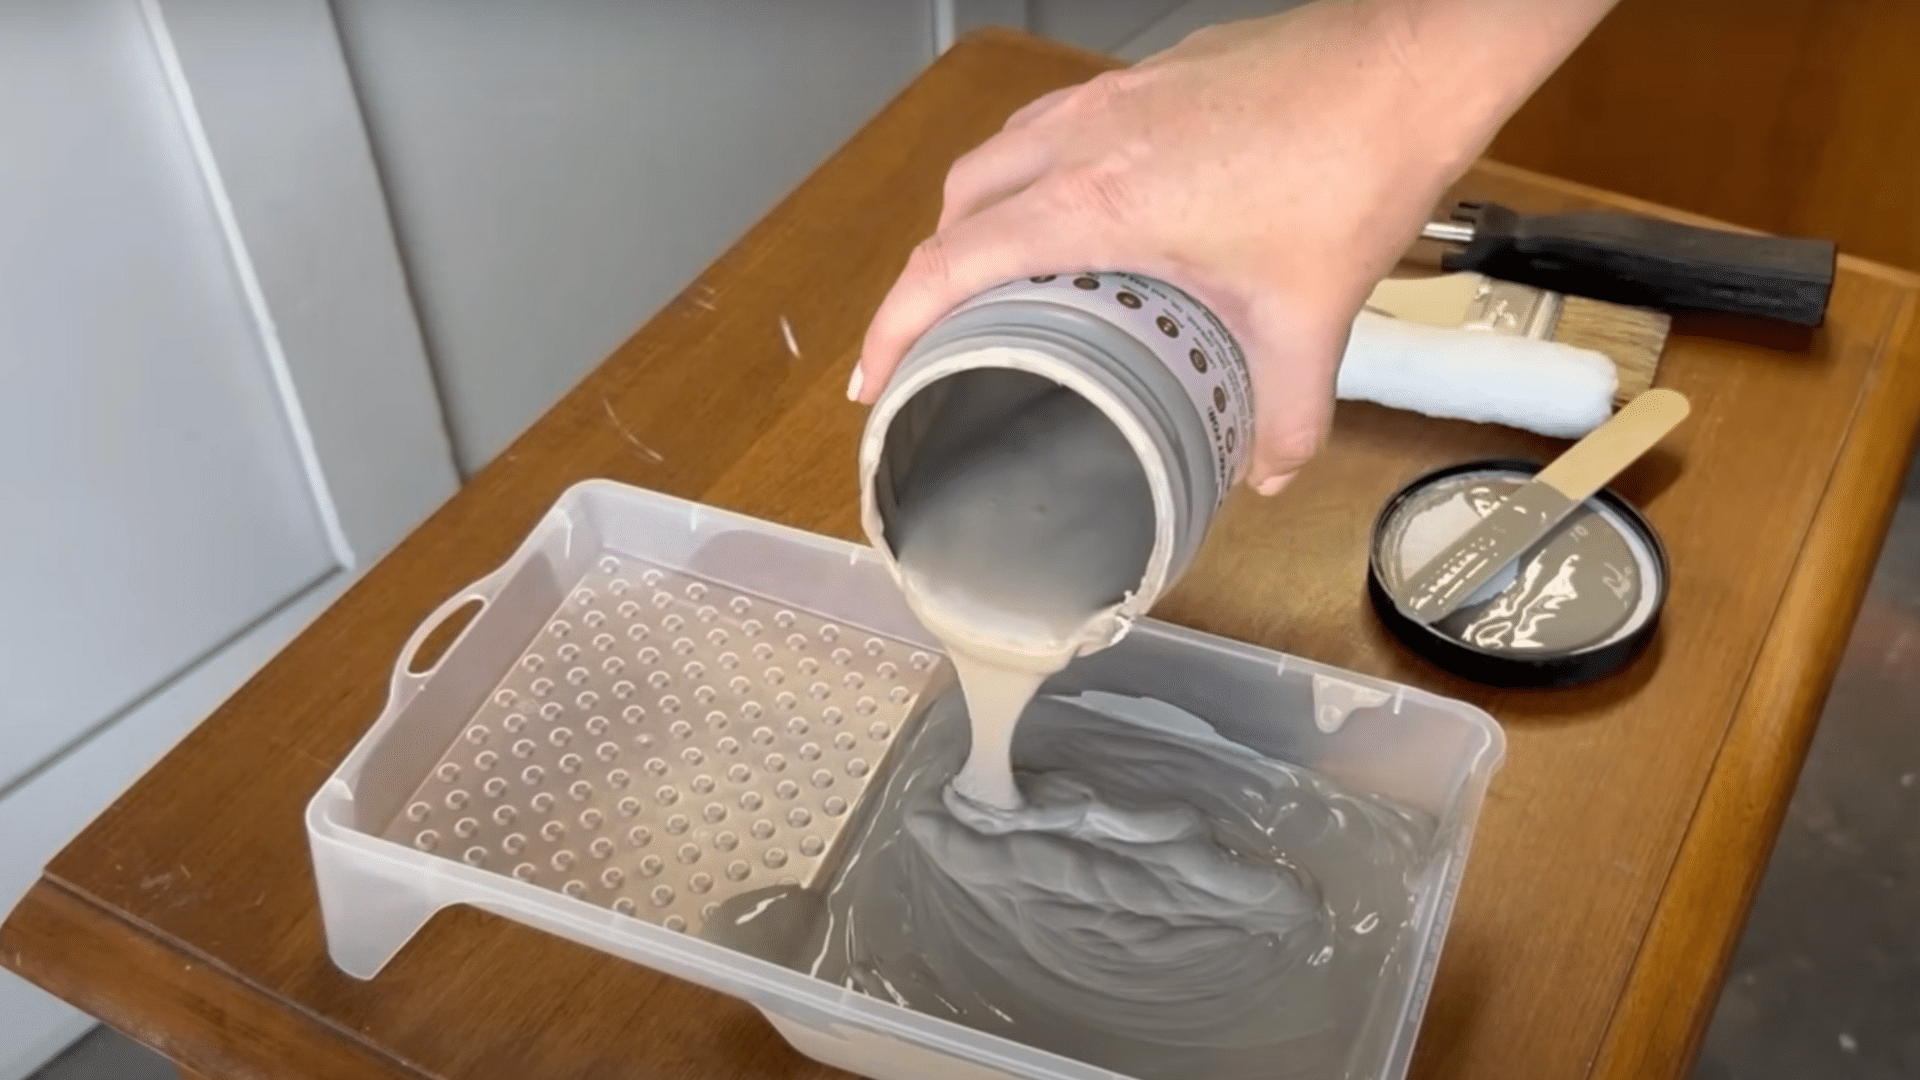
For a no-sand method, use a specific bonding paint like Beyond Paint. You’ll need:
- A small paint roller tray
- A 3/8-inch microfiber roller
- A small roller frame
- A chip brush for detailed areas
Step 5: Apply the First Coat of Paint

Using your roller, apply the bonding paint to all flat surfaces first. The roller helps create a smooth finish. For detailed areas and corners, use the chip brush with a stippling motion rather than long brush strokes.
After applying with the brush, go over it again lightly with the roller to ensure evenness. Let the first coat dry completely (about 2-4 hours).
Step 6: Apply the Second Coat

Once the first coat is dry, apply a second coat using the same technique. Most no-sand paint systems only require two coats for full coverage. Let this coat dry completely according to the paint manufacturer’s instructions.
Step 7: Update the Hardware or Add New Features

While your paint is drying, prepare any new hardware or features. This might include painting new legs or feet to match your furniture. Once everything is dry, attach your new hardware, feet, or other features to complete the look of your piece.
Step 8: Add Finishing Touches

Consider adding small details that make your piece special, like drawer liners for a pop of color or pattern. These little touches can elevate your furniture from simply painted to professionally finished.
For a visual tutorial, refer to this video by Lemons To Lemonade Furniture
How to Fix Minor Furniture Flaws Without Sanding?
Older furniture often has small problems that need fixing before painting. You can repair these issues without pulling out the sandpaper.
For scratches in wood, try using a walnut. The natural oils fill in light scratches. Rub the nut meat across the scratch, and the oils darken the wood. Let it sit for five minutes, then wipe off the extra oil.
Dents respond well to steam. Place a damp cloth over the dent and press with a warm iron. The steam makes wood fibers swell back up. This works best on real wood, not veneer.
Wood filler works perfectly for small holes. Pick a color close to your paint. Press it into the holes with a plastic card. Let it dry fully before painting.
Wood glue can fix loose veneer edges. Apply a small amount under the loose edge, press down, and place heavy books on top until dry.
Wobbly legs need tightening. Look under the furniture for loose screws. If you find any, tighten them with a screwdriver. For wooden joints, add wood glue to strengthen them.
These simple fixes help your no-sand painting project look much better when finished.
How Long Will It Last? Durability and Maintenance Tips
Furniture painted without sanding can last many years when done right. The key is proper prep work and using the correct products. Most people worry about chipping or peeling without sanding first.
- Expected lifespan: Furniture painted with bonding products typically lasts 5-7 years with normal use. High-traffic items like dining tables may show wear sooner.
- Daily care: Clean with mild soap and water. Avoid harsh chemicals that can break down the paint finish. Use coasters under drinks and placemats under hot items.
- Preventing damage: Apply felt pads under items placed on painted surfaces. This stops scratches from developing. Keep painted furniture out of direct sunlight to prevent fading.
- Touch-up tips: Keep leftover paint for quick fixes. Small chips can be dabbed with a fine brush. For larger damaged areas, clean the spot first, then apply paint in thin layers.
- Signs of failure: Watch for bubbling or peeling at edges. These often show up first if the paint isn’t sticking well. Fix small issues quickly before they spread.
- Sealing options: For extra protection, apply a water-based polyurethane after paint is fully cured. This adds years to the life of your painted finish.
With proper care, your no-sand painted furniture will stay beautiful for years, saving you time and money compared to buying new pieces.
Mistakes People Make When Skipping Sanding
Even with no-sand methods, there are common errors that can ruin your project. These mistakes often lead to peeling paint, poor adhesion, or a finish that doesn’t last.
- Painting over grease or dust: Paint won’t stick to dirty surfaces. Oils from hands, food stains, and dust create a barrier between paint and furniture. Always clean with a degreaser or mild soap and water. Wipe with a lint-free cloth and let dry fully before painting.
- Skipping primer: While some products combine primer and paint, most projects still need proper priming. Primer helps paint grip slick surfaces and blocks stains from bleeding through. Dark wood often needs stain-blocking primer to prevent yellow spots in your final color.
- Using cheap paint or topcoat: Low-quality products save money upfront but cost more later. Cheap paint chips faster and needs more coats. Choose paints made for furniture that contain bonding agents. These stick better and create a harder finish without sanding.
- Ignoring dry times: Rushing between coats causes big problems. Paint needs time to form strong bonds. Check the can for exact times. Humid weather extends drying time. Touch the surface – if it feels tacky at all, wait longer before adding another coat.
- Painting in humid or cold conditions: Temperature and humidity affect how paint cures. Cold rooms slow drying and cause uneven results. High humidity traps moisture under the paint. Work in rooms between 65-75°F with low humidity for best results.
Conclusion
Painting furniture without sanding offers a simpler path to beautiful results. By following the steps we’ve outlined, you can transform old pieces into fresh, modern items for your home.
Remember to clean thoroughly, choose the right bonding products, and allow proper drying time between coats. These key points help ensure your finish lasts for years to come.
The no-sand method saves time, reduces mess, and makes furniture renewal possible for anyone. Even beginners can achieve professional-looking results by avoiding the common mistakes we discussed.
Next time you spot a worn dresser or tired table, you’ll know you can update it without the hassle of sanding. With the right products and techniques, your furniture can have a second life with much less work.
Frequently Asked Questions (FAQs)
1. Can I Paint Straight onto Varnished Wood?
Yes, you can paint directly onto varnished wood using bonding primers or all-in-one paints specifically made for this purpose. Clean the surface thoroughly first for best results.
2. Can You Paint Over Stained Wood without Sanding?
Yes, you can paint over stained wood without sanding by using bonding primers or specialized paints with built-in adhesion properties. Clean the surface well before applying.
3. Is a Deglosser as Good as Sanding?
Yes, a deglosser works as well as sanding for many projects. It chemically removes the glossy finish, helping new paint stick without the dust and effort of sanding.