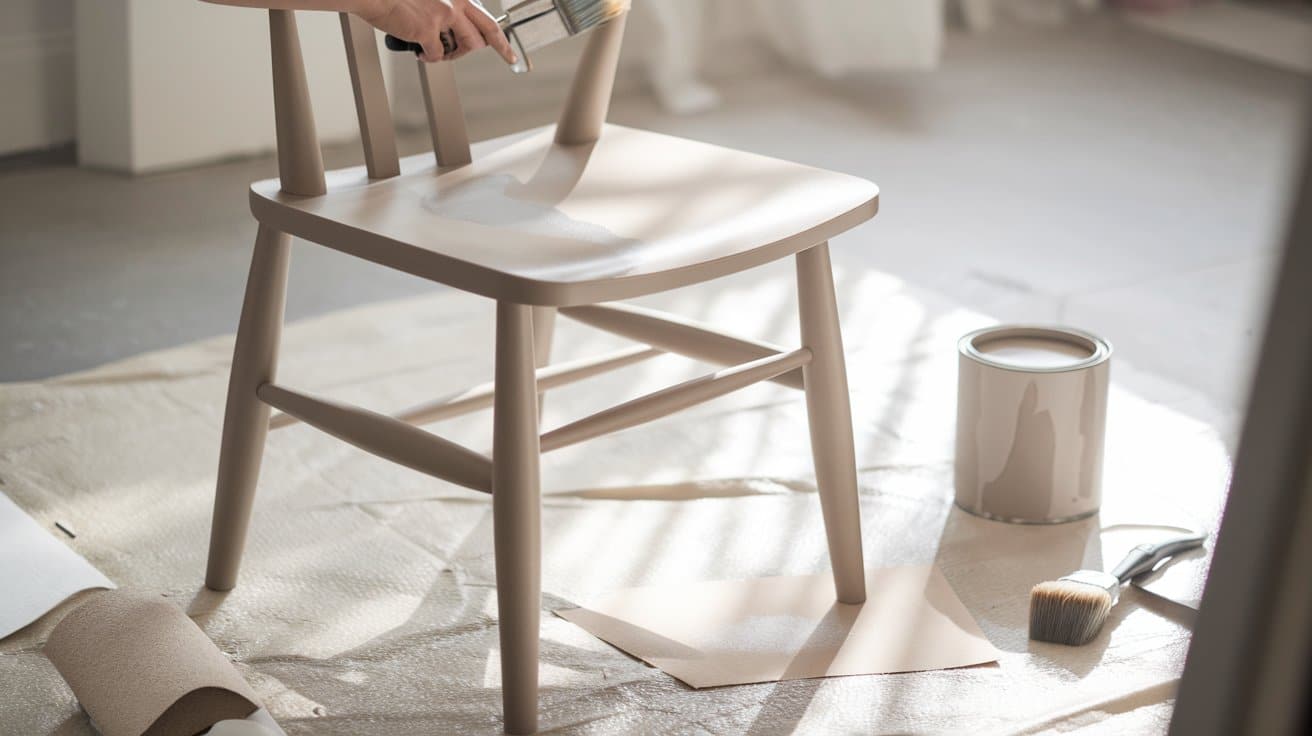

Have you ever looked at that old wooden chair and thought it could use a fresh look?
Most people avoid painting wooden chairs because it seems like such a tedious job with all those spindles and curved legs.
But here’s the thing – there’s a much faster way to get professional results without spending hours with a brush. You can achieve that smooth, flawless finish you see in furniture stores right at home.
This blog will show you exactly how to paint wooden chairs using simple techniques that cut the work time in half. You’ll learn the right tools, materials, and step-by-step process for perfect results.
Let’s get started and turn that tired old chair into something beautiful.
Why Paint a Wooden Chair?
Wooden chairs tend to show wear more quickly than most furniture pieces. They handle constant sitting, moving, and contact with their hands and clothing. Over months and years, this creates visible damage that makes even quality chairs look run-down.
- Protection barrier – Seals wood from moisture and future damage
- Stops deterioration – Prevents existing wear from getting worse
- Custom appearance – Create exactly the look your space needs
- Practical solution – Handles high-use furniture challenges
- Long-term investment – Extends your chair’s usable life significantly
Paint transforms old chairs into pieces that match your current style. Perhaps you’ve moved into a new home, or your taste has changed over time. Instead of shopping for new chairs that might not fit perfectly, painting lets you create exactly what works.
The financial benefit is clear, too. Quality wooden chairs cost hundreds of dollars new. A few dollars worth of paint can make your existing chairs look better than expensive store options.
Choosing the Right Paint and Finish
Not all paints are suitable for wooden chairs. The wrong choice leads to peeling, chipping, and a finish that looks amateur after just a few weeks of use.
Best Paint Types for Wooden Chairs:
- Milk paint – Bonds directly to wood without primer, dries hard, and is durable
- Chalk paint – Easy application, great for beginners, minimal prep work needed
- Acrylic latex paint – Affordable option, needs primer, but gives smooth results
- Oil-based paint – Extremely durable finish, takes longer to dry completely
Finish Options That Matter:
- Matte finish – Hides imperfections well, shows fingerprints easily
- Satin finish – Good balance of durability and appearance
- Semi-gloss – Easy to clean, perfect for high-use chairs
The key is matching your paint choice to how you’ll use the chair. Kitchen and dining chairs need tougher finishes than decorative bedroom pieces.
Milk paint stands out because it skips the primer step entirely. It soaks into wood fibers and creates a bond that’s incredibly hard to break. This saves time and gives better long-term results than many other options.
Step-by-Step: Painting a Wooden Chair
Follow these simple steps to get professional-looking results. Each step builds on the previous one for the best finish.
Tools and Materials You’ll Need:
Having the right supplies makes chair painting much easier and faster. Here’s everything you need for professional results
| Tools | Materials |
|---|---|
| Paint sprayer or quality brush | Wood paint (milk, chalk, or latex) |
| 220 grit sandpaper | Primer (if needed) |
| Drop cloths or tarps | Top coat or sealer |
| Small wrench | Extension cord |
| Screwdriver | Stirring stick |
| Spray tips or brush attachments | Clean rags |
| Protective gear (mask, gloves) |
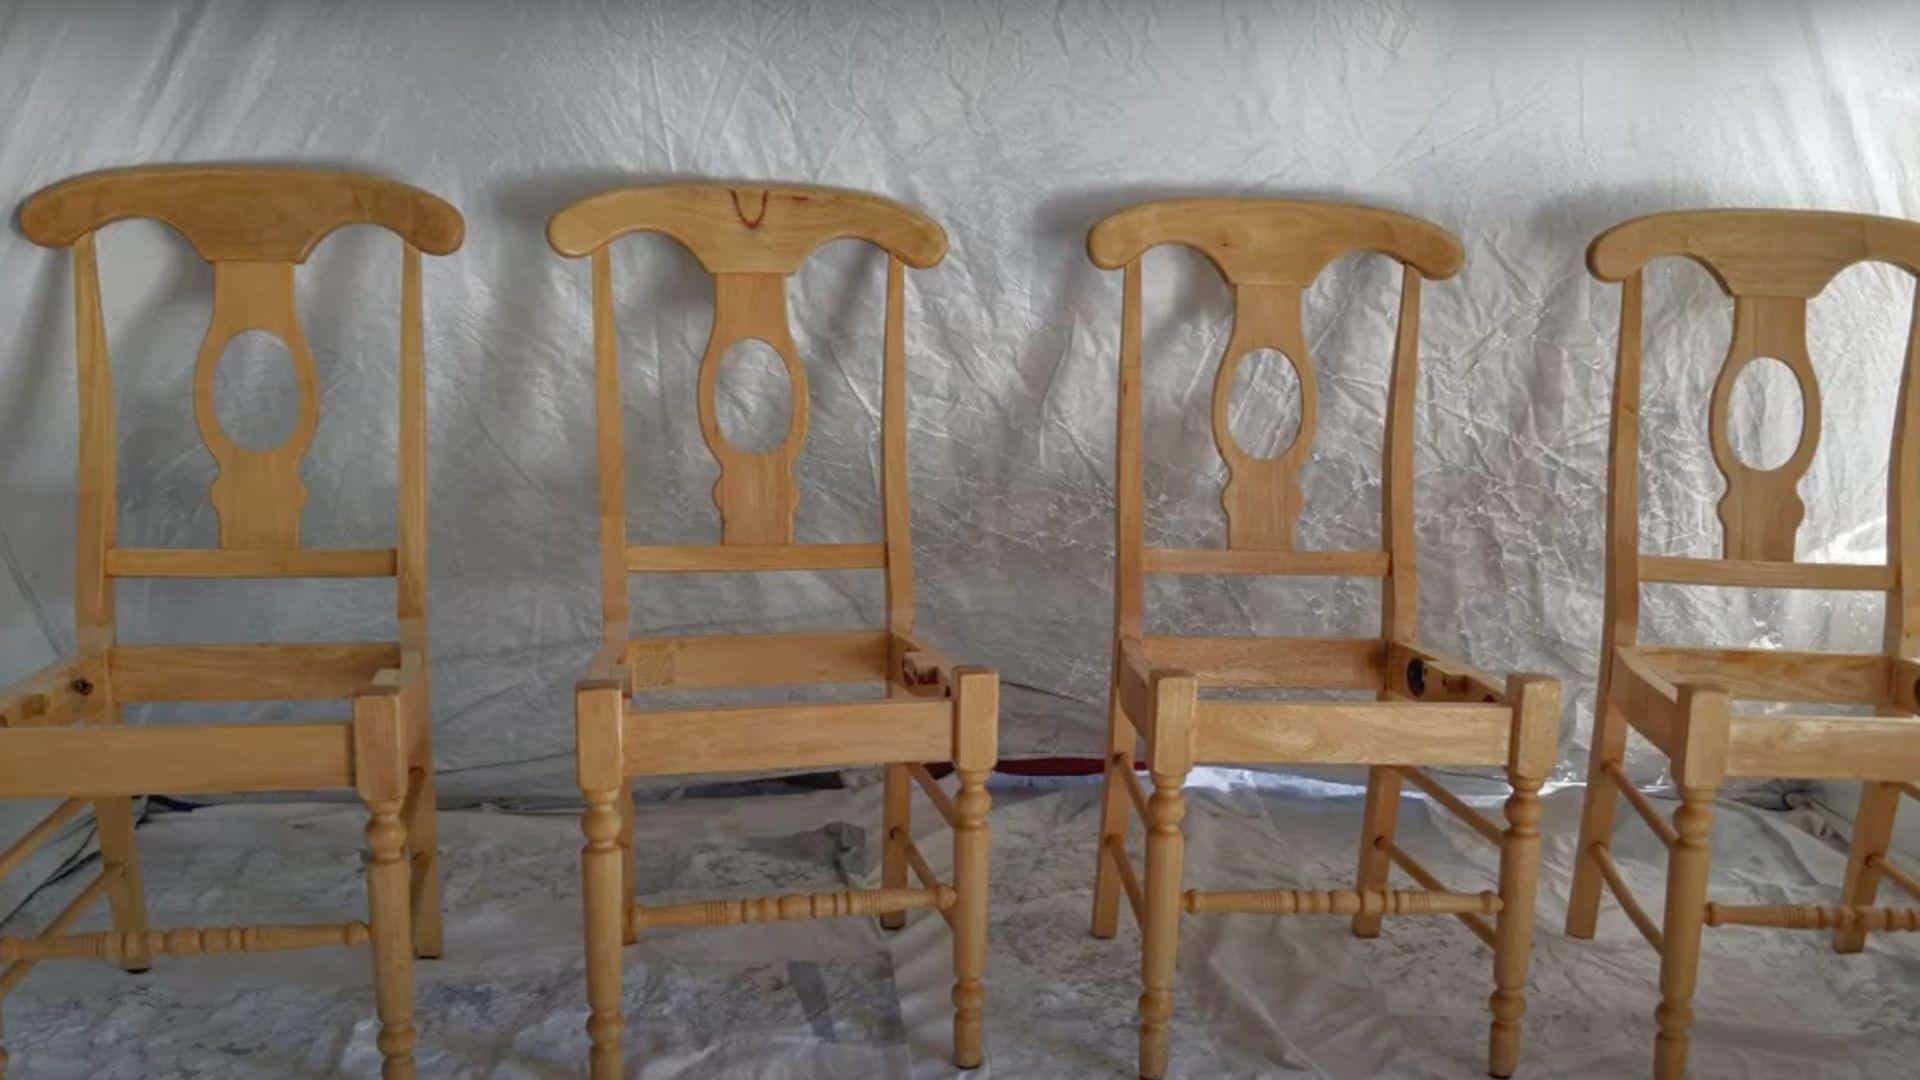
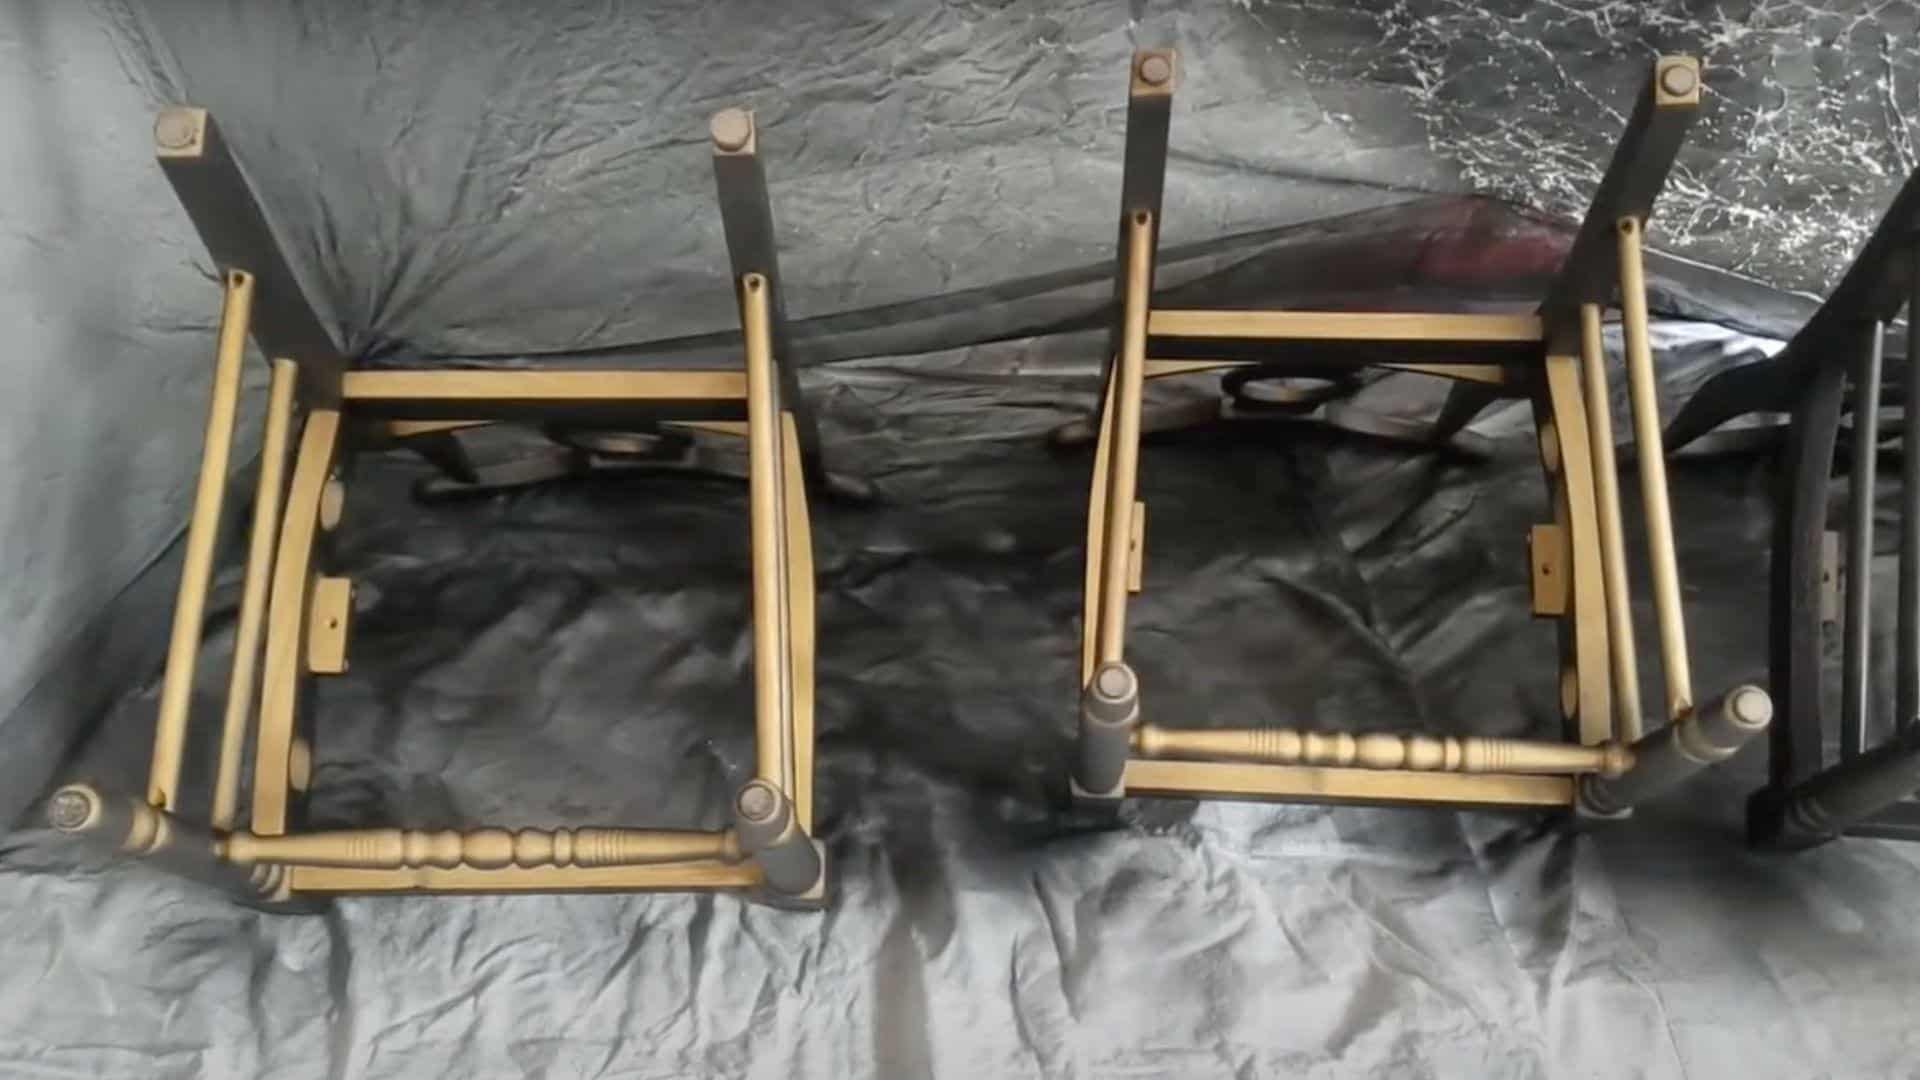
Step 1: Remove and Prepare
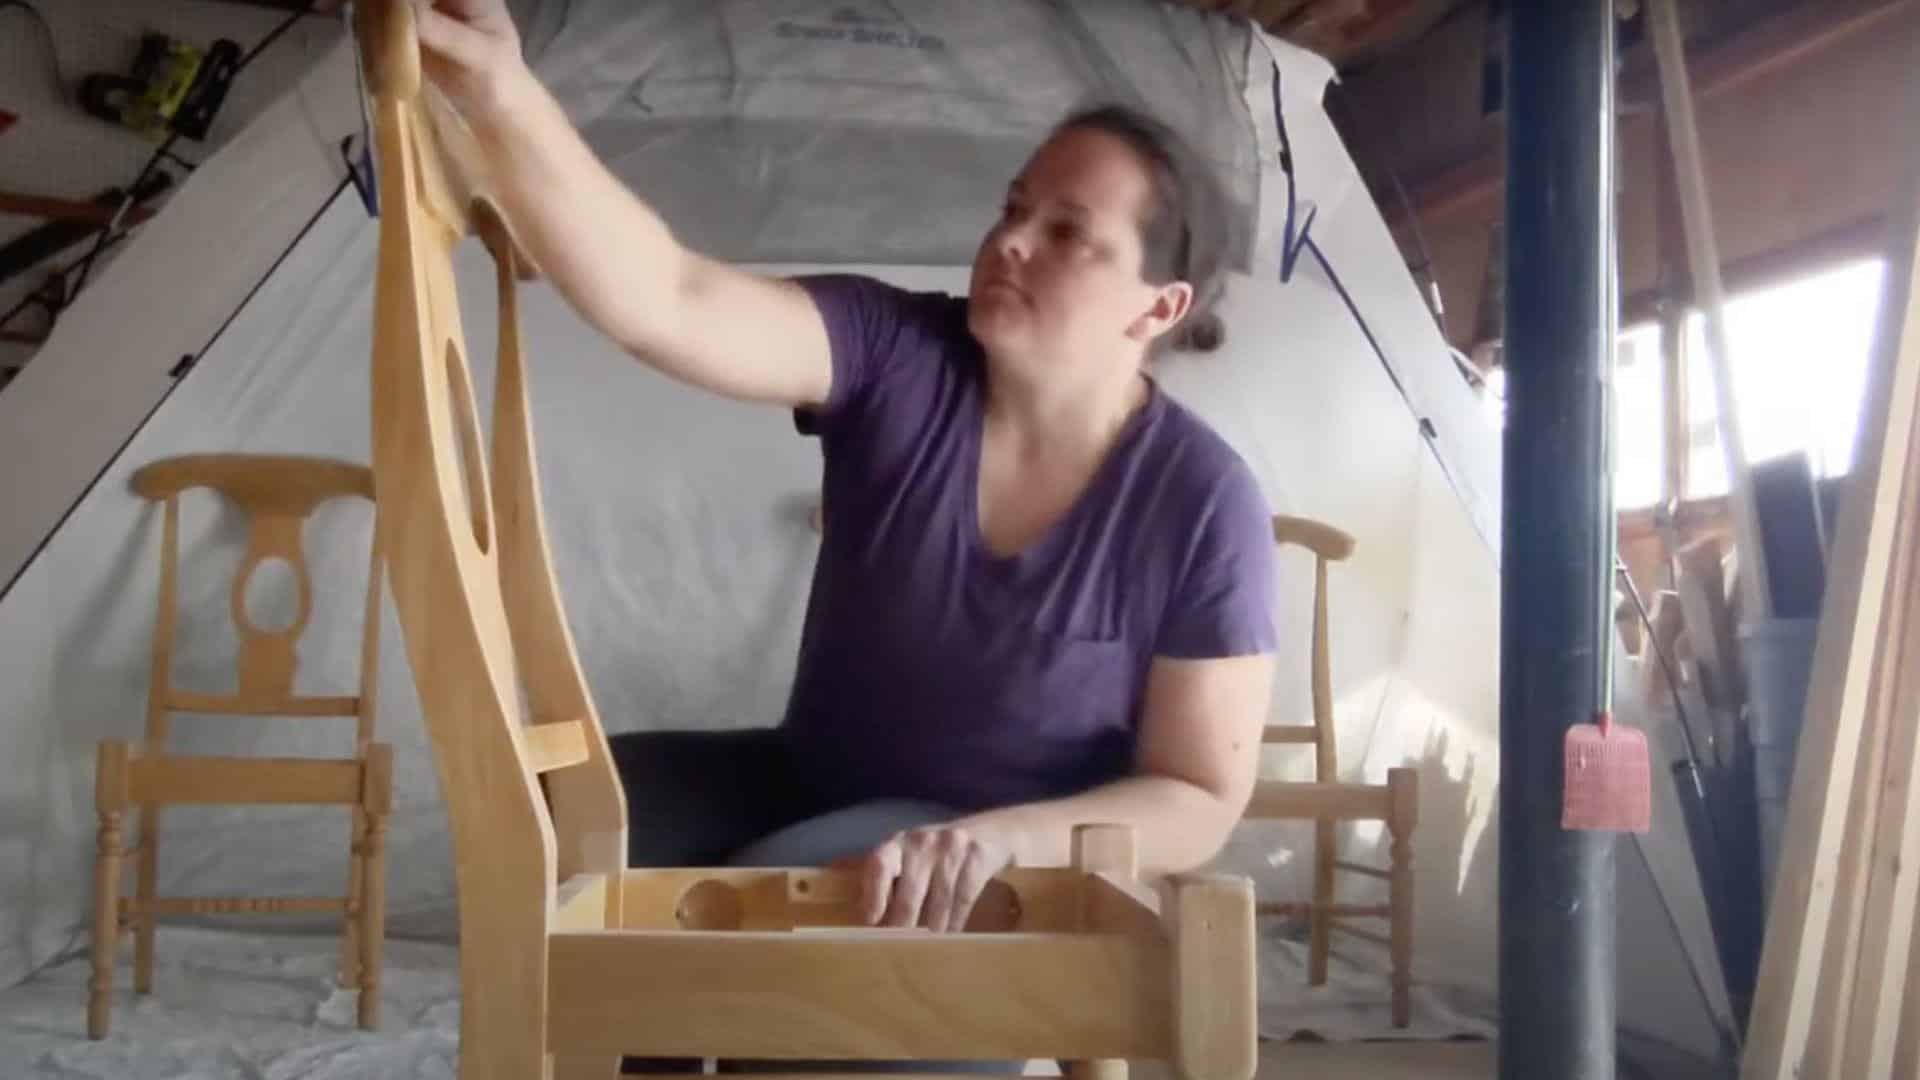
Start by removing any woven or upholstered seats from your chairs. This prevents paint from getting on fabric and makes the job cleaner.
Next, lightly sand the entire chair using 220-grit sandpaper to help the paint adhere better, especially if your chair has a glossy finish.
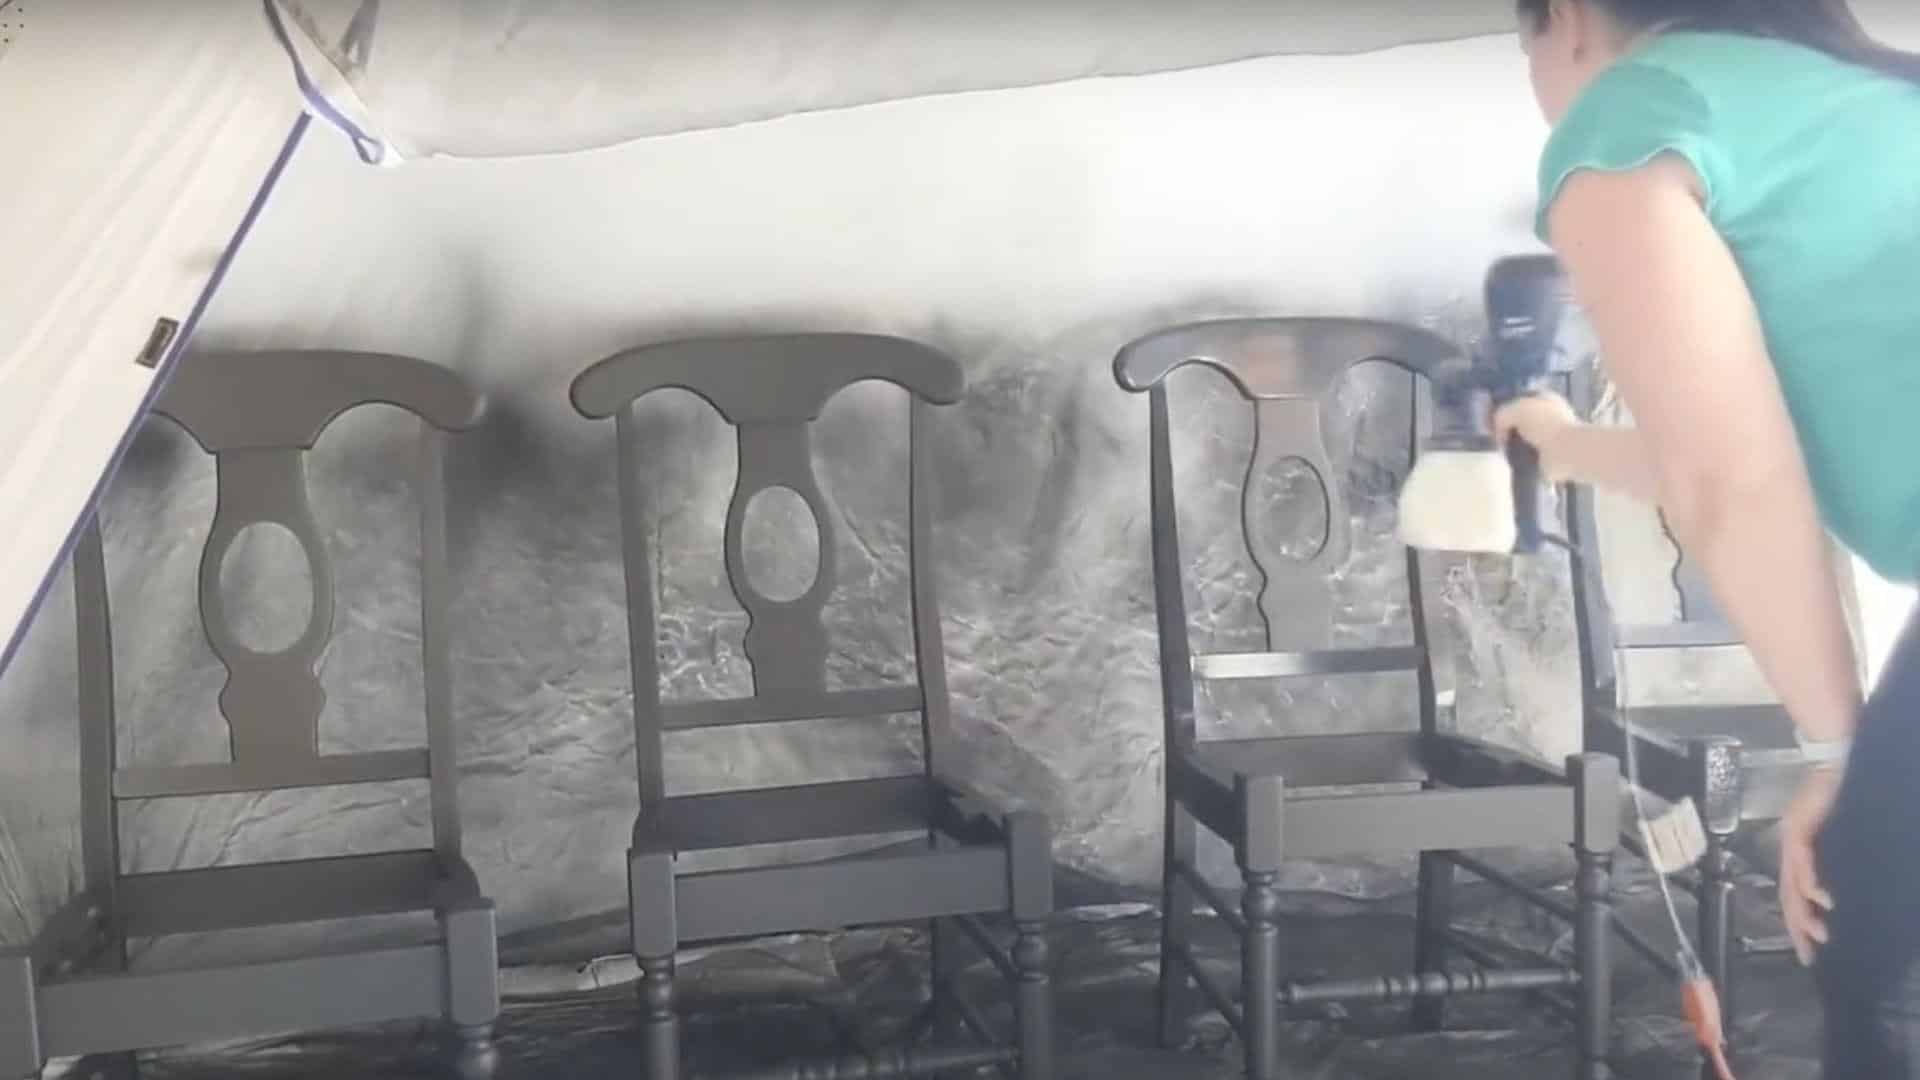
Step 2: Set Up Your Workspace
Protect your work area with drop cloths or set up a spray shelter if you have one. Make sure you have good ventilation and wear protective gear. Stir your paint thoroughly before adding it to your sprayer or paint container.
Step 3: Apply First Coat
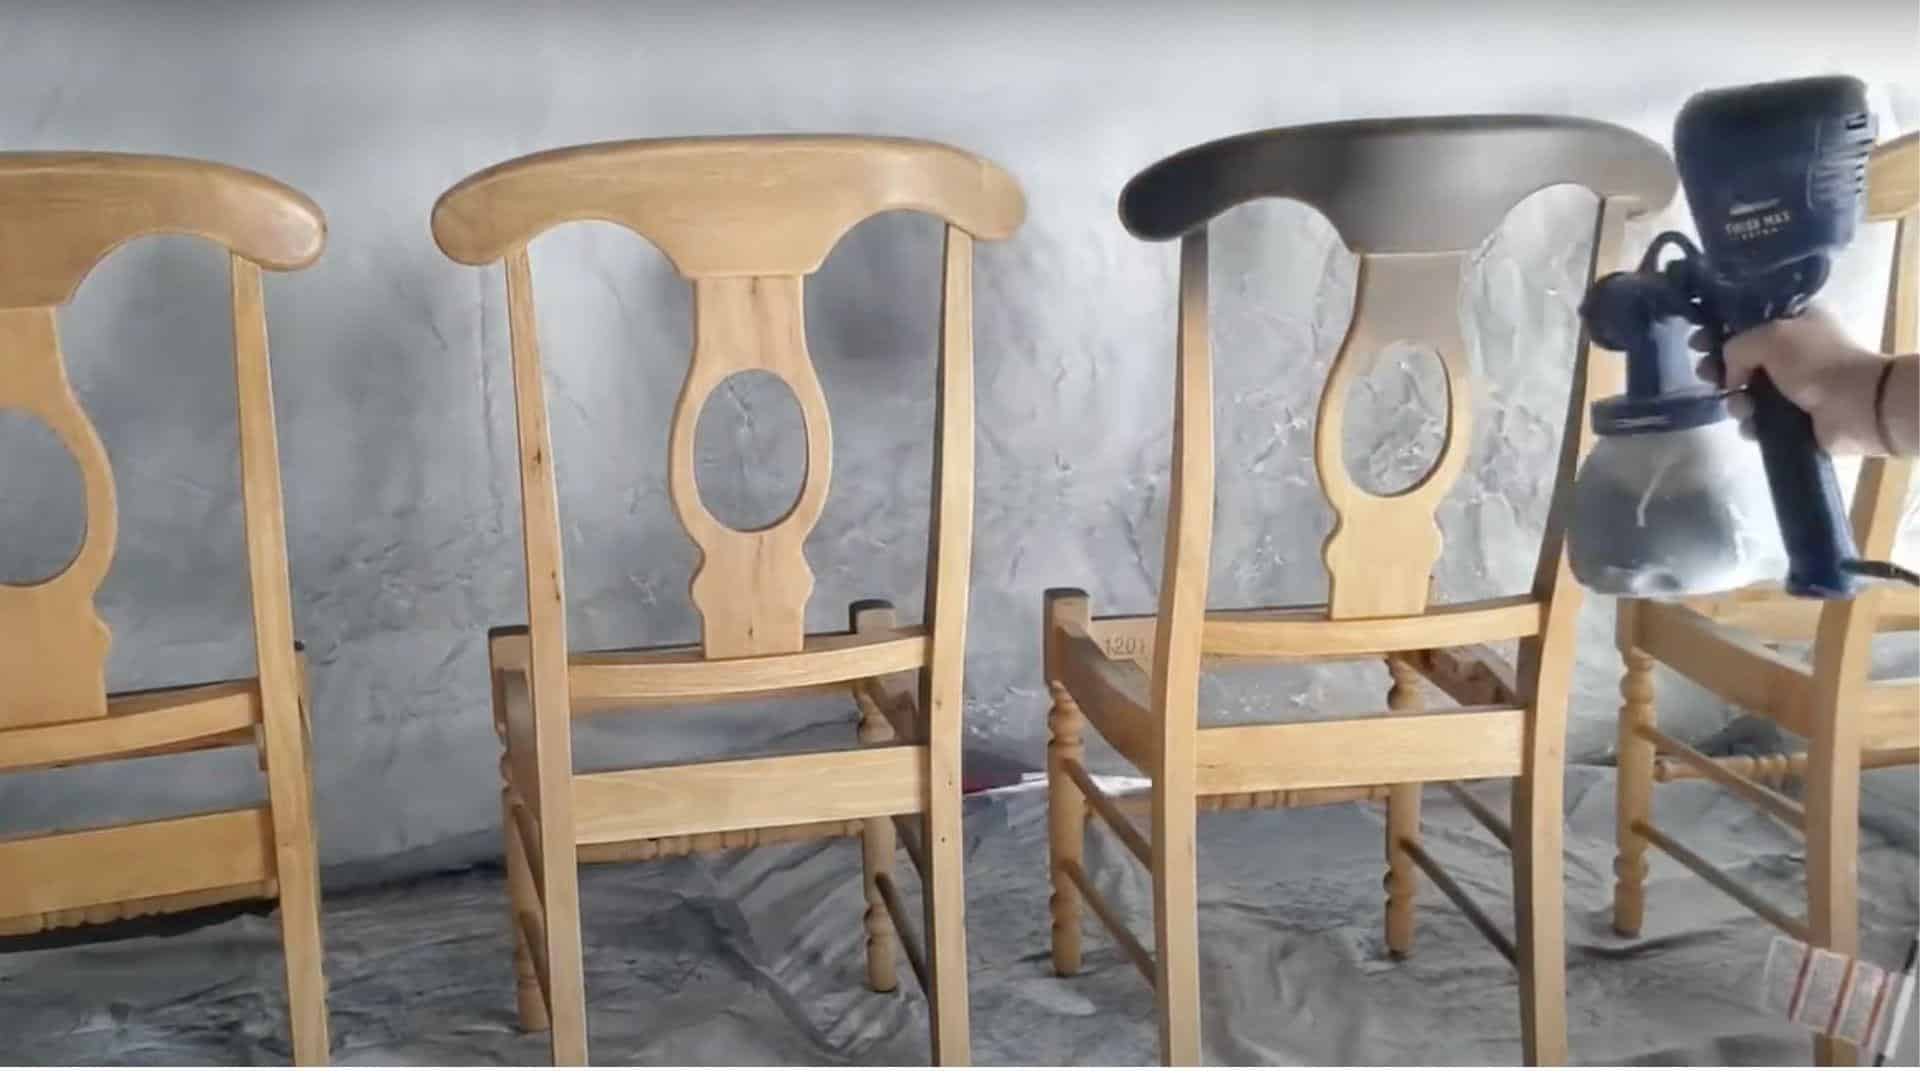
Hold your sprayer facing the chair head-on and move it slowly back and forth across the surface. Slightly overlap each stroke for even coverage. When using a brush, work with the grain of the wood and maintain a steady pace.
Step 4: Rotate and Repeat
Once the first coat dries to the touch, turn your chairs to reach all sides and angles. Even flip them upside down to paint the underside of the rungs and legs. Apply at least two coats, allowing each coat to dry completely before applying the next.
Step 5: Add Protective Finish
Adjust the tip to the appropriate setting for the sealer if using a sprayer. Apply at least two coats of top coat or sealer to protect your paint job. Handle chairs carefully for the first few weeks while the finish fully cures.
Step 6: Reassemble
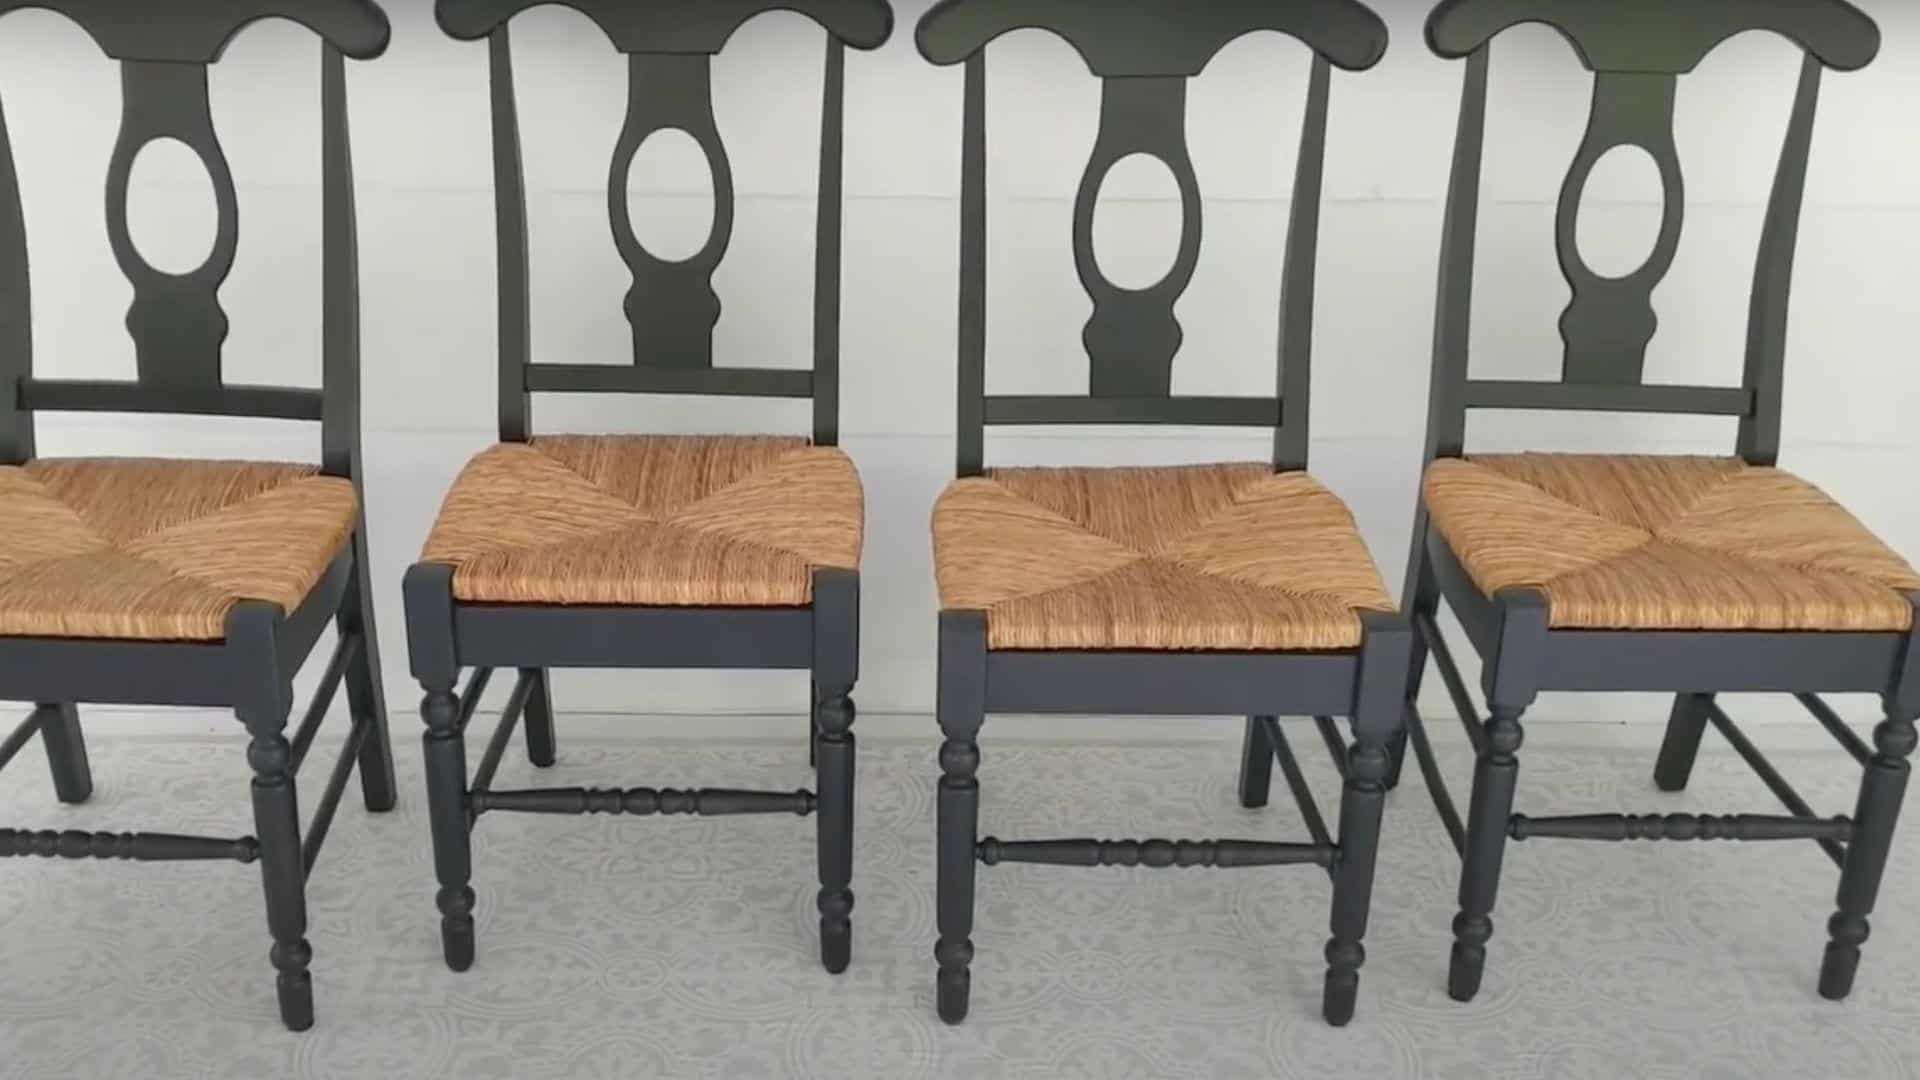
Once everything is completely dry, reattach the chair seats. Your freshly painted chairs are now ready to use and will look great for years to come.
Video Tutorial
For more tips and step-by-step guidance, check out the video tutorial that inspired this blog.
By – Lovely Etc.
Decorating Tips for Painted Wooden Chairs
Your newly painted chair opens up many design possibilities. The right styling choices can make it the perfect fit for any room.
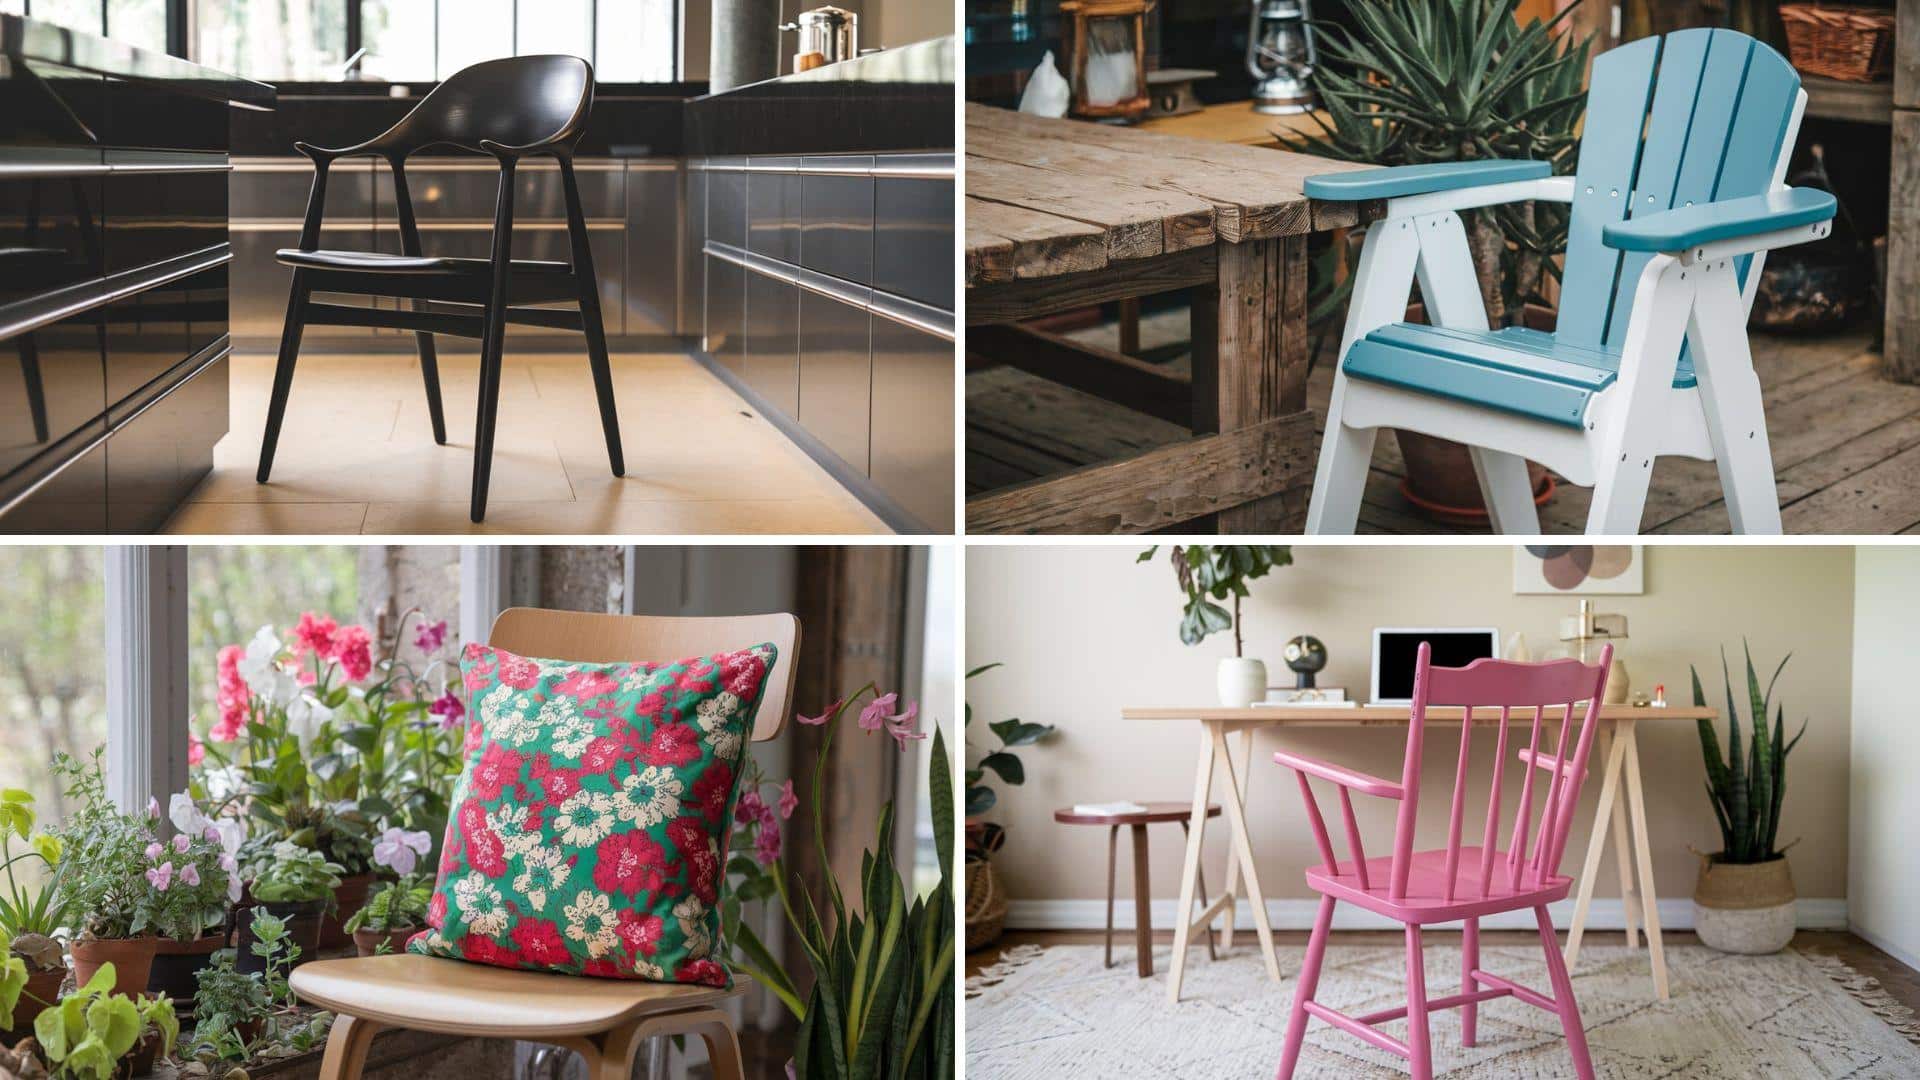
1. Color Coordination Tips
Match your painted chair to the existing room elements, such as wall colors, curtains, or other furniture pieces. Black chairs work well in modern kitchens, while white or cream colors are ideal for farmhouse and traditional styles. Bold colors, such as navy or forest green, create focal points in neutral rooms.
2. Mix and Match Approach
Don’t feel limited to painting all chairs the same color. Two-tone combinations work beautifully – try painting chair backs one color and seats another. You can also alternate colors around your dining table for a fun, eclectic look that still feels intentional.
3. Seasonal Updates
Painted chairs are easy to update when your style changes. Add seat cushions in seasonal colors or patterns without repainting. Tie-on cushions let you switch from spring florals to autumn plaids quickly and affordably.
4. Room Placement Ideas
Use your painted chair beyond the dining room. A bright painted chair works great as a desk chair in a home office. Pair it with a small side table to create a reading nook, or place it in a bedroom as a decorative accent piece.
Common Mistakes to Avoid
Minor errors can ruin your paint job and waste time. Here are the most common problems and their solutions.
- Skipping sanding – Always sand glossy finishes, or the paint won’t stick properly.
- Applying thick coats – Thin, even layers dry better than one heavy coat.
- Not waiting between coats – Let each coat dry completely before adding the next.
- Forgetting the top coat – Always seal painted chairs for durability.
- Using furniture too soon – Wait the full cure time before using it heavily.
- Poor workspace setup – Use drop cloths to protect floors and surrounding areas.
- Do not stir paint – Mix paint thoroughly before and during use.
These simple mistakes are the primary cause of most paint job failures. Take your time with each step for professional results that last.
Maintenance Tips for Long-Lasting Results
Proper care keeps your painted chairs looking fresh for years to come. Simple maintenance prevents damage and extends the life of your paint job.
- Clean with mild soap and water only
- Wipe up spills immediately to prevent damage
- Handle chairs gently for the first few weeks
- Touch up small chips and scratches quickly
- Keep chairs away from direct sunlight
- Use coasters and placemats for protection
Regular cleaning and quick touch-ups will keep your painted chairs looking like new. Most paint jobs last several years with basic care and attention.
Conclusion
Painting wooden chairs changes tired furniture into beautiful pieces that perfectly match your style. The process is more straightforward than most people think when you use the right tools and techniques.
Remember to take your time with preparation and apply thin, even coats for the best results. Don’t skip the protective top coat since it keeps your paint job looking great for years.
Your painted chairs will handle daily use much better than you might expect. With basic care and occasional touch-ups, they’ll stay beautiful and functional.
Ready to give your wooden chairs a fresh new look? Start with one chair to practice the technique, then move on to your full set. Share your results in the comments below!
Frequently Asked Questions
Do I Need to Prime Wood Chairs Before Painting?
Most wooden chairs require primer, especially those with glossy finishes. Milk paint and some specialty paints skip this step entirely.
Should I Paint Furniture with A Brush or A Roller?
Use both for best results. Brushes handle detailed areas and curves well, while rollers cover flat surfaces faster and smoothly.
Can I Use Vinegar to Clean Wood Before Painting?
Vinegar works as a budget-friendly cleaner but can dull existing finishes. Use mild soap and water for safer cleaning results.