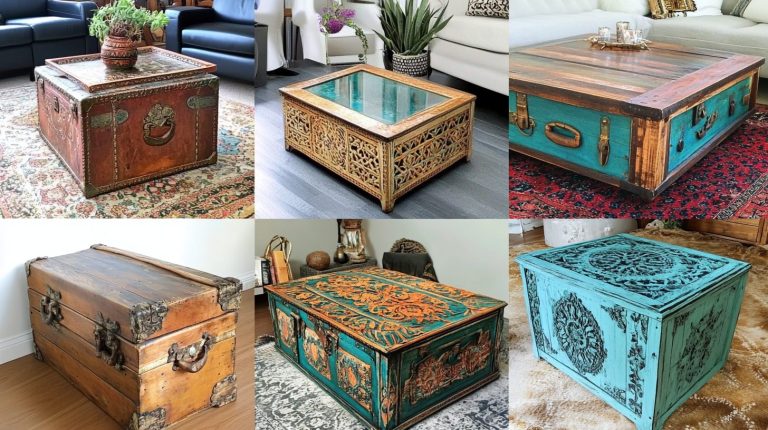
How to Install Modern Plywood Flooring: A Simple Diy Guide
Are you tired of plain, costly floors? Plywood floors give you a real wood look without the steep price. Many homeowners now see plywood as a smart floor choice, not just a hidden layer.
We know how hard it can be to find good floors that don’t break the bank. Wood floors often cost too much, and cheap options may not look great. Plywood solves this problem by giving you a true wood floor at a fraction of the cost.
In this guide, you’ll learn what makes plywood floors special, how they stack up against other choices, and why they might be perfect for your home.
We’ll show you the types of plywood that work best for floors and why more people are falling in love with this simple yet stylish option.
What is Plywood Flooring?
Plywood flooring is a smart option made from thin sheets of wood glued together. Each layer runs at right angles to the one below it.
This makes the floor much stronger than a single piece of wood. Unlike solid hardwood, which comes from single trees, plywood uses thin cuts from many trees. Compared to traditional hardwood, plywood costs less but still looks good.
Hardwood floors can be very costly per square foot. Plywood gives a similar look for less money. Laminate flooring, on the other hand, is often thinner than plywood and has a photo layer on top that looks like wood.
Plywood comes in different grades. The best ones for floors are cabinet-grade or furniture-grade. Birch plywood has a smooth, light finish with fine grain. Pine plywood tends to be softer but has nice knots and character.
Oak plywood offers more grain patterns and works well in many homes.
Why Choose Plywood Flooring?
The main reason people pick plywood is the price. You can put in a plywood floor for about half what you’d pay for hardwood. This makes it perfect for folks with tight budgets or big spaces to cover. Plywood holds up quite well to daily use.
The cross-grain design stops it from warping or bending with changes in heat or moisture. A good finish makes it stand up to foot traffic, kids, and pets. You can change plywood floors to match your style. Paint them any color you want. Stain them dark or light.
Add patterns or keep them plain. The choice is yours, and you can change it later if you want. Plywood is a good pick for those who care about the earth.
It uses less wood than solid planks. Many brands now make plywood with glues that don’t have harmful chemicals. Look for ones labeled as low-VOC. The look of plywood fits many styles. For a rustic room, use plywood with knots and sand it lightly.
For modern spaces, try a clear finish on smooth sheets. You can even cut it into shapes for a unique floor.
Step-by-Step Guide to Installing Stylish Plywood Floors
Follow this easy, step-by-step guide to install modern plywood flooring and give your space a stylish, affordable upgrade—perfect for DIY enthusiasts of any level.
Materials & Tools for Plywood Flooring Installation:
| Type | Item |
|---|---|
| Materials | Plywood sheets (3/4″) |
| Wood screws or nails | |
| Wood glue or construction adhesive | |
| Stain or paint | |
| Polyurethane sealant | |
| Tools | Circular saw |
| Drill or screwdriver | |
| Sander (orbital or belt) | |
| Tape measure | |
| Paint brush or roller |
Step 1: Prepare the Subfloor
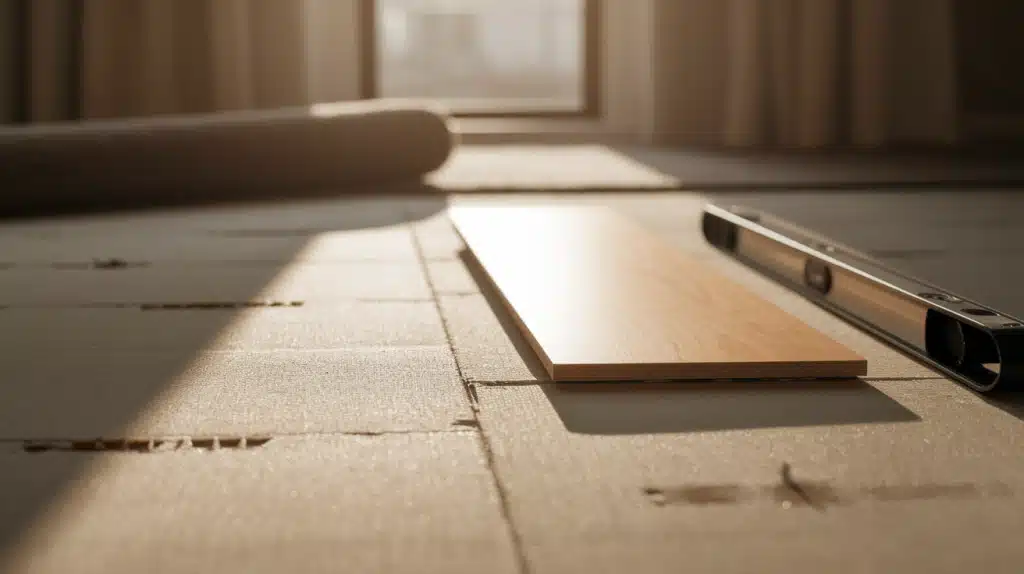
Start by removing all the old floor stuff. Sweep and clean the subfloor well. Check if the floor is flat with a long level. Fill in low spots with floor patch. Test for wetness by taping down a piece of plastic wrap for 24 hours—if it’s clear when you lift it, that’s good.
Step 2: Cut Plywood Panels to Size
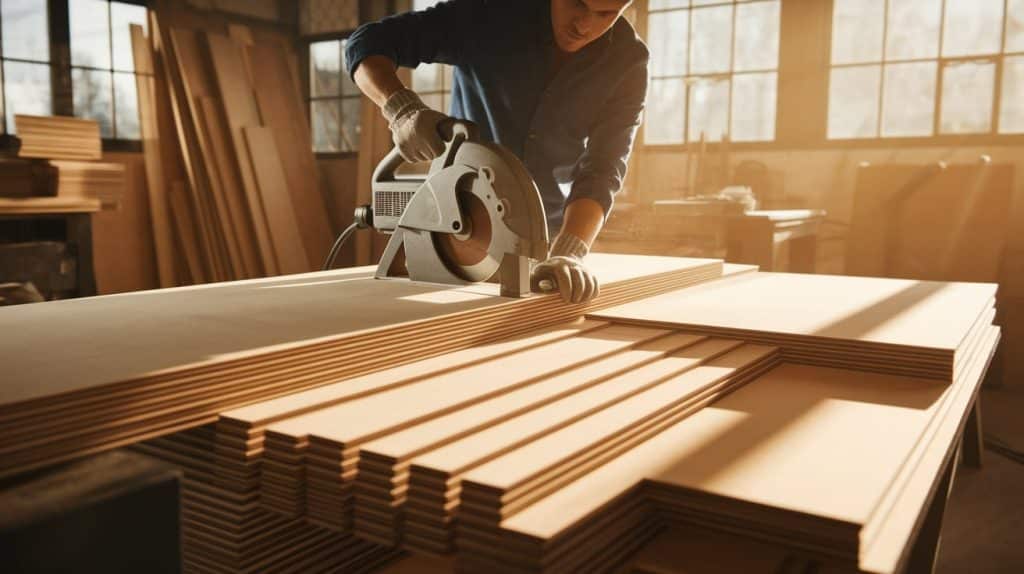
Measure your room first and plan your cuts to waste less wood. For plank style, cut sheets into 6-8 inch wide strips. For a fancy look, try cutting pieces at 45-degree angles. Always sand the cut edges with 120-grit paper to prevent splinters and help the pieces fit better.
Step 3: Lay Out the Floor Pattern
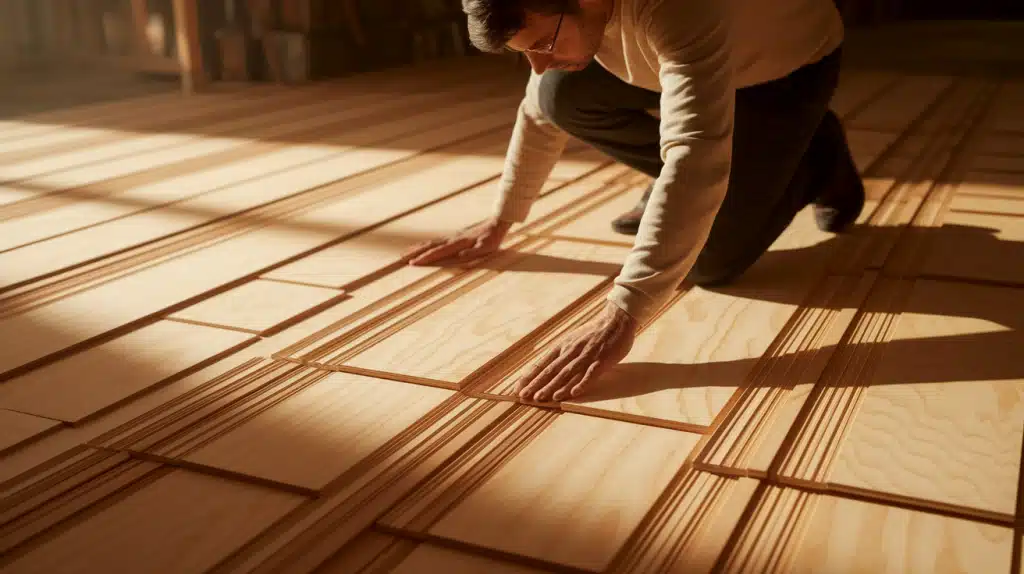
Place your cut pieces on the floor without glue to see how they look. Make sure seams don’t line up—offset them by at least 6 inches for strength.
Try turning some pieces to mix up the grain patterns. Leave a 1/4 inch gap around the edges for the floor to move a bit.
Step 4: Secure Plywood Panels
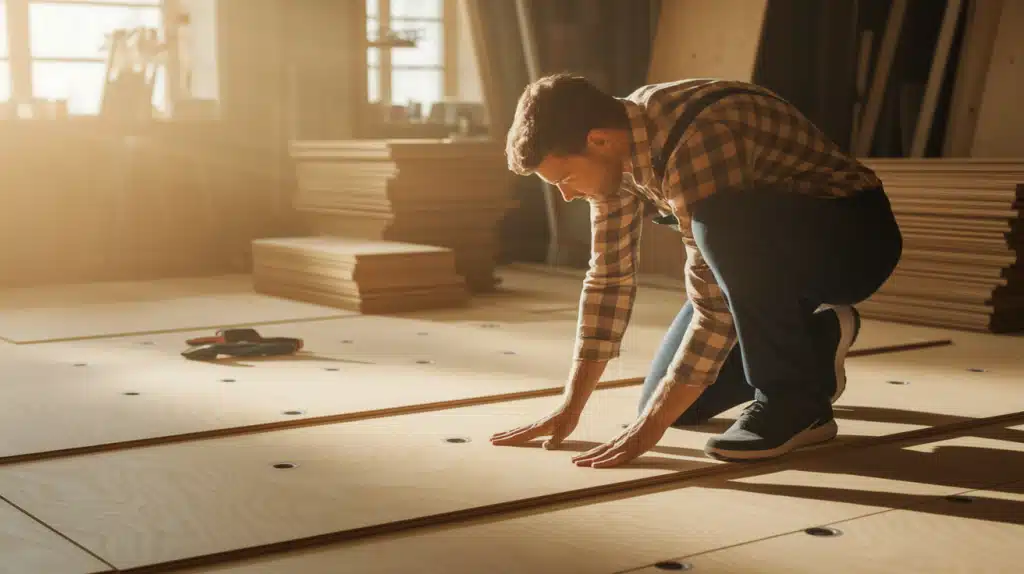
Apply floor glue in a zigzag pattern on the back of each panel. Press down firmly when placing each piece. Add screws every 8 inches around the edges and every foot in the middle. Sink the screw heads just below the surface for a flat finish.
Step 5: Sand the Entire Floor
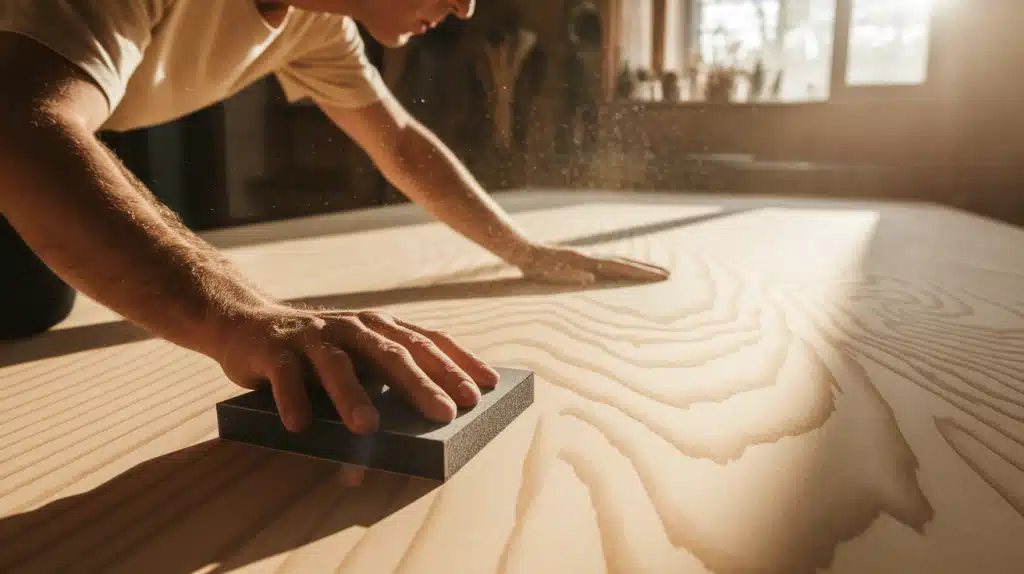
Start with rough 60-grit paper to level high spots. Move to 100-grit next to smooth things out. Finish with 150-grit for a nice, even surface. Always go with the grain when sanding. Vacuum between each grit change to pick up dust.
Step 6: Stain, Paint, or Seal Your Floor
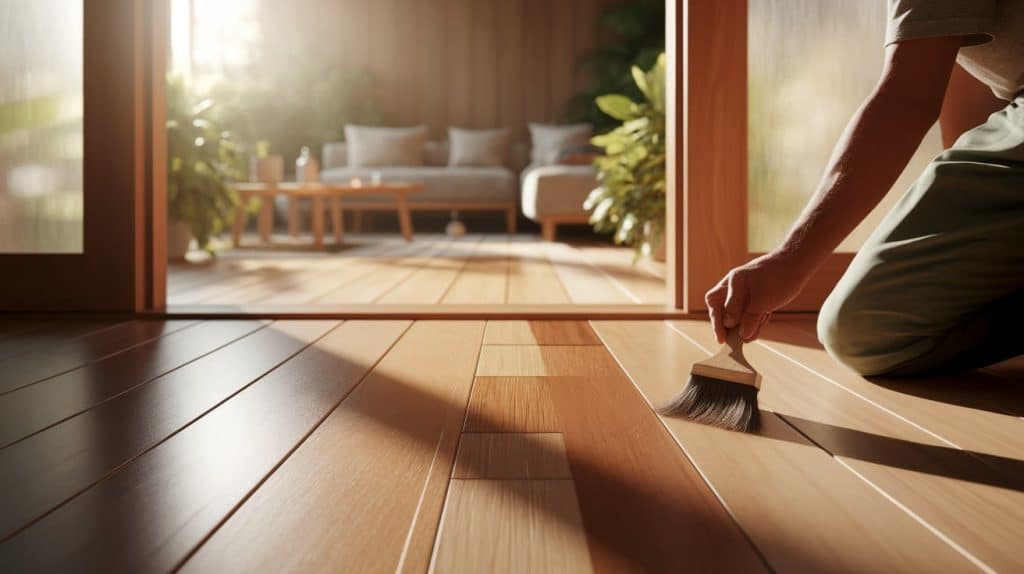
Clean all the dust off before adding any finish. Test your stain on a scrap piece first to check the color. Apply thin coats—two or three light ones work better than one thick coat. For high-traffic areas, add three coats of water-based poly, letting each dry fully before the next.
Video Tutorial
I’d like to acknowledge SSLFamilyDad for the insightful video, which was a key reference in putting this guide together.
Several Types of Plywood Work Well for Floors
- Birch plywood: Smooth, light-colored with a fine grain pattern
- Pine plywood: Softer with visible knots, good for casual spaces
- Oak plywood: Strong with clear grain, works in busy areas
- Maple plywood: Hard with a clean look, fits modern homes
- Baltic birch: Very strong with many layers, perfect for floors
Grades Also Matter when Picking Plywood for Floors
- A-grade: Few flaws, clean look
- B-grade: Some small knots, good for most rooms
- C-grade: More knots and patches, needs more finish work
- D-grade: Rough with many fixes, best hidden under carpet
Plywood Flooring vs. Other Budget Flooring Options
| Flooring Type | Pros | Cons |
|---|---|---|
| Plywood | Affordable Customizable (stain, paint) DIY-friendly |
Prone to dents/scratches Needs sealing Moisture-sensitive |
| Laminate | Scratch-resistant Easy to clean Click-lock installation |
Can feel hollow underfoot Limited refinishing Not waterproof |
| Vinyl (LVT) | Waterproof Low maintenance Comfortable underfoot |
Not eco-friendly Can dent over time Less natural appearance |
| Engineered Wood | Real wood surface Stable in humidity Higher-end look |
More expensive Limited sanding May require pro installation |
Conclusion
Plywood flooring stands out as a smart choice for modern homes. It brings together beauty, value, and ease in a way few other floor options can match.
You now know the basics of what makes plywood floors work, from the types and grades to all the good reasons to choose them. We’ve seen how they cost less than hardwood yet offer many of the same looks.
Their strength holds up in busy homes, while their simple care keeps them looking good for years. With so many ways to make them your own through colors and patterns, plywood floors can fit any style you love. Think about giving plywood a try for your next floor project.
You might find it’s the perfect mix of look, price, and function that you’ve been searching for all along. What floor design would you try with plywood?
Frequently Asked Questions
How Much Time Does It Take to Install Plywood Floors?
A basic room takes about 2-3 days from start to finish, including drying time.
Can I Put Plywood Floors Over Tile?
Yes, but you’ll need a flat surface, so old tiles must be even or covered with a leveling layer first.
Will Plywood Floors Make Noise when I Walk on Them?
Proper installation with the right glue and screws will keep most noise away.
How Thick Should Plywood Be for Good Floors?
For most homes, 3/4 inch thick plywood gives the best balance of strength and cost.