
Do you find yourself tossing valuable wood because of unsightly cracks and knots? I did too until I discovered these three simple repair techniques that changed my woodworking game completely.
As a woodworker, I understand the frustration of finding the perfect piece only to discover imperfections that seem to ruin it.
Throwing away beautiful wood with minor flaws isn’t just wasteful; it’s unnecessary.
In this guide, I’ll share my proven methods for repairing wood cracks and knots that I use in my shop every day.
You’ll learn exactly how to use knot fillers, CA glue, and the sawdust technique to transform flawed pieces into usable, beautiful wood.
By the end, you’ll have the confidence to rescue wood you might have otherwise discarded, saving both money and materials.
Understanding the Types of Wood Cracks
Wood cracks come in two main types: surface and deep.
Surface cracks affect only the top layer of wood and can often be fixed with fillers. Deep cracks go into the core of the wood and need more thorough repair methods.
These cracks happen for several reasons: wood shrinks as it dries, moisture changes cause swelling and tightening, and hits or drops can break wood fibers. Being able to tell these crack types apart helps you pick the right fix for your wood items.
How to Repair Cracks and Knots in Wood
Wood imperfections don’t have to mean the end of a project. With the right techniques, you can restore and strengthen your wood, making it look as good as new.
Below are three effective methods that will help you tackle common issues like cracks and knots with ease.
Technique 1: Filling Knots with Knot Filler

Tools & Materials Required
- Knot filler rods
- Heat gun (set to 380°F)
- Cooling block
- Chisel
- Sandpaper
Step-by-Step Process
- Turn on the heat gun and set it to approximately 380°F.
- Load a knot filler rod into the applicator.
- Fill the void or imperfection in the wood generously with the knot filler.
- Apply the cooling block for 30-60 seconds to help it set.
- Use a chisel to pop off the excess material.
- Work the chisel back and forth to smooth out any remaining filler.
- Sand the area for a seamless finish.
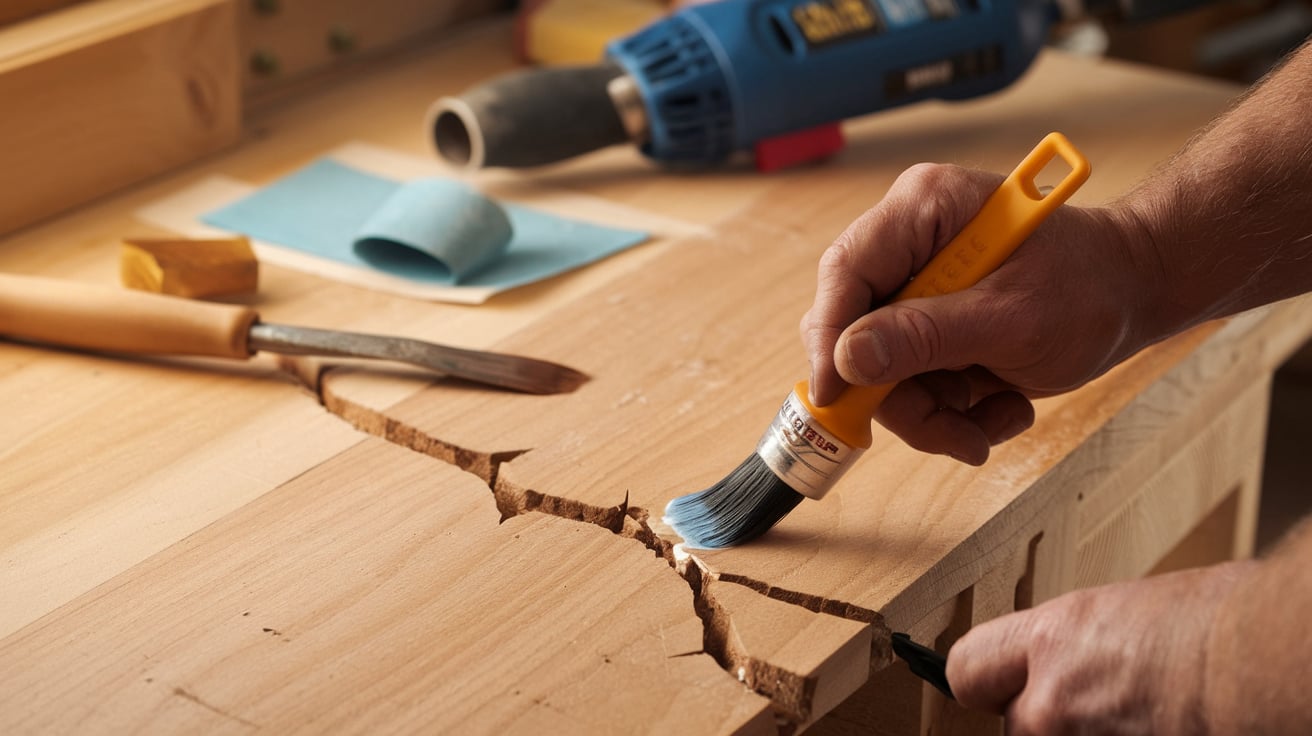
Technique 2: Filling Cracks with CA Glue

Tools & Materials Required
- CA glue (similar to super glue)
- Accelerator spray
- Block chisel or regular chisel
- Sander
Step-by-Step Process
- Shake both the CA glue and accelerator spray before use.
- Spray a small amount of accelerator into the crack.
- Apply the CA glue into the crack, ensuring it seeps deep.
- Spray another layer of accelerator to speed up the curing process.
- Repeat the process if the crack is deep, applying glue and accelerator in layers.
- Use a block chisel or regular chisel to remove any hardened excess.
- Sand the area for a smooth, professional finish.
Technique 3: Sawdust and Glue Method for Cracks

Tools & Materials Required
- Tight Bond Quick and Thick glue (dries clear)
- Glue applicator/spreader
- Sawdust (from the same species of wood)
- Sander
Step-by-Step Process
- Pack a small amount of sawdust into the crack (collected from sanding the same wood).
- Apply glue into the crack, pushing it in thoroughly with an applicator.
- Add more sawdust over the glue and press it firmly into the crack.
- Let the glue cure for about 1-2 minutes.
- Sand the surface to remove excess and create a smooth, blended finish.
For a visual tutorial, refer to this video:
Tips and Tricks
- CA glue comes in different colors like black, brown, and clear; experiment to find what blends best with your wood
- When using the sawdust method, don’t overpack the initial sawdust layer, as you want the glue to penetrate
- For deep cracks, multiple applications might be necessary
- Use clear-drying glue (not yellow) for the sawdust method
- Block chisels can help remove excess material before sanding for a cleaner finish
- Choose the appropriate technique based on the type of defect (void vs. crack)
- Cooling block application is important for the proper setting of knot filler
These techniques can help woodworkers save valuable wood instead of discarding pieces with minor defects.
Pros & Cons of Wood Repair Techniques
| Technique | Pros | Cons |
|---|---|---|
| Knot Filler Rod | Excellent for large voids and knots Creates durable, solid repairs. Available in various wood-matching colors. It can be sanded and finished like real wood. |
Requires special equipment (heat gun, cooling block) It is more time-consuming than other methods. It may be visible in the finished piece if the color match isn’t perfect. Limited flexibility once cured. |
| CA Glue with Accelerator | Extremely fast curing time. Excellent for thin cracks and checks. Creates strong, durable repairs. Minimal equipment is needed. |
It can be brittle in larger applications May discolor some woods. Fumes can be irritating. It can be difficult to remove the excess without damaging the surrounding wood. |
| Sawdust and Glue Method | Most natural-looking repairs, when done correctly. Uses wood from the exact piece being repaired. Simple tools and materials Good color matching. |
Less structural strength than other methods Works best only on smaller cracks. Requires collection of matching sawdust. It can be messy to apply. It may shrink slightly as it dries. |
Common Mistakes to Avoid
When repairing cracked or knotty wood, even experienced woodworkers can fall into some common traps. Here are the mistakes I see most often:
- Rushing the cooling process: Not allowing enough time for knot fillers to cool properly before removing excess material can lead to uneven surfaces or pulled-out repairs.
- Use yellow glue instead of clear: Yellow wood glue will create noticeable discoloration in your repairs, especially with lighter wood. Always opt for clear-drying adhesives.
- Improper sanding technique: Sanding too aggressively can create dips around the repair area. Use progressively finer grits and sand with the grain.
- Mismatched sawdust: Using sawdust from a different wood species for your repair will create obvious color differences. Always collect and use dust from the exact piece you’re repairing.
- Overfilling cracks: Applying too much filler material makes cleaning up excess difficult and can result in unsightly repairs. Start with less and add more if needed.
- Inadequate surface preparation: Not properly cleaning the crack or knot before filling will prevent proper adhesion. Ensure the area is clean and dry before starting repairs.
- Ignoring wood movement: Wood continues to move with humidity changes, so rigid fillers in large cracks may eventually separate. Consider using flexible fillers for wider cracks.
Long-Term Durability Factors
-
Environmental stability – Humidity fluctuations stress repairs; climate-controlled spaces offer best durability.
-
Movement tolerance – Sawdust-glue allows natural wood movement; harder fillers may crack with expansion/contraction.
-
Protective finishing – Quality topcoats (varnish, shellac, oil) significantly extend repair lifespan by sealing against moisture.
-
Structural integrity – For load-bearing pieces, knot fillers and CA glue provide superior strength.
-
Maintenance needs – Annual inspection and occasional touch-ups maximize longevity, especially for heavily used items.
-
UV protection – Consider sun exposure when selecting repair materials; some fillers yellow or degrade in direct sunlight.
Conclusion
With these three simple techniques in your woodworking arsenal, you’ll never look at cracked or knotty wood the same way again.
Each method, knot filler, CA glue, or sawdust with clear glue, offers unique advantages depending on your specific repair needs. The satisfaction of rescuing a beautiful piece that would have otherwise been discarded is immeasurable.
Not only will you save money on materials, but you’ll also develop a deeper appreciation for the character and potential in each piece of wood.
Remember, even master craftspeople regularly use these techniques in their high-end projects. Wood repair isn’t about hiding imperfections, it’s about transforming them into opportunities for creativity and resourcefulness in your woodworking journey.