Imagine creating a structure that stands firm for decades.
Many beginners feel lost when they first try to design a building. The mix of technical skills and creative thinking seems too much to handle. But you can learn this craft with the right steps and tools.
This guide will show you how to turn your ideas into actual building plans.
You’ll get clear steps from the first sketch to the final touches. Building design can be simple when broken down into basic parts.
By the end of this guide, you’ll know the main steps of designing a building and feel ready to start your own plans.
Let’s look at what you need to begin your design work:
Define Your Building’s Purpose and Vision

First steps in building design start with a clear purpose.
Ask yourself what the building will be used for. Is it a family home, a busy office, a small shop, or a mix of different spaces? The purpose shapes every choice you make later.
Write down your main goals for the project.
Think about how the building should work, what style fits best, how much money you can spend, and when you need it done. Keep these goals simple and clear.
- Focus on the main function of each room or space
- Set a budget range before you start designing
- List the must-have features versus nice-to-have options
Try to see the building through the eyes of the people who will use it daily. How will they move through the rooms? What will make their time in the building better?
What needs must the space meet? This early thinking helps you make better choices as your design grows. Your purpose acts as the guide for all future steps in your design work.
Know Your Ground: Master the Site Analysis
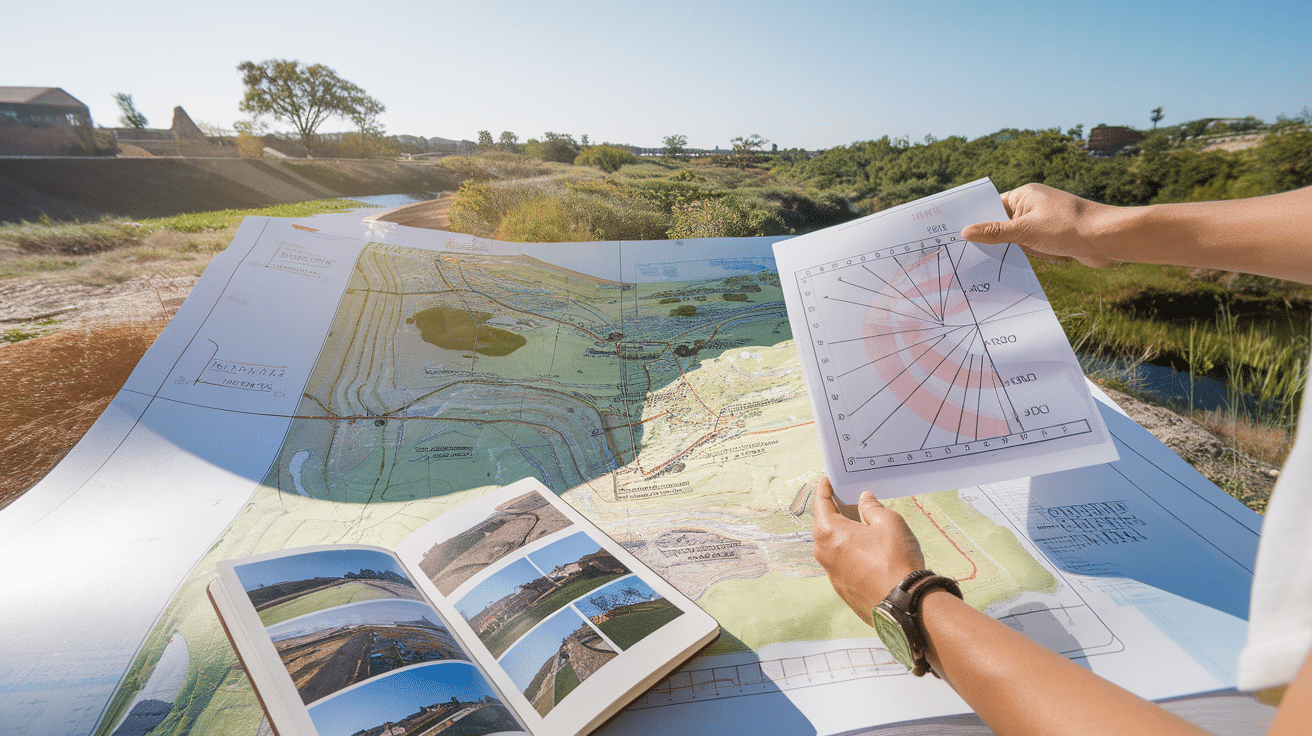
Your site gives you both limits and chances. Look at where your building will stand and study what makes this spot unique.
The place, ground shape, weather, and nearby buildings all matter in how you plan. Take notes on all these facts to use in your design.
Know the path of the sun across your site.
This helps you place windows and rooms in the right spots. Check how wind moves through the area and what views you can use in your design. Note who your neighbors are and how close they sit to your planned building.
- Make a sun path chart to track light during different seasons
- Draw a site map showing slopes, trees, and water features
- Take photos from all angles to refer to during the design process
Find out what rules apply to your land before you start drawing plans. Each town has rules about what you can build and where.
Check height limits, how far back from the street you must build, and what percent of land you can cover. These rules shape what’s possible. Getting this info early saves time and money by stopping you from making plans that won’t get approved.
Blueprint Basics: Building Codes & Rules
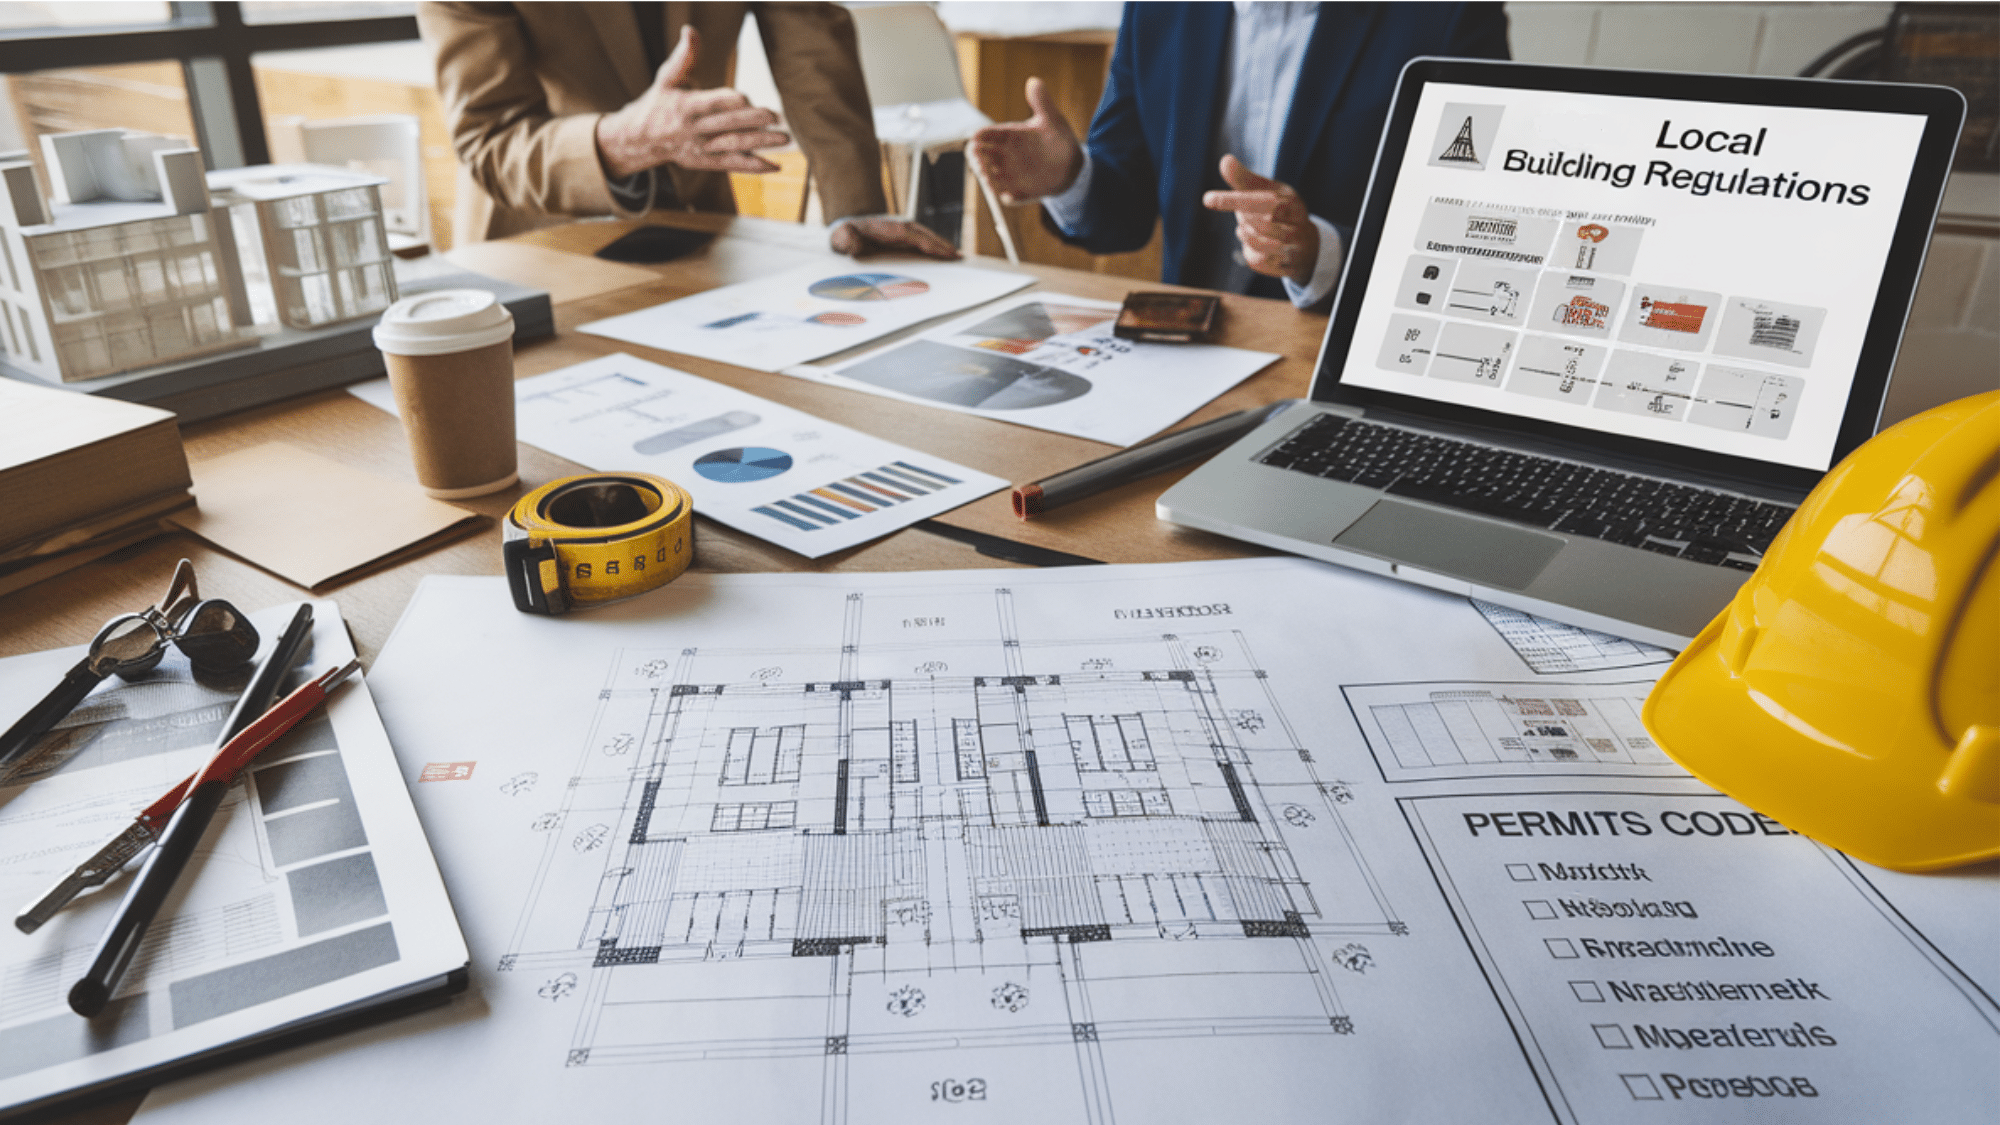
Rules exist to keep buildings safe and towns looking good. Building codes set the base for what works and what doesn’t in your design.
These rules were made from years of trial and error in the building world. They seek to protect people who will use your building.
Each town has its own set of rules for new buildings.
You’ll need to get permits before you start work. Rules often limit how high you can build, how close to the edges of your land, and what percent of your lot can have a building on it. Safety rules set how wide halls must be, where exits go, and how strong walls need to be.
- Get a copy of local codes before starting your design work
- Hire a code expert early in the process if your project is complex
- Keep a checklist of all needed permits and their deadlines
Good links with town planning staff make the whole process smoother. Meet with them early to learn what they look for in plans.
Ask lots of questions and take notes during these talks. Being nice and open helps a lot. When you send in plans, make sure they’re neat and full. Follow up after a week if you don’t hear back. Most towns want to help good projects move ahead, so treat them as helpers rather than blocks in your path.
Space That Works: Create Your Building Program
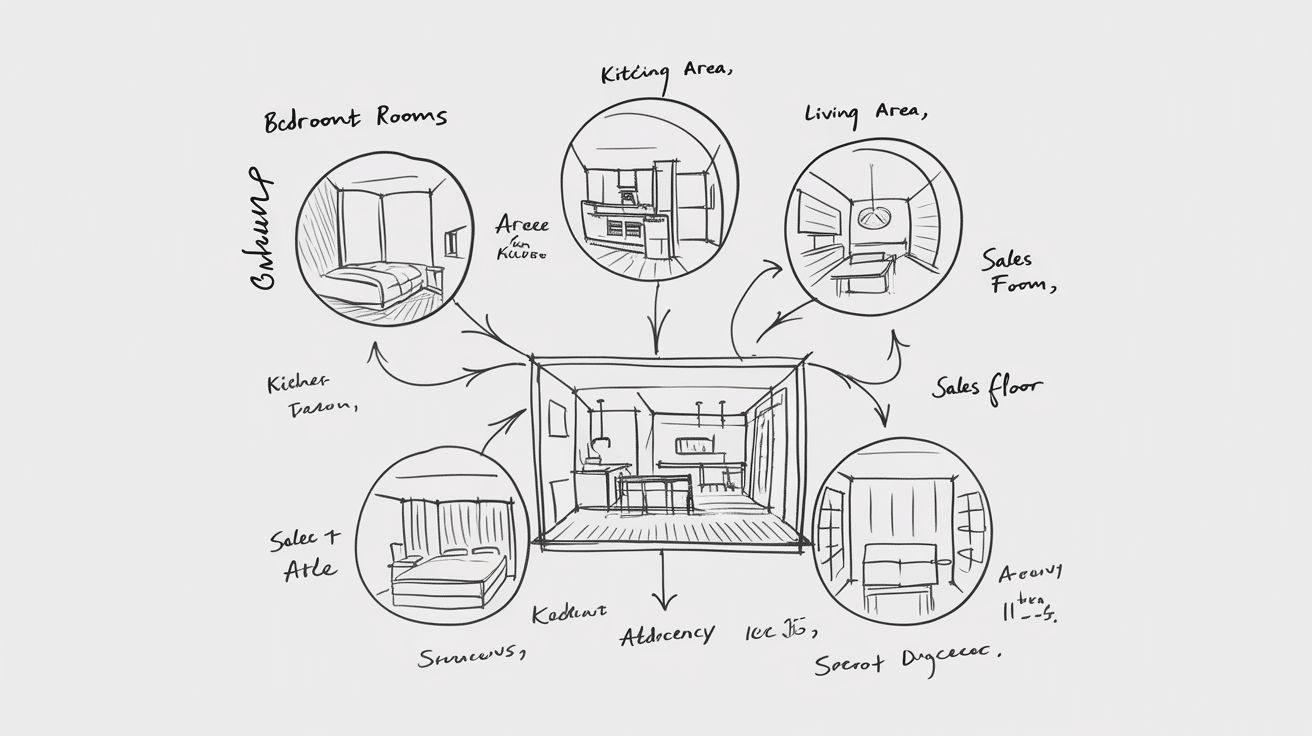
A building program lists all spaces you need and what each space must do. Think of it as your design map.
This plan helps you fit all parts into one whole building.
Start by writing down all rooms and areas your building needs.
For a home, list bedrooms, kitchen, and living spaces. For a shop, think of sales floor, storage, and staff rooms. Note how big each should be and what happens there.
- Rank spaces from most to least vital to stay on budget
- Measure similar rooms you like to get real-world size ideas
- Create bubble diagrams showing how spaces flow into each other
Your wish list might be long, but your land and money have limits.
Be ready to cut some items or find ways to make spaces serve more than one need. Good design finds this balance between what you want and what you can have. Think of needs first, then add wishes as space and money allow.
Develop Your Initial Design Concepts
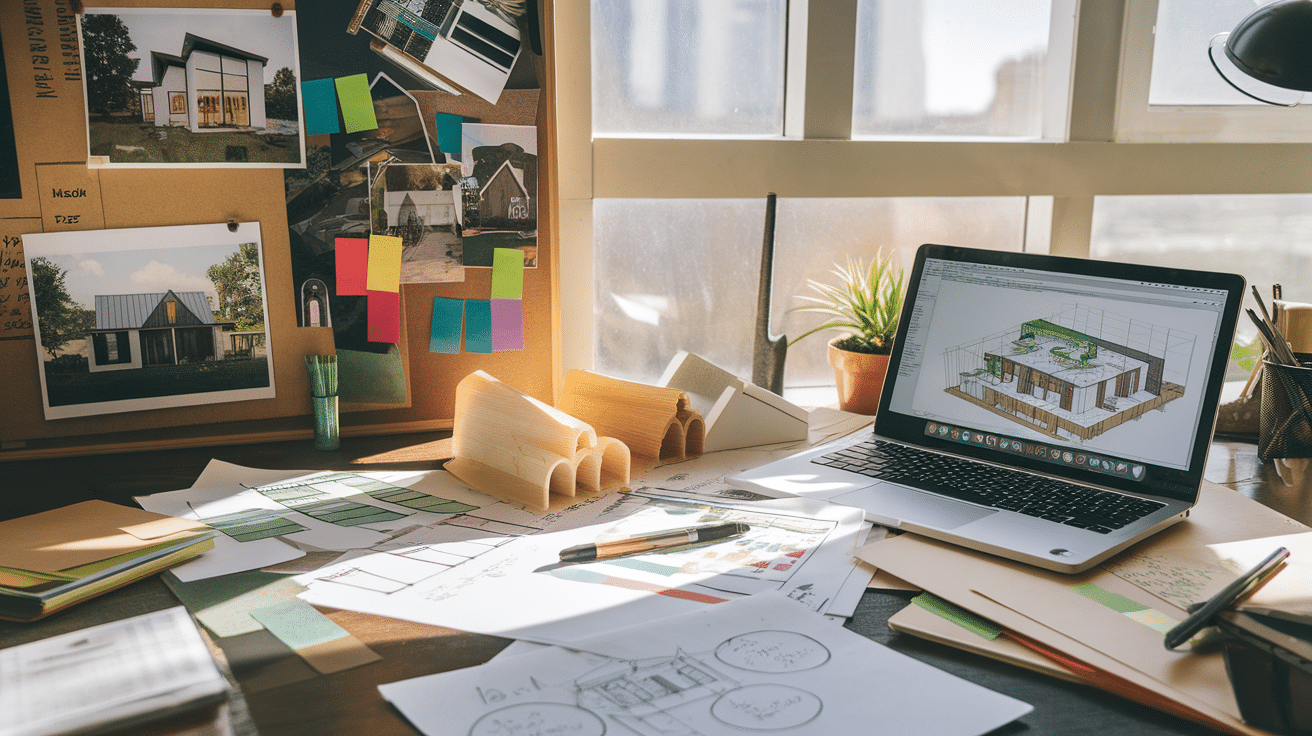
Begin with simple hand sketches of your ideas.
Quick drawings help you test thoughts without much time spent. Collect photos of buildings you like and make a mood board to guide your style choices.
Look at common house styles to find what fits your taste. Think about green design from the start – good sun use and air flow save money over time.
Your early picks shape all later work, so take time here to find what you truly want.
- Draw bubble diagrams first, then rough floor plans
- Save images from blogs and websites that match your vision
- Make notes about what you like in each image you save
Even as a beginner, basic digital tools can help. Free or low-cost options like SketchUp let you see your ideas in 3D.
You don’t need to be a pro – just learn enough to test out room sizes and shapes. These tools show how light will move through your spaces. They also let you walk through your plan before any real building starts. This helps catch problems early when they’re still easy to fix.
Crafting Preliminary Plans and Layouts
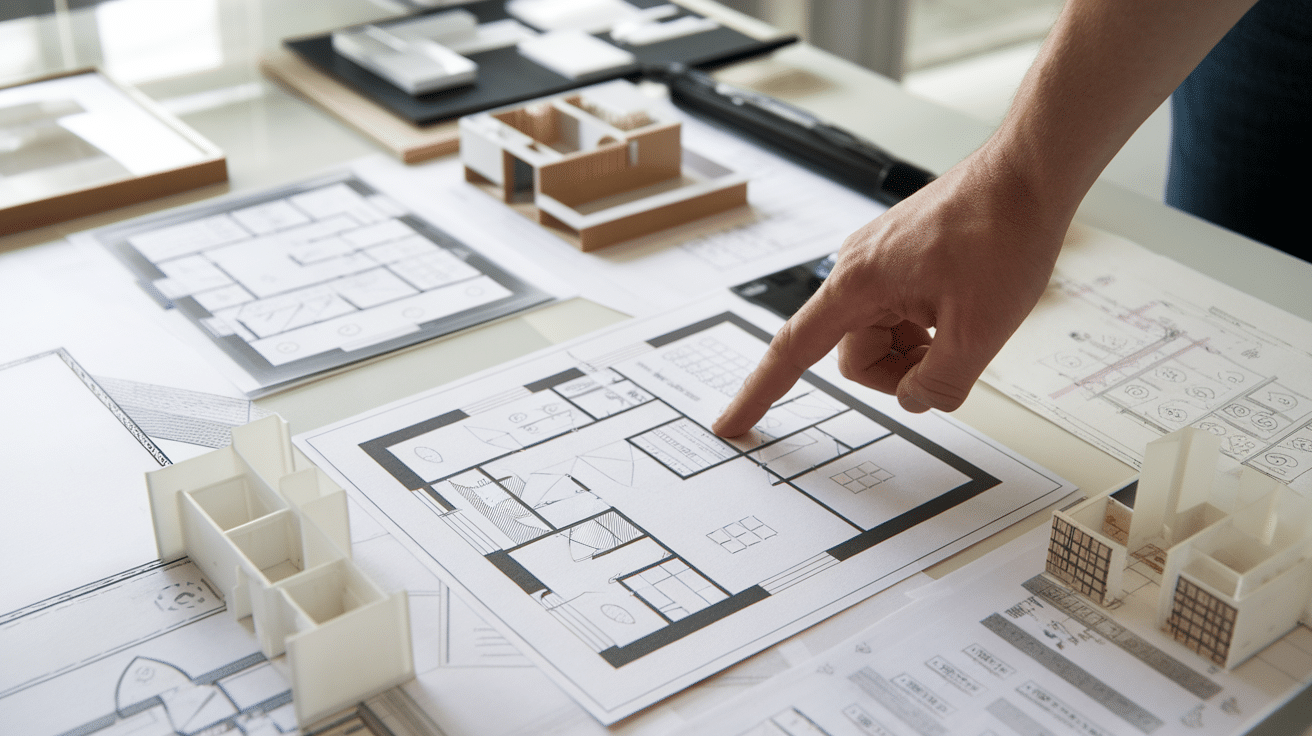
Now it’s time to turn your rough ideas into proper floor plans.
Start with the main floor plan showing walls, doors, and windows.
This shows the real size and shape of each room.
Add plans for each floor if your building has more than one level.
Good room flow matters more than you might think.
People should move easily from one space to the next. Put rooms that work together close to each other.
The kitchen near the dining room makes sense. A quiet study should be far from noisy parts of the house.
- Check door swings and make sure they don’t block paths
- Allow at least 3 feet for main walking paths through rooms
- Plan for furniture placement in each room from the start
Show your plans to friends, family, or fellow students. Ask them what works and what doesn’t. Use their input to make your design better.
Don’t take this as bad news – it’s a normal part of design. Even top building pros change their plans many times. Make small paper models or print your plans. Walk through each room in your mind. How does it feel? What could work better? Fix these issues now while it’s still easy and cheap.
Team Up: When and Why to Consult Architects and Engineers

Most good building designs need expert help at some point. Architects know how to make spaces work well and look good.
Engineers make sure the building stands strong and all systems run right. Their skills make your design safer and better in the end.
Call in pros early if your project is big or tricky. An hour with an expert at the start can save days of fixes later. For home plans, you might only need brief help.
For larger work, a full team makes sense. The cost of their help often pays for itself by cutting waste and fixing problems before they grow.
- Structural engineers check if your design can stand safely
- MEP engineers plan heating, cooling, and power systems
- Landscape architects help your building fit its site
Be clear when you talk to these pros. Bring your sketches, notes, and ideas. Tell them what matters most to you in the design. Ask questions when you don’t understand something they say.
Good pros explain things in simple terms. Keep a shared file of all plans and changes so everyone works from the same info. This team approach leads to buildings that work well, look good, and last long.
Build Smart: Structural and Material Considerations
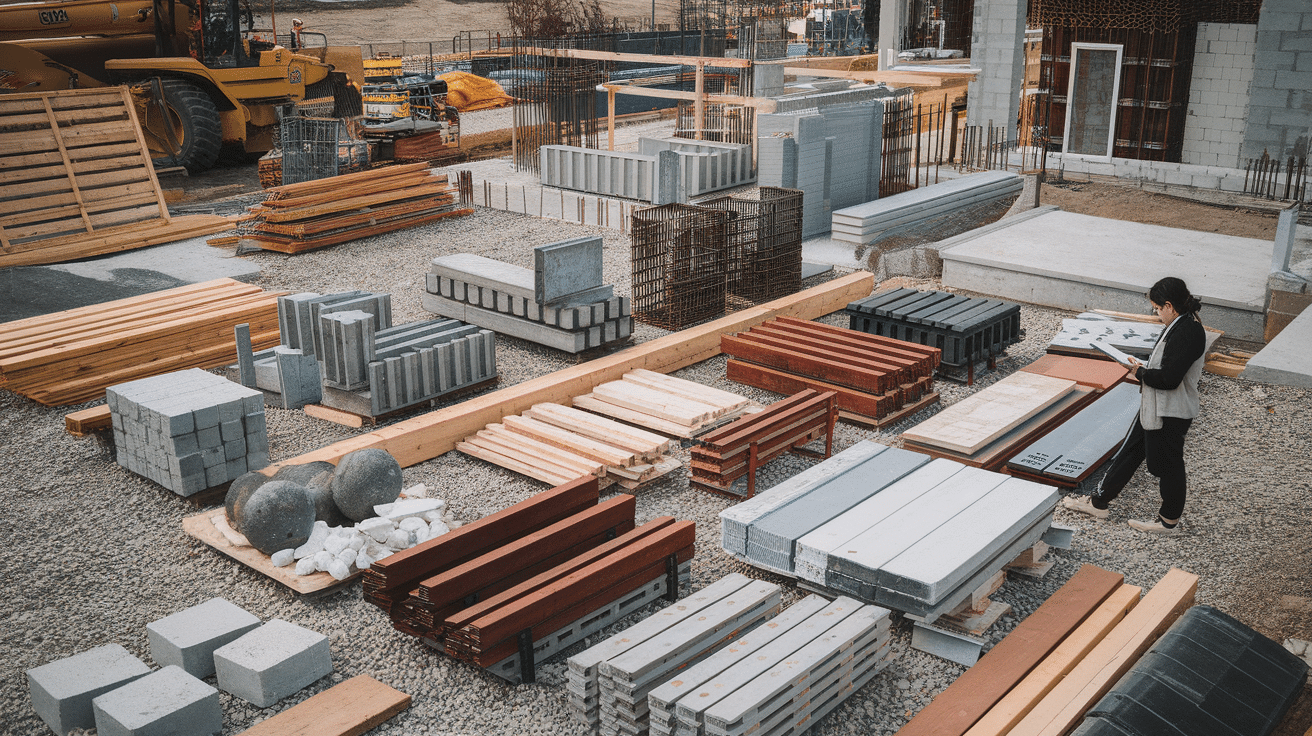
Your building needs a good frame to stay up for years. Common methods include wood framing, steel beams, or concrete blocks. Each has good and bad points.
Wood costs less but might not last as long. Steel and concrete cost more but stand stronger.
Pick building parts that match your needs and cash. Some cheap materials end up costing more later when they break down fast.
Look at both the first cost and the long-term cost of each choice. Wood floors feel warm but need more care than tile. Brick walls last long but cost more to put up than siding.
- Choose roof materials based on your local weather
- Pick flooring that suits each room’s use and traffic
- Select windows that help keep heat in or out as needed
Green building helps both the earth and your wallet. Good wall wrap keeps heat where you want it. Smart window choice cuts power bills.
Think about where materials come from and how they’re made. Local goods often use less fuel to ship. Try to pick stuff that won’t harm people or the land. These small choices add up to a building that costs less to run and feels better to live or work in.
Finalize & Prepare: Ready Your Design for Construction
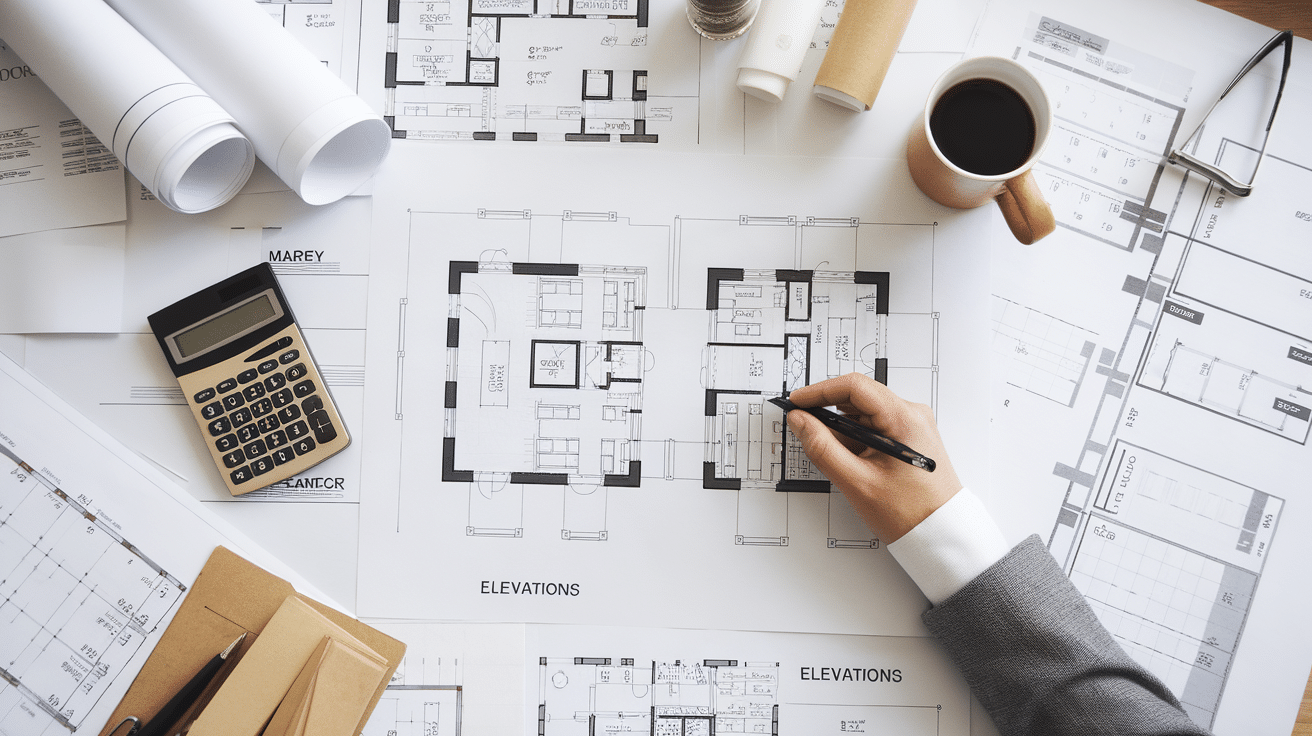
Take all the input you’ve gotten and make final changes to your plans.
Check that all parts match up right. Fix any spots where systems might clash, like pipes going through support beams. This final check stops big problems during building.
Your final pack needs clear, full plans. Include floor plans with all sizes marked. Add wall views showing heights and looks. Put in close-up views of tricky spots. Mark where all power, water, and air systems go. These clear plans help workers build what you want with fewer questions.
- Label all rooms, doors, and windows with sizes
- Include notes for special items or methods
- Add a list of all materials with types and grades
Set clear money plans based on real costs, not wishes. Get price quotes from local stores for big items. Add extra money (about 15%) for surprise costs that always come up.
Make a time plan that shows each step of the build. Know that weather, supply issues, and worker time all affect how fast things go. Be ready to wait longer than you first think. With good plans and real time and money goals, your project has the best chance to turn out just as you hoped.
Final Thoughts
Taking a building from idea to real life needs care and planning. Each step we covered forms part of a path to your finished design.
The best building plans start with clear goals and grow through smart choices. By learning your site, following local rules, and planning spaces well, you set a strong base. Turning rough ideas into solid plans asks for both skill and heart.
Remember that good design takes time. Be patient with the process. Learn from each step. Ask for help when you need it.
Now you have the basic tools to start your first design work. With this guide in hand, you’re better set to create a building that works well, looks good, and meets your needs. Your design path starts here.