Looking for a splash of lively color on your balcony?
Plumago is the best choice for it. They have a way of making any space calm, bright, and full of life. Have you ever thought of having this beautiful plant, but thought you needed a big garden for it to grow?
Good news: they do surprisingly well in pots. Whether you have a balcony where sun rays fall crazy, a small patio, or just a person who doesn’t like to get into too much depth for taking care of a plant, then this low-maintenance plant is perfectly fit.
I’ll show you exactly how to grow plumbago in pots. No expert skills needed.
What is Plumbago?
The plumbago, also known as the sky flower, is a charming shrub that originated from South Africa and is now flourishing in South Florida.
- It blooms all year long, filling your garden with soft clusters of delicate white flowers that bring a dreamy, cottage-like charm.
- Butterflies adore it, but deer don’t, making it a perfect choice for gardeners who want beauty without the worry of hungry visitors.
- Its trailing vines are strong and flexible, perfect for ground cover or softening the edges of garden beds.
The contrast between its lush green leaves and bright white blooms creates a striking visual, and its natural, slightly untamed growth habit adds a touch of wild elegance to any outdoor space.
Why Plumbago in Pots?
Growing plumbago in containers is convenient, smart, and allows you to enjoy this stunning plant’s beauty even in the smallest spaces, with added control and year-round protection.
1. Perfect for tight spots: Plumbago thrives in pots on small areas and balconies where you couldn’t plant it in the ground. It brightens up any tiny corner of your house.
2. Weather protection: When winter hits, simply keep your plumbago pots inside. Many people lose their garden plants in winter, but these potted beauties stay safe and warm.
3. Keeps it in Check: If not in pots, plumbago plants can take over half of your garden space. Container-tame them nicely so you do not have to spend your weekend cutting them out.
4. Happy plant, Happy life: Plumbago struggles in heavy clay soil until you move it to the pot with sandy, slightly acidic soil, then it will bloom like crazy from spring to fall.
5 Clear and Practical Steps to Pot a Plumbago Plant Successfully
These simple steps will help your plumbago thrive in its container home.
Step 1: Choose the Right Pot
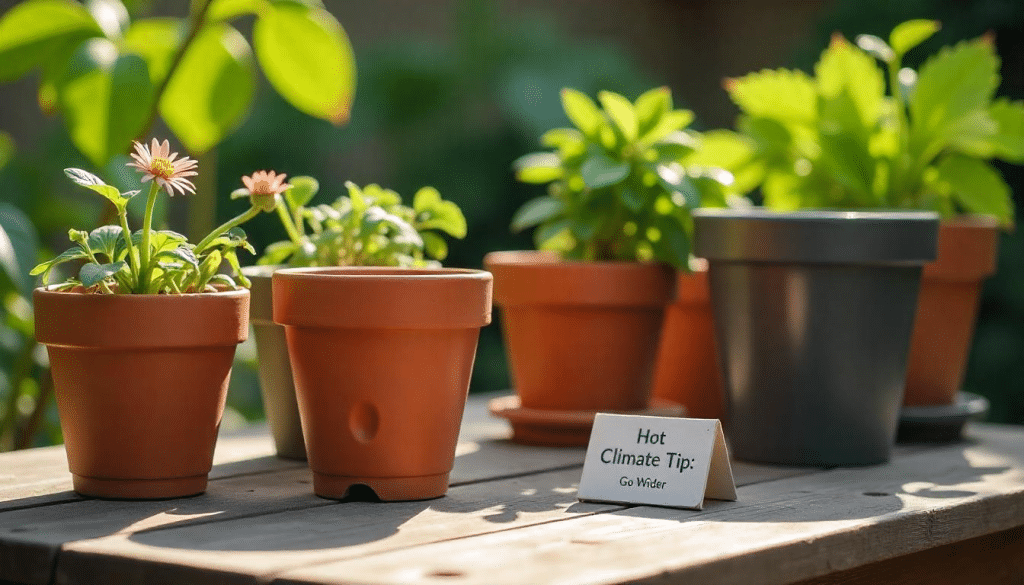
Pick a pot that gives your plumbago room to grow. The pot should be big enough for roots to spread but not too large.
- Select a 12-16 inch pot with holes for water to drain
- Clay pots let soil breathe but dry out faster
- Plastic or fiber pots stay moist longer and weigh less
Pro Tip: Add 1-2 inches extra pot width if you live in a hot climate, as this gives roots more space to stay cool.
Step 2: Prepare the Potting Mix
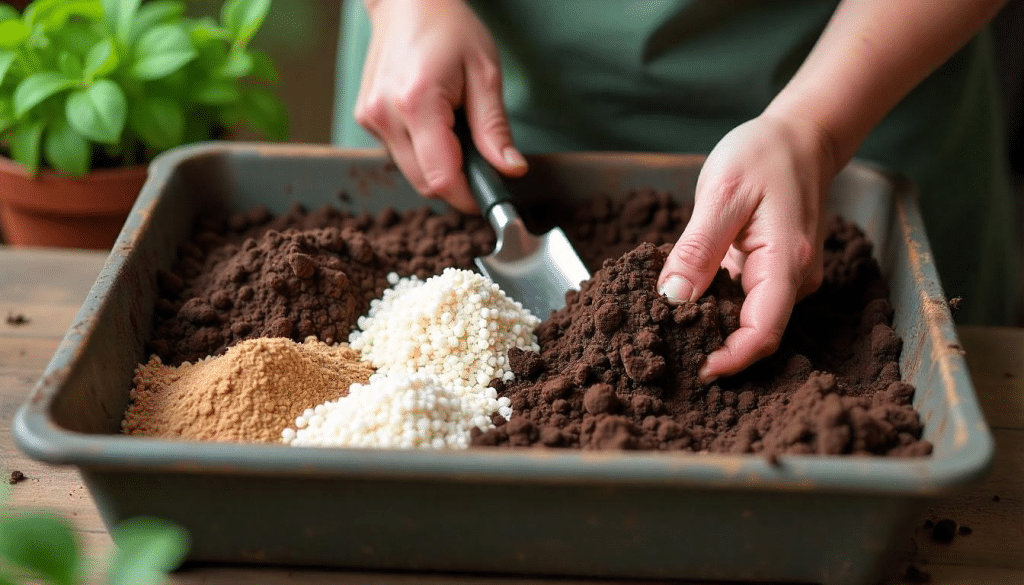
The right soil mix helps plumbago roots get both air and water. Good soil means strong growth and more flowers.
- Mix 2 parts basic potting soil with 1 part perlite or coarse sand
- Add 1 part compost for slow-release food
- Avoid heavy garden soil that stays too wet
Pro Tip: Test drainage by wetting a handful of your mix – it should feel damp but not soggy, and water should flow through freely.
Step 3: Position the Plant
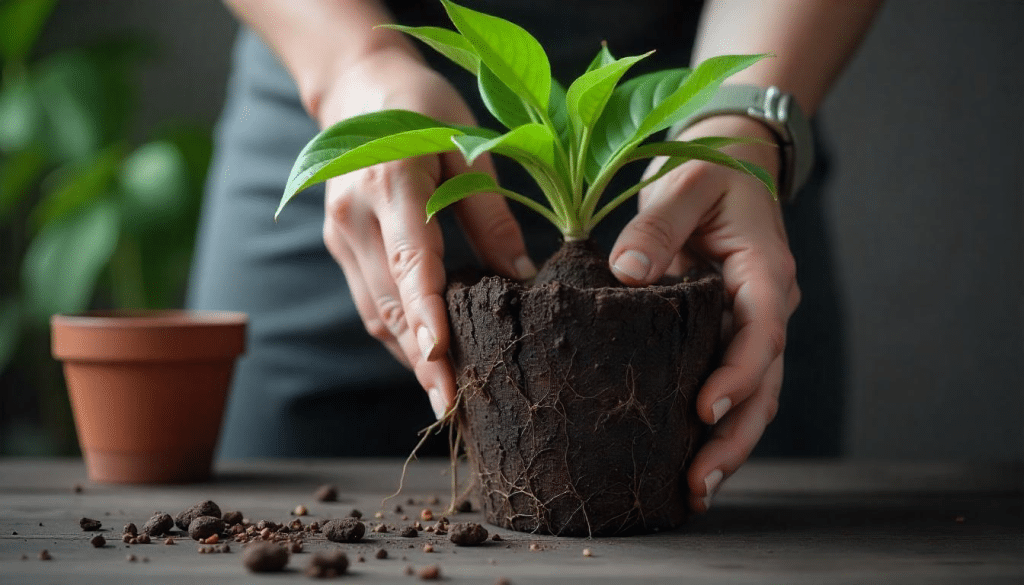
Check your plumbago’s roots to prepare it for its new home. Healthy roots lead to a healthy plant.
- Put a thin layer of small rocks at the bottom of the pot
- Take the plant from its store pot and check the roots
- Gently pull apart any roots that look twisted or crowded
Pro Tip: If roots are very tight, make four small cuts with clean scissors from bottom to top of the root ball to help them grow outward.
Step 4: Pot the Plant
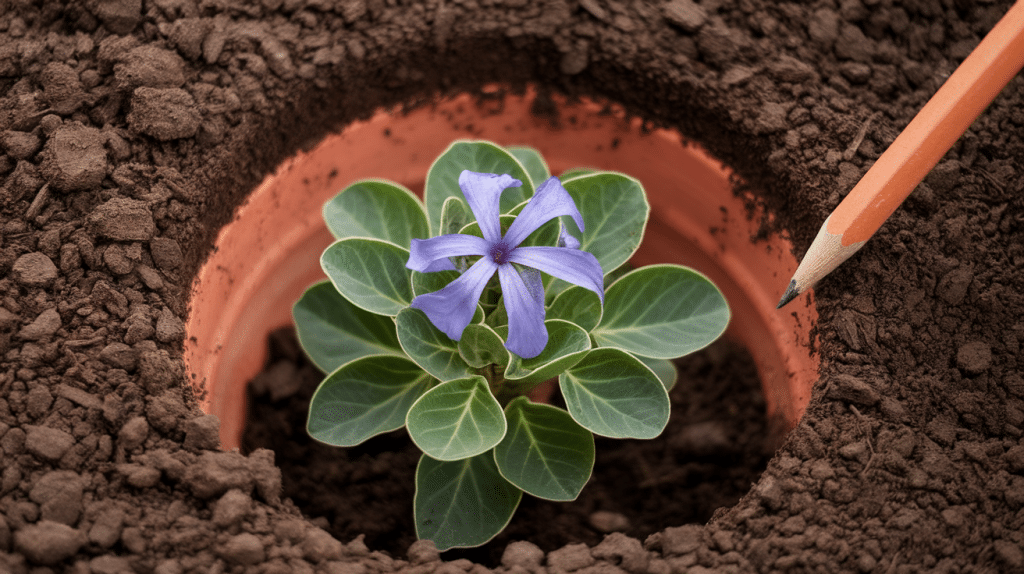
Put your plumbago in its new pot at the right depth. Too deep or too shallow can harm plant health.
- Place the plant in the center of the pot
- Fill soil around the sides, leaving the top of the roots just below the rim
- Press the soil down firmly but not too hard
Pro Tip: Use a stick or pencil to poke the soil and remove air pockets that could dry out roots.
Step 5: Water and Place
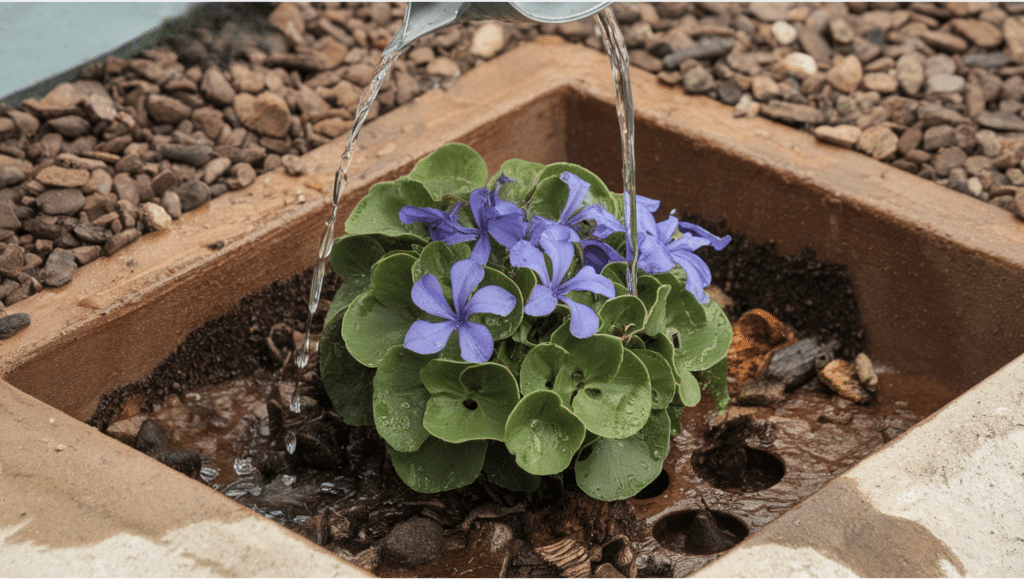
The first watering sets up your plumbago for success. The right spot means more flowers and less work.
- Water until it runs from the bottom holes
- Set the pot where it gets at least 6 hours of sun
- Check soil with your finger – water when the top inch feels dry
Pro Tip: Add a layer of small rocks or mulch on top of the soil to keep moisture in and reduce how often you need to water.
Best Pot Types for Plumbago
Here is a table for you for a better understanding of pot types:
|
Pot Type |
Recommended Size |
Material |
Drainage |
Depth |
Design Tips |
|
Terracotta |
12–16 inches in diameter for mature plants |
Porous clay (unglazed) |
Excellent – naturally breathable, often has drainage holes |
Deep enough for 12–18 inch root growth |
Natural, rustic look; ideal for Mediterranean-style gardens or patios. |
|
Plastic |
10–14 inches in diameter |
Lightweight plastic |
Ensure bottom drainage holes are present |
Moderate depth (12–15 inches) |
Great for balconies; use brightly colored or patterned pots to add vibrancy. |
|
Ceramic (Glazed) |
12–18 inches in diameter |
Glazed ceramic |
Needs drainage holes drilled if absent |
Deep (15–20 inches) |
Choose elegant or patterned finishes to complement architectural spaces. |
|
Concrete/Stone |
14–20 inches in diameter |
Concrete or stone |
Drill or ensure pre-made holes |
Deep (18+ inches) |
Works well in formal gardens; neutral tones blend seamlessly with surroundings. |
|
Self-Watering |
10–14 inches in diameter |
Plastic with reservoir |
Has controlled drainage/reservoir |
Shallow to moderate depth |
Suitable for low-maintenance gardening, especially in hot climates. |
Placement Tips
- Plumbago flowers best with 6+ hours of sunshine daily.
- Plumbago thrives with bright morning light and some afternoon shade.
- In winter, keep your plumbago plant in sunlight as much as you can; it won’t bloom much, but it will survive well.
- Keep your plant pot in full sun and shift to partial shade when the fall season approaches; this will keep your plant healthy.
- When plumbago leaves turn yellow during peak summer, shift your pot into shade after 2 pm, which will solve this problem.
Maintenance Tips
- Plumbago flourishes when gardeners let the top inch of soil dry between thorough waterings, especially during summer.
- Who grows plumbago successfully applies balanced liquid fertilizer every two weeks during the growing season.
- Plant owners give their plumbago a trim every spring, which leads to a bushier plant.
- Gardeners develop the habit of checking leaf undersides weekly for tiny insect mites.
- Smart northern gardeners bring their potted plumbago indoors when temperatures approach towards high side.
Conclusion
With a bit of care, your potted plumbago will reward you with months of beautiful blue flowers. You will grow these plants for years and will still smile every time you look at them.
What is the most loving part about plumbago is how easy they are. Missed watering them? It bounces back. Want to move it? No problem. Even people who kill most of their plants have kept their plumbago alive for the seasons
Get the right pot, give it some sunlight, and simply follow this guide. Soon, you will have beautiful plants. Share your experience with us! Happy planting.
Frequently Asked Questions
Does Plumbago Do Well in a Container?
Yes, plumbago grows well in containers as long as you provide proper drainage and enough space for its root system.
Does Plumbago Like Sun or Shade?
Plumbago thrives in full sun but can handle partial shade. It blooms most abundantly with 6-8 hours of direct sunlight daily.
Is Plumbago Hardy in Pots?
Plumbago is not fully hardy in pots. In cold regions (below zone 8), move containers indoors during winter to protect the plants from frost.