Outdoor cooking can be much more fun when you have a proper setup for your grill. Yet, many backyard chefs struggle with makeshift tables or limited counter space. This makes cooking harder than it should be.
I know the feeling all too well. A wooden grill surround can resolve this issue permanently.
With simple materials and basic skills, you can create a proper structure that will last for years. This addition will not only enhance the appearance of your outdoor area but also improve its functionality.
This blog will guide you through the process of building your wooden grill surround, from start to finish. You’ll learn steps that anyone can follow. I’ll cover everything, from selecting the wood to applying the final sealer.
Ready to make your grilling spot better? Let’s start.
What Is a Wooden Grill Surround?
A wooden grill surround is a fixed structure built around your outdoor grill. It provides a stable base for cooking, adds counter space for food prep, and can include storage for tools and supplies. Think of it as a mini outdoor kitchen centered around your grill.
These structures can be simple or fancy, based on your needs and skill level. Most surrounds include a counter space, a specific spot for the grill to fit, and some form of lower structure.
The design can complement your yard’s style and enhance both the appearance and functionality of your outdoor cooking area.
Why Choose Wood for A Grill Surround?
Wood makes an ideal material for grill surrounds for several reasons
- Cost-effective: Wood costs less than stone or metal options.
- Easy to work with: You can cut and join wood with basic tools.
- Warm look: Wood adds a natural feel to your outdoor space.
- Adaptability: You can size and shape wood to fit your exact needs.
- DIY-friendly: Even folks with basic skills can work with wood.
The right wood can handle outdoor conditions well when properly treated and maintained.
Essential Planning Steps for Your Project
Planning lays the groundwork for your wooden grill surround. This first step involves checking your space, creating a design, and selecting materials that will withstand outdoor conditions.
1. Space Assessment
Your yard layout determines what you can build. Pick a flat area away from flammable items for safety. Consider how much room you need for the grill, work surfaces, and movement space.
Consider sun exposure and local weather patterns. Don’t forget to check local rules about outdoor structures.
2. Design Choices
Think about how you’ll use your cooking area before finalizing the design. Consider whether a straight, L-shaped, or U-shaped layout is most suitable.
Plan for prep areas on both sides of the grill if possible. Adding storage for tools and perhaps a small seating area can make the space more functional.
3. Material Picks
The right materials help your structure last for years. For wood, consider pressure-treated lumber, cedar with its natural oils, or weather-resistant redwood.
You’ll also need stainless steel screws, outdoor wood sealer, cement board for heat protection, and metal flashing to guard wood surfaces.
8 Steps to Building Your Grill Surround
Building a wooden grill surround requires following a logical order of steps. This ensures your structure will be sturdy, functional, and last for many years outdoors.
Tools and Materials:
This checklist includes everything you’ll need to build your wooden grill surround. Having all items ready before starting will help the project run smoothly and prevent delays caused by missing supplies.
| Tools | Materials |
|---|---|
| Hammer drill (corded) | Pressure-treated lumber (2x4s) |
| Quarter-inch hammer drill bit | Quarter-inch concrete screws |
| Pocket screw jig | Pocket screws |
| Drill/driver | Cement board |
| Jigsaw | Cement board screws |
| Measuring tape | Tape (for layout) |
| Level | |
| Saw (for cutting lumber) |
Step 1: Planning and Layout
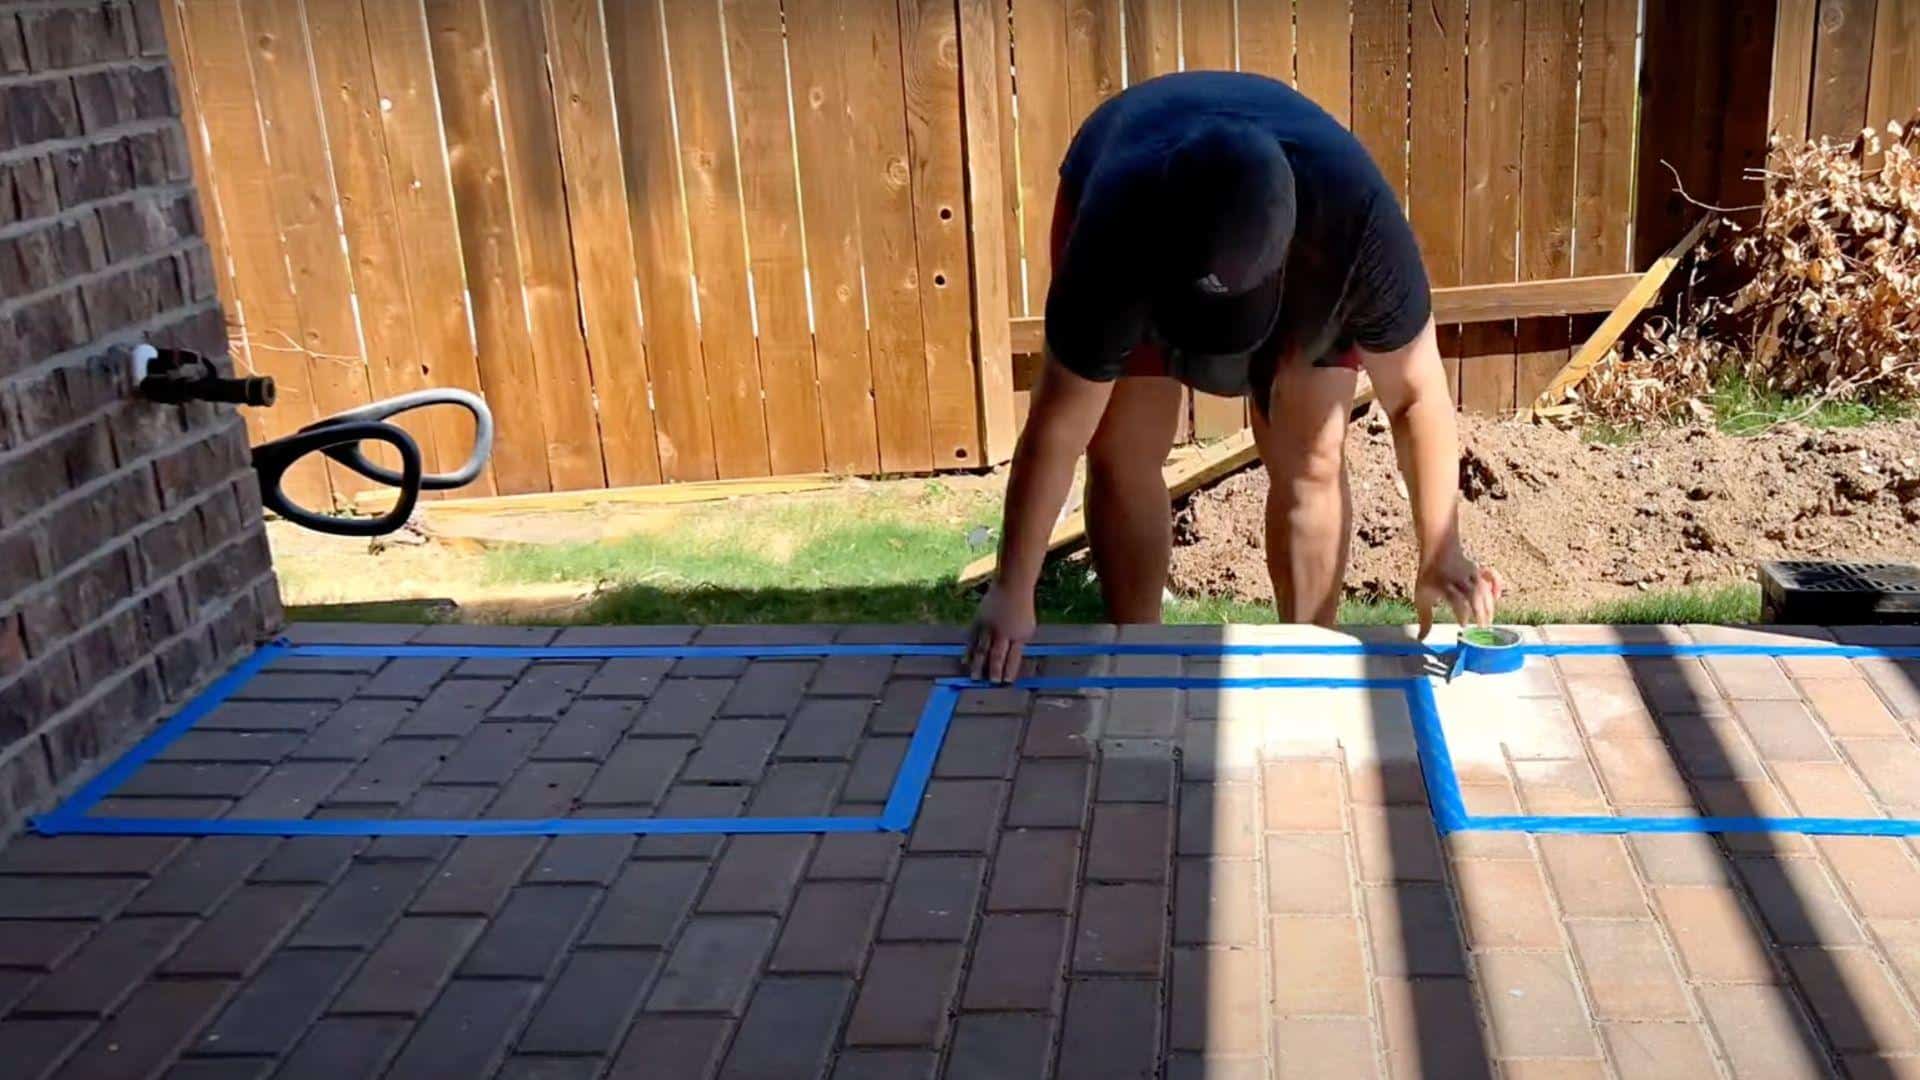
Start by taping off your design on the ground to see where everything will go. This helps you get a feel for the project and catch potential problems early.
Take time to visualize the layout before buying materials or making cuts. Taping saves you from costly mistakes later in the build process.
Sub-tip: Use tape measurements as a guide, but always double-check with actual measurements.
Step 2: Measuring and Positioning
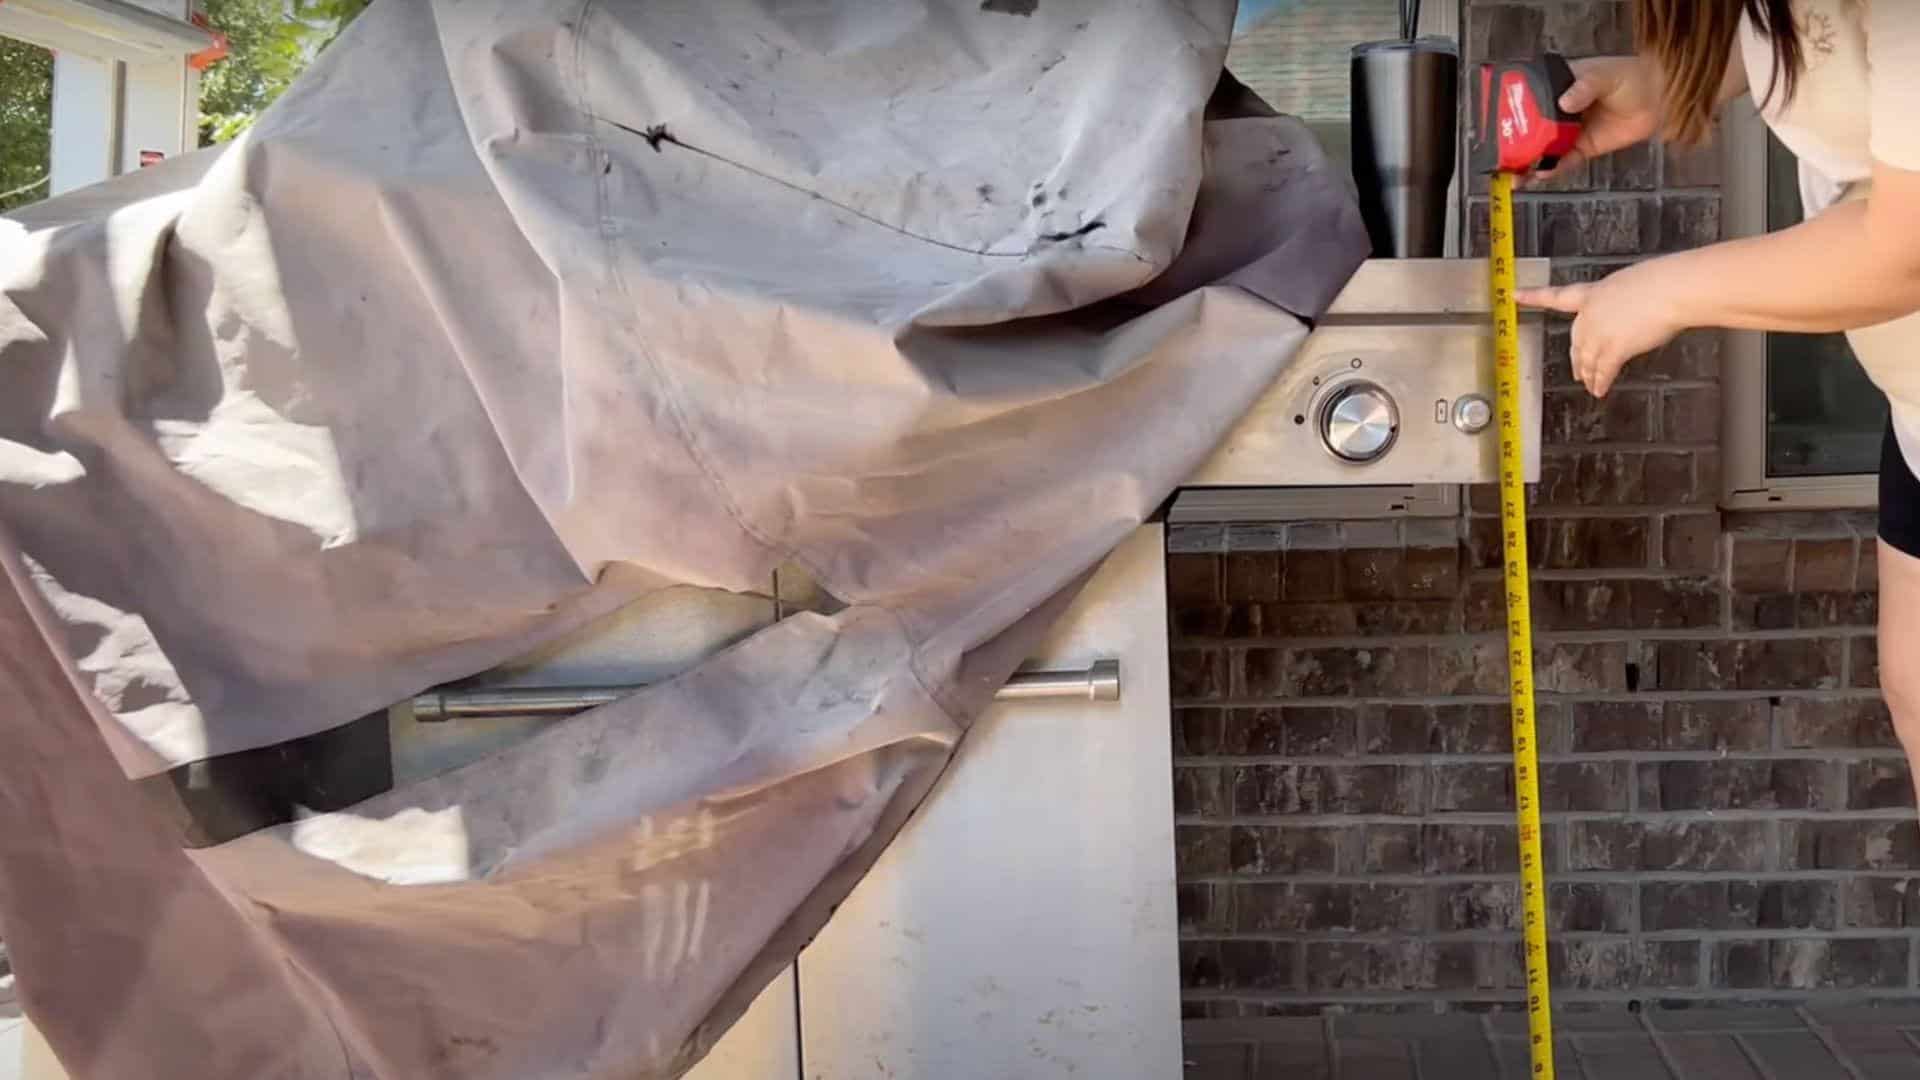
Place your grill in position and measure carefully to ensure the countertop will sit flush with the grill top. Account for all layers, including the base board, cement board, and tile thickness.
Mark where your frame will attach to existing concrete surfaces. Take multiple measurements to avoid errors that could throw off your entire build.
Sub-tip: Line up measurements with reference points like existing dots or marks on your surface.
Step 3: Drilling Concrete Anchors
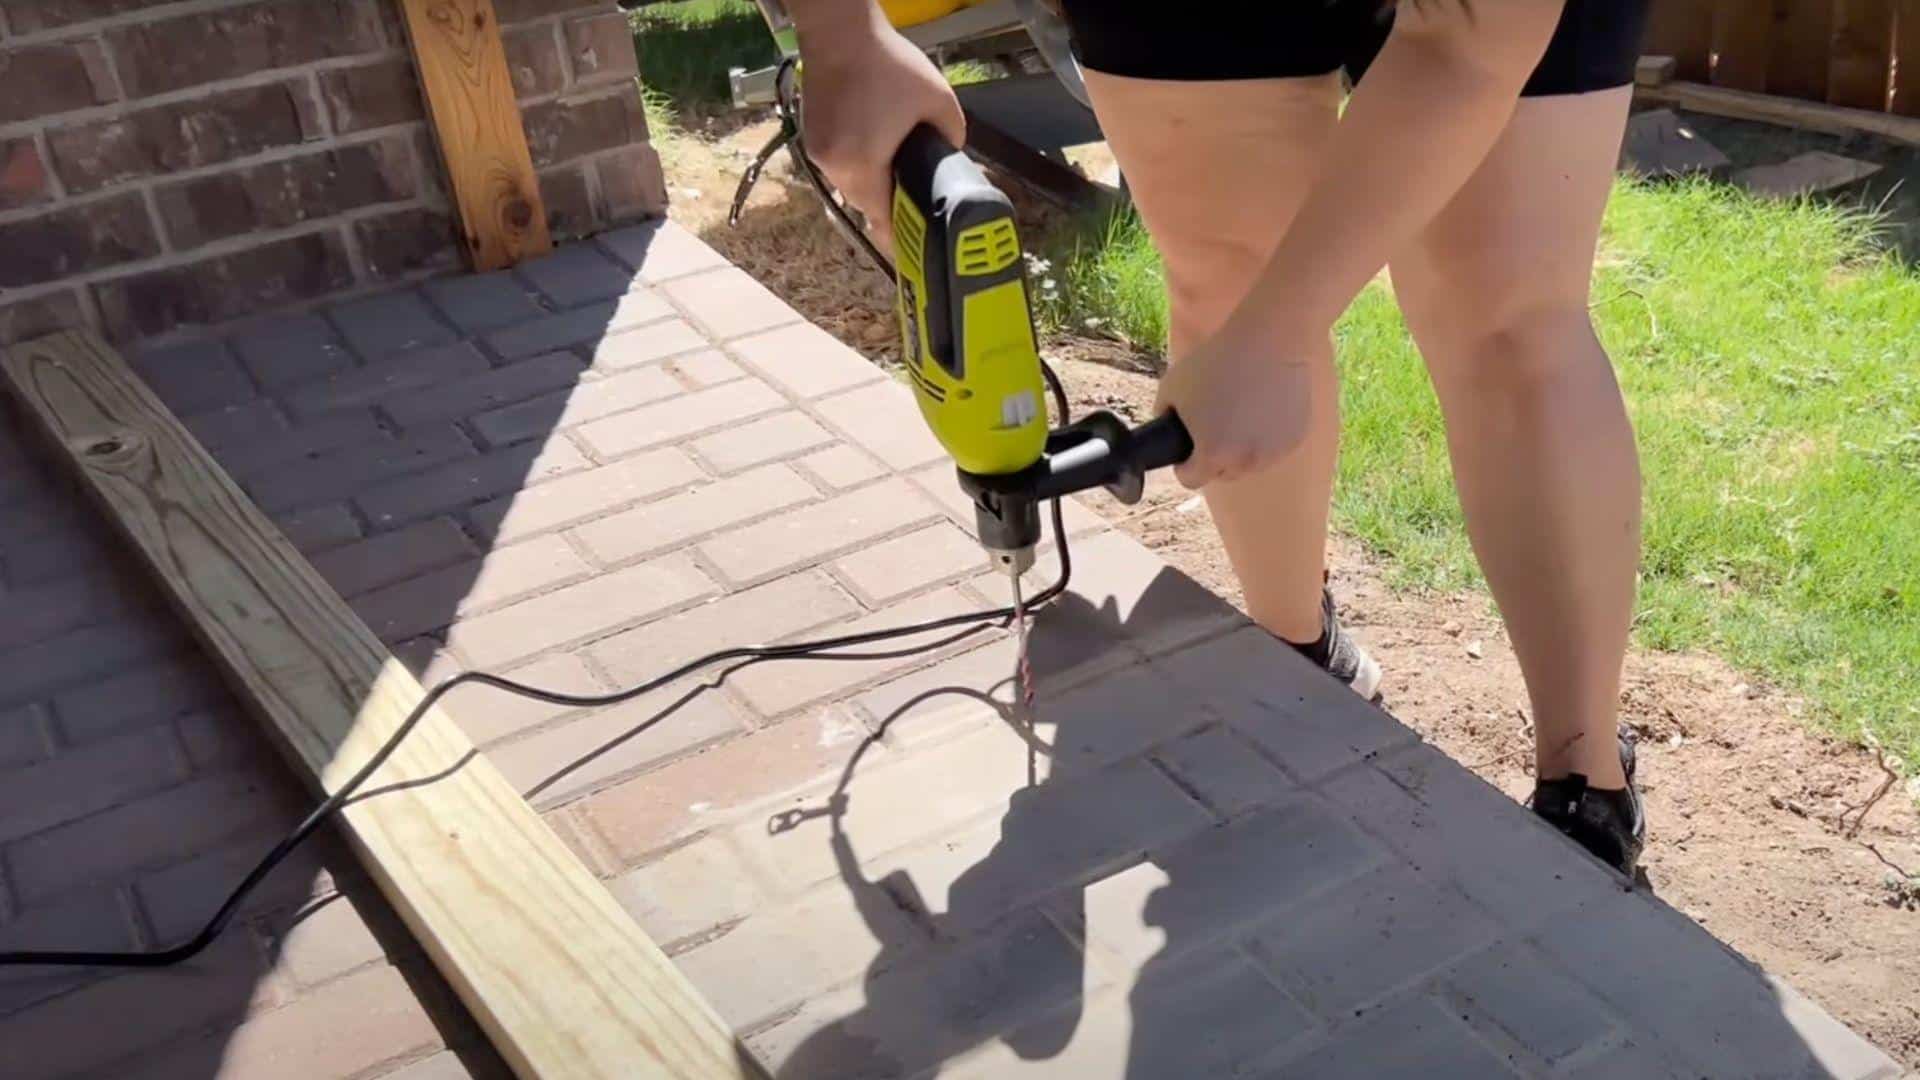
Use your hammer drill to create holes in the concrete for anchor screws. Expect to drill multiple holes, possibly 10-15, depending on your design size.
A hammer drill makes this job much easier than trying to drill concrete by hand. Take breaks as needed since concrete drilling can be physically demanding.
Sub-tip: Make sure your drill bit size matches your screw size exactly for proper fit.
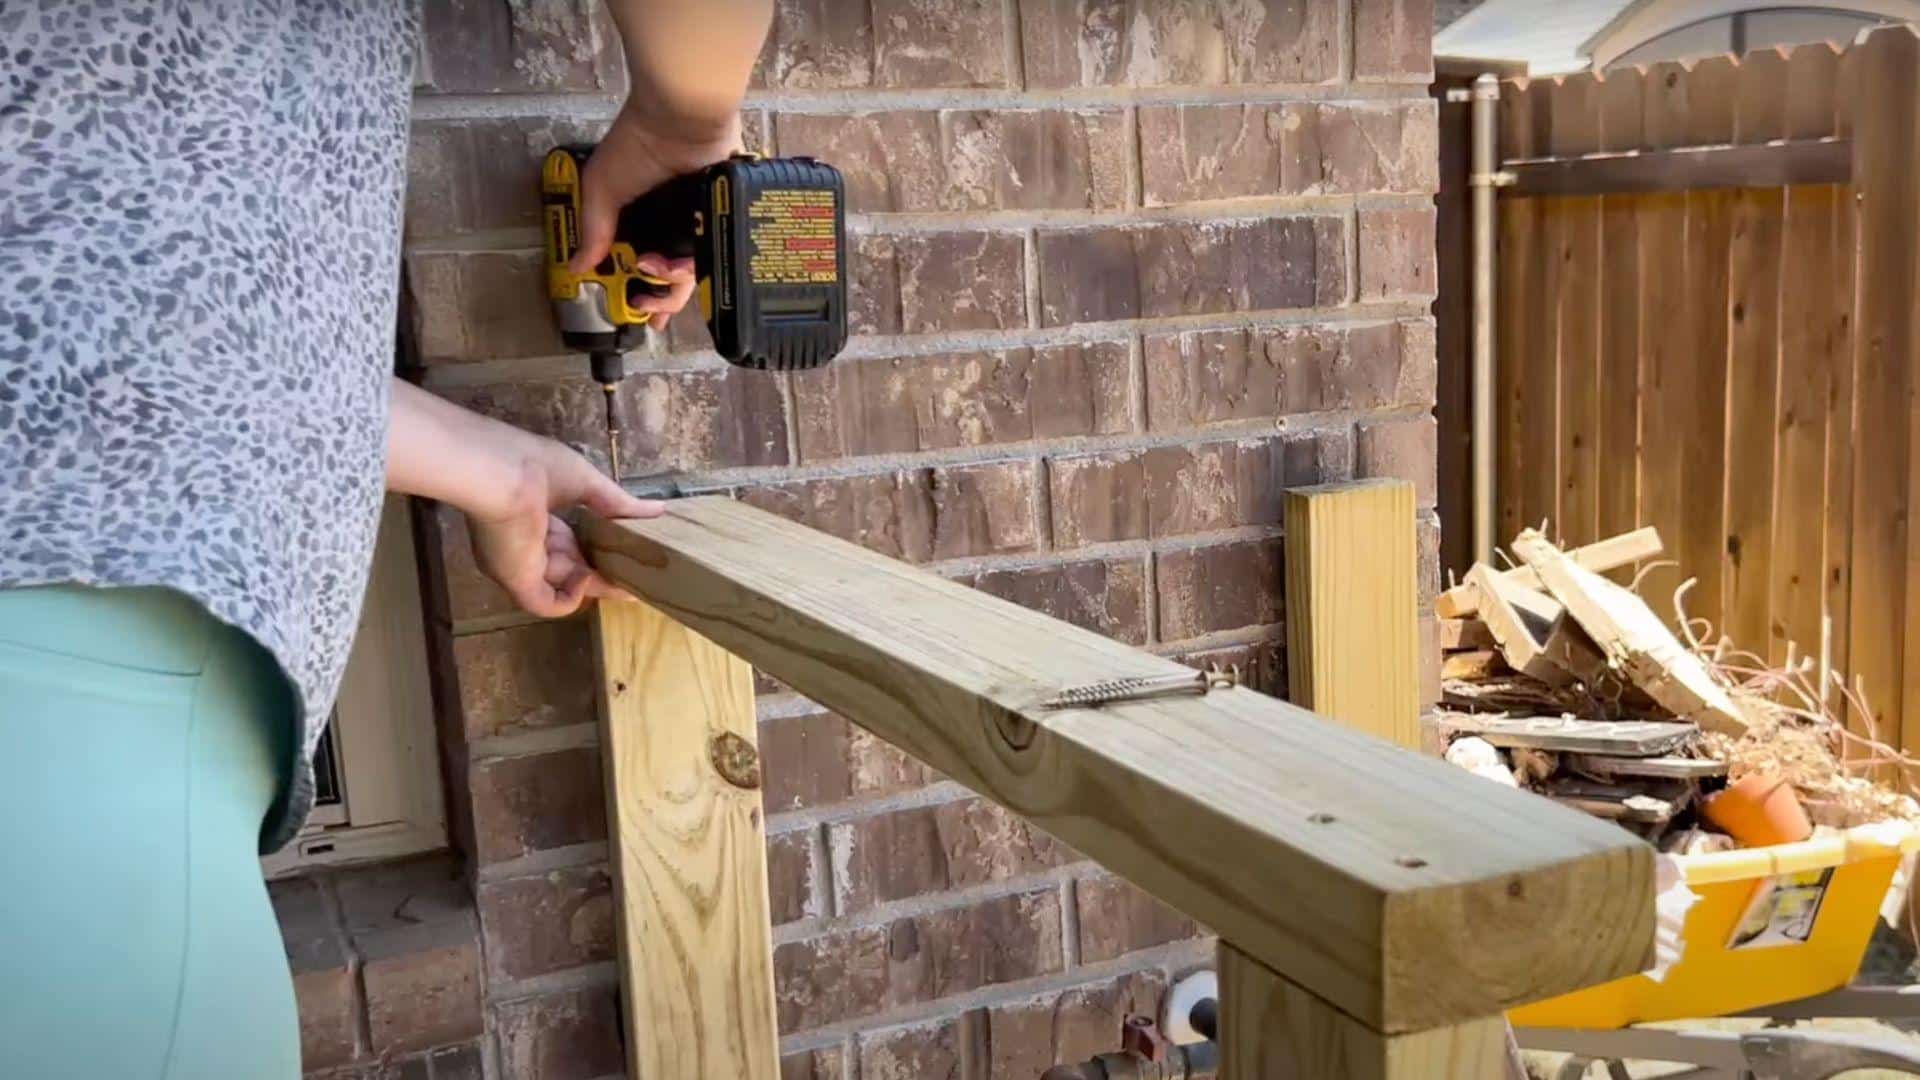
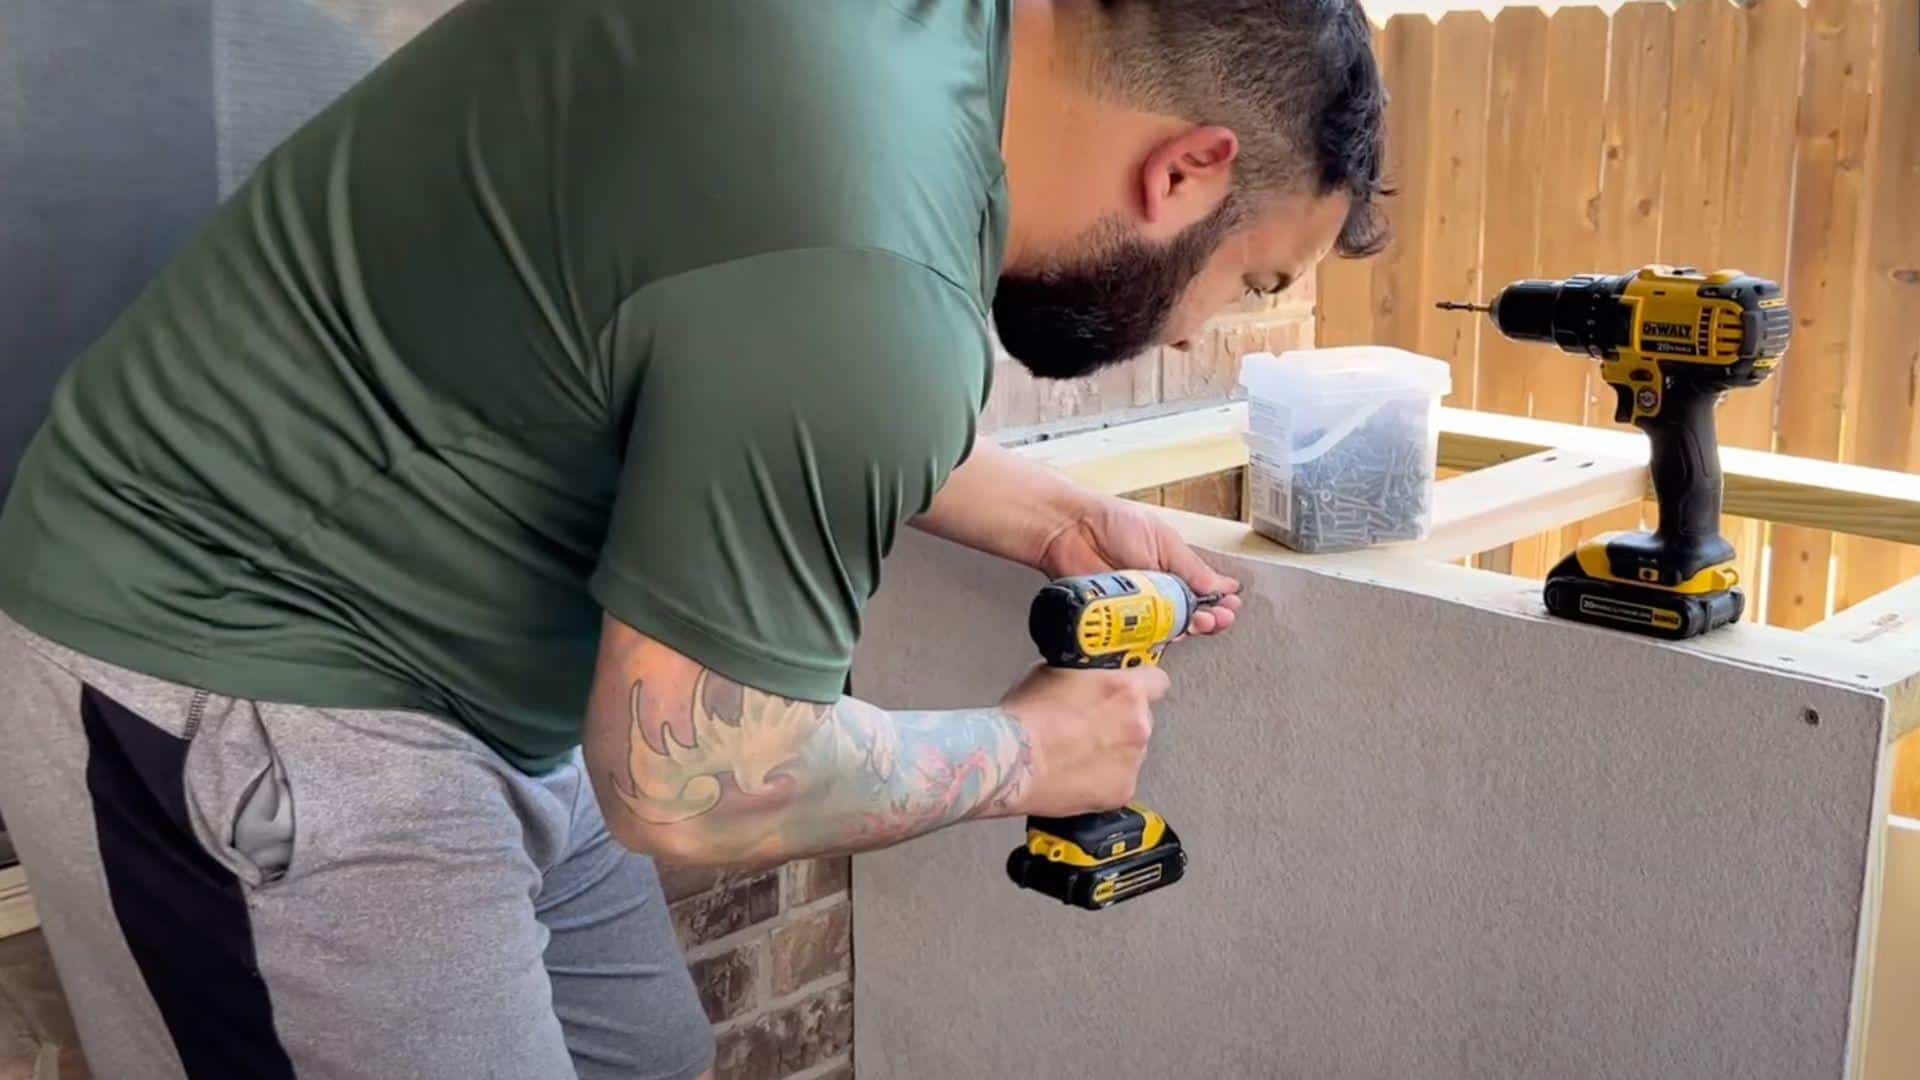
Step 4: Base Frame Construct=ion
Attach the back frame piece first using concrete screws through your pre-drilled holes. Cut and prepare all your base framing lumber to the correct dimensions.
Connect front and back braces, then add side pieces using pocket screws. This creates a solid rectangular base that matches your grill’s footprint.
Sub-tip: Pocket screws work great but take patience when drilling the angled holes.
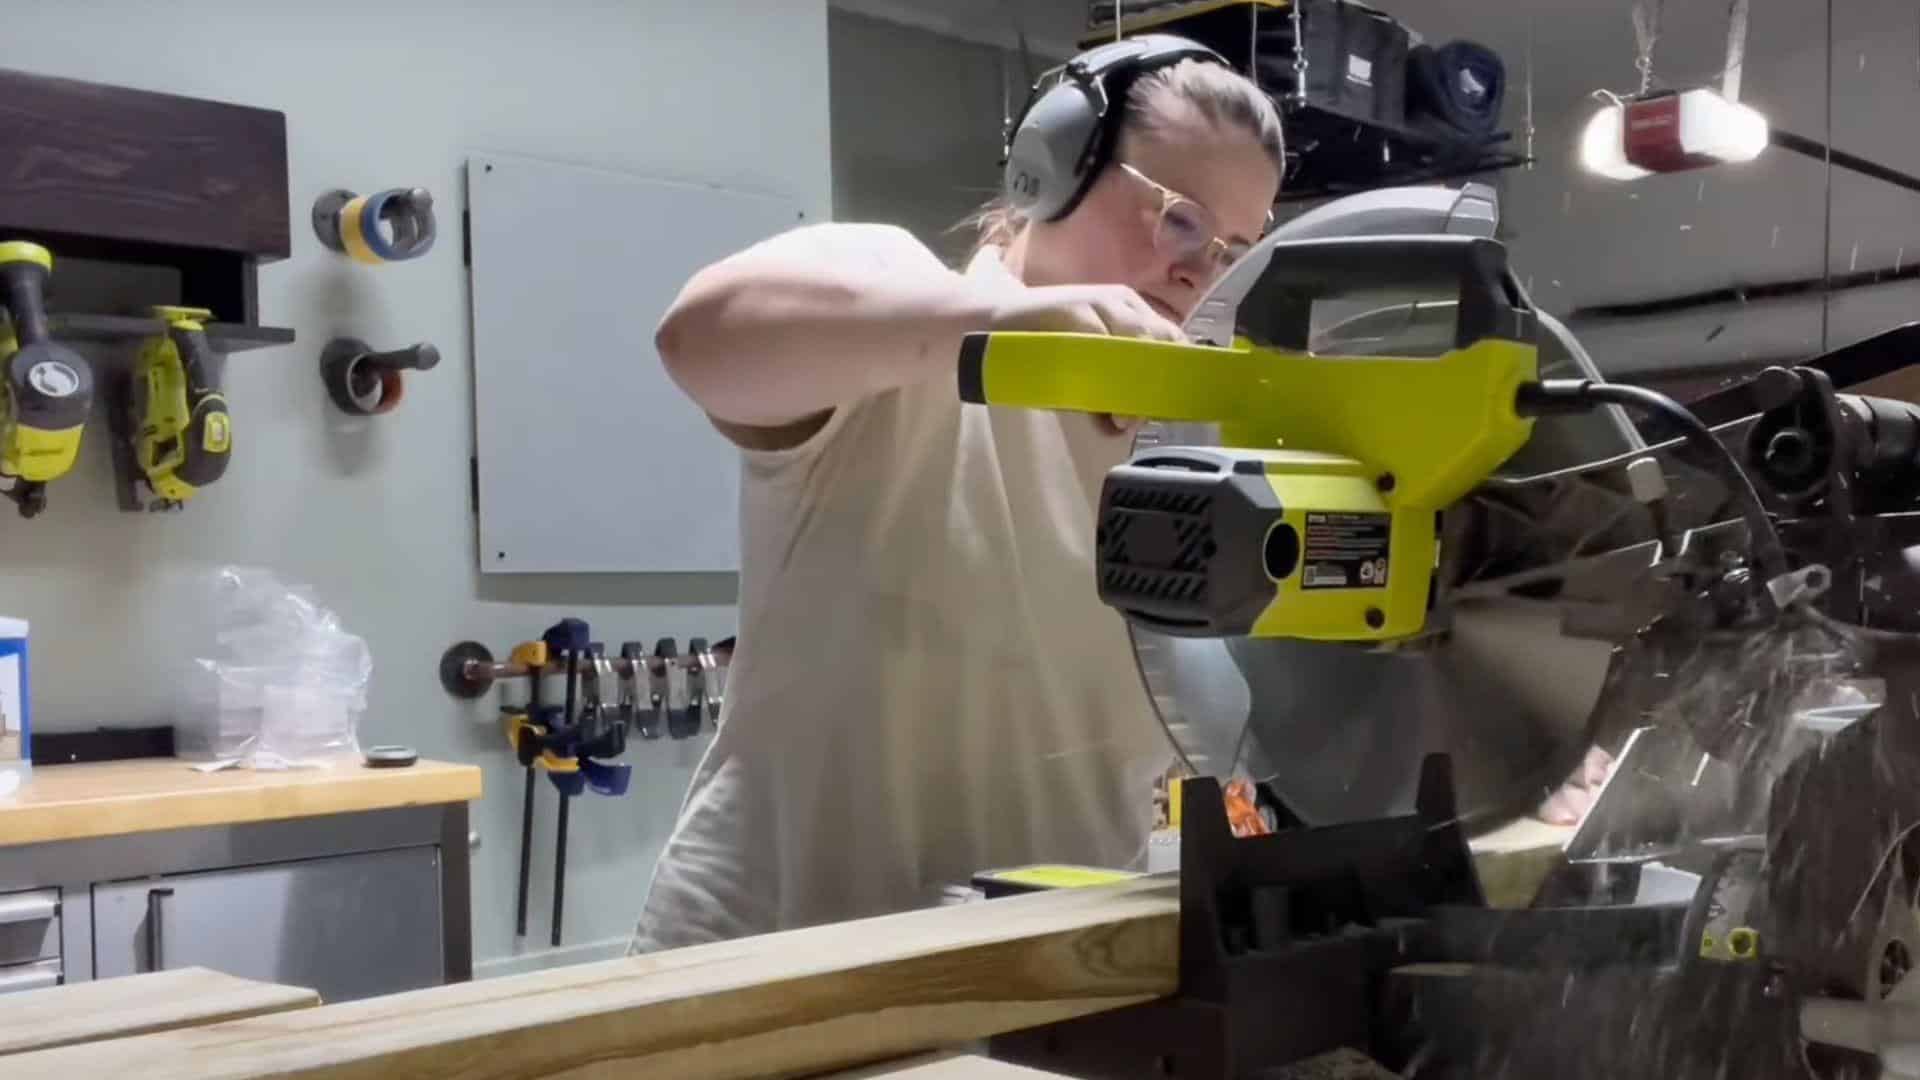
Step 5: Vertical Frame Installation
Cut all vertical pieces to the same length, taking into account the countertop thickness and top frame height. Measure several times to ensure your math is correct.
Install vertical supports at regular intervals around your base frame. Remember to create cutouts for grill features like side burners if needed.
Sub-tip: Don’t forget special features like side burner spaces during the framing stage.
Step 6: Top Frame Assembly
Build the top frame to mirror your bottom frame dimensions exactly. This creates the structure that will support your countertop surface.
Measure and cut pieces for any built-in features or openings your grill requires. Test-fit everything before final attachment to avoid problems.
Sub-tip: Create separate boxes for special features, such as side burner areas.
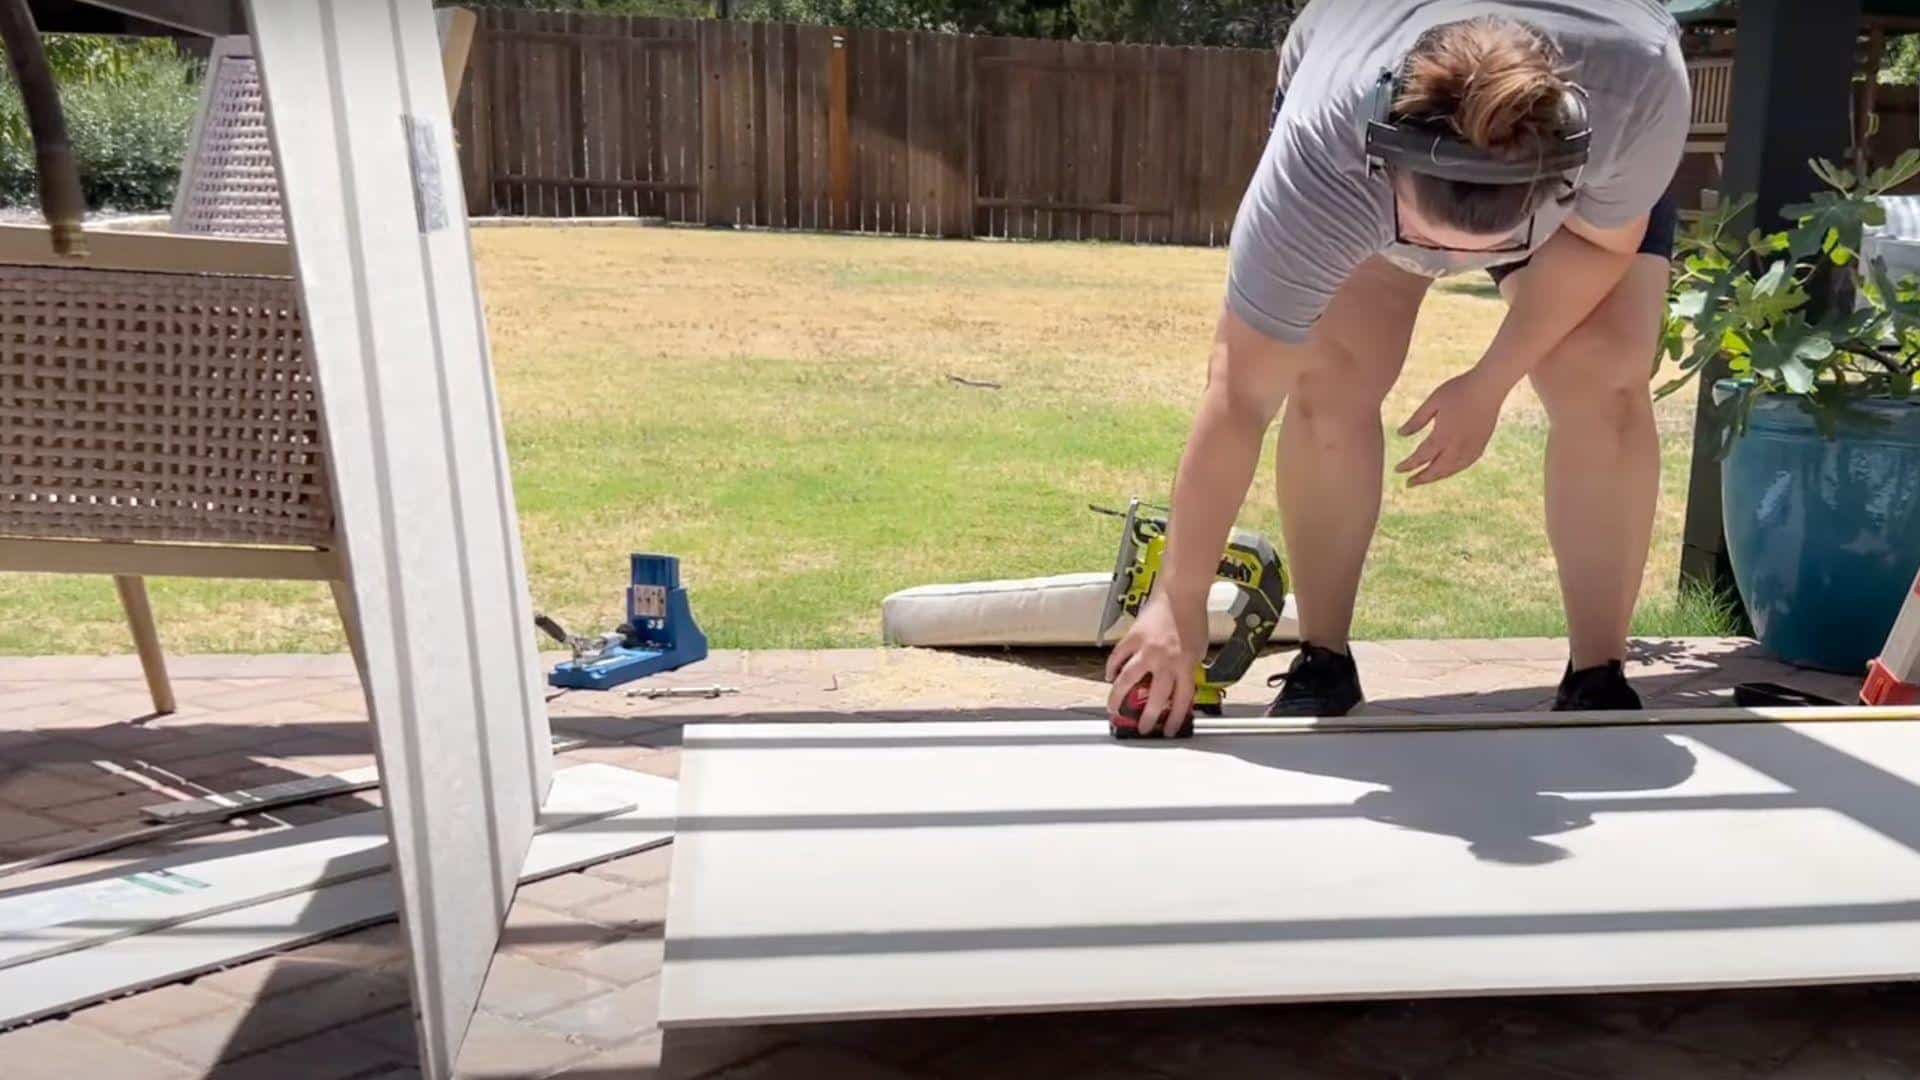
Step 7: Fireproofing Installation

Cut cement board pieces to fit over your wooden frame structure. Cement board provides fire protection between the wood and any heat sources.
Pre-cut all pieces before installation to make the actual mounting process go quickly. Cement board is heavy, so plan for the physical demands of this step.
Sub-tip: Cut cement board outdoors if possible, it creates a lot of dust.
Step 8: Final Cement Board Mounting
Trace complex shapes directly onto the cement board for accurate cuts. Use a jigsaw with the right blade for clean cuts through the dense material.
For interior cutouts, drill starter holes in each corner so your jigsaw blade can fit through. Follow your traced lines carefully for professional results.
Sub-tip: Set your drill depth stop to avoid driving screws too far into the cement board.
After construction, explore simple decor ideas to personalize your outdoor kitchen. Consider exploring these tips on How to Decorate Outdoor Kitchens Stylishly.
Video Tutorial
For more tips and step-by-step guidance, check out the video tutorial that inspired this blog.
By – olivegrey avenue
Safety Factors to Note
- Always leave at least 3 inches of space between wood and hot grill parts.
- Place heat shields where wood might get too hot.
- Ensure your grill has proper airflow.
- Keep a firebox or fire stick within reach.
- Check local building codes about outdoor cooking structures.
- Never use the grill surround as a spot for the grill to sit while still hot.
How Can You Make Your Grill Surround More Useful?
Your wooden grill surround can do much more than hold your grill. With a few simple additions, you can change it into a complete outdoor cooking station that makes entertaining easier and more enjoyable.
1. Storage Ideas
- Add doors below the countertop for hidden storage
- Install simple open shelves for items you use often
- Include hooks on the sides for grill tools
2. Light Sources
- Mount simple solar lights on posts
- Install task lighting over work areas
- Use battery-powered puck lights under shelves
3. Guest Areas
- Build a small counter with stools on one end
- Add a fold-down table for extra space when needed
- Create a nearby bench that matches the surroundings
Common Mistakes To Avoid
Even experienced DIYers can make errors when building a grill surround. Being aware of these common mistakes before you start can save you time, money, and frustration during your project.
- Not allowing enough space for the grill to breathe
- Building too close to the house or trees
- Using indoor materials that won’t stand up to the weather
- Making counters too high or too low for comfort
- Forgetting to slope surfaces slightly for water runoff
- Not treating wood properly before exposure to the elements
- Placing the structure where the smoke will blow into the house
Conclusion
This wooden grill surround project will make your backyard a functional workspace. Following these steps provides a sturdy structure that withstands weather and daily use well.
The time you spend building pays off every time you fire up the grill. You’ll have counter space, storage options, and a central spot that brings people together during cookouts.
Ready to get started? Gather your tools, buy your materials, and tackle this project one step at a time. Your upgraded grilling station is just a weekend away.
Let us know in the comments how your project turns out and what tips you’d add for others.
Frequently Asked Questions
How Long Will My Wooden Grill Surround Typically Last?
With proper sealing and regular maintenance, you can expect a lifespan of 5-10 years. Reapply sealer annually and address small issues promptly for optimal results.
Can I Build a Grill Surround on A Deck?
Yes, but use fire-resistant mats under the grill area and check weight limits. Make sure your deck can handle the added weight.
Do I Need to Remove My Grill Surround in Winter?
No, but cover it with a waterproof tarp during harsh weather. Clean thoroughly before winter to prevent moisture damage.