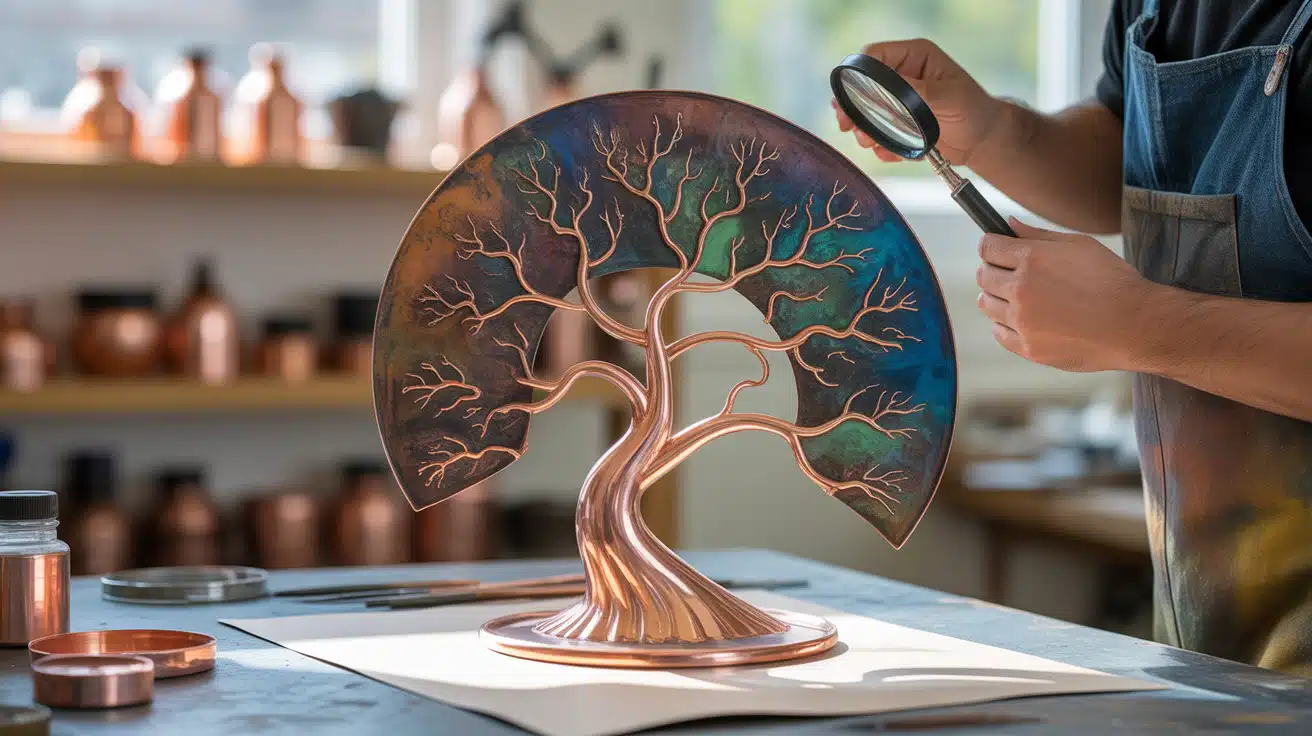

Copper has a warm glow that catches the eye. Fresh copper shines bright, but over time, it changes. That change tells a story. Old copper has browns, greens, and blues that new metal can’t match. This change happens slowly in nature. Good news: you don’t need to wait years. You can speed up this process at home.
Why would you want aged copper? It has character and shows time passing. It fits well in many home styles, from country homes to modern spaces. The soft colors blend with wood, stone, and fabric.
Want to make new copper look old? You have options. Some take minutes, others take days. All the creations look like nature would take years to make.
Ready to try? Let’s look at ways to make copper age faster.
Why Age Copper?
People love aged copper for its unique look. Fresh copper has a bright shine, but time changes it. The colors shift to browns, blues, and that classic green known as patina. This green layer forms when copper meets air and water over time.
The aged look gives items a sense of history. It makes new things seem like they have stories to tell. Many folks find the worn look more fitting in their homes than shiny new metal.
Aged copper works in many styles. It fits in rustic, modern, and classic spaces. The soft colors mix well with wood, stone, and cloth items.
The best part? You can get this look at home without waiting years. And it costs less than buying old copper items, which often sell for more than new ones. The Benefits:
- Saves money compared to buying already-aged pieces
- Takes less time than waiting for nature
- Can be done with items found at home
- Gives you control over the final look
- Uses safer options than many store chemicals
- Creates one-of-a-kind pieces
The Step-by-Step Process to Age Copper
Now that we understand why aged copper is so appealing, let’s jump into the process of how to make your copper look old at home.
Materials:
- White vinegar
- Ammonia
- Salt
- Lemon juice (optional)
- Clear varnish
Tools:
- Spray bottle
- Soft brush
- Lint-free cloth
- Plastic bag
- Safety gloves
- Safety glasses
Step 1: Clean the Copper

Start with a clean surface. Oils and dirt can block the aging process and lead to uneven results. Take a lint-free cloth and wipe the whole copper piece thoroughly. Pay special attention to corners, edges, and any small details where oils from handling might collect.
Cleaning helps the aging mix work better on the metal. The chemicals need direct contact with the copper to create the reaction we want. Make sure the copper is fully dry before moving to the next step. Any water spots can cause uneven aging and might affect how well the solution sticks to the surface.
Pro Tip: For extra cleaning power, use a tiny bit of dish soap in warm water, then rinse well and dry fully. If you’re dealing with older copper that already has some tarnish, you might want to use a copper cleaner first to start with a fresh surface.
Step 2: Make the Aging Solution
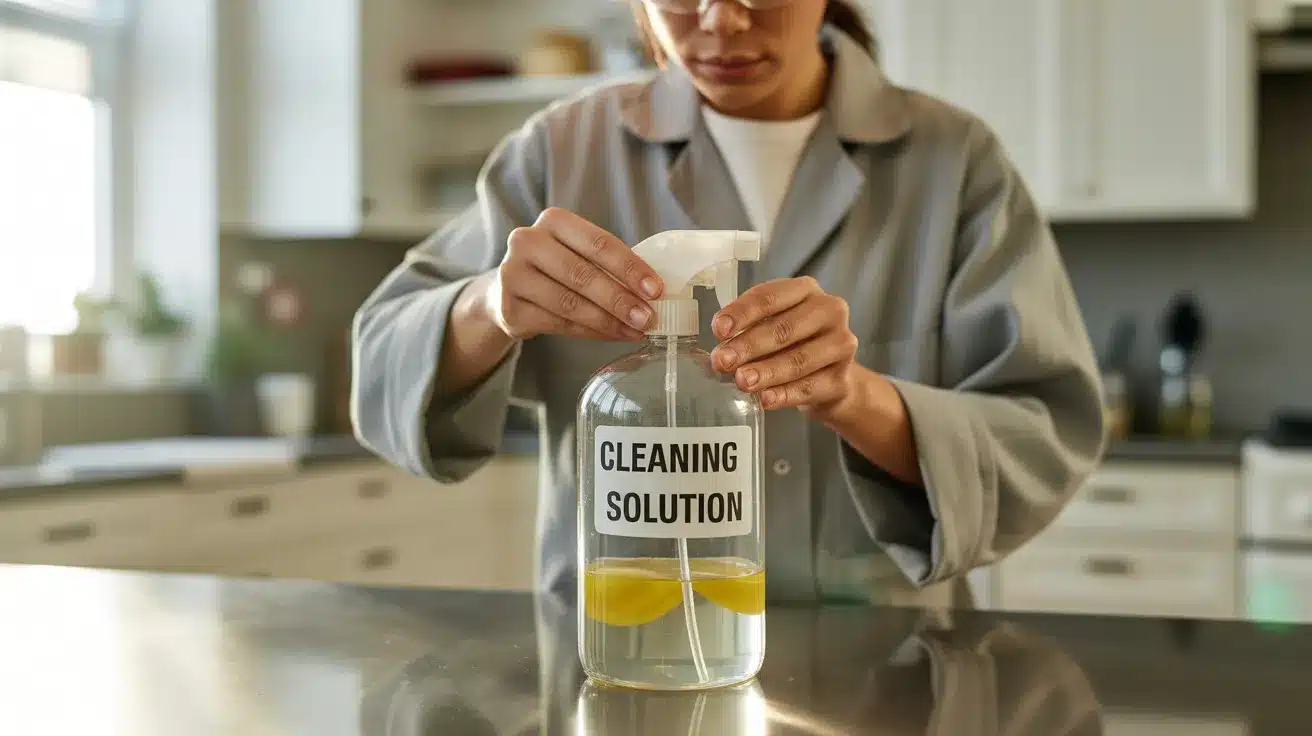
Mix 1 cup vinegar, 3/4 cup ammonia, and 1/4 cup salt in a spray bottle. This mix starts the chemical change on copper.
The vinegar provides acid, the ammonia adds another chemical reaction, and the salt speeds everything up. Together, they create the perfect storm for aging copper quickly.
The salt and acids work together to speed up what would take years in nature. When these ingredients touch copper, they start breaking down the surface in a controlled way.
Stir until the salt fully dissolves to avoid scratching the copper surface. Undissolved salt crystals can leave marks and create an uneven finish.
Pro Tip: Add a splash of lemon juice to the mix for faster results and more blue tones in your final look. The extra acid in lemon juice can bring out different color aspects in the patina.
Step 3: Apply the Mixture
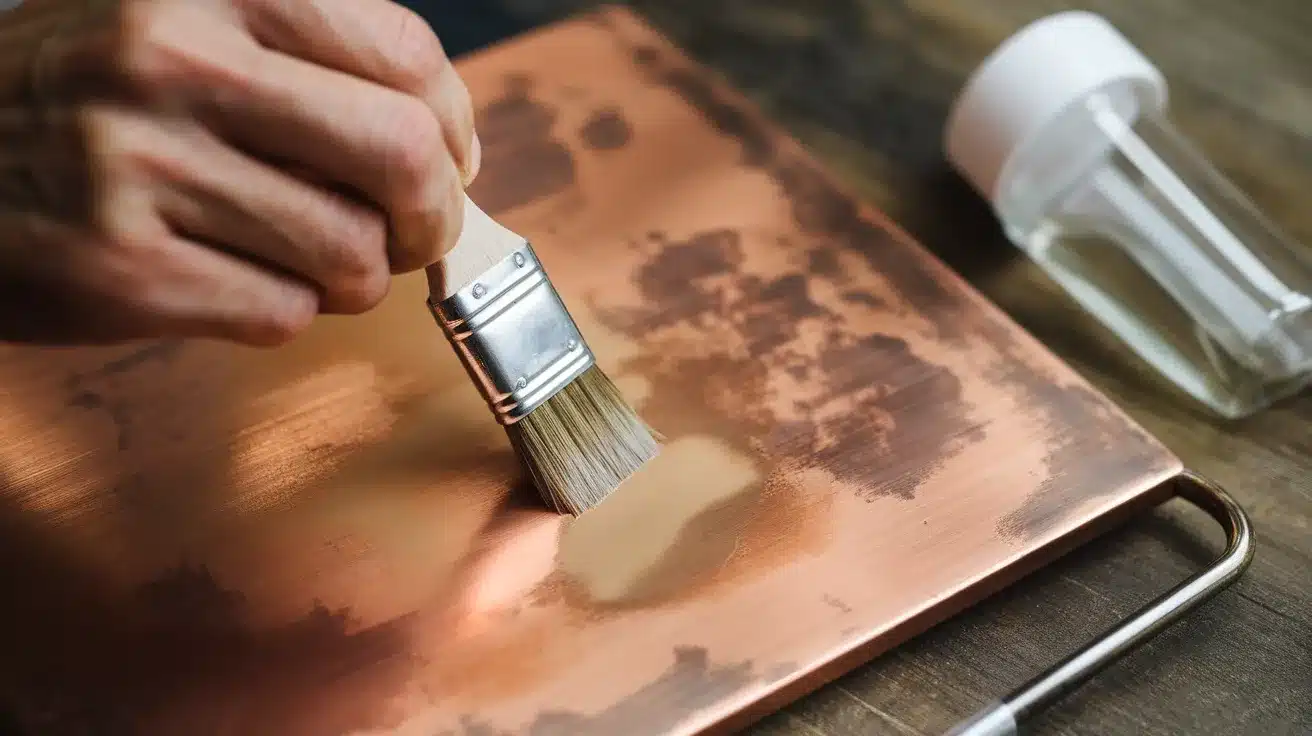
Spray or brush the aging mix onto your copper item. For best results, use a light, even coat. Spraying works well for flat surfaces, but a small brush gives better control for more detailed items. Make sure you cover all areas you want to age.
The copper will start to change soon after you apply the mix. You might see color shifts within minutes. This is the chemical reaction beginning to work.
Don’t rub or wipe after applying – let the solution sit and work on its own. Disturbing the surface now can lead to streaks or patches in your final look.
Pro Tip: For uneven, more natural-looking aging, apply more solution to some areas and less to others. Real weather-aged copper isn’t uniform, so creating variation makes your piece look more authentic.
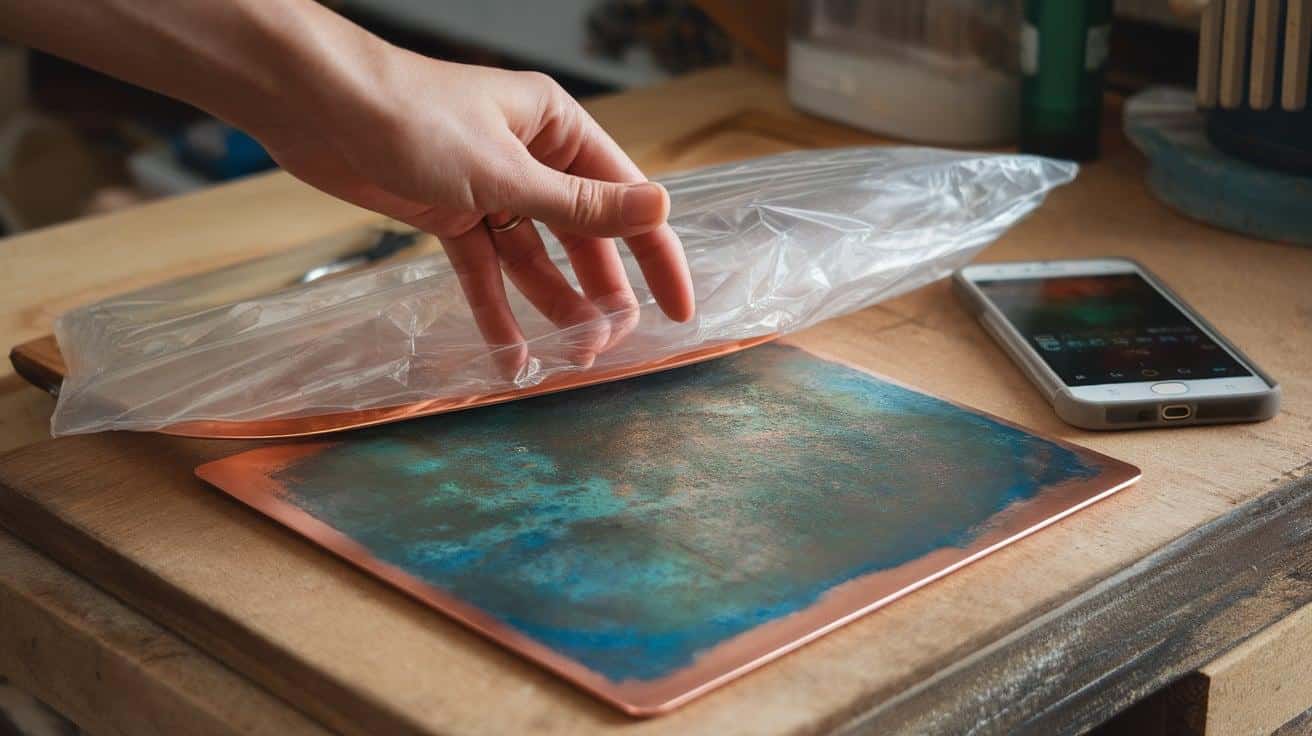
Step 4: Create Humidity
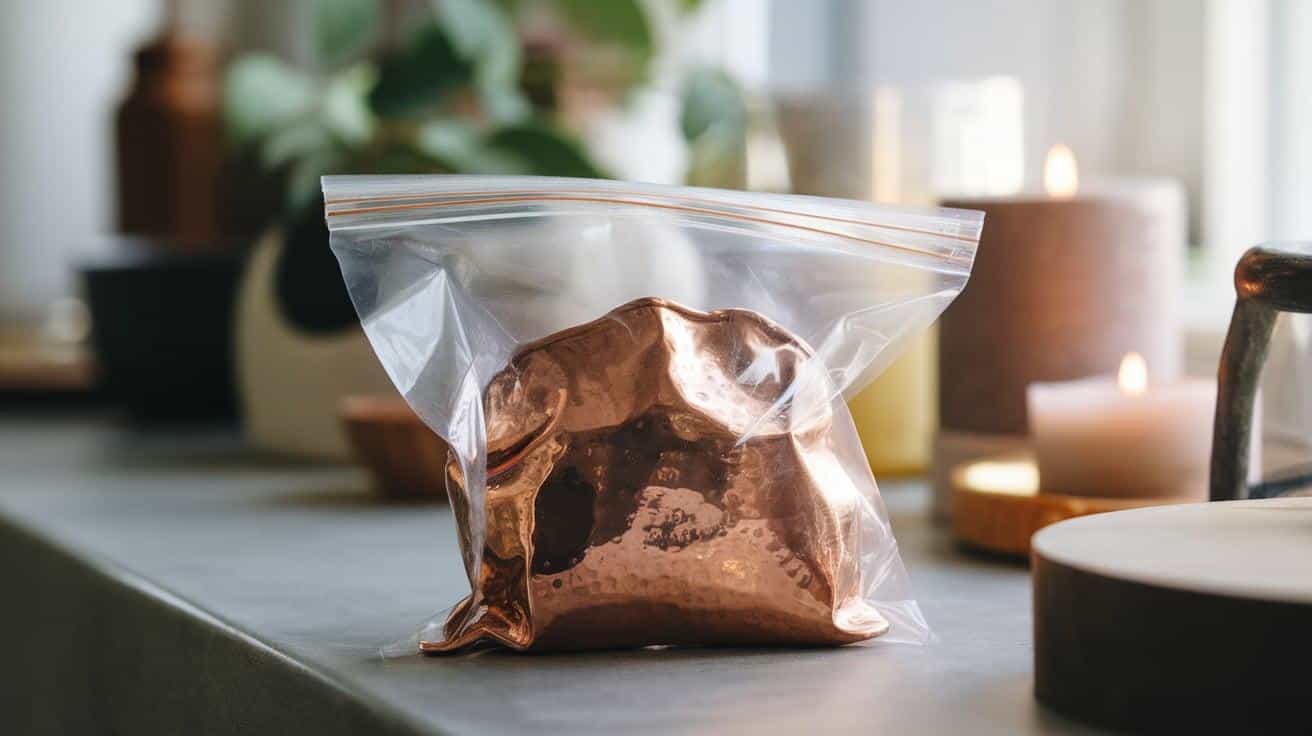
Place the copper in a plastic bag to trap moisture. This speeds up the aging by keeping the solution active longer. The enclosed space prevents the chemicals from drying out too quickly, giving them more time to work on the copper surface.
The bag creates a mini weather system around your copper. The moisture in the air inside the bag helps the chemical process continue.
This mimics how copper ages faster in humid climates than in dry ones. Don’t seal the bag completely tight – a little air helps the process. Too much moisture without any air flow can sometimes create unwanted effects.
Pro Tip: For even faster results, put a damp paper towel in the bag with your copper, but don’t let it touch the metal. The towel adds extra humidity without disturbing your application.
Step 5: Check Daily
After one day, look at your copper’s color change. You may need to apply more solution if you want a stronger effect.
Each piece of copper reacts differently based on its purity and previous treatment. Some may change quickly, others more slowly.
Each day brings new colors and patterns to the surface. You’ll see the copper go through stages – perhaps darkening first, then developing blues or greens.
Take photos each day to track the changes and know when to stop. This gives you a record of the process and helps you decide which stage you like best.
Pro Tip: If you want more green in your patina, add a bit more salt to your next application. For more blues, add more ammonia.
Step 6: Achieving the Look

Stop applying the solution once you like the color. The aging will slow down, but may continue slightly. This is the point where your judgment comes in – there’s no “right” amount of aging. It depends on the look you want for your project.
Different copper items may take different times to achieve your desired look. Small, thin pieces often age faster than large, thick ones. The copper’s quality also matters—pure copper ages differently than copper alloys. Trust your eyes—when it looks good to you, it’s done. Remember that the colors may deepen slightly even after you stop applying the solution.
Pro Tip: Some areas might age faster than others, so you can focus new applications on slower-changing spots.
Step 7: Seal the Patina
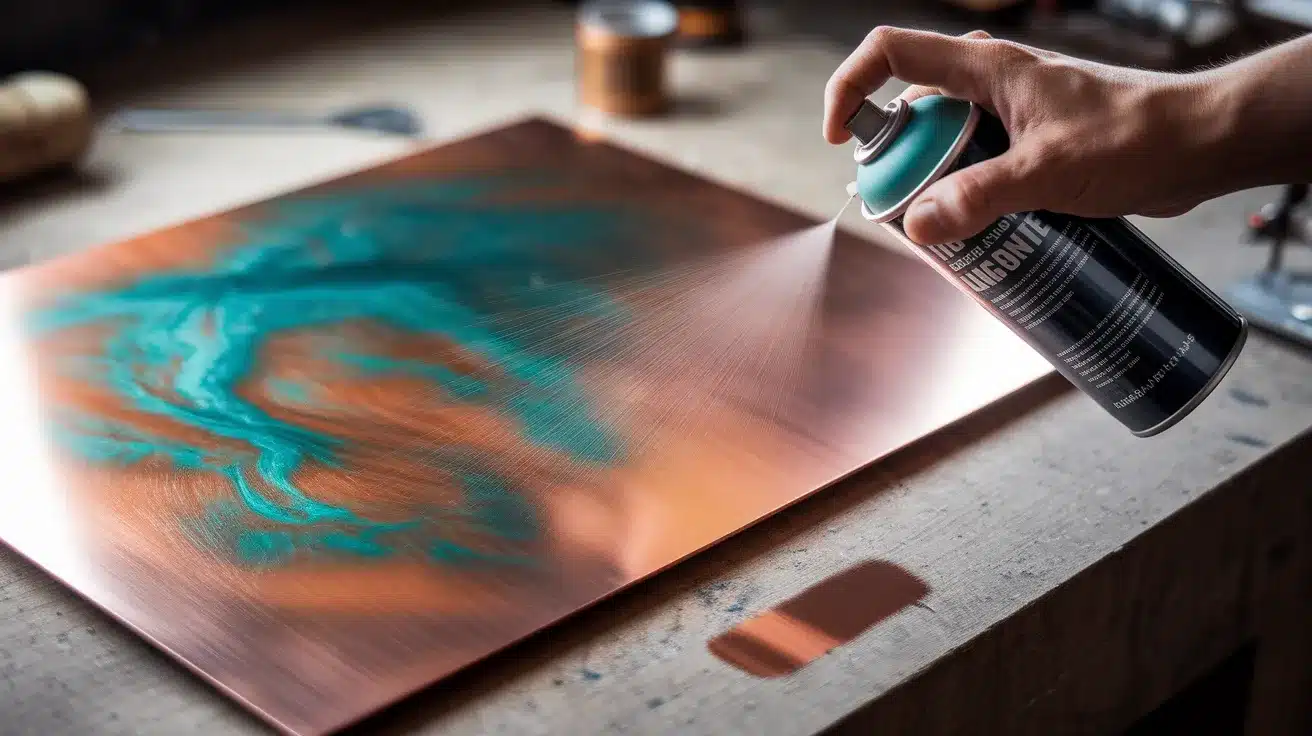
Apply clear varnish to lock in the look you’ve created. This stops further changes and keeps the finish safe. Without sealing, your aged copper will continue to react with air and moisture, and the patina might change over time or rub off when touched.
The varnish creates a barrier between your aged finish and the air. Choose a quality clear coat made for metal surfaces for best results. Spray-on types often work best as they don’t disturb the patina. Apply two thin coats rather than one thick coat for best protection. Thin coats dry more evenly and are less likely to yellow over time.
Pro Tip: Test the varnish on a small hidden area first to make sure it doesn’t change the colors you’ve worked to create.
Fix Common Problems When Aging Copper
Even with the right steps, you might face a few bumps along the way. Here’s how to solve the most common issues.
1. Pink Copper Issue
If the copper turns pink, it’s probably from too much vinegar in your solution. This happens when the acid cleans the metal too aggressively. Rinse your piece with clean water and start over. For better results, use less vinegar and more salt in your next mix.
2. Uneven Patina
Patchy or spotty aging often comes from fingerprints or uneven solution application. Oils from your skin block the aging chemicals. Clean the item again, wear gloves, and apply the solution more evenly. For stubborn spots, try light sanding before restarting.
3. No Color Change
When copper shows no change after a day, check for protective coatings that block your solution. Many store-bought items have clear finishes. Try sanding the surface lightly or making a stronger solution. Also, confirm you’re working with real copper, not just copper-plated metal.
4. Too Dark Results
Sometimes copper turns almost black instead of showing blues and greens. This means your solution was too strong or acted for too long. Mix one part baking soda with three parts water and apply to overly dark areas to lighten them. Work carefully in small sections.
5. Flaking Patina
A patina that flakes off doesn’t bond well with the copper. This usually means the surface wasn’t clean enough. Remove loose patina with a soft brush, clean thoroughly, and start fresh. For better adhesion, apply several light coats of solution rather than one heavy coat.
Wrapping Up
Aging copper at home is both fun and easy. All you need is to clean your copper, mix a simple solution, apply it, and let time do the work. With a few household items, you can create looks that would take nature years to make.
Remember the key steps: clean well, mix your solution, apply evenly, check daily, and seal when done. If problems pop up, the fixes are simple. Pink copper? Less vinegar. No change? Check for coatings. Patches? Clean better.
Each copper piece tells its own story through the colors that form. Blues, greens, browns – all mix to create something truly yours. The best part? You made it happen.
Have you tried aging copper at home? What worked for you? Share your tips or photos in the comments below!