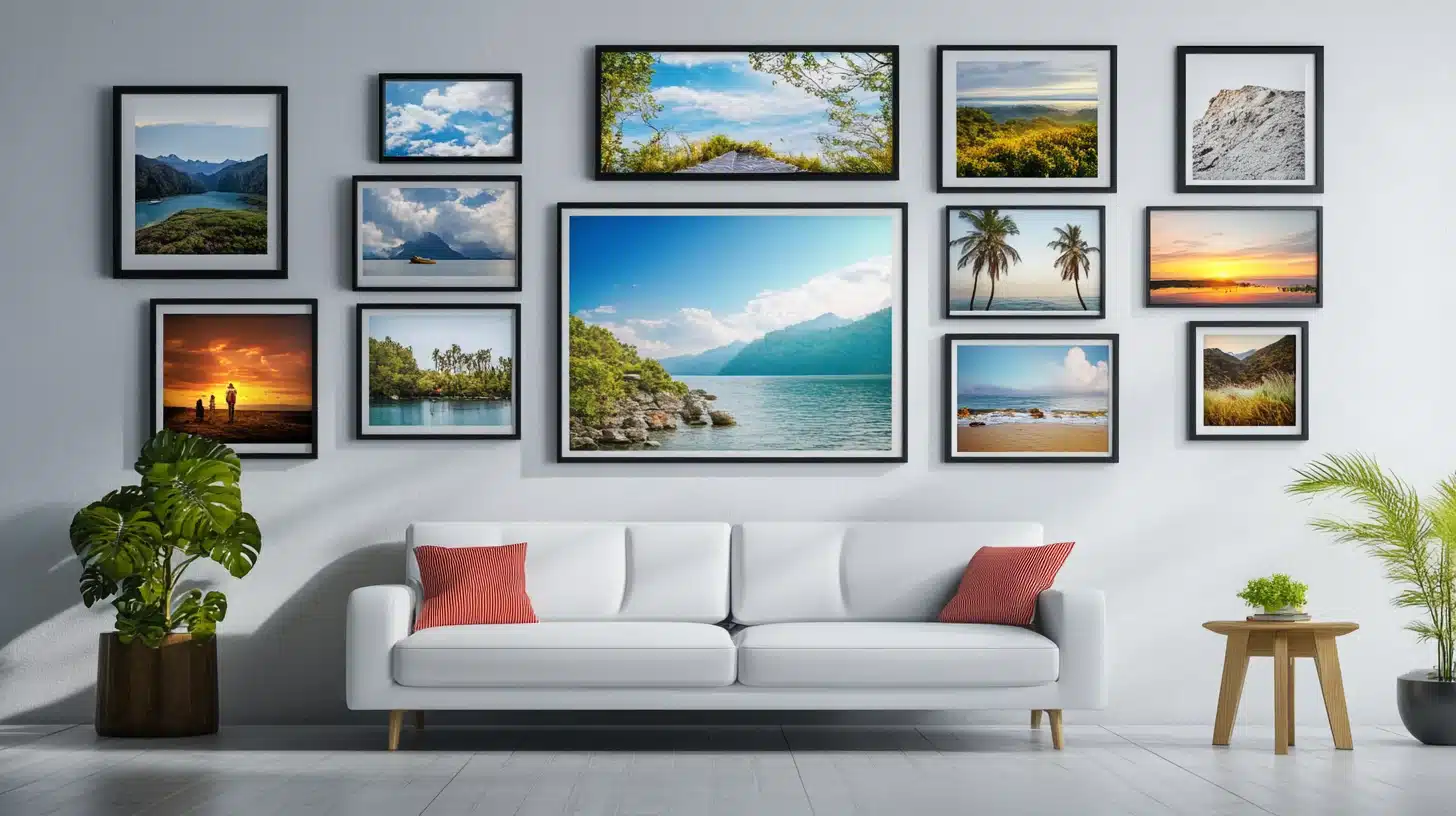
Interior design photography can effectively transform a designer’s portfolio into a compelling narrative, communicating their creative style, professional expertise, and attention to detail.
A prospective client browsing through a portfolio is not just looking for furniture arrangements or color schemes—they are searching for inspiration.
Clients seek a creative partner to reimagine their spaces according to their goals, needs, and expectations. Photography is one of the easiest ways of communicating since visuals are perceived better and faster than text.
This article provides thoughtful techniques and tried-and-true interior photography tips. These techniques can help designers capture the essence of a space, highlighting its light, textures, and purpose.
With these recommendations, you can not only show what a room looks like but also tell an emotionally evocative story of how it feels to be there.
Essential Equipment
Wide-Angle Lens
A wide-angle lens captures the room’s full scope. It showcases relationships between different interior elements without distorting their perspective. For smaller spaces, such as bathrooms or cozy reading nooks, a wide-angle lens can make the area feel expansive and inviting.
Stabilization Gear
Stability is key when photographing interiors. Challenging lighting conditions require longer exposure times, where a minor shake can ruin everything. A tripod keeps the camera steady and allows precise framing adjustments. You can align lines and achieve symmetry quickly and easily. You can buy a remote shutter release or a camera timer to eliminate the risk of camera shake and achieve sharp and clear images.
External Lighting and Reflectors
Ambient light works best for interior shots but is harder to catch and manipulate. External lighting equipment, like portable LED panels, can help balance shadows and highlights when natural lighting is uneven, insufficient, or unavailable.
Interior spaces often have mixed lighting conditions—bright windows juxtaposed with shadowy corners. Reflectors bounce the light back to the darkest areas, illuminating the scene evenly.
How to Shoot Interior Photography Like a Pro
Composition
Identify your space’s most striking features. It can be a bold architectural element, a unique piece of furniture, or an overall sense of harmony.
Frame these elements properly using basic compositional techniques like leading lines, natural framing, or the rule of thirds. For instance, positioning a statement sofa slightly off-center can create visual interest without overwhelming the scene.
Lighting
Whenever possible, work with natural light by shooting during the golden hours of the day. Open curtains to let in soft, even light, highlighting textures and colors.
Avoid harsh midday sunlight. Strong contrasts and unwanted harsh shadows can ruin the overall appeal. You will need extra time and effort to eliminate them during post-processing.
As stated above, ambient light is more challenging to control. Practice with artificial illumination sources to adjust the light’s temperature, direction, and intensity according to your creative goals and needs.
Multilayered illumination can add depth and dimension to your pictures. Turn on lamps, sconces, or under-cabinet lighting to create a warm and inviting atmosphere. Be mindful of color temperature—use bulbs with similar tones to avoid clashing hues.
Use side lighting to emphasize unusual textures and materials, such as a velvet sofa, marble countertop, or wooden flooring. Soft shadows can enhance the richness of fabric or the natural grain of wood.
Angles
Shoot at a consistent height, typically around chest level. It will let you replicate the viewer’s perspective. Experiment with perspectives to find the best vantage point.
A slightly lower angle can emphasize the scale of high ceilings while shooting from a corner can make smaller rooms appear more spacious.
Crooked walls or slanted furniture can make even the most beautifully designed spaces appear chaotic. Use the grid feature on your camera or photo editor software to align edges and keep perspectives accurate.
Details
Ensure your space is clean and properly organized. Remove unnecessary items like remote controls, cables, or mismatched decor. Consider adding subtle accents like fresh flowers or a well-placed multicolored throw blanket.
Ensure they elevate the aesthetics without distracting from the overall design. Ensure curtains are evenly aligned, furniture is perfectly arranged, and reflective surfaces are spotless. A cohesive and polished look will represent your professionalism.
Editing
Focus on refining details such as color balance, exposure, and sharpness. Increase contrast to make design features pop. Selective color inversion may be particularly helpful. If some colors are too bright, desaturate them slightly.
Crop and straighten your picture if needed. Eliminate lighting issues like harsh shadows or unwanted grain caused by high ISO. Apply HDR merging for a balanced exposure. Avoid over-editing; the final look should be realistic and authentic.
Professional portfolios need to be consistent, so ensure your pictures are properly organized and your photo editing software includes batch processing tools and customizable presets for unified adjustments.
Conclusion
The art of interior design photography can help you showcase the interiors in their best light from aesthetic and emotional perspectives, setting your portfolio apart in a crowded market.
Thoughtful composition, strategic use of light, and attention to detail make every photograph a powerful representation of your professional capabilities. With the right approach and techniques, you can create a portfolio that resonates with clients, excluding your creative vision and reliability.


