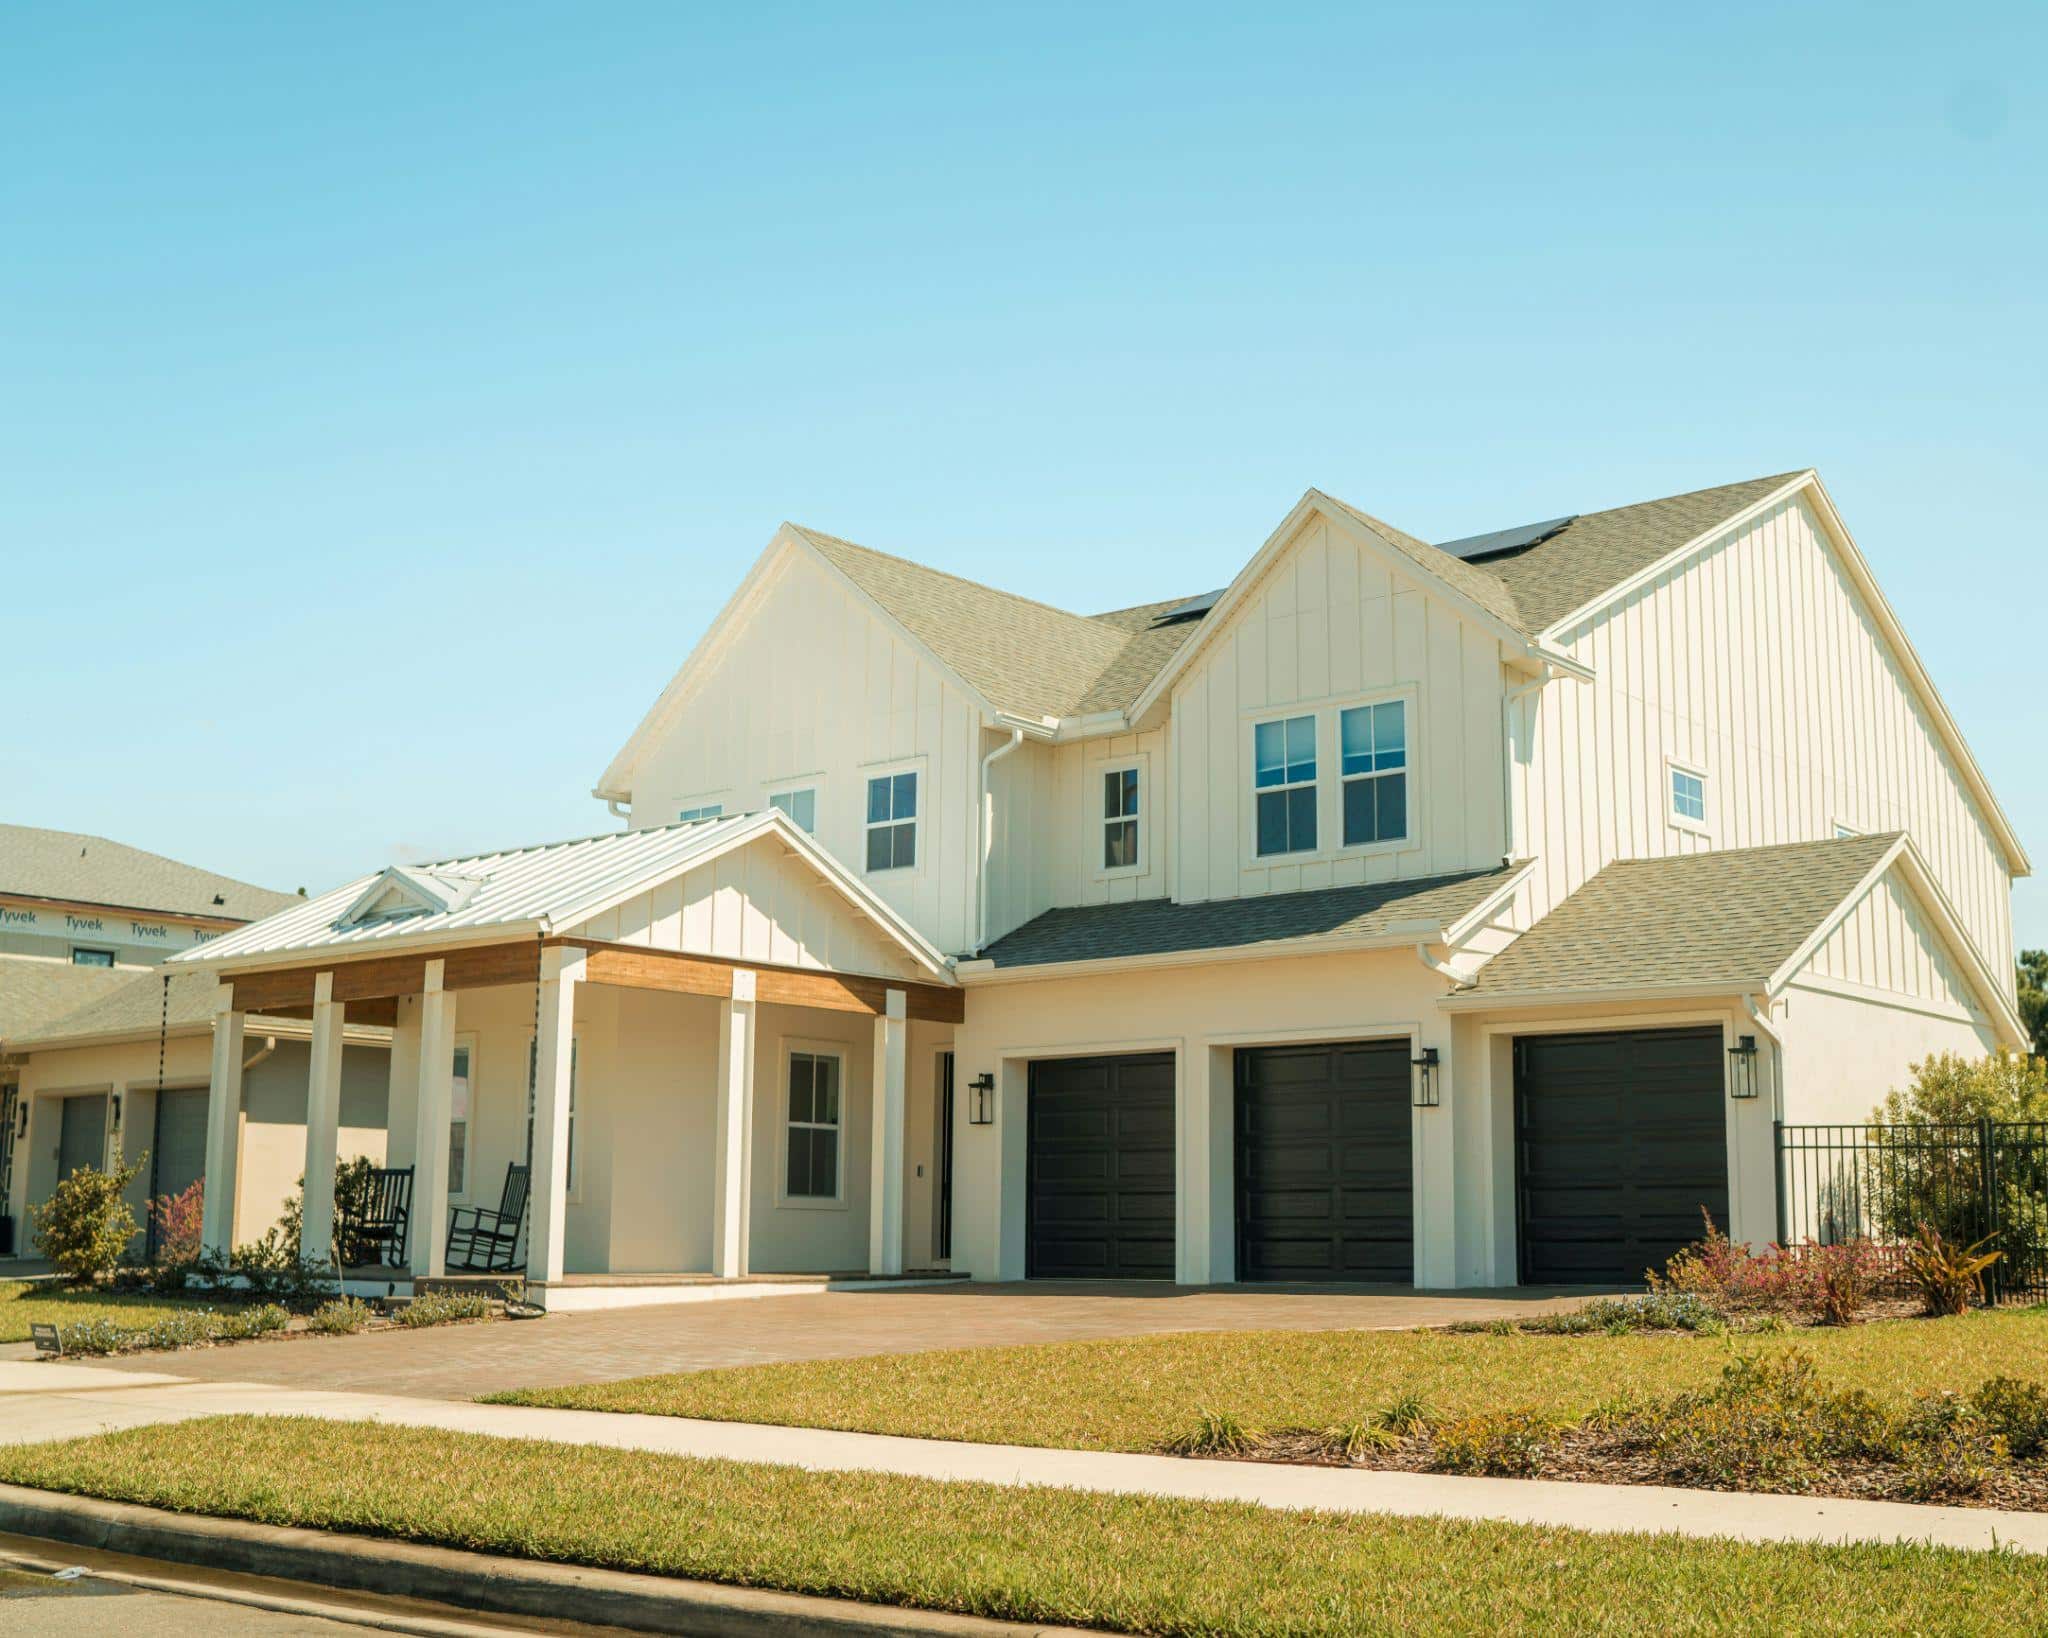
In the world of modern interior design, few materials captivate like glass. Modern windows increase property value, create a stronger connection with outdoor spaces, and require significantly less maintenance while providing sleek visuals that instantly refresh your home’s appearance.
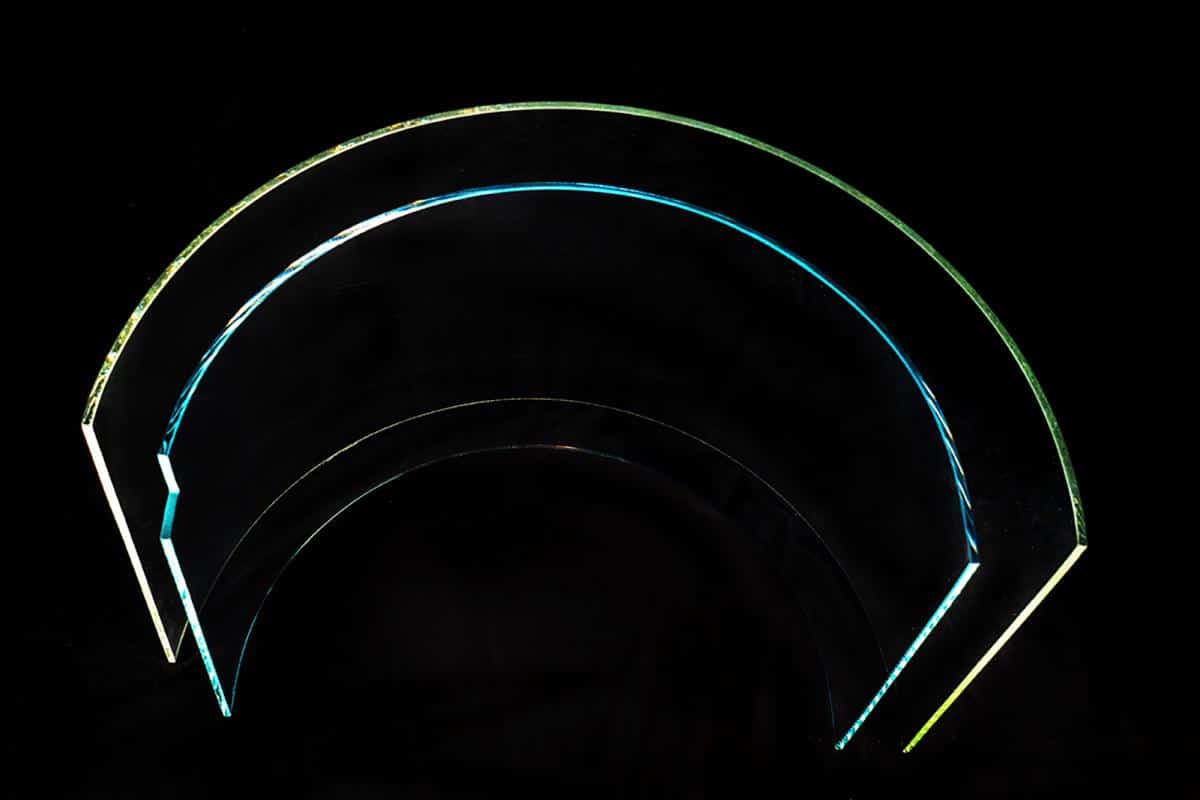
One type of window that is becoming increasingly popular is the curved glass window. Fluid, futuristic, and surprisingly versatile, curved glass has emerged as a favorite among designers and architects looking to soften sharp angles and bring elegance into contemporary spaces. But what does it really take to bring a custom curved glass feature to life?
From the first sketch to the final installation, the journey of curved glass is one of precision, creativity, and innovation. Let’s walk through the process—from concept to curve—and discover how this design marvel becomes a reality in interiors around the world.
1. The Design Vision: Where It All Begins
Every curved glass project starts with a vision. Whether it’s a sweeping staircase balustrade, a sleek shower enclosure, or a sculptural partition wall, the initial concept often blends functionality with a strong aesthetic statement.
Designers and architects typically work closely with structural engineers and glass fabricators from the start. This collaboration ensures that the final result isn’t just beautiful—it’s also feasible, safe, and structurally sound.
Key considerations at this stage include:
- The desired radius of curvature
- The size and location of the glass
- Load-bearing requirements
- Acoustic and thermal insulation needs
- Building code compliance
Good planning in this phase can save time and cost later, especially when custom molds or installation logistics are involved.
2. Understanding the Types of Curved Glass
There are several methods for curving glass, each suited for different applications depending on the design goals and budget.
Hot-Bent Glass
Hot bending involves heating the glass to around 600°C (1112°F) and forming it over or inside a mold. The custom-built steel mold is shaped to match the desired curve of the window and becomes the foundation for the bent glass which eventually forms the desired curved windows.
This mold is heated to an exact temperature, a critical factor that ensures the glass can bend and form the desired curve without compromising its structural integrity. The glass is then carefully placed atop the mold, and the entire assembly is introduced into the kiln.
Once cooled, the glass retains its new shape permanently. Hot-bent glass is ideal for large panels, and tight curves are commonly used in high-end architectural features.
Best for:
- Large curved windows
- Storefronts
- Spiral staircases
- Atriums and lobbies
Cold-Bent Glass
Cold bending takes the flat glass and forces it into a curved shape during installation using structural framing. While it’s limited in how much the glass can bend, it’s faster and more cost-effective than hot bending.
Best for:
- Subtle architectural curves
- Cost-sensitive projects
- Temporary installations
Laminated and Insulated Curved Glass
Both hot- and cold-curved glass can be laminated for added safety or insulated for energy efficiency. Laminated glass sandwiches a plastic interlayer between two panes, while insulated glass units (IGUs) create an air gap between curved panes for thermal regulation.
3. Fabrication: From Flat Sheet to Smooth Curve
Once the design is finalized, the fabrication phase begins. Here’s a step-by-step look at how hot-bent curved glass is typically made:
Step 1: Digital Modeling
Fabricators use CAD software to model the curve based on the architect’s specifications. These models are essential for creating the mold that will shape the glass.
Step 2: Mold Creation
A custom mold is created, often from heat-resistant materials like stainless steel or ceramic, which the glass will rest on or over during heating.
Step 3: Heating and Forming
The glass is placed in a furnace and heated until it becomes pliable. Gravity and the mold work together to form the desired curve.
Step 4: Cooling and Annealing
After shaping, the glass is slowly cooled in a controlled process known as annealing. This reduces internal stresses and strengthens the glass.
Step 5: Finishing
The glass may then be tempered (for added strength), laminated, or treated with coatings (like anti-glare or UV filters). Edges are polished, holes can be drilled for fittings, and everything is inspected for clarity and consistency.
4. Installation Challenges and Best Practices
Installing curved glass comes with its own set of challenges. Due to its shape and fragility, transportation requires special care—custom crates, padding, and careful handling are the norm.
On-site, the biggest challenge is precision. Frames and mounting systems must be fabricated to exact specifications to accommodate the curve. Even small deviations can lead to fitting issues or stress on the glass.
Best practices include:
- Pre-installation dry fitting or mockups
- Laser-measured frame fabrication
- Expansion joints to accommodate thermal movement
- Using specialized suction tools and rigging for lifting
Curved glass is also often paired with materials like stainless steel, aluminum, or wood, which must be integrated seamlessly.
5. Real-World Examples: Curved Glass in Action
To see curved glass in action is to understand its power in design. Here are a few inspiring examples:
Residential Spa Bathroom
A luxury home in California features a curved glass shower enclosure that creates a seamless flow between the spa and the rest of the bathroom. Laminated curved panels provide both privacy and light transmission.
Modern Office Atrium
A corporate headquarters in London uses hot-bent glass for a 3-story atrium wall. The curved design diffuses sunlight, reduces glare, and contributes to the building’s sleek, organic shape.
Hotel Lobby Statement Wall
A boutique hotel in Dubai incorporates a curved glass feature wall in its lobby, etched with a custom sandblasted design and backlit with LEDs. The glass creates a floating, ethereal effect that becomes a central talking point for guests.
6. Cost and Timeline Considerations
Custom curved glass isn’t a budget item—but it can deliver unmatched visual impact.
Cost Factors Include:
- Glass type and thickness
- Complexity of the curve
- Mold design and fabrication
- Finishing (tempering, laminating, etc.)
- Transportation and installation requirements
For hot-bent projects, lead times can range from 6–12 weeks, depending on the scale and location. Cold-bent installations may be faster but offer less design flexibility.
7. Conclusion: Beauty Meets Precision
Curved glass offers a rare combination of elegance, innovation, and structural sophistication. Whether you’re designing a sleek urban office or a tranquil home retreat, curved glass opens new doors—literally and figuratively.
But realizing that vision takes more than just creativity. It requires a deep understanding of the materials, techniques, and challenges involved. With the right team and planning, your curved glass concept can become a breathtaking reality that enhances any interior space.
Interested in using curved glass in your next project?
Let us know if you’d like guidance on working with fabricators, choosing the right curve style, or integrating glass into your interior design concept.


