That old cedar chest sitting in your attic? It’s about to become the most talked-about piece in your home.
Many people walk past old wooden chests without seeing their true value. With some basic tools and a few weekend hours, you can turn that forgotten box into a stunning centerpiece.
Want to impress guests with a piece that looks like it cost hundreds at a high-end store? This step-by-step guide shows exactly how to transform your Lane cedar chest without special skills or expensive equipment.
Ready to give new life to your old chest? Let’s get started with this simple weekend project that will add character and function to any room in your house.
Know If Your Cedar Chest is a Good Candidate for a Makeover
Not all cedar chests should be updated. Before starting, check if your chest deserves a new look or should stay as is.
Signs It’s Worth Restoring
- Solid structure with only small surface marks
- Strong joints and good bones beneath a worn finish
- No major warping or splitting in the wood
- Cedar smell still present inside
When to Leave It in Its Original State
- Has a maker’s mark from a known furniture company
- Shows unique craftsmanship or hand-applied finish
- Contains original hardware in good condition
- Has family history in its current state
Quick Checklist
- Sturdy frame: No flexing or creaking when pressed
- Functional hinges/locks: Working smoothly or needing minor fixes
- Surface scratches vs. deep damage: Light marks can be sanded, deep issues need more work
- Interior condition: Cedar lining intact
Pro Tip: Look for numbers stamped inside the lid or on the bottom. Some vintage models may be worth more in original condition.
Tools and Materials Required
Tools Needed:
| Tool | Purpose/Usage |
|---|---|
| Electric Screwdriver | For removing and attaching hardware |
| Sander (with 220 grit sandpaper) | To smooth surfaces before painting |
| Paintbrushes (Round Zebra Paintbrush mentioned) | For detailed painting and smooth application |
| Paint Roller (optional) | For larger surface areas to speed up painting |
| Saw | For cutting new wood pieces for leg support |
| Cleaning Supplies | To clean the chest before starting makeover |
Materials Needed:
| Material | Notes/Usage |
|---|---|
| Lane Cedar Chest | $30 thrift store find |
| Replacement Lock | Free from Lane website (Lane offers free replacements for safety) |
| Turned Legs | For adding height or a decorative touch |
| Metal Leg Plates | To securely attach new legs |
| Wood Pieces | Used for additional leg support |
| Quick Wood Wood Filler | To fill in cracks, holes, or imperfections |
| Paintable Caulking | For sealing gaps before painting |
| Clear Shellac | To prevent stains from bleeding through paint |
| General Finishes Milk Paint | Colors: Driftwood and China Blue |
| Brown Glaze | For an aged, antique look |
| Water-Based Polyurethane | For sealing and protecting the finish |
| Homemade Whitewash | For a subtle layered effect |
| New Hardware | For fake drawer fronts or aesthetic upgrades |
Step-by-Step Cedar Chest Makeover Guide
Step 1: Safety & Preparation
- Contact Lane for a free replacement lock if chest has a recalled lock
- Take “before” photos and check for structural issues
- Remove all hardware and store in labeled bags
Pro Tip: Test for valuable antiques by checking serial numbers before making permanent changes.
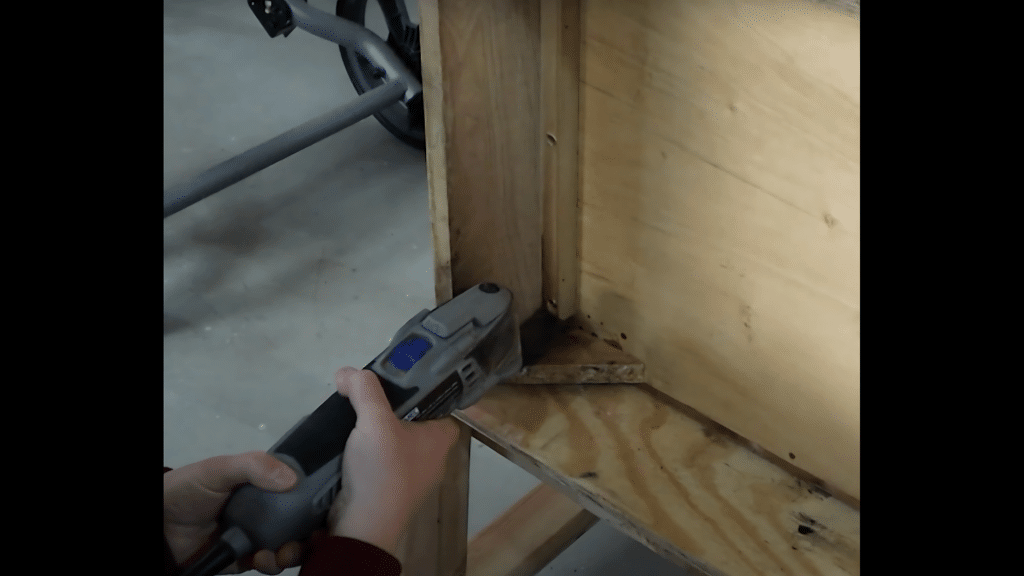
Step 2: Structural Updates

- Flip chest over and add wood supports for new legs
- Attach metal leg plates and screw on turned legs
- Remove old hardware carefully with electric screwdriver
Pro Tip: Apply wood glue between support pieces and chest bottom for extra stability.
Step 3: Repair & Fill
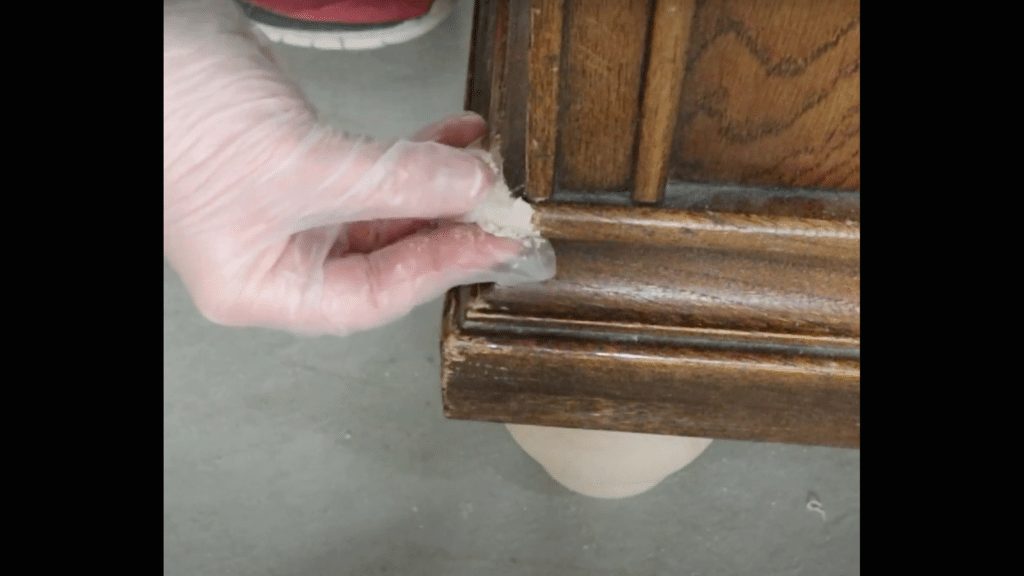
- Fill holes and damaged corners with Quick Wood filler
- Let dry completely (about an hour)
- Sand filler until smooth and flush with the surface
Pro Tip: Mix a small amount of sawdust with wood filler to better match the wood tone.
Step 4: Surface Preparation
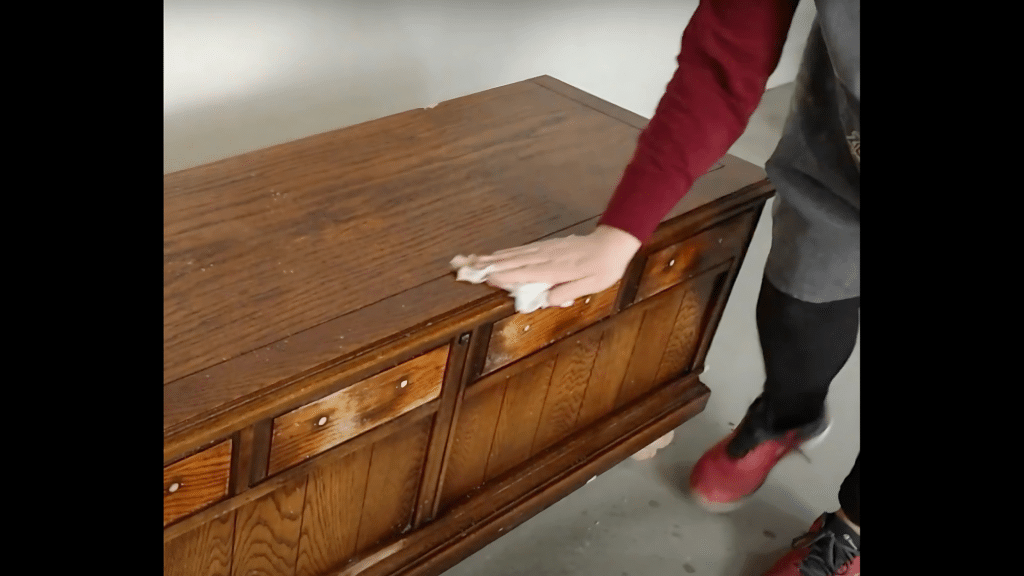
- Clean entire chest with mild soap and water
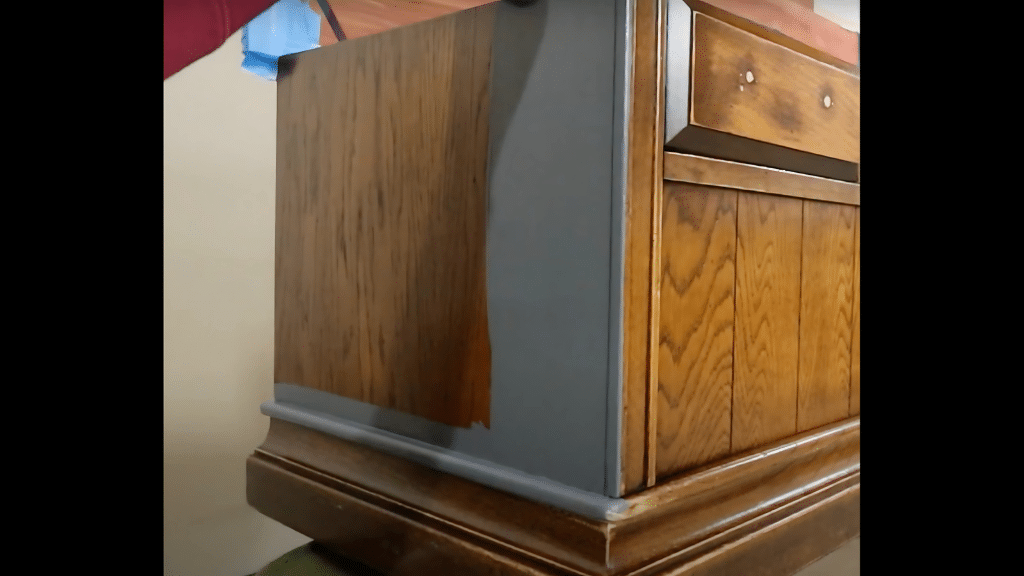
- Scuff sand everything with 220 grit sandpaper
- Sand top down to bare wood if you want a two-tone look
Pro Tip: Use tack cloth to remove every bit of dust after sanding—dust ruins a smooth finish.
Step 5: Seal & Prime
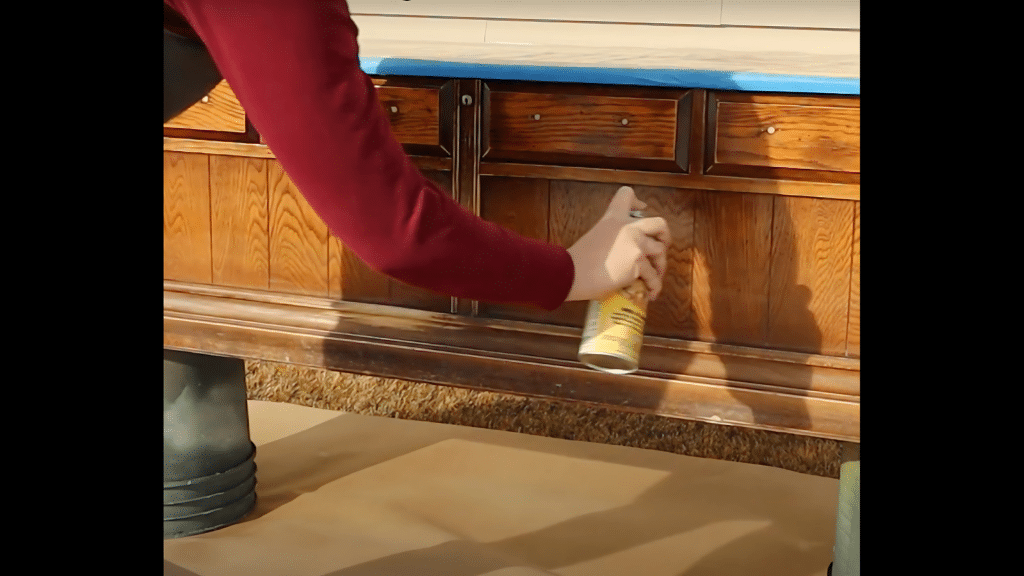
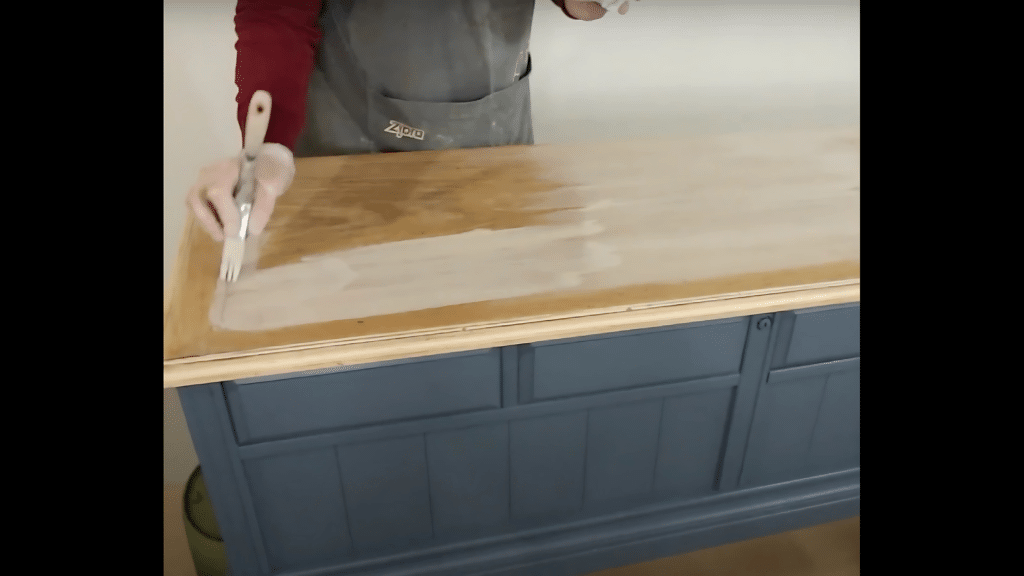
- Apply two coats of clear shellac to the bare wood top
- Clean up any dust between coats
- Allow shellac to dry completely (usually overnight)
Pro Tip: Store shellac in a glass jar—it won’t keep well in plastic containers.
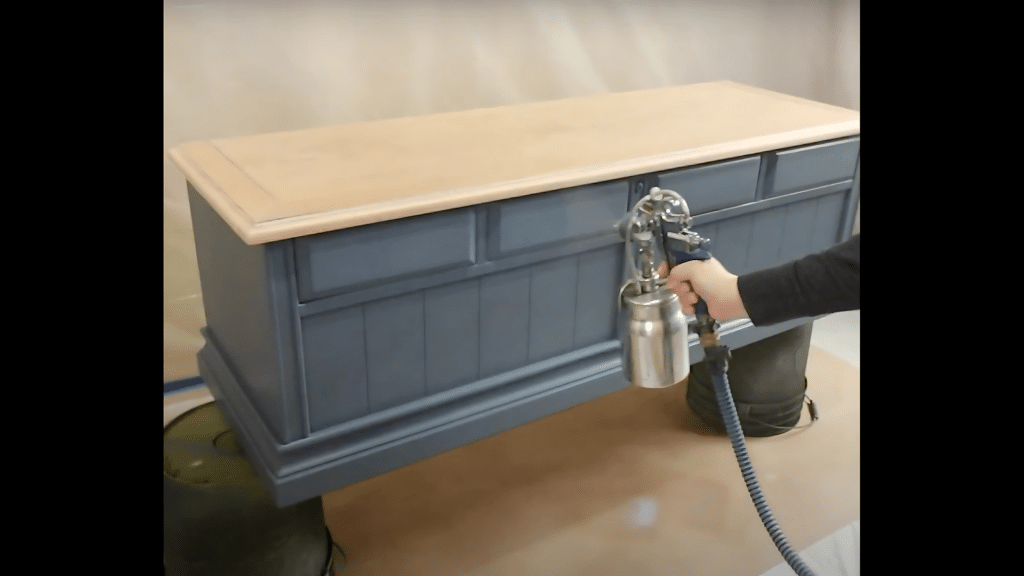
Step 6: Paint Application
- Mix paint colors to achieve desired shade (like the muted blue shown)
- Apply first coat of paint to the body with brush or roller
- Fill larger cracks with paintable caulking and apply second coat
Pro Tip: Add a few drops of water if paint thickens to maintain smooth application.
Step 7: Detail Work
- Add brown glaze to leg crevices to match the wooden top
- Apply whitewash to the top for a weathered look
- Wipe off excess before it dries and sand if needed
Pro Tip: Practice your whitewash technique on scrap wood first to perfect your timing.
Step 8: Finishing Touches
- Apply water-based polyurethane to everything for protection
- Add new hardware to drawers and reinstall the new safety lock
- Wait 24 hours before using the chest
Pro Tip: Place a small cedar block or oil inside to refresh the cedar scent after refinishing.
For a visual tutorial, refer to this video by A Ray of Sunlight
6 Common Pitfalls to Avoid
1. Skipping the research phase: Not checking if your chest is a valuable antique before painting. Many vintage Lane chests can be worth hundreds in original condition.
2. Rushing the prep work: Failing to clean and sand properly before painting, which leads to paint that chips and peels within months.
3. Using the wrong products: Applying oil-based products over water-based ones (or vice versa) without proper barriers, causing the finish to crack or remain sticky.
4. Ignoring the original lock: Keeping recalled locks that can trap children inside. Lane offers free replacement locks for safety reasons.
5. Applying thick coats: Putting on heavy layers of paint or poly that drip, bubble, or take too long to dry.
6. Neglecting to seal: Not protecting the finished piece with polyurethane or wax, leaving it vulnerable to scratches and water damage.
Before and After: The Difference a Makeover Makes
See how a simple cedar chest transformation can completely change both the look and function of this classic piece.
| Feature | Before | After |
|---|---|---|
| Style | Dated, worn finish | Fresh, modern two-tone look |
| Function | Basic storage | Multi-purpose storage bench |
| Value | Thrift store find ($30) | Custom furniture piece ($200+) |
| Appearance | Scratched, damaged corners | Smooth, professionally finished surface |
| Hardware | Original, tarnished pulls | Updated, modern hardware |
| Height | Low to the ground | Elevated with new legs for better access |
| Safety | Recalled lock mechanism | Updated safety lock from manufacturer |
| Interior | Dusty cedar lining | Refreshed, usable cedar storage |
Conclusion
This Lane cedar chest makeover shows how easy it is to bring new life to old furniture. With basic tools, a bit of paint, and a weekend of work, you’ve turned a thrift store find into a beautiful piece that serves both style and function.
Remember to check your chest’s value before starting, prep surfaces properly, and seal your finished work for lasting results. The two-tone finish offers a perfect blend of modern style while honoring the wood’s natural beauty.
Your refreshed chest now offers safe storage while adding character to your home. Whether you followed our exact steps or tried one of the alternative ideas, we hope this guide helped you create something you’ll enjoy for years to come.
What old piece will you update next?
Frequently Asked Questions
Is It Cheaper to Refinish Furniture or Buy New?
Refinishing is typically cheaper, especially for solid wood pieces. You’ll spend $30-100 on supplies versus $300+ for new furniture of similar quality.
Does Refinishing Antique Furniture Devalue It?
Yes, refinishing can reduce an antique’s value. For pieces with historical significance or rare finishes, preservation is better than renovation. Always research value before changing original features.