Are you looking for an affordable way to showcase your hard work after completing a jigsaw puzzle? Creating your own DIY puzzle frame is the perfect solution!
This guide will walk you through crafting professional-looking frames using basic materials and tools you might already have in your workshop.
Perfect for those cold months when puzzle-building becomes a favorite pastime, these custom frames will convert your completed puzzles into wall-worthy art pieces.
The best part? You can customize the style, color, and finish to match your home decor while saving money compared to store-bought frames.
Follow these simple steps to create durable, attractive frames that will preserve and display your puzzle achievements for years to come.
Benefits of DIY Puzzle Framing
Framing your completed jigsaw puzzle yourself offers several rewarding benefits beyond just preservation. First, it changes your hard work into a stunning, personalized piece of art that you can proudly display in your home.
Rather than letting your puzzle sit in a box or risk falling apart, a custom frame keeps every piece securely in place and protects it from dust, moisture, and sunlight damage.
Creating your frame also saves money compared to purchasing pre-made or professional framing, while giving you full control over the style, color, and finish.
This means your frame can perfectly match your home décor and personal taste. Plus, the process is a fun and satisfying DIY project that adds meaning to your puzzle’s story.
Finally, a well-crafted frame preserves the puzzle’s sentimental and aesthetic value, turning your accomplishment into a lasting keepsake. Whether it’s a favorite image, a challenging design, or a gift for someone special, framing ensures your puzzle will be enjoyed for years to come.
Step-by-Step Guide to Creating Your DIY Puzzle Frame
Tools and Materials Needed:
| Tools | Materials |
|---|---|
| Table saw or straight edge | Quarter-inch material (MDF or plywood) for backer board |
| Pencil | Scrap lumber for making 1/2-inch strips |
| Sander | 5/8 by 1-inch lumber for trim |
| Staple gun/Brad nailer | Puzzle glue |
| Router (optional) | Paint, lacquer, or finish of choice |
| Putty knife | Wood putty |
| Clamps | Pickets (optional alternative for trim) |
| Measuring tape | Glue spreader or card |
Step 1: Cut the Backer Board to Size
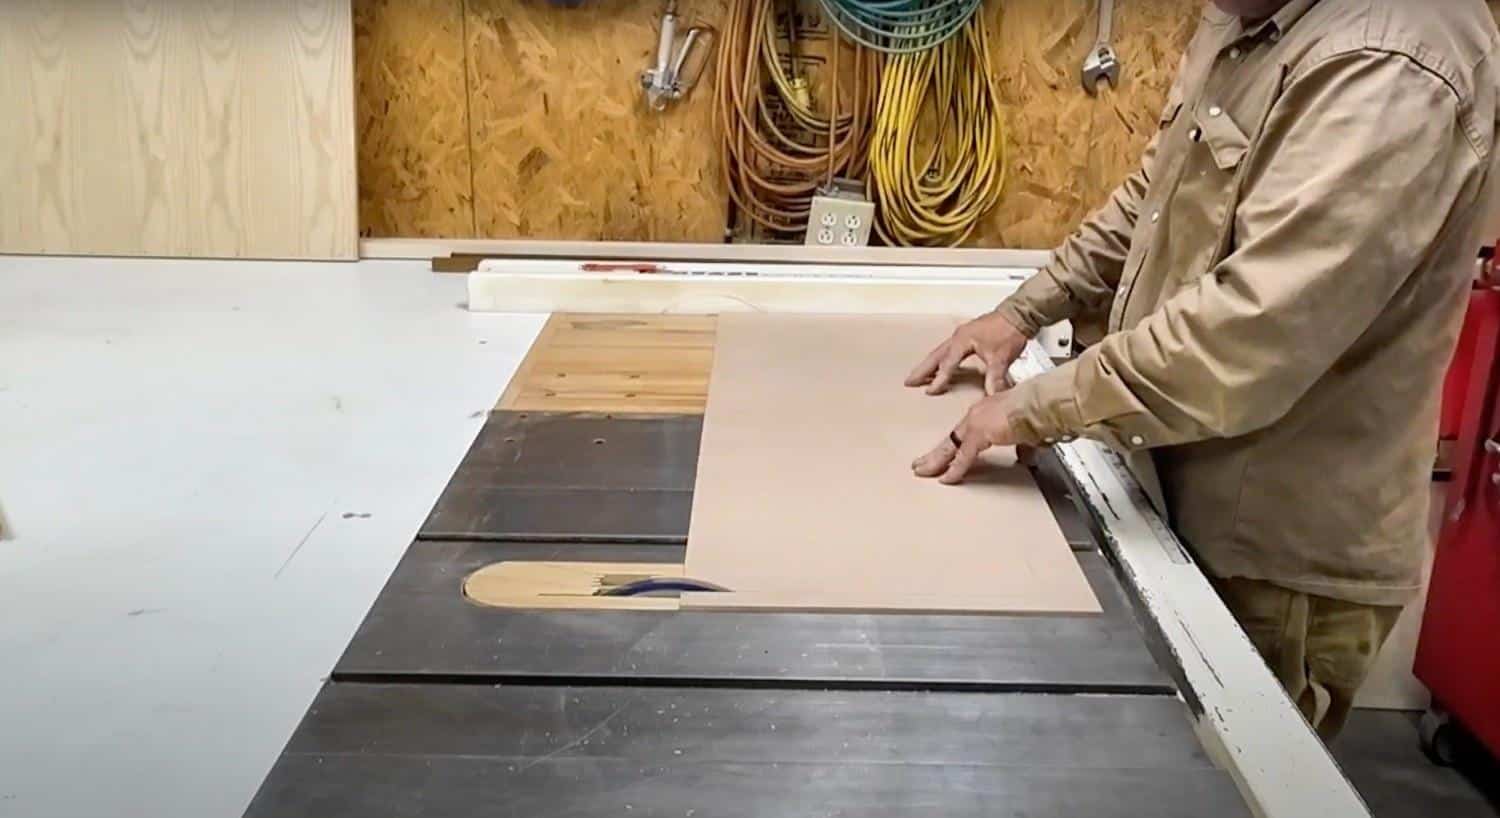
Using a table saw or appropriate cutting tool, cut precisely along the traced lines to size your backer board exactly to your puzzle’s dimensions. Take your time to ensure clean, straight cuts—accurate sizing here means your puzzle will fit perfectly later.
If you’re framing multiple puzzles, repeat this for each. When using thin (¼-inch) material, you’ll add structural support strips next, but if using thicker (¾-inch) plywood, you can skip support strips and move on to sanding and trim work.
The sturdiness of your backer board is essential to keep the puzzle flat and prevent warping.
Step 2: Create Support Strips for the Frame
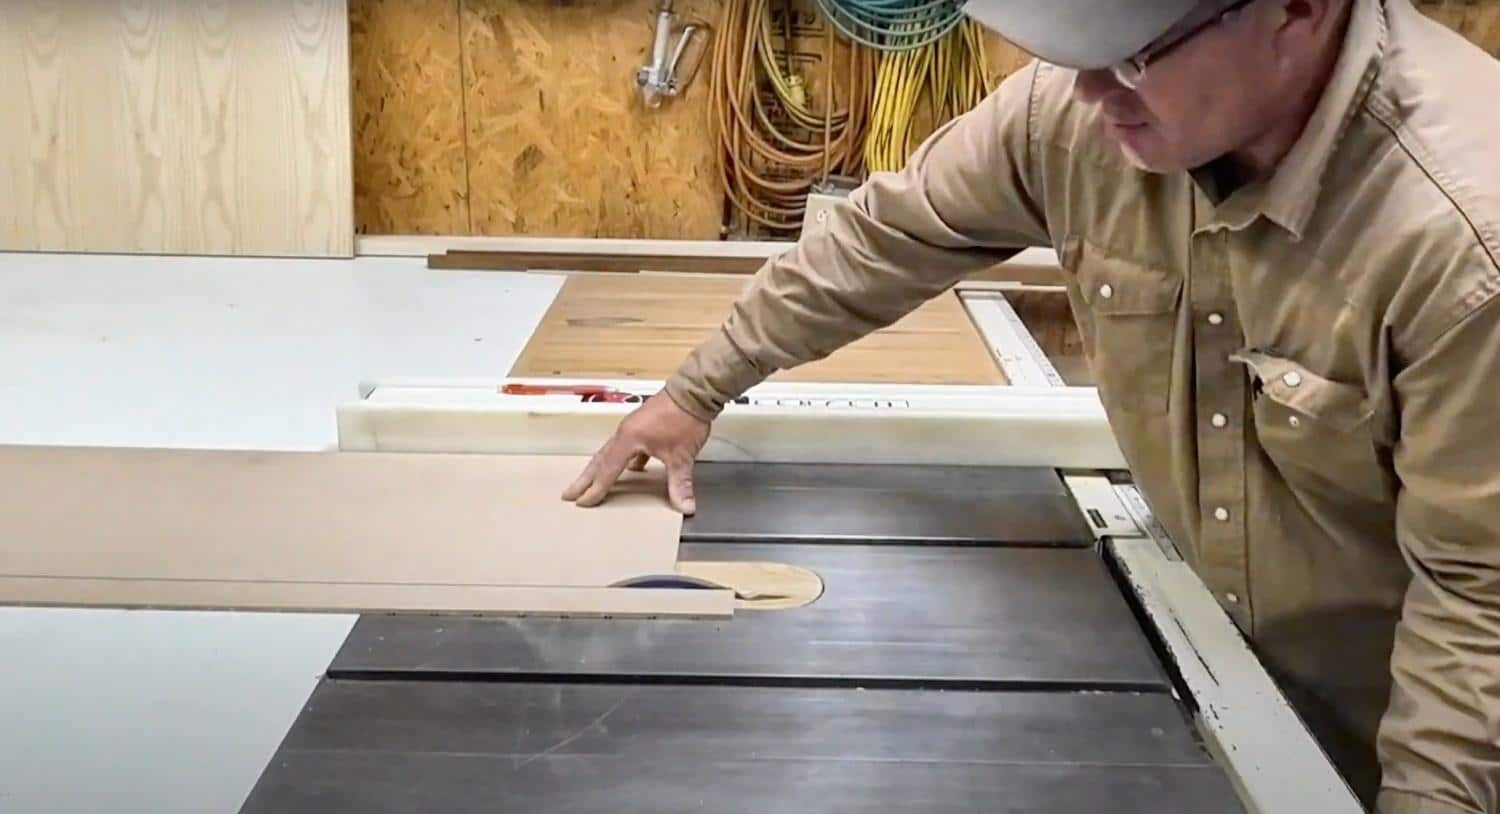
If your backer board is thin, you need to add depth and strength by attaching support strips. Find scrap lumber—anything from 2x4s to leftover boards—and rip them down to about ½-inch wide strips, with thickness between ¾ and 7/8 inch.
These strips will form a raised edge around your board, creating a recessed area for the puzzle to sit inside the frame.
Instead of measuring, place the strip directly against the board edge and mark it to fit (a method called scribing). Cut four strips to match the length and width of the backer board.
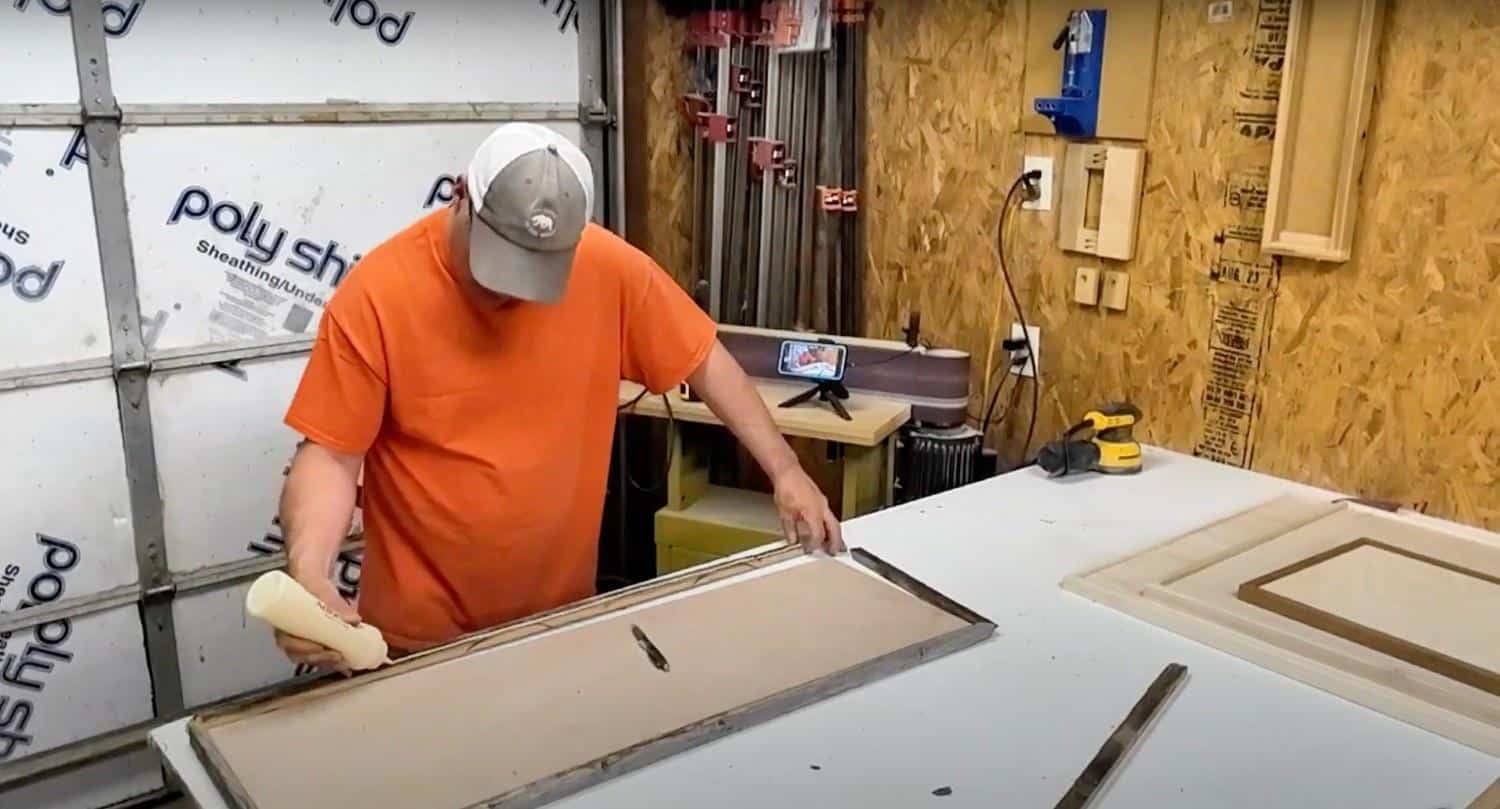
Step 3: Attach Support Strips to the Backer Board
Apply wood glue along one edge of the backer board, then press a support strip flush against the edge. Secure the strip firmly using staples, brad nails, or small screws—whatever fastening tools you have available.
Continue attaching strips on all four sides, ensuring each strip is flush and even with the board edges for a neat appearance.
This raised border not only prevents the thin board from warping over time but also creates a shallow “well” for the puzzle to fit into, helping keep everything securely in place.
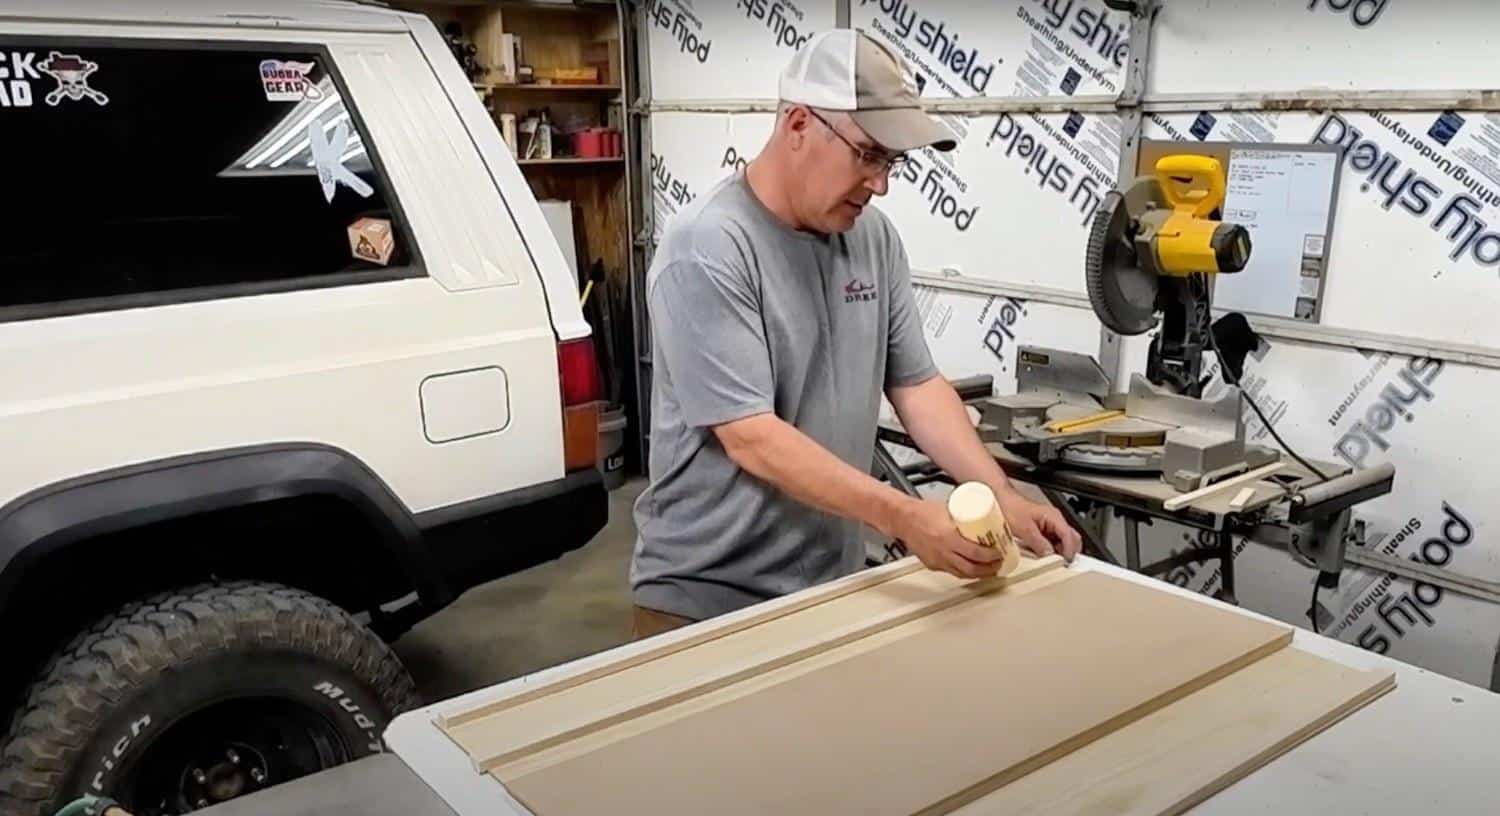
Step 4: Prepare and Attach Decorative Trim
Choose your trim wood—5/8-inch by 1-inch pieces work well and can be milled from leftover planks or 2x4s. If possible, run the trim pieces through a router with a 1/8-inch round-over bit to soften edges for a professional finish. Sand each piece thoroughly to remove any mill or saw marks.
Cut the trim to length with precise 45-degree miters on each end so corners fit tightly. Apply wood glue to the back of each trim piece and carefully position it along the frame edges, making sure the mitered corners meet perfectly.
Secure the trim with brad nails or small finish nails, countersinking the nails slightly below the wood surface.
Step 5: Apply Glue to the Backer Board
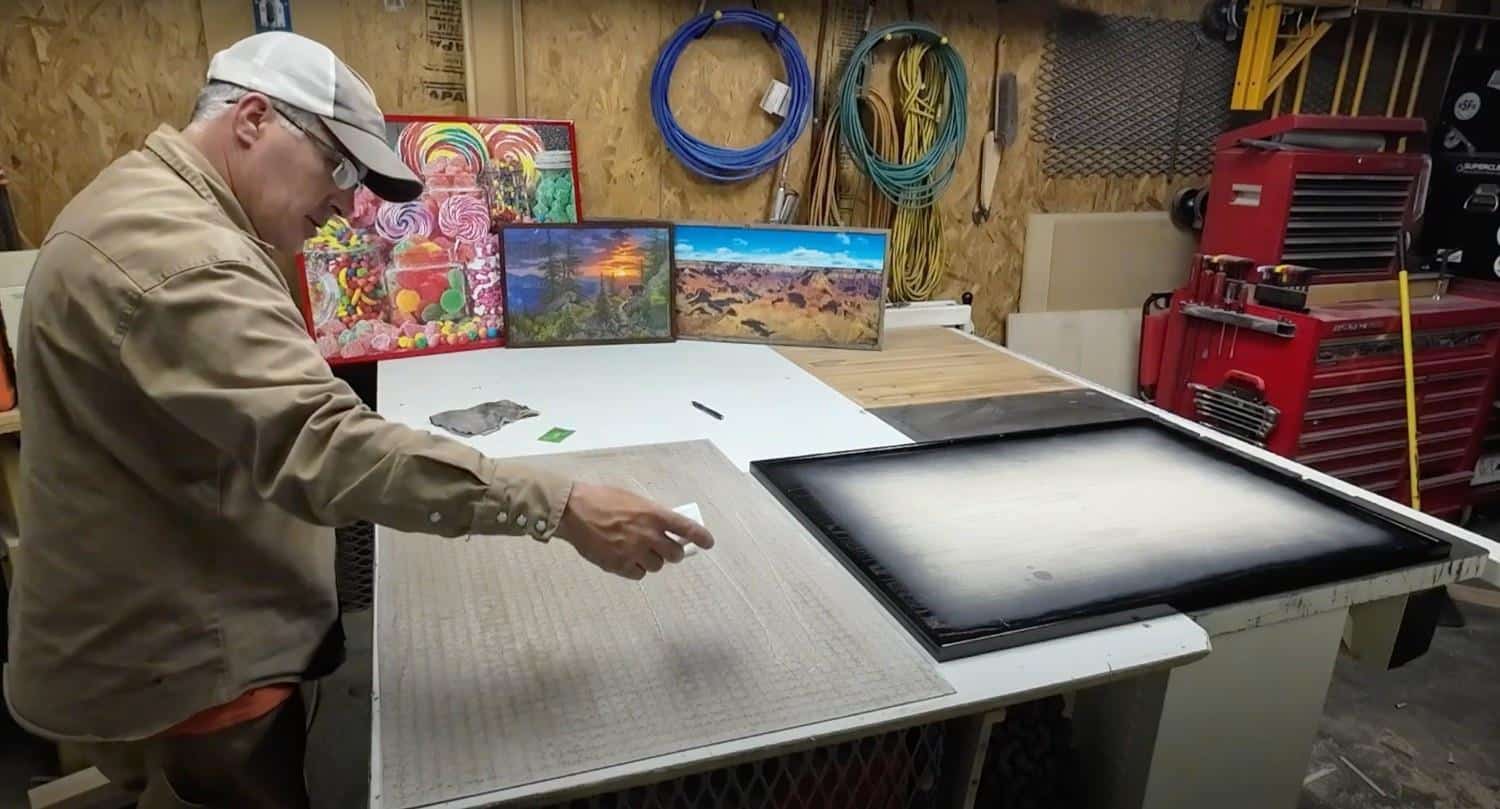
Use a plastic card or spreader to spread puzzle glue evenly over the backer board surface. Create a thin, uniform layer, making sure the glue extends fully to the edges without spilling over.
This prepares the surface for attaching your puzzle.
Step 6: Attach Your Puzzle to the Glued Backer Board
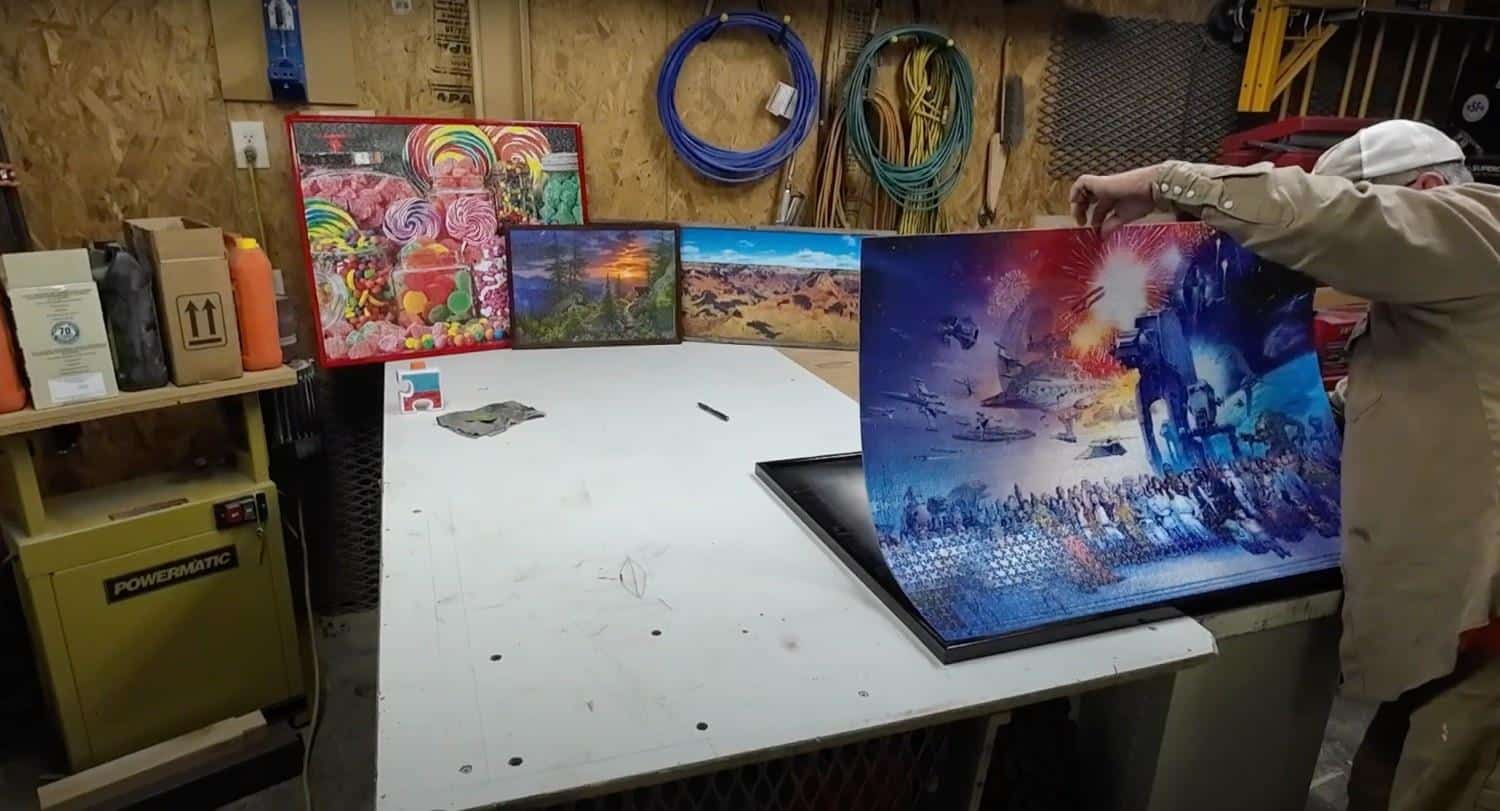
Carefully position your puzzle onto the glued surface, starting with one edge and gradually lowering it to avoid air bubbles. Press gently from the center outward to smooth out wrinkles or trapped air. Immediately wipe away any excess glue with a damp cloth.
Place even weight on top of the puzzle—books or flat boards work well—and allow the glue to dry completely according to the glue manufacturer’s instructions. Once dry, your framed puzzle is ready for display!
Video Tutorial
Check out this YouTube video for a detailed step-by-step Tutorial by Bauer’s Creations on how to build simple puzzle frames.
5 Creative Puzzle Framing Ideas to Boost Your Display
If you’re looking to switch up your puzzle framing game or want something unique beyond traditional wood frames, here are five creative ideas that will showcase your completed puzzles in style:
1. Shadow Box Frames with Floating Puzzle Effect
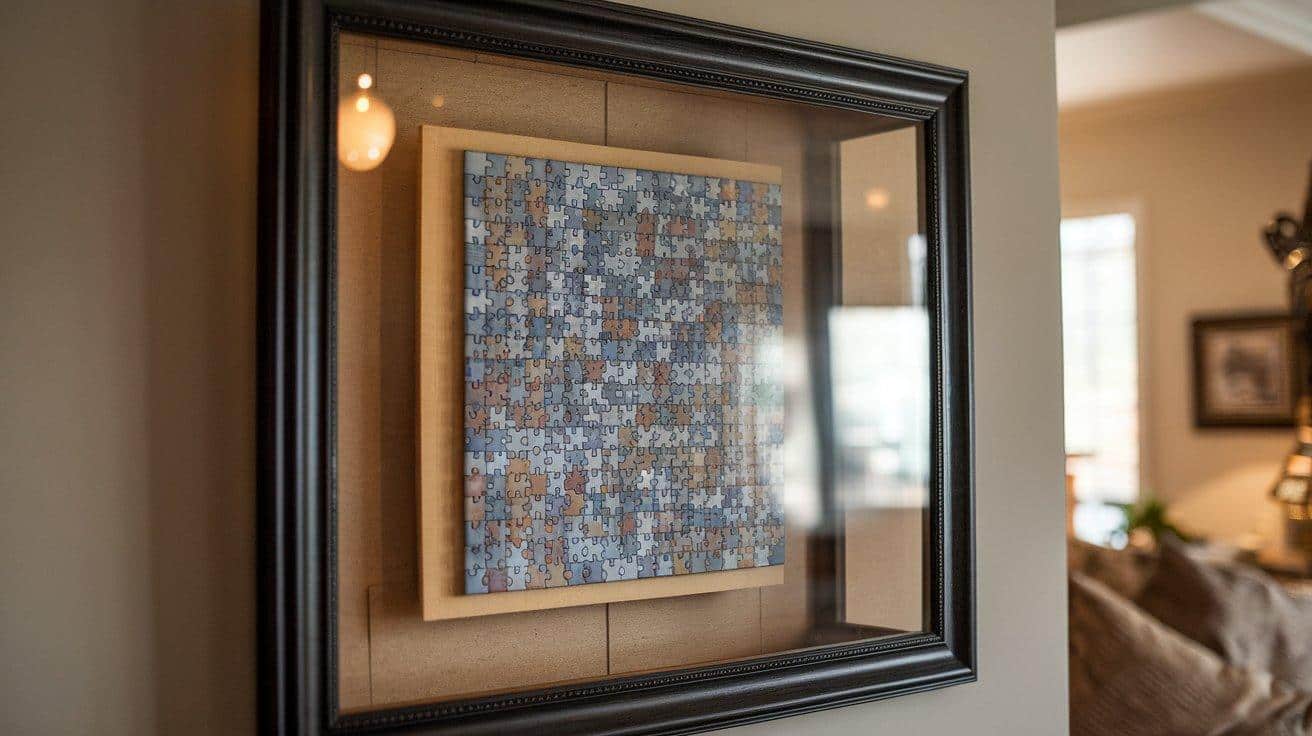
Mounting your puzzle inside a deep shadow box frame creates depth and intrigue. Attaching the puzzle to a slightly smaller backer board or clear acrylic sheet achieves a floating look that makes your artwork pop while keeping it safely enclosed behind glass or acrylic.
2. Magnetic Frame System for Easy Puzzle Swapping
A magnetic frame is perfect for puzzle lovers who like variety. Attach magnetic strips to the backer board edges and matching strips inside the frame, allowing you to swap puzzles quickly without damaging them. This is especially great for seasonal puzzles or collections you want to rotate.
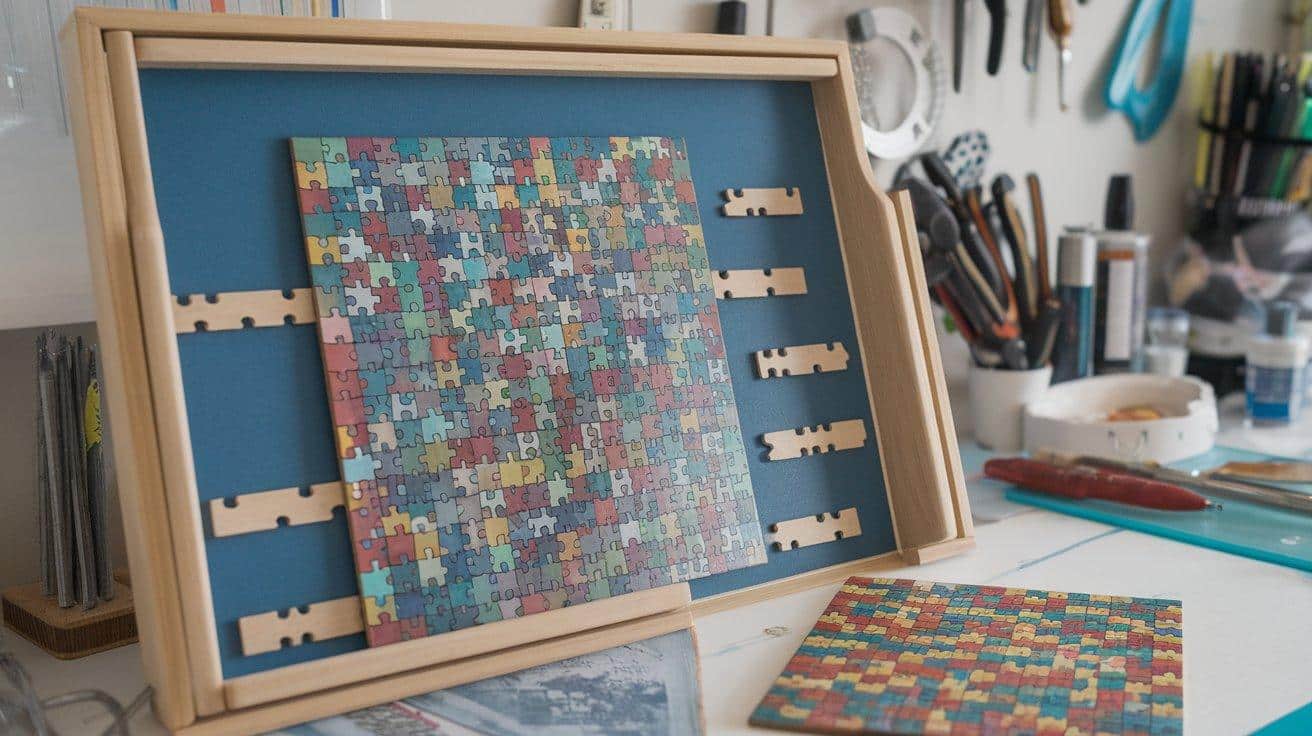
3. Puzzle Pieces as Wall Art Mosaic
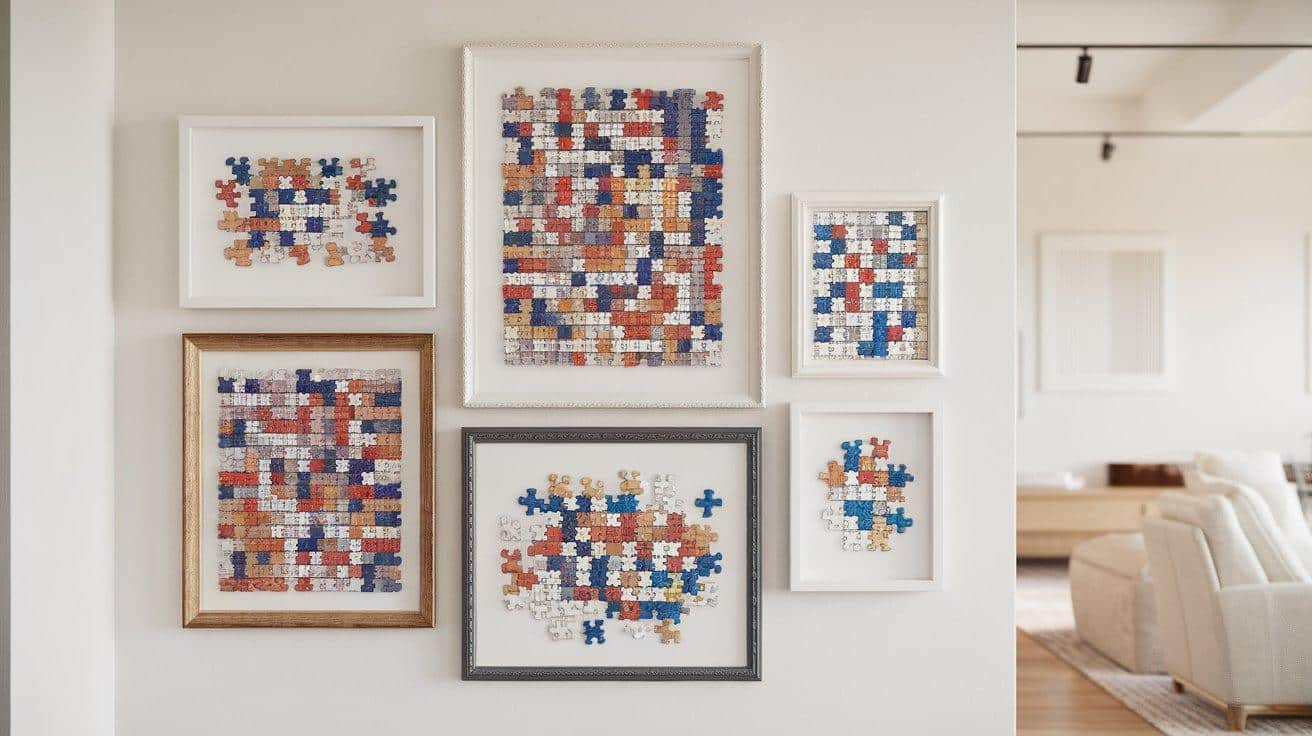
Framing individual puzzle pieces or small clusters separately turns them into mini art displays. This mosaic-style approach works well if your puzzle is damaged or if you want to highlight a favorite section or image, turning puzzle pieces into unique, eye-catching decor.
4. Glass Top Display Table Frame
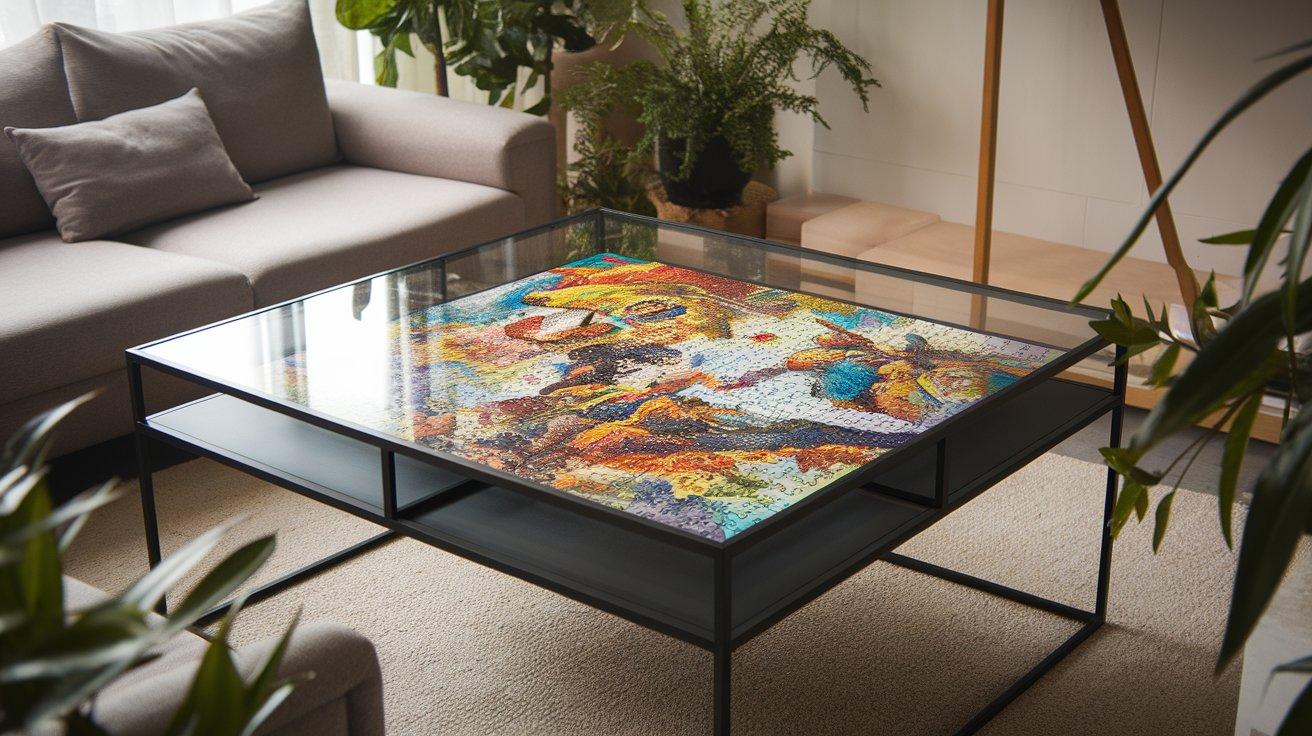
Make your puzzle a functional part of your home by framing it under a glass top on a coffee or side table. This protects the puzzle from dust and wear while letting you admire your hard work every day in a practical setting.
5. DIY Acrylic or Plexiglass Clamping Frame
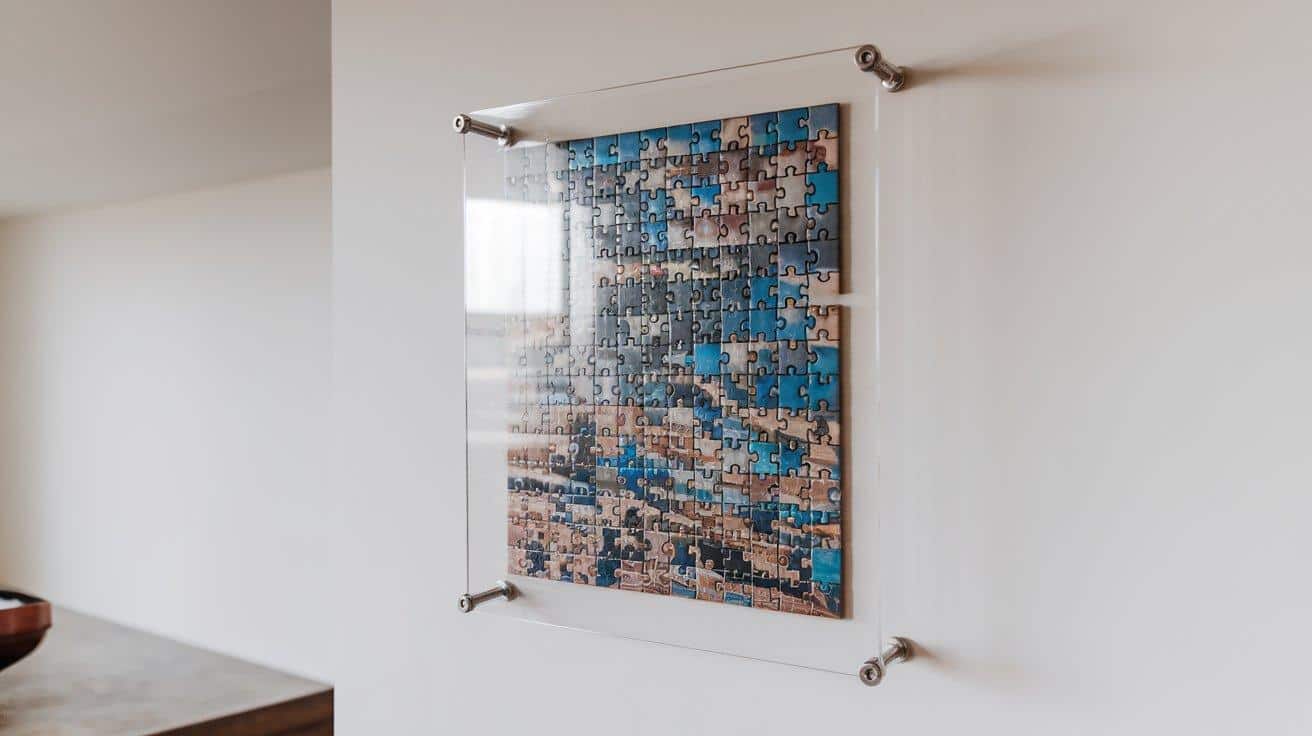
For a sleek, modern presentation, sandwich your puzzle between two clear acrylic or plexiglass sheets secured with clamps or screws. This frameless design keeps your puzzle fully visible from both sides and offers a minimalist, contemporary display option.
Affordable Puzzle Framing Cost Guide
| Item/Step | Estimated Cost | Budget-Friendly Tips |
|---|---|---|
| Backer Board | $10 – $25 | Use MDF or plywood scraps |
| Support Strips | $0 – $10 | Repurpose leftover wood |
| Wood Glue | $5 – $15 | Basic wood glue brands |
| Nails/Staples | $3 – $10 | Small packs from hardware stores |
| Sandpaper | $5 – $15 | Buy multi-pack sheets |
| Decorative Trim | $10 – $30 | Use inexpensive pine or scrap wood |
| Wood Putty | $3 – $8 | Affordable fillers |
| Finish (paint/stain) | $10 – $30 | Basic budget paints or clear coats |
| Puzzle Glue | $10 – $20 | Hobby store or online options |
| Estimated Total | $56 – $163 |
Simple Tips for Caring for Your Framed Puzzles
-
Apply puzzle glue evenly to secure all pieces, inspect edges regularly, and touch up loose pieces with a toothpick.
-
Consider a second thin glue coat for extra protection, especially in humid areas.
-
Dust gently with a microfiber cloth (wipe in one direction) or use compressed air from a distance; avoid liquids unless sealed and tested.
-
Keep puzzles out of direct sunlight to prevent fading; use UV-filtering glass or UV-resistant coatings if needed.
-
Rotate puzzles periodically for even light exposure and scan valuable puzzles before framing.
-
Handle frames by the sides, transport them vertically with corner protectors, and store in climate-controlled spaces.
-
Repair minor frame scratches with touch-up markers; reglue separated corners carefully and replace damaged trim pieces if needed.
-
Flatten warped backer boards by weighting them on a flat surface. If damaged, avoid removing individual puzzle pieces—reframe if necessary.
Common Mistakes to Avoid When Framing Puzzles
| Mistake to Avoid | Potential Consequence |
|---|---|
| Using warped or low-quality backer board | Results in an uneven surface that prevents proper puzzle adhesion |
| Applying too much glue | Creates messy overflow and potential warping of the puzzle |
| Rushing the drying time between steps | Leads to poor adhesion and finish quality |
| Skipping the sanding steps | Creates rough surfaces and visible imperfections in the finished frame |
| Handling the puzzle with dirty hands | Transfers oils and dirt that can permanently stain the puzzle image |
| Using water-based finishes without proper sealing | Can cause puzzle pieces to swell and separate |
| Hanging frames in high-humidity areas | May cause gradual warping of both frame and puzzle |
| Using non-archival materials for valuable puzzles | Results in yellowing and deterioration over time |
| Cutting corners on trim quality | Produces a frame that detracts from rather than enhances the puzzle |
Conclusion
Creating your own DIY puzzle frames offers a rewarding way to preserve and display your completed jigsaw puzzles while adding a personal touch to your home decor.
With just a few basic materials and tools, you can recast hours of puzzle work into permanent art pieces that showcase your accomplishment.
The beauty of this project lies in its versatility – you can customize the frames to match any style, from rustic wood tones to modern painted finishes.
Beyond the artistic appeal, these frames provide practical protection for your puzzles, preventing piece loss and damage.
Whether you’re framing a special puzzle with sentimental value or creating a series of framed puzzles as a unique wall display, this simple woodworking project delivers professional results at a fraction of the cost of commercial framing.
Your puzzles deserve better than being disassembled and returned to the box – give them a permanent home with these handcrafted frames.
Frequently Asked Questions
How Do You Frame a Puzzle without A Frame?
To frame a puzzle without a traditional frame, glue the completed puzzle to a sturdy backer board and seal it with a clear protective coating. Then, mount it on the wall using adhesive strips or hooks.
How to Frame a 1500-Piece Puzzle?
Glue the completed 1500-piece puzzle onto a sturdy backer board, let it dry completely, then attach support strips and a trim frame for stability and display.
Why Are Jigsaw Puzzles So Expensive?
Jigsaw puzzles are expensive due to their high-quality materials, detailed printing, and complex manufacturing processes. Limited editions and licensed images also increase the cost.