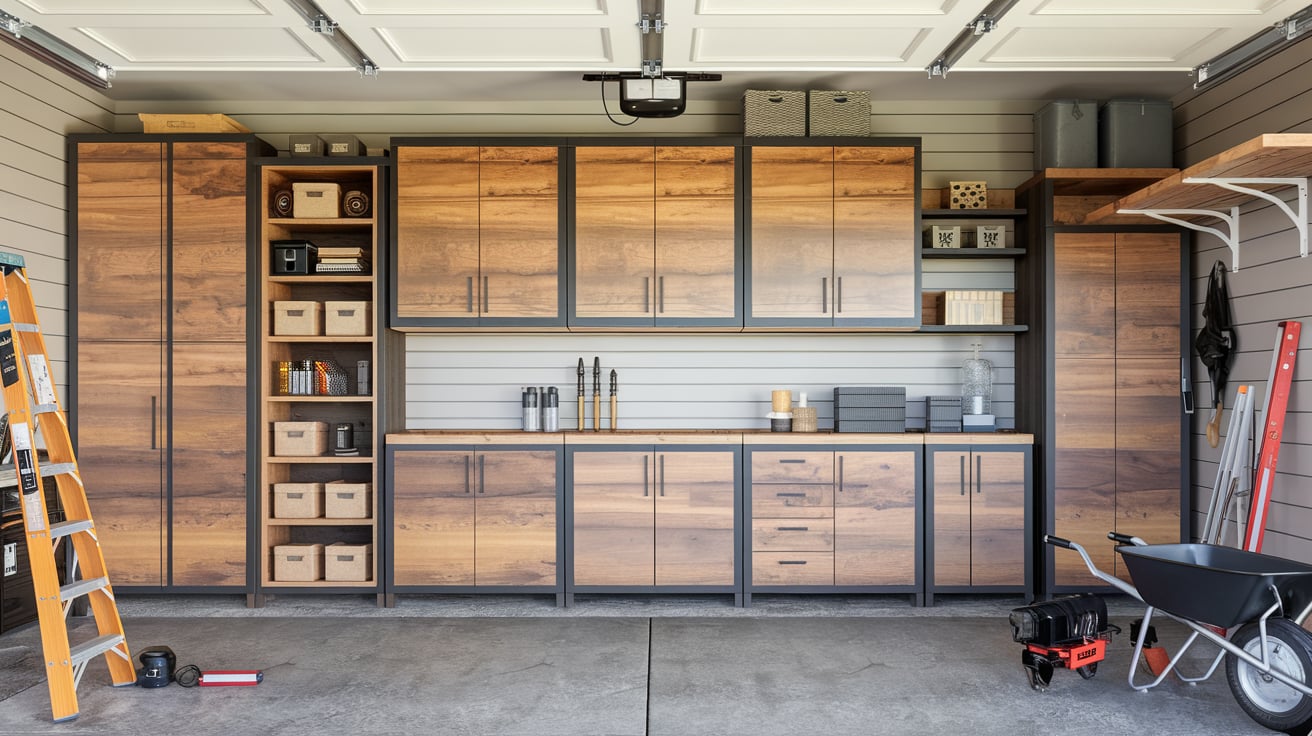
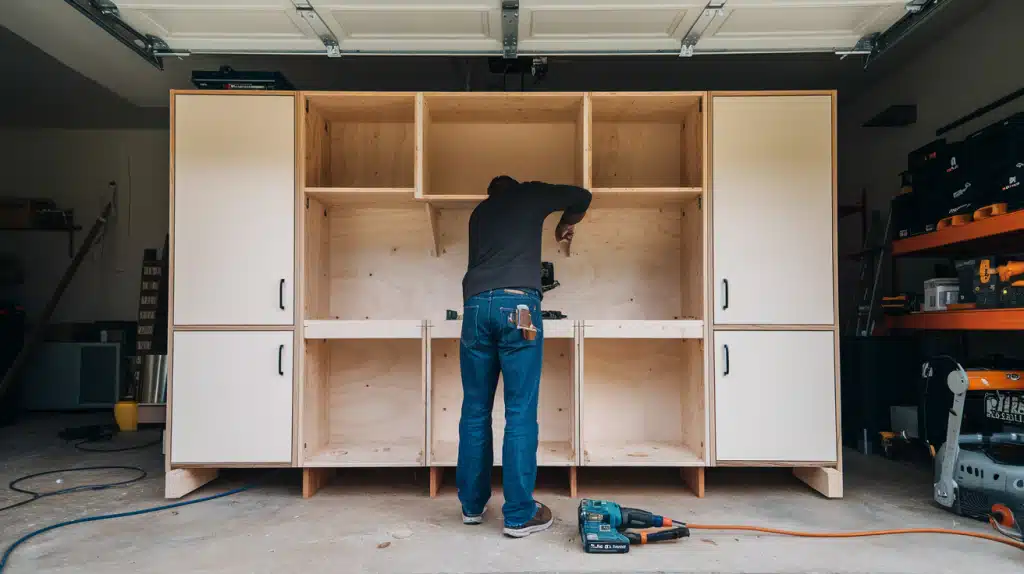
Most garages become messy, with tools, supplies, and random items scattered everywhere.
Want to know a simple way to double your garage storage space without spending thousands on pre-built units? Building your own cabinets might seem difficult if you’ve never done it before.
By creating custom garage cabinets, you’ll save money, get the storage you need, and feel proud of building something useful with your hands.
Our step-by-step guide makes the process clear and straightforward, even for complete beginners.
Follow along as we show you how to plan, measure, cut, and build garage cabinets that look professional and last for years. You’ll learn the exact materials, tools, and steps needed to complete this project successfully.
Tools and Materials Required
Required Tools
| Tool | Specification | Purpose |
|---|---|---|
| Circular Saw | Standard blade for plywood | Cutting sheets and lumber |
| Drill/Driver | 18V or higher | Assembly and hardware installation |
| Drill Bits | Standard set with 1/4″ and 1/2″ spade bits | For dowels and pilot holes |
| Pocket Hole Jig | Kreg or a similar brand | Making joint connections |
| Corner Clamps | 90-degree, 4-pack | Holding frames square |
| Brad Nailer | 18-gauge | Attaching trim and panels |
| Multi-tool | With wood-cutting blade | Trimming baseboard |
| Level | 4-foot length | Ensuring straight installation |
| Tape Measure | 25-foot length | Layout and marking |
| Speed Square | 12-inch | Making square cuts |
| Sanding Sponges | 120 and 220-grit | Surface preparation |
| Household Iron | Standard size | Applying edge banding |
| Edge Band Trimmer | Manual type | Trimming edge banding |
| Paint Roller | 4-inch width | Applying primer and paint |
| Paint Brush | 2-inch width | Cutting in edges |
Required Materials
| Material | Quantity | Specifications |
|---|---|---|
| Cabinet Grade Plywood 3/4″ | 4 sheets (4×8) | Pine or similar |
| Cabinet Grade Plywood 1/2″ | 2 sheets (4×8) | Pine or similar |
| Cabinet Grade Plywood 5mm | 1 sheet (4×8) | Pine or similar |
| Kiln Dried 2×4 Lumber | 8 pieces (8-foot length) | Construction grade |
| Select 1×2 Lumber | 6 pieces (8-foot length) | Pine for shelf supports |
| Pocket Hole Screws | 1 box (100 count) | 2.5-inch length |
| Wood Screws | 1 box (100 count) | 3-inch length |
| Wood Screws | 1 box (100 count) | 1-1/4 inch length |
| Brad Nails | 1 box (1000 count) | 18-gauge, 1-1/4 inch |
| Fixed Casters | 4 pieces | 3-inch height |
| Cabinet Hinges | 8 pairs | European style |
| Cabinet Handles | 8 pieces | With mounting screws |
| Wood Glue | 16 ounces | PVA type |
| Wood Filler | 16 ounces | Stainable type |
| Edge Banding | 50 linear feet | 3/4-inch width |
| Oil-Based Primer | 1 gallon | Interior grade |
| Paint | 1 gallon | Benjamin Moore Onyx |
Step-by-Step Guide to Building Your Garage Cabinet
Step 1: Planning and Layout
Use painter’s tape to mark the cabinet outline on your garage wall. The final dimensions should be 86 inches tall, 149 inches wide, and 19 inches deep.
Locate and mark all wall studs within the outlined area using a stud finder, as these will be crucial for secure mounting. Draw a detailed plan of your cabinet sections and shelving layout on paper.
Step 2: Building the Rolling Cart
Begin with cutting plywood pieces for the rolling cart frame and shelves. Use 3/4-inch plywood for improved strength. Mark and drill holes for shelf supports using 1/4-inch and 1/2-inch spade bits.
Assemble the frame using wood glue and pocket hole screws. Mount rigid, non-swiveling casters to the bottom for stability when pulling the cart out.
Step 3: Cabinet Base Construction
Create the base frame using 2×4 lumber, ensuring it’s level despite the garage floor slope. Cover the frame with 3/4-inch plywood, secured with wood glue and brad nails.
If building on concrete, use pressure-treated lumber for the bottom frame to prevent moisture damage.
Step 4: Frame Assembly
Start with the back frame by mounting a full-length 2×4 to the wall studs at the top using 3-inch screws. Install vertical 2×4 supports, ensuring they’re plumb.
Build the front frame on the floor using 2x4s and pocket hole joints. Stand it up and secure it to the base and top beam. Account for any floor slope by adjusting the length of front vertical supports.
Step 5: Middle Section Installation
Cut 3/4-inch plywood panels for vertical dividers. Create pocket holes along the edges for attachment. Install these dividers between the front and back frames using pocket hole screws, ensuring they’re perfectly square.
These dividers create the main storage sections and provide support for shelving.
Step 6: Shelf Support System
Install 1×2 supports along the back wall and sides of each section. Mount these into wall studs where possible. Cut shelves from 3/4-inch plywood, making notches where needed to fit around vertical supports.
Apply edge banding to visible shelf edges using an iron. Consider adding a clear protective coat to the shelves before final installation.
Step 7: Door Construction
Cut doors from 1/2-inch plywood to size, allowing for proper gaps. Apply edge banding to all door edges. Fill any holes or imperfections with wood filler and sand smooth.
Prime all surfaces, then paint with the chosen color. Install hinges once the paint is fully cured. Ensure proper spacing between doors using temporary spacers during installation.
Step 8: Front Facing and Finishing
Cover the front frame with 5mm plywood using brad nails to create a smooth surface. Fill all nail holes and seams with wood filler.
Sand all surfaces thoroughly with 120-grit, then 220-grit sandpaper. Apply primer to all exposed surfaces. Once dry, sand lightly and apply final paint coats. Install door handles and any remaining hardware.
Step 9: Final Assembly
Mount the doors using hinges, ensuring proper alignment. Install the rolling cart in its designated space. Check all door clearances and adjust hinges as needed.
Add any final touches like bumpers or magnetic catches. Test all moving parts and make final adjustments to ensure smooth operation.
Video Tutorial
Check out this YouTube video for a detailed step-by-step tutorial on making a garage cabinet.
Must-Know Tips for Building Perfect Garage Cabinets
- Measuring and Planning: Take exact measurements twice. Check garage slope. Mark every stud. Allow 1/8-inch gaps for doors. Add 4 inches to depth for clearance.
- Material Facts: Pick 3/4-inch plywood for frames. Select 1/2-inch plywood for doors. Use treated wood for base. Choose fixed casters. Keep extra wood for tests.
- Frame Building: Mount the bottom frame first. Check the level after each piece. Space supports 24 inches apart. Set pocket holes 3/4-inch deep. Pre-drill all holes.
- Door Setup: Cut doors 1/8-inch smaller. Place hinges 6 inches from the edges. Mount top hinges first. Test swings before the final mount. Set even gaps between doors.
- Paint Process: Sand wood before primer. Wait 24 hours between coats. Use foam rollers for a smooth finish. Paint in bright light. Check for drips.
- Storage Rules: Store heavy items low. Group similar tools. Keep 2-inch rear clearance. Set shelves 12 inches apart. Test shelf strength.
- Tool Tips: Replace blades before cuts. Check drill bit sharpness—test cuts on scrap wood. Keep tools clean. Maintain sharp edges.
- Safety Steps: Wear eye shields while cutting. Use earplugs with power tools. Keep the work area bright. Clean as you work. Lift heavy items with help.
Conclusion
Building your garage cabinets takes time and effort, but the results are worth every minute spent. With proper planning and the right tools, you can create storage that fits your needs and lasts for years.
Our step-by-step guide shows that even beginners can build professional-looking cabinets.
Remember to focus on accurate measurements, use quality materials, and take time with each step. Small details like proper door spacing and sturdy shelf supports make a big difference in the final product.
The satisfaction of opening smooth-sliding doors, seeing tools neatly arranged, and knowing you built it yourself is unmatched.
By following this guide, you’ve learned skills to serve you well in future woodworking projects while creating practical storage for your garage.


One Comment
pin up casino: pin up az – pin up azerbaycan