Wall makeovers often seem costly and complex. Yet plywood shiplap offers a simple fix for plain walls without draining your wallet. This option stands out for people who want to add texture to their homes.
Plywood shiplap brings warmth and character to rooms while staying budget-friendly. The clean lines work well in many spaces – from living rooms to bedrooms.
The good thing about plywood shiplap is that anyone can set it up with basic tools during a weekend. No special skills needed to get this trendy look.
This blog walks through how to pick, prep, and put up plywood shiplap. From tools to final touches, each step helps create that perfect wall look without hiring experts.
What Is Plywood Shiplap?
Plywood shiplap is a wall covering made from thin sheets of plywood cut into planks. These planks have edges that fit together, creating small gaps between boards. The gaps make shadow lines that add interest to the walls.
The planks are usually cut in widths between 4 and 8 inches. They’re installed horizontally with small spaces between each board.
“Shiplap” comes from an old building method used in ships and barns. The look mimics traditional wooden planks but costs much less. Most people use smooth-faced plywood for indoor walls.
Why It Is a Popular Choice?
Plywood shiplap has gained fans among home owners for its low cost – often 30-50% less than solid wood options while giving a similar look. This makes high-end style possible even on tight budgets.
The lightweight and stable nature of plywood makes it practical for DIY projects. A single person can carry and place these boards without strain, and they resist warping over time.
Its versatile design complements a wide range of decor styles, from rustic farmhouse charm to sleek contemporary spaces.
Plus, with numerous finishing options like paint and stain, plywood shiplap can be customized to suit any atmosphere.
Benefits of Using Plywood Shiplap
Plywood shiplap offers many good points that make it worth picking for your walls. The mix of cost, looks, and ease of use helps it stand out from other wall options.
1. Cost-Effective Solution
Plywood shiplap stands out for its price point. Materials cost roughly $1-2 per square foot, compared to $5-7 for solid wood options. This makes big wall projects much more budget-friendly. The savings add up quickly in larger spaces.
2. Quick and Simple Installation
The lightweight of plywood makes for faster work. Boards can be cut with basic tools like circular saws. Most DIYers find they can cover a wall in a single day. The straight, flat nature of plywood also means fewer fitting issues during setup.
3. Strong and Long-Lasting
Despite its lower cost, plywood shiplap holds up well over time. The cross-grain construction resists splitting and cracking. It also handles changes in room moisture better than some pricier options, with less shrinking or swelling.
4. Design Choices
Plywood takes paint, stain, and sealers well. This gives homeowners many finish options for their walls. The smooth surface means less prep work before finishing, saving even more time and money.
Comparing Plywood Shiplap v/s. Traditional Wood Shiplap
This table breaks down key differences to help you choose between these two options.
| Feature | Plywood Shiplap | Traditional Wood Shiplap |
|---|---|---|
| Installation Time | Faster – typically 30% quicker | Slower due to wood variations |
| Look | Smooth, consistent surface | Natural wood grain and character |
| Painting | Takes paint well, few knots | May need a knot sealer before painting |
| Thickness | Usually 1/4″ to 1/2″ | Typically 3/4″ or thicker |
| Cutting | Cleaner cuts, less splintering | Can splinter during cuts |
| Sound Dampening | Less acoustic absorption | Better sound insulation |
| Eco-Impact | Uses less solid wood | Uses more natural resources |
| Temperature Changes | Minimal expansion/contraction | More noticeable movement |
| Fire Rating | Some types offer better ratings | Generally lower fire resistance |
The choice often comes down to project needs versus budget constraints. Plywood works well for most indoor spaces, while solid wood might be worth the extra cost for high-impact areas.
To learn more about the different types of shiplap and which might suit your project best, check out our detailed guide.
Step-by-Step Guide to Installing Plywood Shiplap
Installing plywood shiplap follows a simple process that most DIYers can handle in a weekend. These steps walk you through from prep work to final touches, creating a beautiful wall covering.
Tools and Materials Needed:
Getting the right supplies ready before you start ensures a smooth shiplap project. Here’s what you’ll need:
| Tools | Materials |
|---|---|
| Measuring Tape & Pencil | Plywood Sheets (5mm) |
| Bubble Level (24″+ length) | Nails (18-gauge, 1″) |
| Circular Saw | Trim Pieces |
| Miter Saw | Nickels for spacing |
| Nail Gun (18-gauge) | Paint (optional) |
| Air Compressor | |
| Straight Edge & Clamps | |
| Safety Gear (eyes, ears, lungs) | |
| Utility Knife |
Step 1: Prepare Your Space
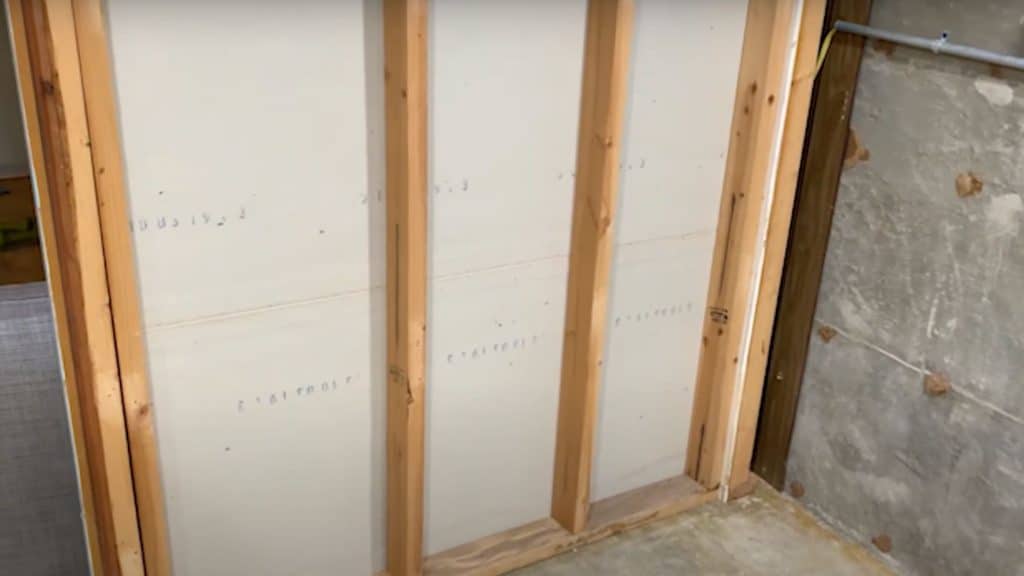
Clear the wall area by removing old coverings, switch plates, and outlet covers. Check for uneven spots that might need fixing before you begin. A flat starting surface makes a big difference in your final results.
Set up your work area with good lighting and enough space. Connect your air compressor to the nail gun and test it before starting.
Step 2: Cut Your Shiplap Boards
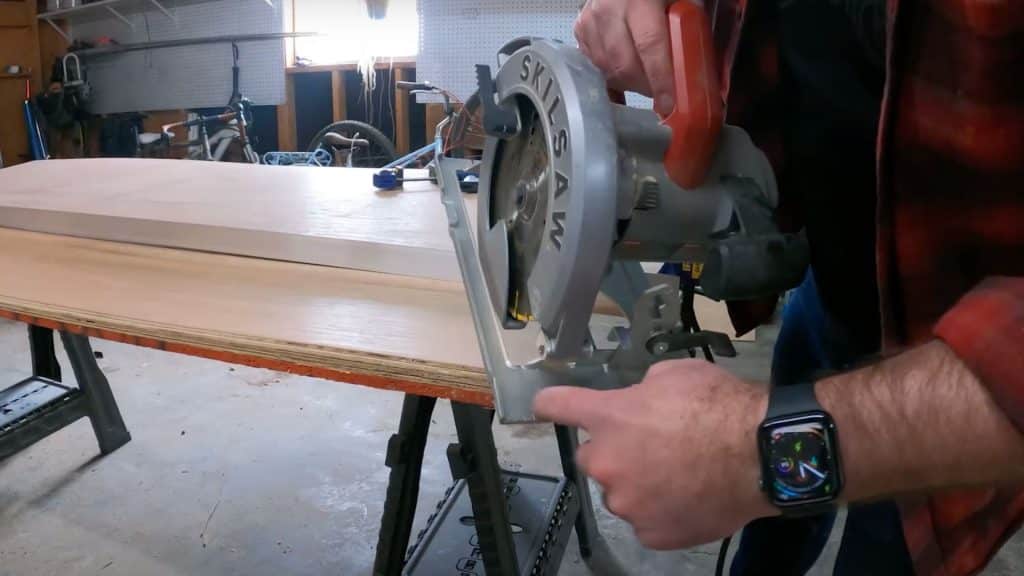
Mark 7 strips across your plywood sheets. This width works well for most rooms, giving a balanced look. For faster work, stack multiple sheets to cut them all at once.
Clamp your straight edge to guide your circular saw, allowing for the saw base offset. Keep the blade depth set to just clear the plywood thickness. Make steady cuts for clean edges.
Step 3: Measure and Cut to Fit
Take wall measurements for each board length. Walls are rarely perfectly square, so measure each spot separately. Use your miter saw for precise cross cuts with square ends.
Plan your layout to stagger seams between rows for a natural look. For walls with outlets, measure and mark their positions on boards before installing.
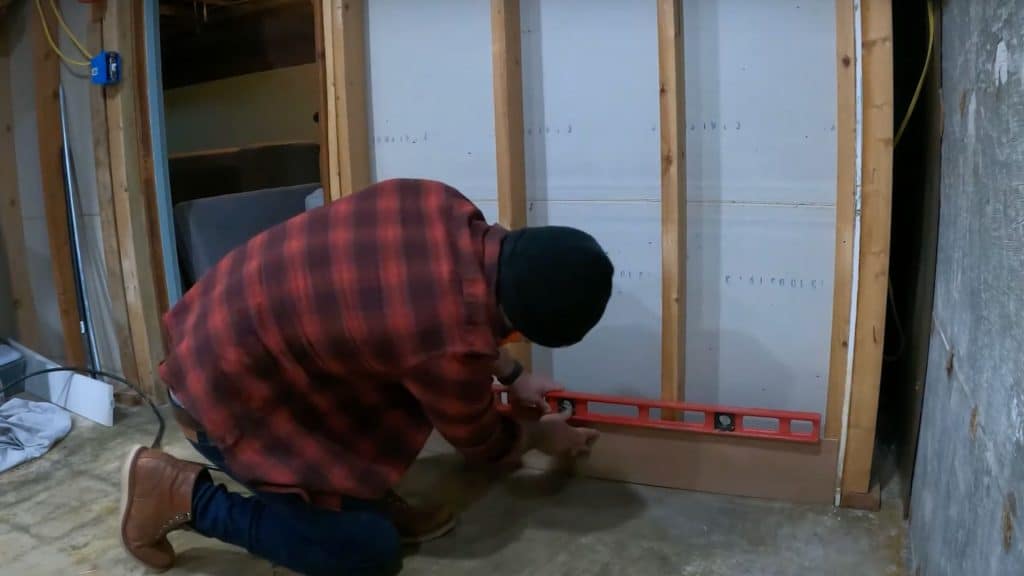
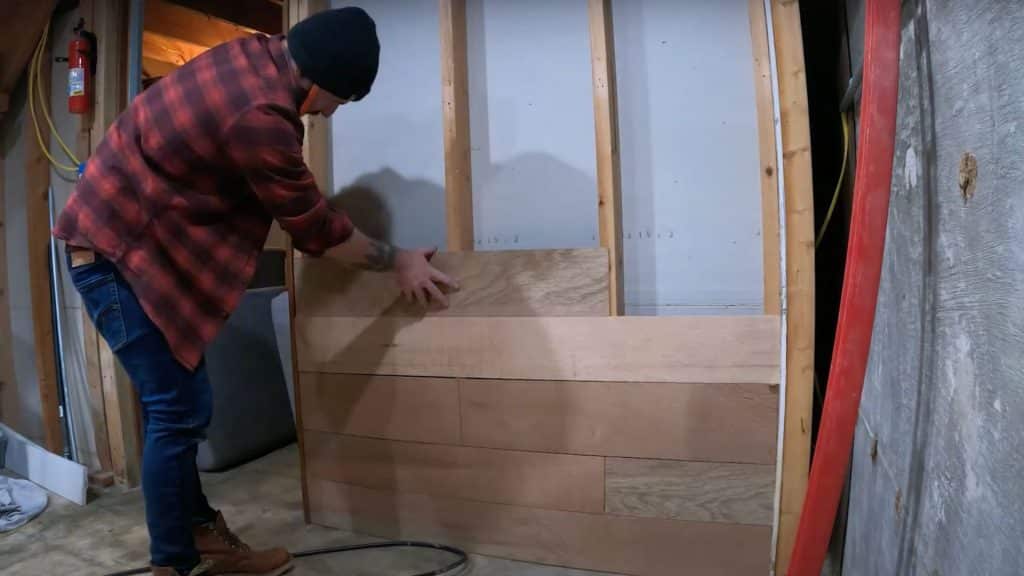
Step 4: Install Your First Row
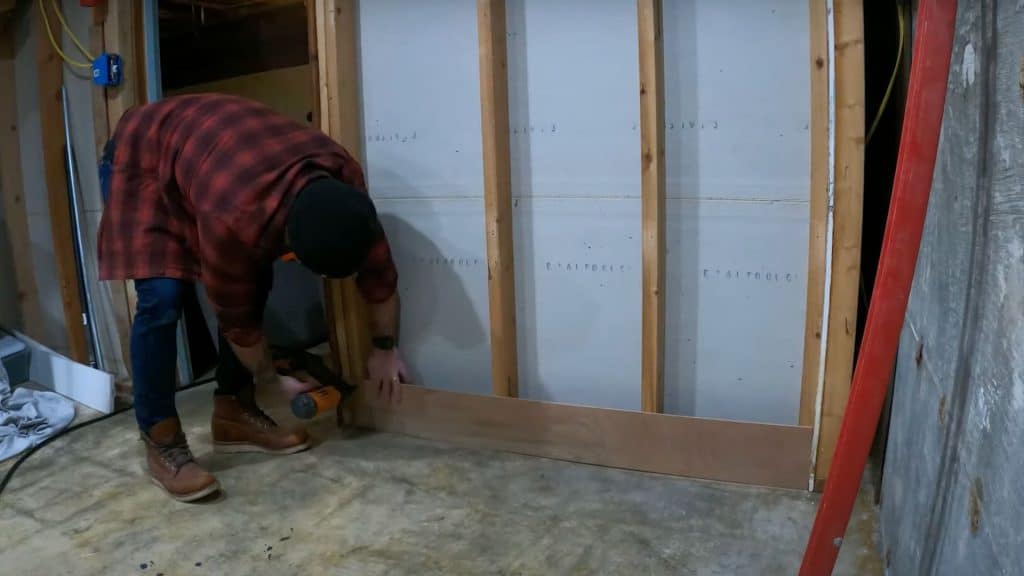
Place your first board at the wall bottom and check it’s perfectly level. Don’t trust the floor to be level – many aren’t, which can throw off your entire wall.
Secure the board with nails into the wall studs for strong holding. Finding studs before you start saves time. Place nails about every 16 inches along each board.
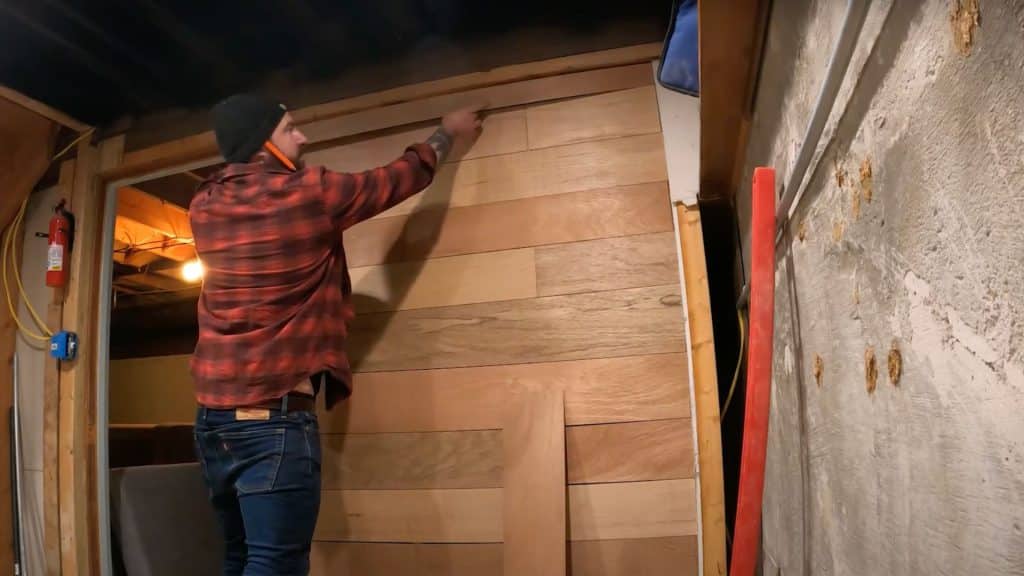
Step 5: Continue Up the Wall
Place nickels between boards for consistent gaps that give shiplap its look. Work up the wall, checking the level often to catch any drift early.
Press each board against the spacers before nailing. This keeps gaps even throughout. Continue staggering seams to create a pattern that draws the eye across rather than up and down.
Step 6: Finish the Top Section
Measure the remaining top gap carefully. You’ll likely need to cut the final board to fit this space. Take time with this cut as it will be very visible if uneven.
Add trim along edges, corners, and base for a polished look. These hide raw edges and create clean transitions. Choose a trim that complements your shiplap style.
Step 7: Add Final Touches
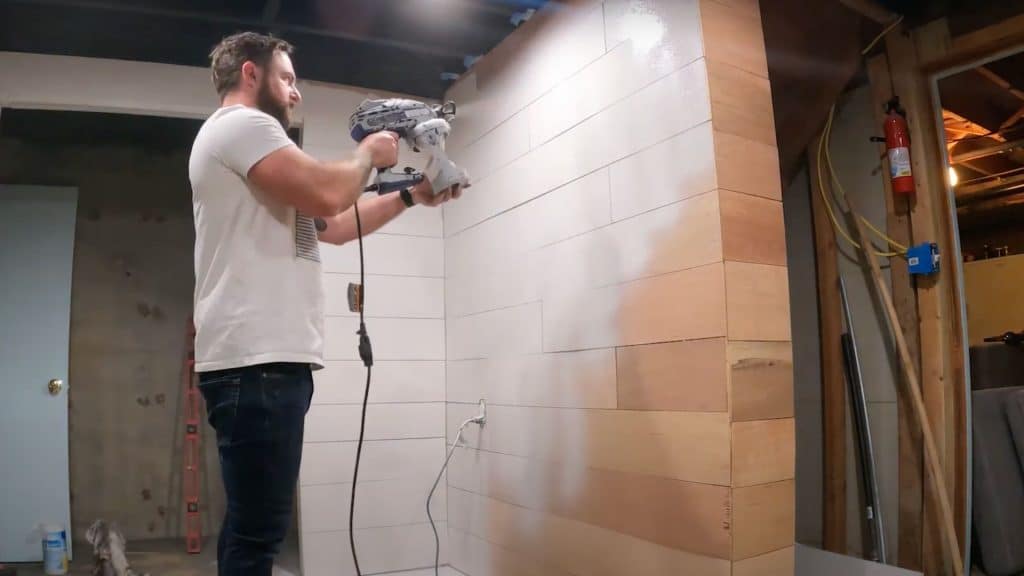
If painting, tape off areas to protect, then apply paint with roller, brush, or sprayer. Use a small brush for gaps between boards.
Replace outlet covers once everything dries. Step back often to check from different angles and fix any spots before finishing.
Video Tutorial
For more tips and step-by-step guidance, check out the video tutorial that inspired this blog.
By – Bearded Spruce
Tips for Achieving a Seamless and Professional Finish
Even small details make a big difference in how your plywood shiplap looks when done.
Pre-Finishing Boards: Paint or stain boards before installation for better coverage in grooves and cleaner lines.
Mark All Wall Studs: Use tape to mark stud locations before starting, ensuring secure attachment and preventing boards from pulling away over time.
Check Level Frequently: Verify your installation stays level every few rows to prevent gradual drift that becomes more visible as you go up.
Finish the Edges: Add trim pieces and a thin bead of caulk where shiplap meets other surfaces for a truly professional, finished appearance.
Common Challenges and How to Overcome Them?
Even careful planning can’t prevent all issues. Here are simple solutions to common problems.
- Uneven Walls – Use shims behind boards to create a flat surface.
- Outlet Troubles – Measure twice, then cut holes slightly larger than needed.
- Visible Seams – Stagger board joints and use wood filler on noticeable gaps.
- Level Issues – Check with your level often, not just at the start.
Conclusion
Plywood shiplap offers a wallet-friendly way to add style to plain walls. The simple lines and texture create a warm feel that works in almost any room.
With basic tools and some patience, most people can handle this project over a weekend. The key steps of measuring, cutting, and leveling lead to walls worth showing off.
The low cost doesn’t mean low quality. When installed well, plywood shiplap lasts for years with minimal care, making it a smart choice for many homes.
Your freshly finished walls will bring a custom look that lifts the whole room. This classic style stands the test of time while staying kind to your budget.
Frequently Asked Questions
What Is Trending Instead of Shiplap?
Painted plywood or MDF panels are gaining popularity. They offer smooth surfaces that take paint well and cost less than traditional options.
Should Shiplap Be Nailed or Screwed?
Nails work best for shiplap installation. They’re faster to install, don’t need pre-drilling, and reduce the risk of splitting the wood.
What Looks Better? Horizontal or Vertical Shiplap?
Horizontal shiplap makes narrow rooms feel wider and adds cozy, rustic charm. The choice depends on your space and style preferences.