Caring for Mums: A Complete Outdoor Guide

Most garden fans struggle to keep mums healthy and bright all season long. The sight of brown petals and limp stems can turn a lovely yard into a sad display within days. Why do so many people fail with these popular flowers?
What if you could learn the simple care tips that expert gardeners use to maintain fresh, lasting mums? The methods aren’t hard, but most people miss key steps in the process.
With the right soil mix, watering routine, and sun placement, your mums can stay full and strong much longer than you’d expect. You’ll enjoy weeks of color instead of just days.
Read on for our step-by-step guide to outdoor mum care that will help your plants thrive from first bloom until frost.
Why Mums Are Perfect for Your Garden?
Mums add quick color to any yard when other plants fade. They need little care yet offer big results in fall gardens.
Benefits of growing mums outdoors:
- They bloom when most other flowers stop
- They can return yearly with proper care
- They work in both small spots and large beds
- They grow well in pots or ground soil
Mums come in two main types: garden mums (cold-hardy, often return yearly) and florist mums (best for short-term color).
Popular mum varieties:
- Cushion mums – low, round plants
- Daisy mums – simple, open flowers
- Button mums – small, tight flower balls
- Spider mums – thin, curled petals
Colors range from white and yellow to orange, red, pink, purple, and bronze. This variety helps them fit any yard style while filling the gap when summer plants wind down.
Planting Mums: Step-by-Step Guide
Follow these seven simple steps to plant mums that will thrive in your garden.
Step 1: Select Climate-Suitable Mums

Choose mums that match your local weather patterns to ensure they’ll grow well.
- Look for USDA zone ratings on plant tags
- Garden mums (not florist mums) work best outdoors
- Early-blooming types do better in cold regions
- Buy plants with lots of buds, not fully open flowers
Pro Tip: Check local garden centers for types that grow well in your area – they often stock what succeeds locally.
Step 2: Time Your Planting Right

Plant at the ideal time to help mums establish strong roots.
- Spring planting gives mums time to settle before winter
- Early fall works if you plant 6 weeks before first frost
- Avoid summer planting in hot climates
- Weekday mornings offer cooler planting conditions
Pro Tip: Mark your calendar based on local frost dates – spring plants have the best chance of returning next year.
Step 3: Prepare Planting Holes

Dig proper holes to give your mums a good start underground.
- Make holes twice as wide as the root ball
- Dig to the same depth as the original pot
- Space plants 18-24 inches apart for good air flow
- Add compost to the bottom of each hole
Pro Tip: If your soil feels hard, mix in peat moss to improve texture and help roots spread.
Step 4: Remove From Containers Carefully

Take extra care when removing mums from their store pots.
- Gently squeeze the pot sides to loosen the soil
- Turn the pot sideways and ease the plant out
- Check for roots circling the bottom and loosen them
- Keep as much soil around the roots as possible
Pro Tip: Water plants in their pots an hour before planting to make removal easier and reduce root shock.
Step 5: Position Plants Correctly

Place your mums at the right level in the soil for best growth.
- Set the plant so the top of the root ball sits level with the ground
- Avoid planting too deep, which can rot stems
- Face the fullest side of the plant toward your viewing area
- Fill in around the roots with soil, pressing gently
Pro Tip: Leave a slight depression around each plant to catch water and direct it to the roots.
Step 6: Water Thoroughly

Give new plants a deep first drink to settle soil and remove air pockets.
- Water slowly until the ground is soaked
- Add more soil if settling occurs
- Use room temperature water, not cold
- Water at the base, not over flowers
Pro Tip: A bucket with small holes punched in the bottom makes a great slow-drip waterer for new plants.
Step 7: Apply Fertilizer and Mulch

Feed and protect your new plants to help them thrive.
- Use a balanced, slow-release fertilizer
- Apply 2-3 inches of mulch around plants
- Keep mulch a few inches away from stems
- Water again after fertilizing
Pro Tip: Pine straw mulch works well for mums as it lets water through while keeping soil cool and moist.
Caring for Mums Throughout the Growing Season
Here are key tips to keep your mums healthy and blooming through their growing season:
- Water at soil level, not from above: Give mums 1 inch of water weekly, and more during hot spells. Check soil by inserting your finger – if dry 1 inch down, it’s time to water. Morning watering helps prevent fungus issues.
- Feed mums during active growth: Apply a low-nitrogen, high-phosphorus fertilizer (like 5-10-5) once monthly from spring until August. Stop feeding 6-8 weeks before blooms open to prevent weak growth.
- Pinch back stems for fuller plants: Trim stem tips when plants reach 6 inches tall, and again when they grow another 6 inches. Stop pinching by mid-July to allow flower buds to form for fall.
- Mulch with 2-3 inches of organic matter: Spread straw, bark chips, or compost around plants (not touching stems) to keep soil cool, retain moisture, and block weeds. Refresh mulch as it breaks down.
- Watch for pests and act quickly: Check leaves weekly for aphids, spider mites, and leaf spots. Spray affected plants with insecticidal soap or neem oil early in the day to solve most pest issues before they spread.
Dealing with Common Problems
Here are five common mistakes gardeners make when handling issues with mums:
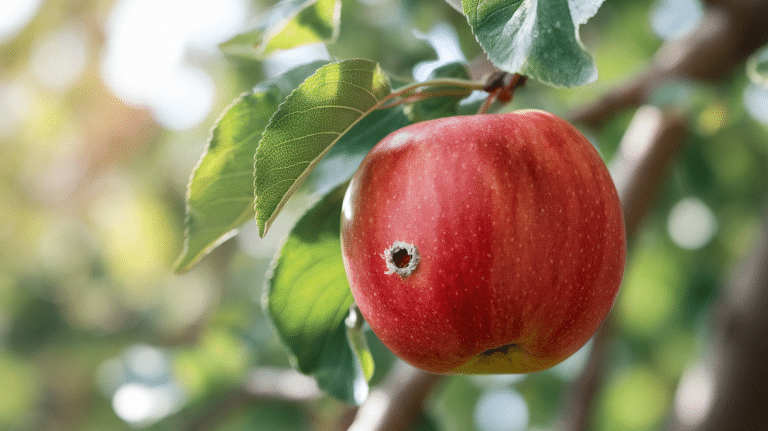
1. Waiting too long to treat aphid problems: Many gardeners notice the sticky residue on leaves but wait until they see plant damage. By then, aphids have formed colonies. Check under leaves weekly and wash off small numbers with water right away.
2. Overwatering when leaves turn yellow: Yellow leaves often make people water more, but this can cause root rot. Check the soil first – yellow leaves might mean too much water, not too little. Let the top inch dry between waterings.
3. Using the wrong treatment for powdery mildew: Spraying water on leaves when you see white powder often makes mildew worse. Use a milk spray (1 part milk to 9 parts water) or specific fungicide, and improve air flow between plants.
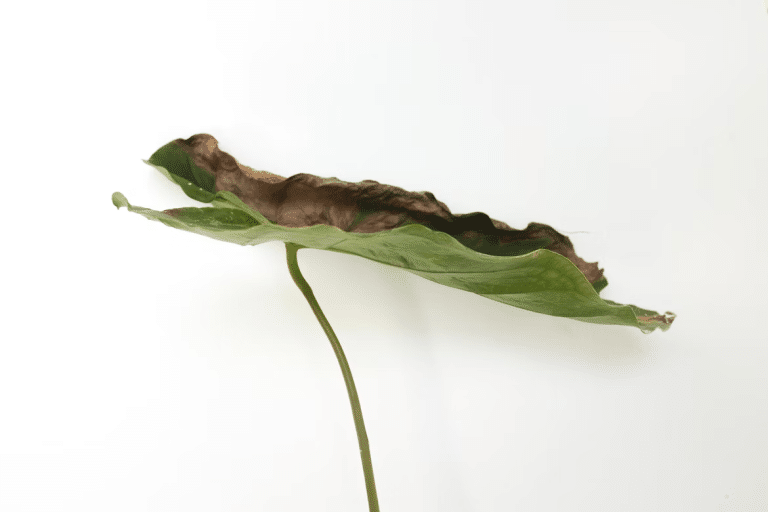
4. Ignoring early signs of leaf spot diseases: Small brown spots with yellow halos are often dismissed as minor damage. These spots can spread quickly in wet weather. Remove affected leaves promptly and avoid overhead watering.
5. Applying pest treatments at the wrong time: Many gardeners spray insecticides during midday heat or before rain. This reduces effectiveness and can burn plants. Apply treatments in early morning when pests are active but before bees visit flowers.
Conclusion
Growing mums can add fall color to your garden when other flowers fade away. By following the steps in this guide, you can enjoy healthy plants that may return year after year.
Remember to start with the right spot – good sun and well-drained soil make a big difference. Plant in spring for best results, and give your mums proper care through the seasons with the right water, food, and pruning.
Watch for common issues and fix them quickly. When winter comes, a good trim and extra protection will help your plants rest well until spring.
What mum colors would look best in your garden? Try a few different types and see which ones do well in your space. With a little care, mums can become a favorite part of your outdoor garden year after year.