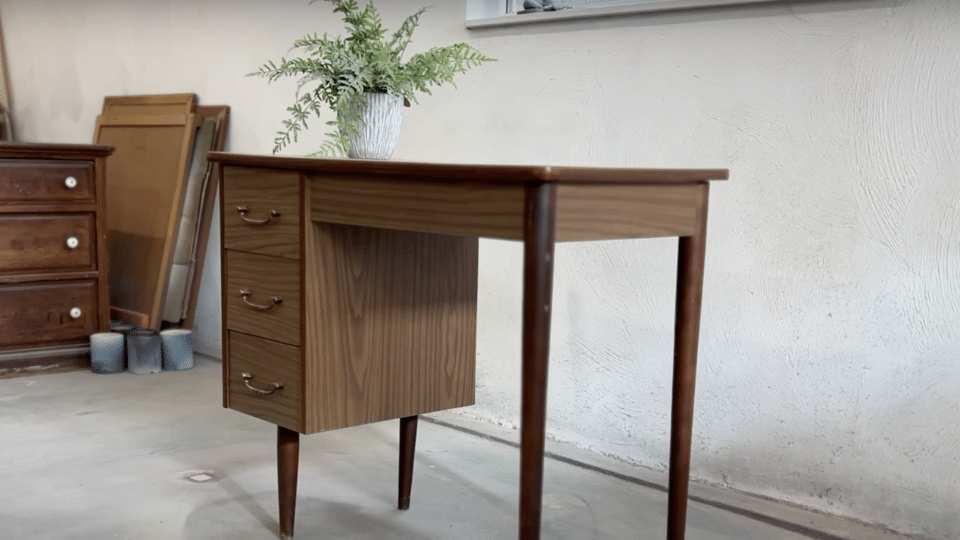
Looking at your old furniture and wondering if it’s time to get rid of it?
Before you spend hundreds on new pieces, consider this: painting furniture can completely change any room for a fraction of the cost.
Most people think furniture painting is complicated or messy. They worry about uneven finishes, paint that chips off, or ruining a good piece of work.
However, here’s the truth: with the right approach, anyone can achieve professional-looking results.
This guide will walk you through every step of the furniture painting process. You’ll learn which paints work best, how to prep surfaces properly, and the exact techniques professionals use.
By the end, you’ll have all the knowledge needed to alter any piece of furniture into something you’ll love.
Assessing Your Furniture: Is It Worth Painting?
Not every piece of furniture is worth the time and effort to paint. Start by checking the structural integrity – wobbly legs, loose joints, or cracked frames mean you’ll spend more fixing than painting.
Solid wood pieces are ideal candidates since they hold paint well and last for decades. Particleboard or laminate furniture can also work, but requires extra preparation work and may not yield the best long-term results.
Key factors to consider:
- Material quality – Solid wood takes paint better than particleboard or veneer.
- Structural condition – Avoid pieces with significant damage or loose joints.
- Style potential – Simple designs work better than heavily carved or ornate pieces.
Look for pieces with simple, clean lines rather than those with heavily carved details that are difficult to paint evenly. If the furniture has good bones and fits your space well, it’s probably worth painting.
However, if it’s falling apart or the style doesn’t match your vision, you might be better off starting fresh with a new piece.
Step-By-Step Guide: Paint Furniture
Follow this proven method to get professional results every time, whether you’re working with wood, laminate, or metal furniture.
Materials Required:
| Item | Purpose | Notes |
|---|---|---|
| Shellac-based primer (like Zinsser BIN) | Surface adhesion and sealing | Essential for laminate surfaces |
| Alkyd enamel paint (satin finish) | Durable topcoat | Self-leveling formula works best |
| Simple Green cleaner | Degreasing and cleaning | Any degreaser will work |
| 180-grit sanding block | Surface preparation | For initial scuffing |
| 400-grit sandpaper | Between-coat smoothing | Creates professional finish |
| Tin foil | Lining paint tray | Easy cleanup with shellac primer |
Tools Required:
| Tool | Use | Alternative |
|---|---|---|
| Small brush (Wooster stubby brush) | Detail work and corners | Any quality 2-3 inch brush |
| Short-nap roller covers | Smooth paint application | Foam rollers work too |
| Paint tray and roller handle | Paint application | Standard painting supplies |
| Microfiber cloths | Dust removal | Lint-free rags |
| Drop cloth or paper | Floor protection | Plastic sheeting works |
| Screwdriver | Hardware removal | Match your furniture’s screws |
Step 1: Clean and Prepare Your Furniture
Remove all hardware, such as handles and knobs, and then clean every surface with a degreaser like Simple Green.
This removes fingerprints, wax, and polish that can prevent paint from sticking properly.
Allow the piece to dry completely before moving to the next step.
Key points:
- Remove drawers and all hardware to prevent paint from accumulating in joints.
- Mix warm water with degreaser for the most effective cleaning.
- Keep particleboard pieces away from too much water to prevent swelling.
Pro Tip: Save screws and hardware in a small cup so nothing gets lost during the project.
Step 2: Sand All Surfaces
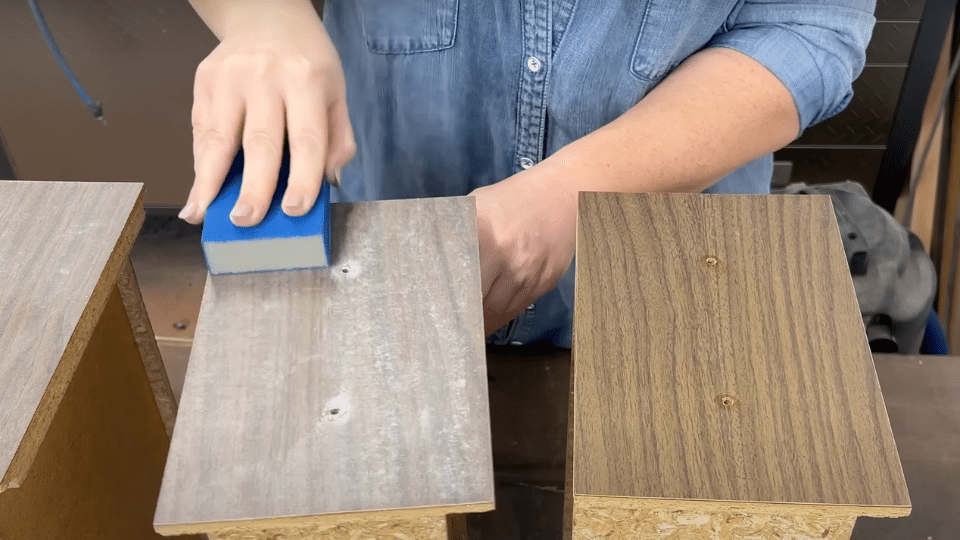
Use 180-grit sandpaper to scuff up the shiny finish on your furniture.
You’re not trying to remove the old finish completely – just create texture for the new paint to grip.
Focus on getting rid of the glossy look on every surface you plan to paint.
Key points:
- Don’t skip this step even if the paint says “no prep needed.”
- Hand sanding takes 15-20 minutes for most pieces.
Pro Tip: Clean off all dust with a dry microfiber cloth after sanding – leftover dust creates a rough final finish.
Step 3: Apply Primer
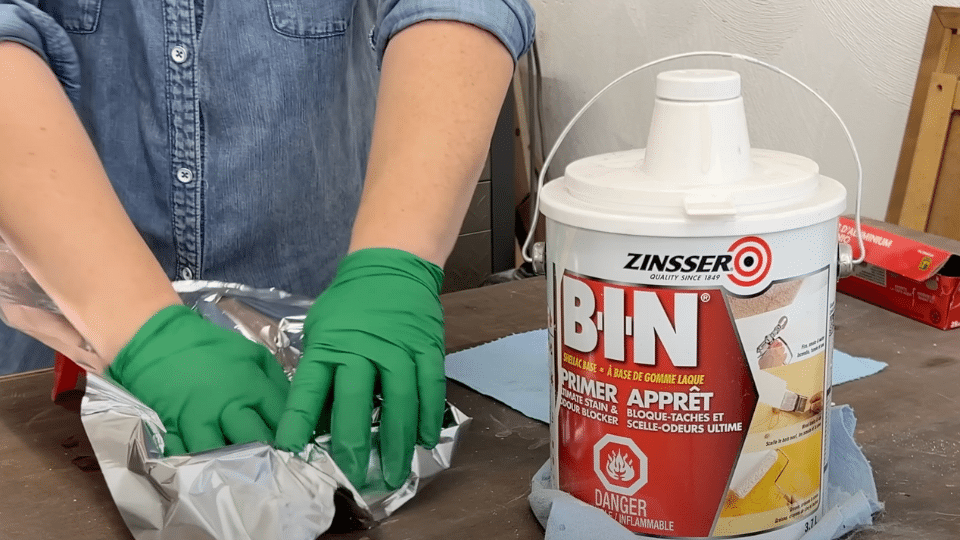
Use a shellac-based primer for maximum adhesion on laminate surfaces. Work in a well-ventilated area and wear a mask, as shellac primer emits strong fumes. Apply thin, even coats and don’t worry about perfect coverage on the first application.
Key points:
- Line your paint tray with foil for easy cleanup.
- The primer may separate in the can; stir it well before use.
- Let dry for about one hour before sanding.
Pro Tip: Prime the inside of drawers on particleboard furniture to seal and protect the material from moisture.
Step 4: Apply Paint Coats
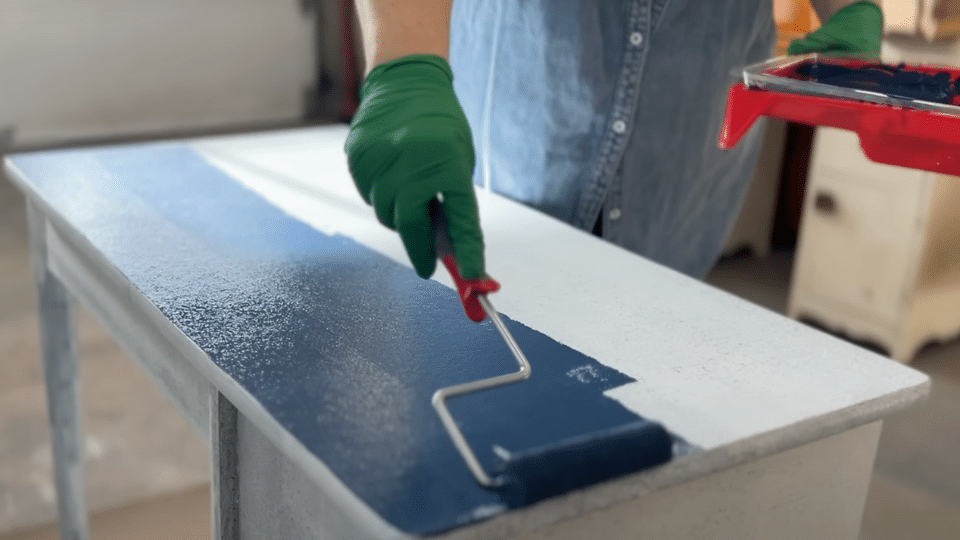
Apply your first coat of paint using a brush for corners and detailed areas, then roll it out evenly to smooth it out.
The first coat will appear streaky and uneven; this is normal. Wait 4-8 hours between coats and lightly sand with 400-grit paper between applications.
Key points:
- Add enough paint to flow smoothly without creating drips.
- Don’t overwork the paint once it starts to level out.
Pro Tip: Work one surface at a time and use barely any pressure on your final roller pass to eliminate lap lines.
Step 5: Final Details and Reassembly
After your final coat has dried overnight, clean and reinstall all hardware.
If the handles are tarnished, soak them in hot water and white vinegar, then scrub them clean with a soft cloth.
Let the paint cure for several days before heavy use for maximum durability.
Key points:
- Most furniture needs 2-3 coats for full coverage.
- Clean hardware while the paint cures to save time.
- Allow proper cure time for best durability.
Pro Tip: If hardware is too corroded to clean, use metallic spray paint or gilding wax to refresh or change the color entirely.
Video Tutorial
For a visual tutorial, refer to this video by Katie Scott SALVAGED by k. scott
Maintenance Tips for Painted Furniture
Keep your freshly painted pieces looking beautiful for years with these essential care practices.
- Clean gently with mild soap and water: Avoid harsh chemicals or abrasive cleaners that can damage the paint finish. Use a soft, damp cloth for regular cleaning and dry immediately to prevent water spots.
- Touch up chips and scratches promptly: Keep a can of leftover paint for quick repairs. Clean the damaged area, lightly sand if needed, and apply thin layers of paint to blend with the surrounding finish.
- Avoid placing hot or wet items directly on surfaces: Use coasters, trivets, and placemats to protect the paint from heat damage, water rings, and scratches from dishes or decorative items.
- Reapply a protective topcoat every 2-3 years: High-use pieces, such as dining tables and dressers, benefit from a fresh coat of paint or a clear protective finish to maintain their durability and appearance.
- Store furniture away from direct sunlight and extreme temperatures: UV rays can cause paint to fade and crack over time. In contrast, temperature fluctuations can cause the wood to expand and contract, potentially damaging the paint finish.
Conclusion
Painting furniture doesn’t have to be intimidating when you follow the right steps. Start by choosing pieces with good structure, pick the right paint for your project, and never skip the prep work.
Clean surfaces, sand lightly, and use primer when needed – these simple steps make all the difference.
Remember that patience pays off. Thin coats dry more quickly than thick ones, and waiting between applications yields stronger, more durable results. Quality brushes and rollers are worth the extra cost for smooth, professional-looking finishes.
Your old furniture can look brand new again with just a weekend of work. Take your time, follow these guidelines, and you’ll create pieces you’ll be proud to show off.
What piece will you change first? Share your experience in the comments below – we’d love to see your furniture makeovers!