
Are you a Beetlejuice fan looking to add some movie magic to your Halloween setup?
I’ve found three simple Dollar Tree DIY projects that won’t drain your wallet. These Beetlejuice-inspired creations – the iconic handbook, a striped candle, and a spooky tombstone will make your friends ask how you made them.
No fancy craft skills are needed! I made all three items in one afternoon using basic supplies and a few printouts. Are you ready to change everyday items into movie props that look store-bought?
Let’s walk through each project step-by-step so you can bring a touch of the afterlife to your home this Halloween.
What Are Beetlejuice Decorations?
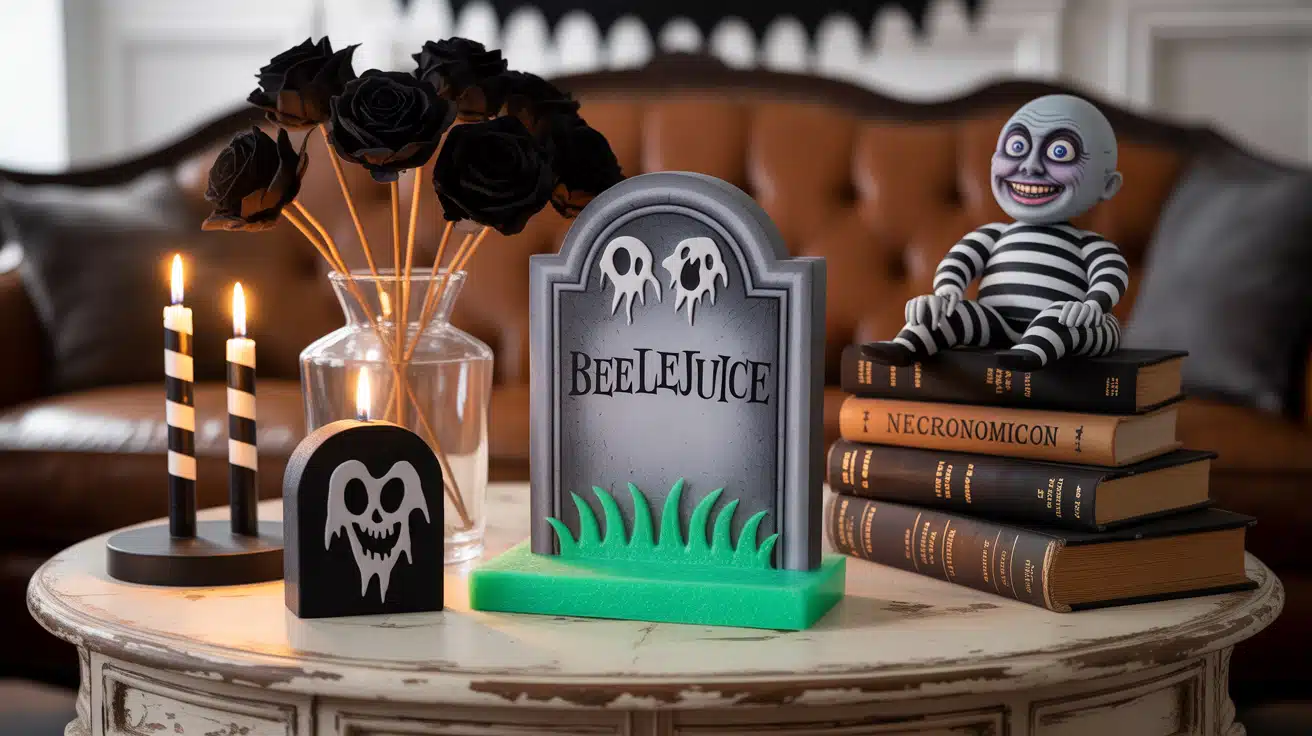
Beetlejuice decorations, with their distinct black-and-white striped patterns, capture the look and feel of Tim Burton’s classic film, like Beetlejuice’s famous suit.
These items often include the Handbook for the Recently Deceased, spooky tombstones with ghostly figures, and props featuring the movie’s green and purple color scheme.
Most fans focus on recreating key items from the movie that blend humor with horror. Whether it’s for Halloween or a movie-themed party, these decorations stand out with their odd mix of funny and scary elements. The best part is that many can be made at home with basic craft supplies and a bit of creativity.
3 Easy DIY Beetlejuice Decorating Ideas: Step-by-Step Guide
1. DIY Beetlejuice Door Frame
Change your doorway into a Beetlejuice-inspired entry with this simple DIY door frame. It features bold black-and-white stripes for that iconic spooky vibe, perfect for Halloween or a themed party!
Tools and Materials Needed:
- Measuring tape
- Scissors or a craft knife
- Pencil
- Hot glue gun or strong adhesive
- Black and white striped fabric or paper
- Foam board or cardboard
- Strong tap
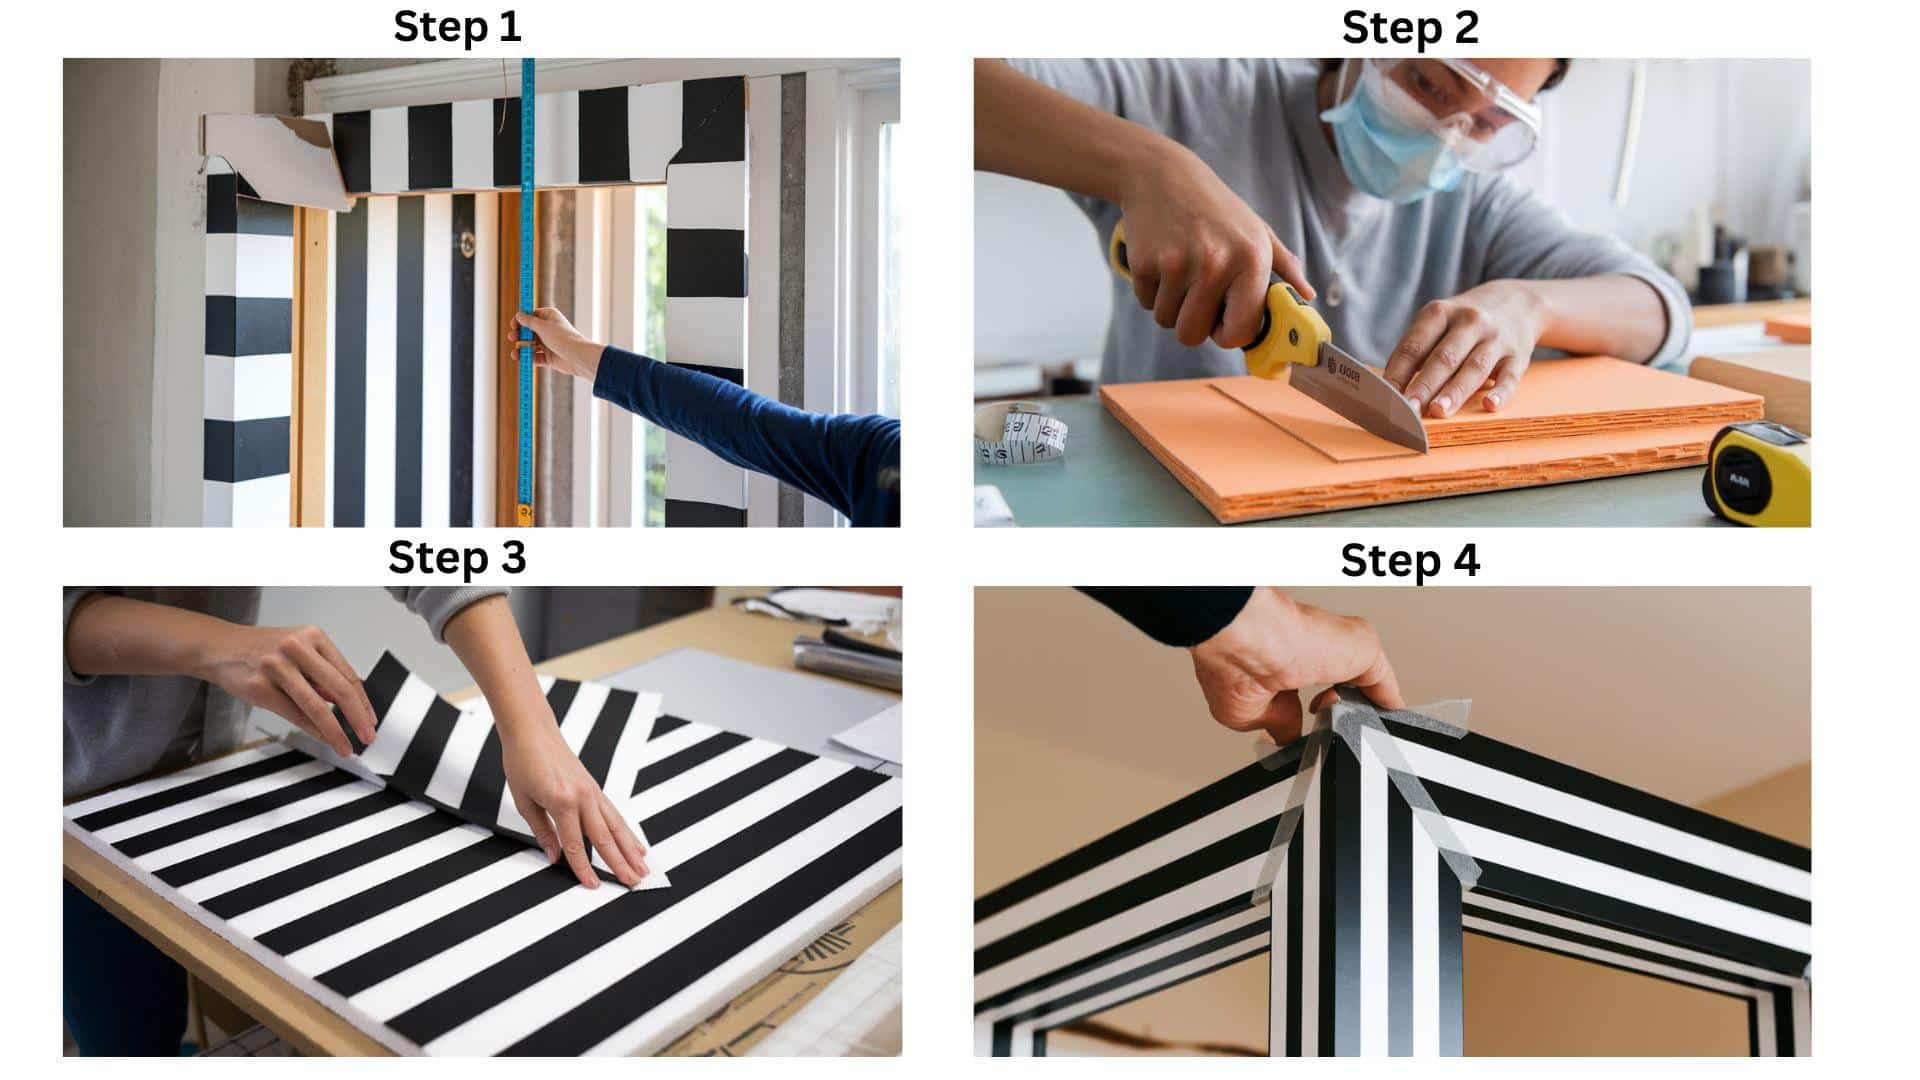
Step 1: Measuring Your Door
Start your Beetlejuice Door Frame by measuring your door’s height and width. Take the measuring tape and note down exact numbers, adding 4-6 inches to each side for the frame width.
This extra width ensures that your Beetlejuice Door Frame has enough space to showcase its distinct black-and-white pattern.
Step 2: Cutting the Frame Base
For your Beetlejuice Door Frame, cut three foam board pieces based on your measurements. Make two long pieces for the sides and one shorter piece for the top of the door.
These foam pieces form the base of your Beetlejuice Door Frame. Before proceeding, test all pieces against the door to confirm they fit properly.
Step 3: Adding the Striped Pattern
The black-and-white pattern gives your Beetlejuice Door Frame its signature look. Cut your striped fabric or paper to fit each foam piece.
Apply glue across the foam surface and attach the striped material, smoothing it down firmly. For the most faithful movie look, your Beetlejuice Door Frame pattern should feature stripes about 2-3 inches wide.
Step 4: Installing Your Frame
Install your completed Beetlejuice Door Frame by placing the side pieces first, followed by the top piece. Secure each part of the Beetlejuice Door Frame using strong tape or adhesive.
Make sure all pieces align neatly with your door frame and with each other to create a clean, professional finish that brings the movie magic home.
2. DIY Beetlejuice Ideas: Black & White Striped Candle Guide
Create a spooky DIY Beetlejuice black-and-white striped candle with layered wax and fun decorations. This candle is perfect for adding a creepy touch to your Halloween decor.
Tools and Materials Needed:
- Pot (for melting wax)
- Marker (to mark jar measurements)
- Hot glue gun
- Wooden dowel (to break up wax)
- Scissors (for cutting ribbon)
- Black candle from Dollar Tree
- White candle from Dollar Tree
- Glass jar from Dollar Tree
- Candle wick (saved from a melted candle)
- Popsicle sticks (to hold wick upright)
- Black and white striped ribbon
- Chalkboard pick from Dollar Tree
- Printed Beetlejuice logo
- Hot glue sticks
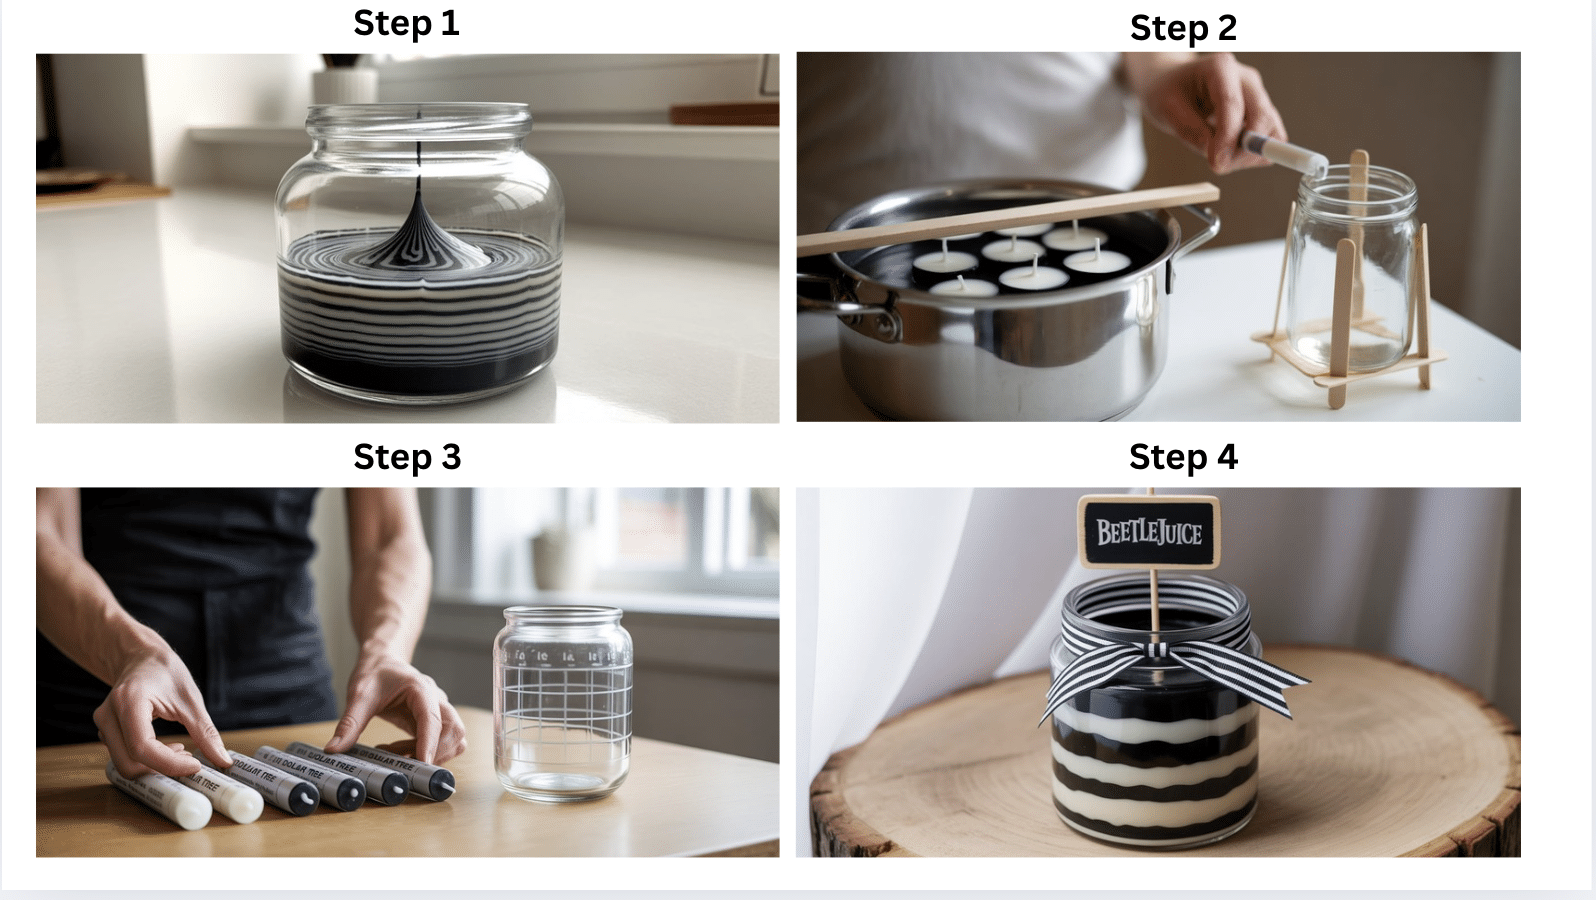
Step 1: Gather and Prepare Materials
Get black-and-white candles from Dollar Tree. Remove the plastic wrapping. Find a glass jar and mark it at 1-inch intervals from the bottom to guide your wax layers. These marks will show where to pour each layer of wax.
Step 2: Melt and Prepare
Fill a pot with water and bring to a simmer. Place candles in water to melt slowly. Push a wooden dowel into partially melted candles to speed up the process.
While waiting, hot-glue a wick to the jar bottom and use popsicle sticks to hold it upright.
Step 3: Create Striped Layers
Pour melted black wax into the first mark. Refrigerate until hard. Add white wax to the second mark and chill again. Continue alternating black and white layers, always letting each layer fully harden before adding the next one.
Step 4: Add Decorations
After your candle is complete and cooled, add finishing touches. Wrap black and white striped ribbon around the jar top. Create a tag using a Dollar Tree chalkboard pick with a printed Beetlejuice logo. Hot glue these decorations in place.
3. DIY Beetlejuice Ideas: Striped Mason Jar Lanterns
Create spooky Beetlejuice-inspired lanterns with mason jars, black-and-white stripes, and LED lights for a perfect touch of eerie charm to your Halloween or themed décor!
Tools and Materials Needed
- Mason jars
- Black and white acrylic paint (or spray paint)
- Painter’s tape
- Paintbrush or sponge
- LED tealight candles
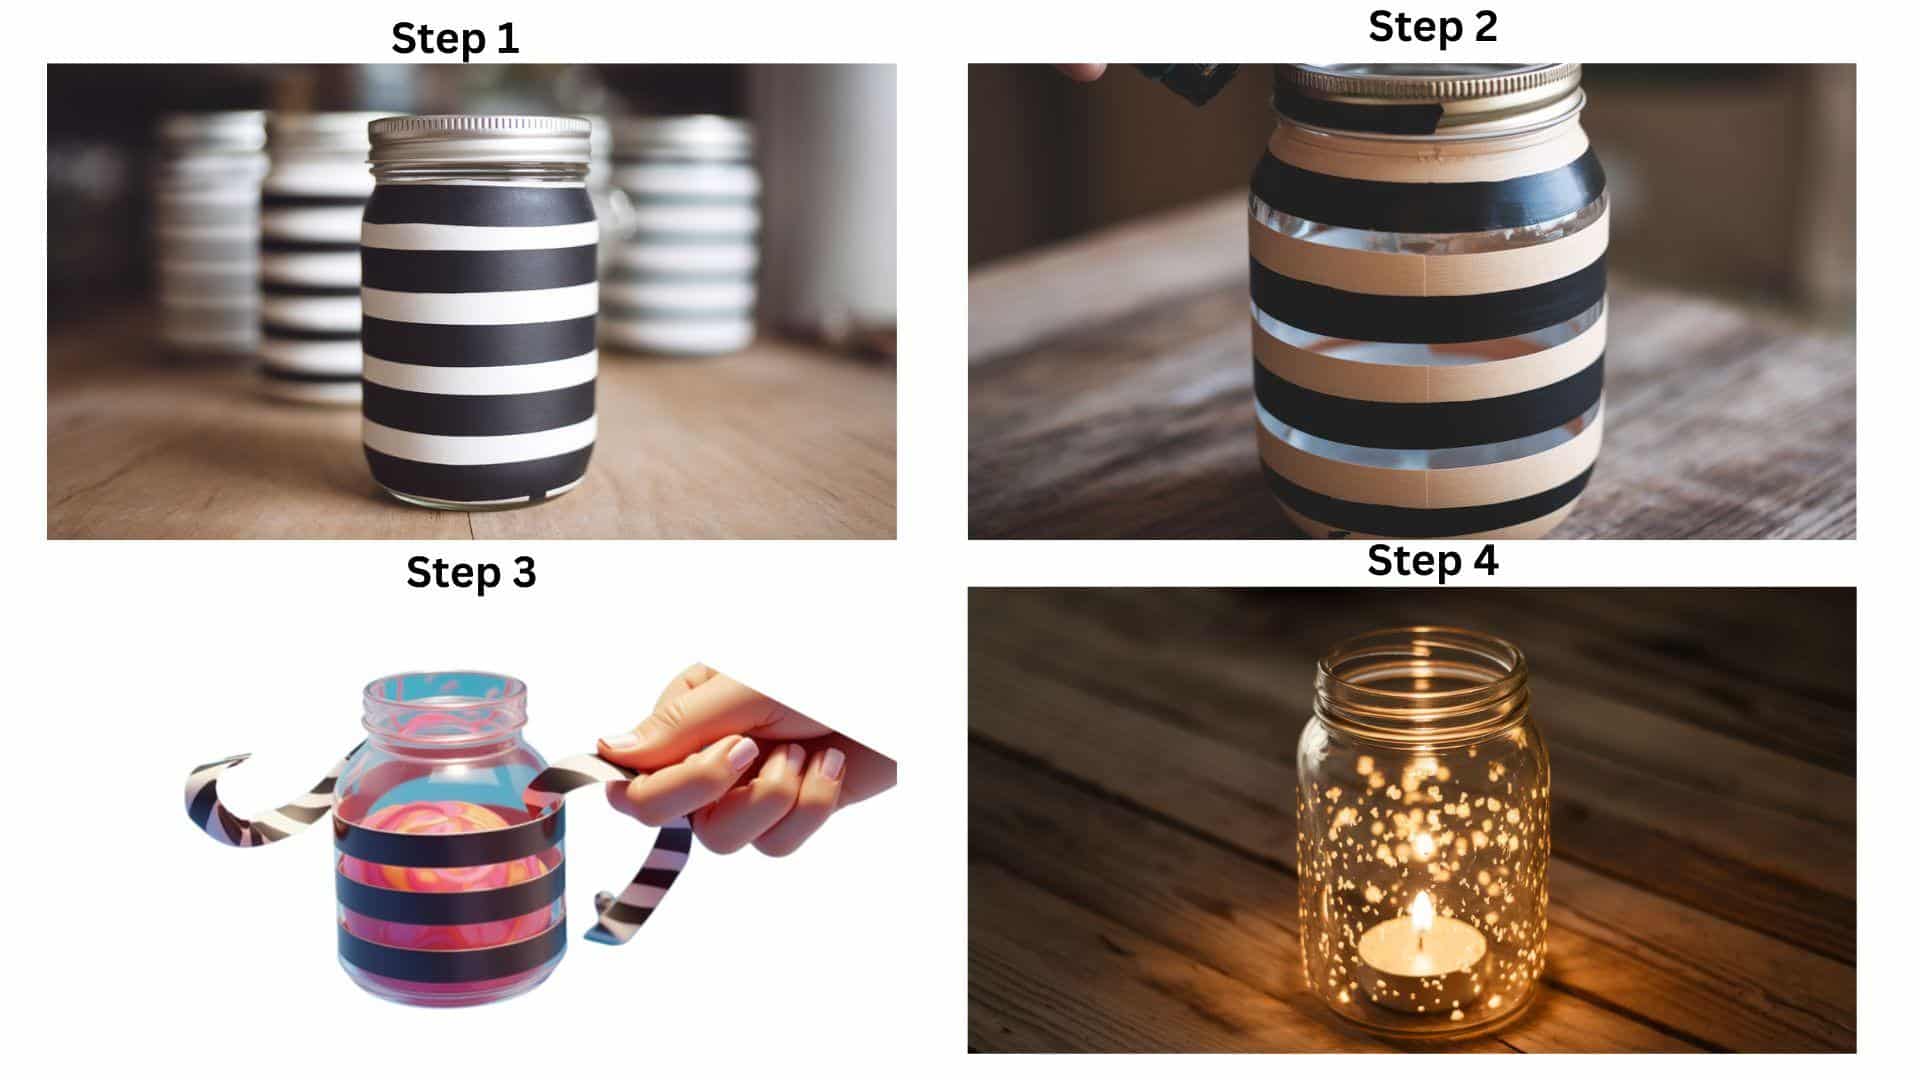
Step 1: Prep and Tape Your Jar
Clean and dry the mason jar thoroughly. Wrap painter’s tape around the jar vertically, spacing the strips evenly to create the classic Beetlejuice black-and-white stripes.
Make sure the tape sticks firmly to avoid paint bleeding under the edges for crisp lines.
Step 2: Paint the Stripes
Using black acrylic paint or spray paint, carefully paint the exposed areas between the tape stripes. Apply an even coat and avoid heavy layers to prevent drips.
Let the paint dry completely. Depending on the paint type, this usually takes about 20-30 minutes.
Step 3: Remove the Tape
Once the paint is fully dry, slowly and carefully peel off the painter’s tape. This will reveal clean, sharp black-and-white stripes. If needed, use a small brush to touch up any edges or spots where paint might have bled or missed.
Step 4: Add Lighting and Display
Place a battery-operated LED tealight candle inside the jar to safely create a glowing lantern effect.
Arrange your finished lanterns on tables, shelves, or window sills to add that spooky Beetlejuice ambiance to your Halloween party or room décor.
Additional Tips for Your Beetlejuice Decorations
-
Use Outdoor-Grade Paint for Longevity- If you plan to display your Beetlejuice decorations outside, consider using outdoor-grade paints for the tombstone or other elements that will face the elements. These paints are designed to withstand moisture and UV exposure, preventing your decorations from fading or peeling after just a few uses.
-
Seal Your Projects for Durability- After completing each project, apply a clear acrylic sealer or Mod Podge to give your decorations a protective finish. This step is especially important for items that will be exposed to touch or weather. It helps preserve the paint, paper, and other materials and gives them a nice, finished look.
-
Add Texture to Paint for an Authentic Look- For a more authentic, spooky look, experiment with adding texture to your paint. For the tombstone, you can mix sand or baking soda into the paint to give it a rough, stone-like finish. Similarly, the black-and-white candle can benefit from a slightly textured wax look to mimic the handmade feel of Beetlejuice’s props.
-
Handle Hot Glue with Care- Hot glue can sometimes leave visible strings or uneven marks. After the glue dries, you can use a hairdryer on a low setting to soften the glue gently and smooth out any strings or bumps. Just be cautious not to melt the material you’re working with.
-
Use LED Lights for Added Spookiness- Add LED string lights or flickering candle lights to your decorations for an extra eerie effect. For example, the Handbook for the Recently Deceased could have small LED lights hidden inside to glow softly, or the tombstone could be lit from behind to create a haunting shadow effect.
Beetlejuice DIY Craft Challenges: What to Avoid
| Challenge | Description | Solution |
|---|---|---|
| Hot Glue Gun Mishaps | Excessive glue or uneven application can lead to messy results. | Apply glue in small amounts and press gently to avoid excess. For better control, use a glue gun with adjustable heat. |
| Uneven Candle Layers | If layers are poured too quickly or unevenly, they may look lumpy or distorted. | Allow each layer of wax to cool completely before adding the next. Smooth out layers between applications with a popsicle stick. |
| Improper Paint Drying Times | Not allowing paint to dry properly can lead to smudging or uneven color. | Allow enough drying time between layers of paint. Always check the paint’s drying time before continuing. |
| Mod Podge Air Bubbles | Air bubbles can form when applying Mod Podge, making the surface look rough. | After applying Mod Podge, smooth it out gently with a credit card or tool to remove bubbles before it dries. |
| Incorrect Tombstone Attachment | Foam ghouls or elements may not stick properly if they are not positioned or glued correctly. | Ensure that the foam cutouts are securely glued and evenly placed on the tombstone. Test placement before gluing to avoid awkward positioning. |
Conclusion
These three DIY Beetlejuice projects add movie-inspired flair to your Halloween setup without breaking your budget. The striped door frame, layered candle, and mason jar lanterns each capture the film’s famous black-and-white style with simple Dollar Tree supplies.
What matters most is that these projects don’t need special skills – just basic materials and a few hours of your time. With the steps we’ve shared, you can make props that look professional yet cost very little.
So what’s next? Try making one this weekend! Start with the mason jar lanterns if you’re new to crafting. Already made one? Share a photo in the comments below. We’d love to see how your Beetlejuice items turned out and hear which project was your favorite.