How to Build a DIY Range Hood Cover
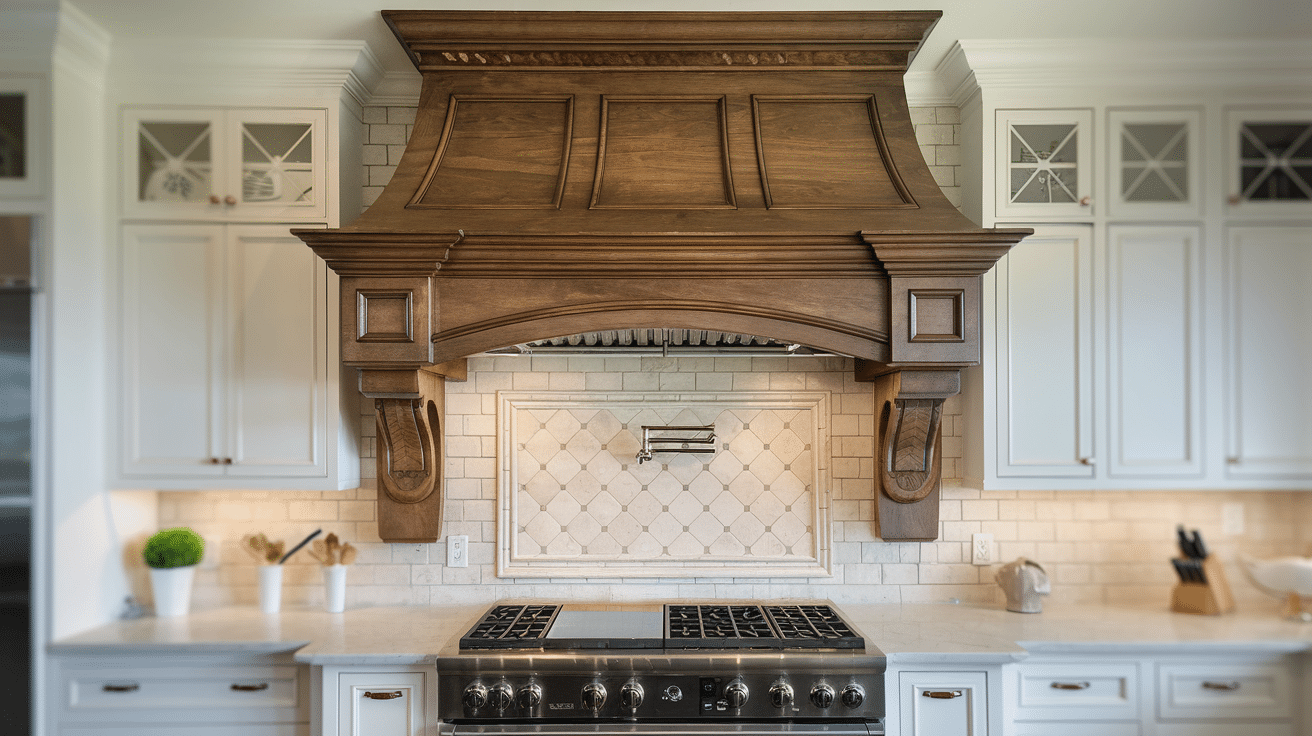
A range hood cover is more than just a functional element – it’s an opportunity to make a stunning design statement in your kitchen.
Building your custom cover lets you transform a basic appliance into an architectural focal point that perfectly matches your style, whether you prefer modern, clean lines or rustic farmhouse charm.
Unlike expensive pre-made options, a DIY range hood cover can be crafted to your specifications while saving thousands.
You’ll feel proud every time you cook, knowing you created this eye-catching feature that elevates the look of your entire kitchen.
Ready to start your range hood adventure? Let’s jump into the process.
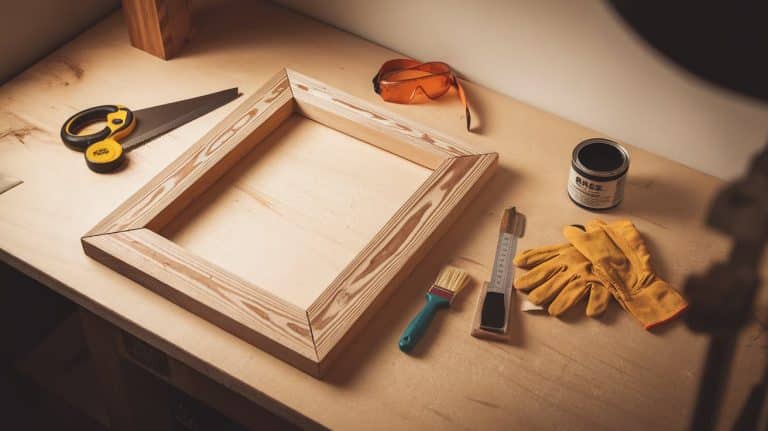
Tools and Materials Required
| Category | Item | Quantity | Specifications |
|---|---|---|---|
| Essential Materials | 1×6 Boards | 4-6 pieces | Pine or oak, 8 ft length |
| 1×2 Boards | 4-5 pieces | For trim, 8 ft length | |
| 2x4s | 2-3 pieces | Support structure, 8 ft length | |
| Wood Screws | 1 box each | 1½” and 2½” lengths | |
| Wood Glue | 1 bottle | Heavy-duty, 16 oz | |
| Wood Filler | 1 container | Stainable/paintable, 16 oz | |
| Sandpaper | 5 sheets each | 120 and 220 grit | |
| Paint/Stain | 1 quart | Color of choice | |
| Power Tools | Drill/Driver | 1 | Cordless, 18V minimum |
| Miter Saw | 1 | 10″ blade minimum | |
| Nail Gun | 1 | 18-gauge brad nailer | |
| Sander | 1 | Orbital or belt sander | |
| Hand Tools | Measuring Tape | 1 | 25 ft minimum |
| Level | 1 | 4-foot length | |
| Square | 1 | 12-inch carpenter’s square | |
| Pencil | 2 | Carpenter’s pencils | |
| Safety Equipment | Safety Goggles | 1 pair | ANSI Z87.1 certified |
| Dust Mask | 2-3 pieces | N95 rated | |
| Optional Decorative | Crown Molding | As needed | 3-5″ width |
| Beadboard | As needed | 1/4″ thickness | |
| Corbels | 2-4 pieces | Size to match the hood depth | |
| Shiplap | As needed | 5-1/2″ width boards |
Step-by-Step Guide to Creating a Range Hood Cover
Step 1: Preparation
Start by clearing your kitchen workspace and removing any existing hood or microwave. Safety is paramount, so turn off the power and gas supply and photograph existing electrical connections.
Then, take precise measurements of the installation area, ensuring you account for the width of your range, maintain a minimum 30-inch height clearance above gas ranges, and measure the depth from the wall.
Finally, check for and note any wall irregularities that might affect installation.
Step 2: Frame Construction
Using 2x4s, construct your support structure by cutting two vertical supports that run from floor to ceiling (accounting for clearance), two horizontal braces, and one front support piece.
Assembly requires careful attention to detail – locate and mark wall studs, ensure perfect leveling, and pre-drill holes before securing everything with 3-inch construction screws.
The stability of this frame is crucial as it forms the foundation of your entire hood structure.
Step 3: Hood Mounting
Position the hood with assistance, as these units can be surprisingly heavy.
Maintain the critical 30-36-inch clearance from your cooktop and secure the unit using L-brackets at all corners and additional support along the back wall. Proper alignment is essential.
Ensure the exhaust port matches perfectly with your ductwork, maintaining a one-inch clearance around the duct for proper airflow. Test the installation by checking for proper air suction and observing unusual vibrations.
Step 4: Panel Installation
Work with 1×6 boards, cutting them precisely with a miter saw and preparing them through progressive sanding, starting with 120-grit and finishing with 220-grit sandpaper.
Installation begins with the front panel, spacing nails every 12 inches and countersinking them for a clean finish. Always pre-drill to prevent splitting, and use wood glue at all joints for added strength and longevity.
Step 5: Side and Top Assembly
Create side panels using 1×2 pieces cut at precise 45-degree angles for professional-looking seams. The top frame serves both aesthetic and structural purposes.
Measure carefully for total width and depth, cut corner angles at 45 degrees, and assemble using wood glue and brad nails. Use clamps during drying to ensure tight, perfect joints.
Step 6: Final Assembly
Begin with a complete dry fit of all components to verify alignment and fit. Follow a systematic assembly process starting from the side panels and working your way up, finishing with the top piece.
Use a combination of wood glue on all joints and 18-gauge brad nails for security while maintaining pieces in position with bar clamps during the drying process.
Step 7: Finishing
Surface preparation begins with systematic sanding using 120-grit sandpaper to address rough spots, progressing to 220-grit for a silky finish.
Any holes or gaps are filled with appropriate wood filler, allowing proper drying time between applications.
The finishing process starts with thoroughly cleaning using a tack cloth, then stain testing on scrap pieces.
Apply your chosen finish in thin, even coats, working with the grain, and consider adding a clear protective topcoat for durability. Remember to allow complete drying time between all coats for the best possible results.
Video Tutorial
Check out this video for a detailed video on How to Build a DIY Range Hood Cover(JoJo Bela Shares):
Common Mistakes to Avoid
- Planning Errors: Rushing measurements, forgetting the 30-36 inch cooktop clearance, and not checking wall evenness are critical early mistakes. Always create a detailed plan and double-check all measurements before starting.
- Construction Issues: Not securing the frame to wall studs properly, skipping pre-drilling steps, and using inadequate screws are common structural mistakes. Poor frame leveling and insufficient bracing can compromise the entire installation’s stability.
- Installation Problems: Frequent errors include not pre-drilling for panels, rushing glue drying time, and improper nail spacing. Uneven surfaces and visible gaps at joints often result from hasty panel installation or misaligned corners.
- Finishing Mistakes: Poor sanding technique, rushing between coats, and improper wood filler application lead to obvious flaws. Many DIYers apply stain too thickly or don’t allow adequate drying time, resulting in an unprofessional finish.
- Ventilation Errors: Overlooking proper duct connections, inadequate clearance around ductwork, and skipping airflow tests are serious mistakes that affect functionality. Always verify ventilation performance before completing the project.
Conclusion
From basic measurements to the final coat of stain, transforming your range hood into a custom masterpiece brings a whole new dimension to your kitchen.
This project proves that beautiful, high-end features don’t always require professional installation or a massive budget.
With careful planning, the right tools, and attention to detail, you’ve created more than just a functional element – you’ve added real architectural interest to your space.
The satisfaction of building something with your own hands brings a unique kind of joy.
Each time you cook beneath your custom hood, you’ll be reminded that you can transform ordinary features into extraordinary focal points with some determination and creativity.
Your range hood now tells your story and adds that personal touch that makes a house feel like home.

