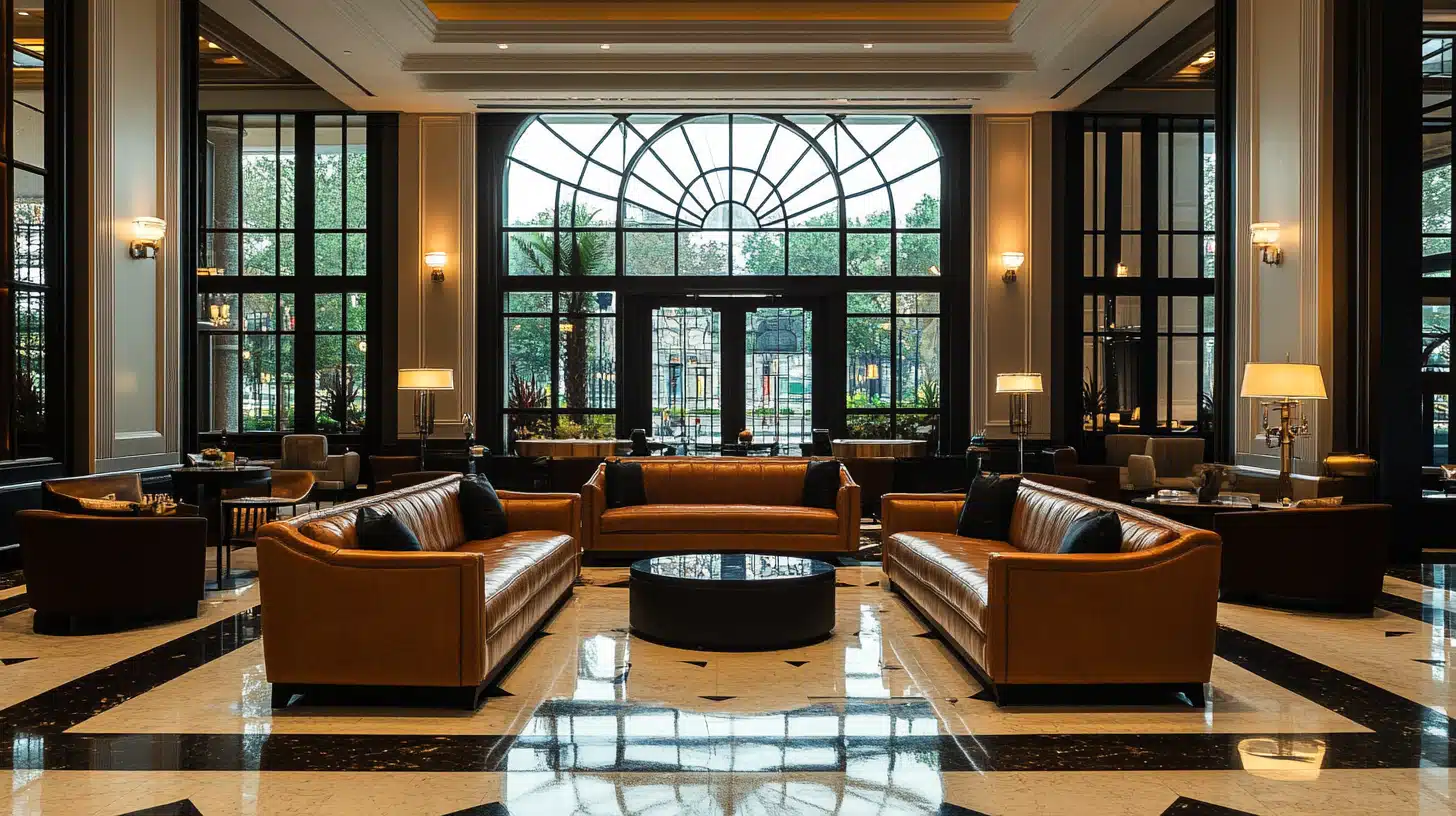
Décor photography requires understanding basic photography lighting techniques to redefine how objects and spaces are perceived, from highlighting textures to setting the overall mood.
Insufficient illumination often leads to rooms appealing dull or obscured. Even the most carefully curated décor can look flat and uninspiring if not properly lit. A proper illumination balance can emphasize details, enhance colors, and evoke emotions.
Soft and warm illumination can evoke a sense of coziness and intimacy in a bedroom photo. Meanwhile, a modern showroom communicates sleekness when illuminated brightly and evenly.
Control shadows to avoid obscuring sophisticated patterns and balance highlights to prevent overexposure, especially when working with glass, metal, and other reflective surfaces.
This guide dives into the fundamentals of good lighting, covering the essential theory and practical tips to elevate your décor shots and make them stand out.
From basic concepts to advanced tricks, this article offers insights for professional photographers and beginners alike. Understanding the interplay between light and your subject ensures every element in your décor shot receives the attention it deserves.
The Basics of Photography Lighting
The three main aspects of illumination in photography are its direction, intensity, and temperature. Understanding their interplay lets you achieve better results, redefining how your final picture feels and looks.
Direction
The illumination’s direction sets the mood and alters your main subject’s perception. Side lighting accentuates textures perfectly. Use it to capture the intricate patterns of fabrics or the roughness of rustic wooden furniture.
This technique is great for patterned rugs and ornate wallpapers. The front photoshoot light, in turn, provides a clean and polished look that is essential for modern and minimalist environments.
Illumination from above is great for dining tables or kitchen countertops, where the viewer’s attention should be drawn to the most important elements.
Be mindful and eliminate harsh shadows, a common challenge for this technique, in post-processing software like Luminar Neo.
Backlighting is not common for décor photography, but you can use it creatively to outline certain elements.
Highlighting sheer curtains or illuminating translucent materials like frosted glass or delicate vases can provide more depth and evoke visual interest without overpowering the composition.
Intensity
High-intensity, bright, and strong illumination focuses on clean lines and sharp features. This technique emphasizes color vibrancy and details.
It works well for minimalist setups, requiring strong visual accents to grab the viewer’s attention. Glossy furniture or reflective surfaces like mirrors and glass tables will be especially appealing.
Consider using artificial equipment like diffusers, softboxes, and white fabric. It will prevent glare and eliminate unwanted shadows.
Low-intensity light creates a cozy and warm atmosphere. A living room with plush seating, warm-toned lamps, and layered textiles looks more comfortable and inviting with a soft golden hour glow let in.
If ambient illumination is unavailable, dimmable lamps or candlelight can create this mood. Place them at varying heights to create layers. These soft light examples ensure a deep, multidimensional photo.
Diffused lighting reduces harsh shadows and ensures all scene elements are illuminated evenly. The combination of natural and artificial illumination works especially well here.
Use sheer curtains to filter the ambient light. Reflectors are essential for studio conditions; they bounce the light onto the shadowed areas, ensuring no important detail is lost.
Color Temperature
The warmth and coolness of light is typically measured in Kelvin (K). Warm light, ranging from 2700K to 3000K, enhances rustic and traditional interiors.
A living room with wooden furniture, soft textiles, and earth-toned accents will look stunning if you use tungsten bulbs or shoot shortly before sunset. Browns, reds, and yellows will look richer, ensuring a welcoming feel.
Cooler light, around 5000K to 6000K, highlights sleek and vibrant contemporary minimalist or industrial-style spaces. An elegant kitchen with stainless steel appliances benefits from the cool light, as it accentuates the reflective surfaces.
Using daylight-balanced bulbs or positioning your setup near windows during midday will accentuate the whites, blues, and grays without creating unwanted color casts.
Neutral or balanced color temperatures, falling between warm and cool (around 4000K), are versatile. A realistic look does not overpower the scene so that it may be suitable for various décor styles. The colors and textures are represented accurately, which is paramount for commercial photos.
This neutrality is essential when the illumination is mixed or uneven. When photographing a home office, a neutral light source ensures elements like wood finishes, painted walls, and decorative items appear true to life.
Conclusion
Mastering the art of photography lighting can make your décor photography extraordinary. The right light direction, intensity, and temperature balance can effectively emphasize any space’s colors, textures, and ambiance.
You can adapt to different environments and décor styles by applying these photography lighting techniques. Manipulating natural and artificial illumination sources helps you create a compelling visual narrative.
Experiment with various setups to capture the space’s essence. Pick up your camera, explore these tips, and bring your décor photography to life.


