Cabinet knob placement might seem like a small detail, but it makes a huge difference in your kitchen’s look and function.
Think about it: you touch these knobs dozens of times each day. Their placement affects everything from how easily you open cabinets to how your kitchen looks.
Many homeowners face common problems with knob placement. Uneven heights, awkward reaching distances, and knobs that bump into other cabinets can turn a beautiful kitchen into a daily frustration. Some even end up with extra holes from incorrect placement attempts.
This guide takes the guesswork out of knob placement. We’ll cover exact measurements, proper techniques, and tested tips to help you get it right the first time.
Whether updating old cabinets or installing new ones, these guidelines ensure professional-looking results.
Basic Cabinet Knob Placement Rules
Standard Placement Measurements
The first rule of cabinet knob placement focuses on the 2.5 to 3-inch measurement. This standard distance creates a balanced look across all cabinet doors.
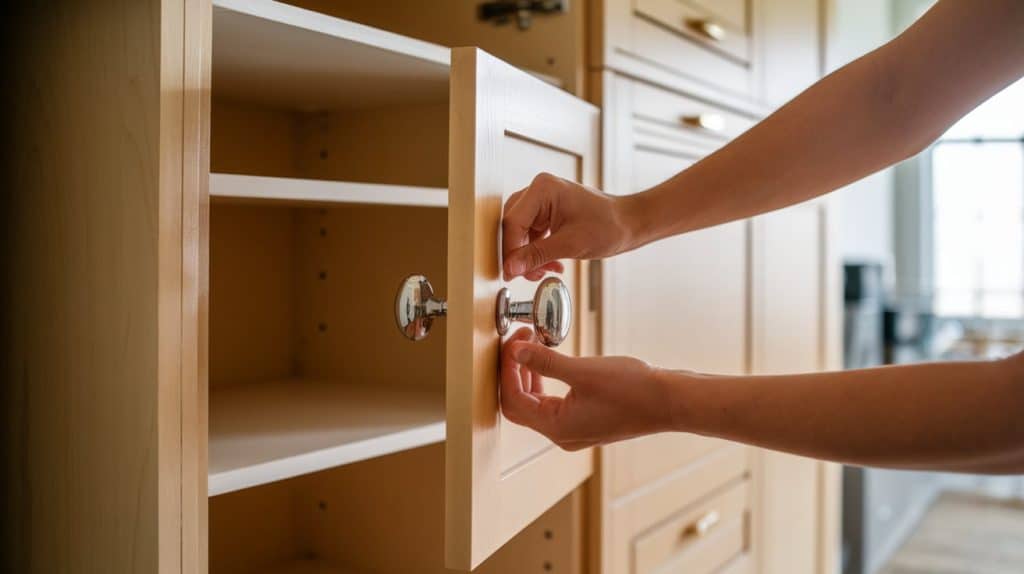
For upper cabinets, measure this distance from the bottom corner of each door. Lower cabinets use the same measurement from the top corner.
Many homeowners skip measuring and place knobs by eye. This often leads to misaligned knobs that catch attention for the wrong reasons. Taking time to measure each spot ensures your kitchen looks planned and professional.
Finding the Right Height
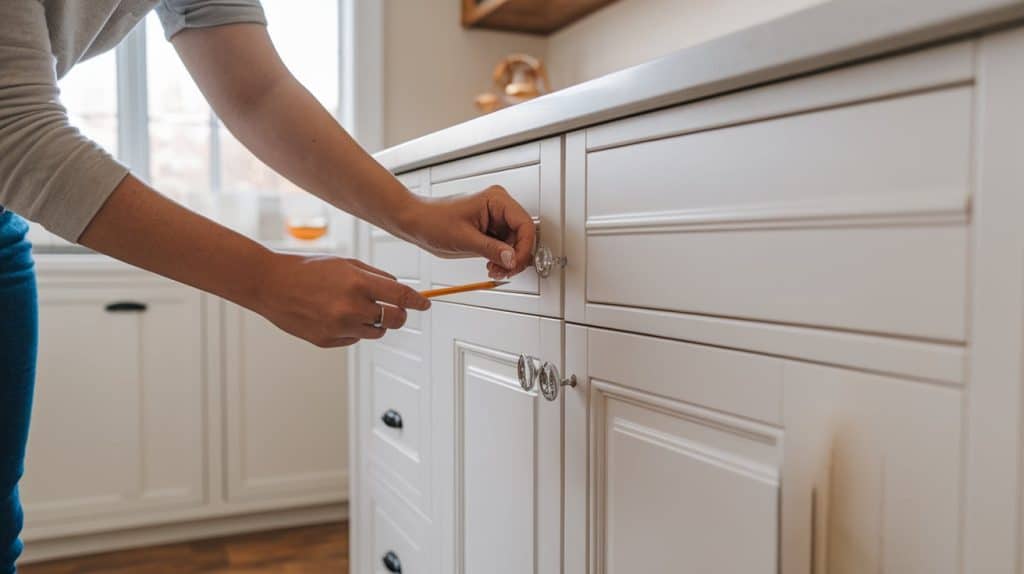
Proper knob height makes a big difference in how your cabinets work. Use a level to draw a straight line across all cabinets at the same height. This step helps you avoid the common problem of knobs that look uneven from a distance.
Mark your lines lightly with a pencil. Step back often to check that your marks create a pleasing line across the kitchen. Small height differences between knobs can make your whole kitchen look off-balance.
Door Knob Placement Specifics

Upper Cabinet Knob Tips
Upper cabinet knobs need careful placement for easy reach. The 2.5 to 3-inch rule puts them at a comfortable spot near the bottom corner. This placement works well for most people’s natural reach.
Test your planned knob spots before drilling. Open and close the cabinet door several times from your normal standing position. If the place feels awkward to reach, adjust it slightly until it feels right.
Lower Cabinet Knob Guidelines
Lower cabinet knobs follow the same basic rules but from the top corner. The 2.5 to 3-inch drop from the top edge works for most cabinet styles. This placement prevents too much bending when opening lower doors.
Check that your chosen spots don’t cause knobs to hit neighboring cabinets. Open all doors fully to test clearance. Adjust positions if needed to prevent knobs from bumping or scratching other surfaces.
Drawer Knob Placement

Single Knob Centering
Drawers under 24 inches wide work best with one centered knob. Find the exact center by measuring both height and width. Mark these center lines lightly and place your knob where they cross.
A centered knob provides balanced pull force when opening drawers. This helps prevent drawer fronts from wearing unevenly over time.
Ensure your measurements account for any frame or panel details on the front drawer.
Double Knob Spacing
Wider drawers need two knobs for proper function and look. Use the rule of thirds to place them correctly. Measure the total drawer width and divide it into three equal sections. Place knobs in the middle of the outer sections.
This spacing lets you open wide drawers smoothly without putting too much strain on one spot. Double knobs also help distribute the weight of heavy items stored in large drawers.
Measurement and Installation Process

Getting Started
Begin with clean, accurate measurements—Mark with a tape measure, level, and sharp pencil.
Consider buying a cabinet hardware template—this tool makes marking spots much easier and more accurate.
Make all your marks before drilling any holes. This lets you step back and check that everything looks right together. Light pencil marks can be adjusted if needed without leaving permanent marks.
Final Installation Tips
Always drill pilot holes to prevent wood splitting. These small starter holes help your screws go in straight and to avoid damage to your cabinet faces. Keep your drill level when making holes.
Check each knob after installation. Please gently pull it to ensure it’s tight and properly aligned. Clean off any pencil marks completely for a finished look.
Remember, good knob placement creates a kitchen that looks professional and works well every day.
These guidelines help create that result, but you can adjust them slightly to match your needs. The key is keeping placement consistent across all cabinets.
Troubleshooting and Avoiding Common Mistakes

1. Correcting Misaligned Holes
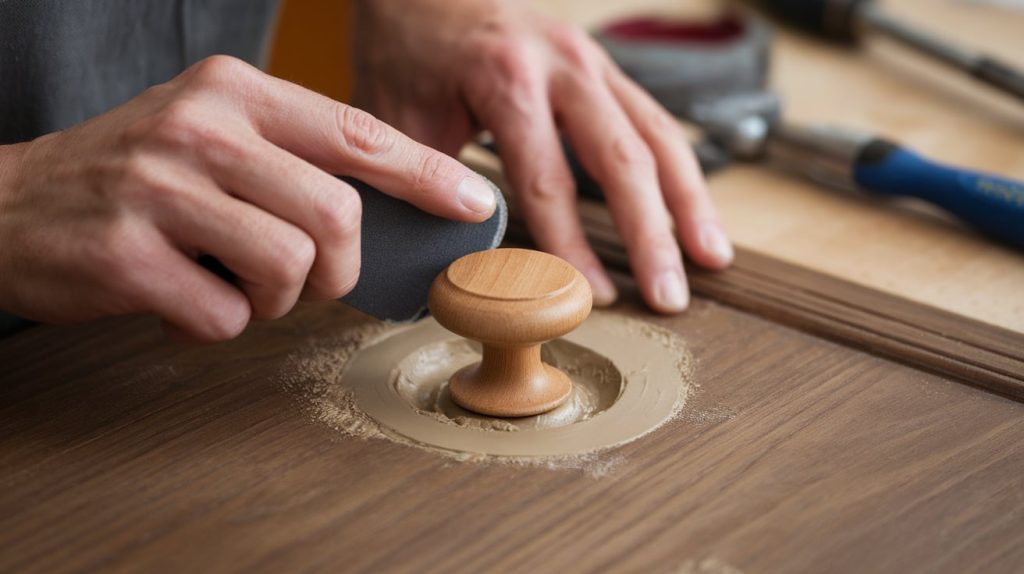
Even careful planners sometimes end up with holes in the wrong spots. If you find a misaligned hole, wood putty in a matching color offers a simple fix.
Fill the hole and let it dry overnight. Then, gently sand the spot until it’s smooth with the cabinet surface.
For deeper fixes, use wood filler plugs that match your cabinet material. These small dowels fill holes perfectly and accept new stains or paint well. After gluing them in place, make sure to cut them flush with the cabinet surface.
2. Preventing Splitting and Chipping
Stop wood splitting before it starts with proper drilling methods. Always drill a pilot hole smaller than your knob’s screw size. Press gently with your drill, and avoid forcing the screw when installing the knob.
Use sharp drill bits made for woodworking. Dull bits can tear the wood instead of cutting cleanly. Place a piece of scrap wood behind the cabinet door to prevent tear-out on the back side when drilling.
3. Dealing with Existing Hardware Holes
Switching to new hardware often means working with old holes. If your new knobs match the old hole positions, make sure the holes are clean and not worn out. Wood glue mixed with sawdust can firm up loose holes.
For new knobs that don’t line up with old holes, try backplates or rosettes. These decorative plates cover old holes while providing a base for new hardware. They can add a nice design touch while solving placement problems.
Remember to measure twice and drill once—this old rule saves a lot of repair work. Keep your drill straight and level when making new holes. Good preparation helps avoid the most common installation problems.
Video Tutorial
For more details, check out this video by Renee Romeo.
Wrapping It Up
Getting your cabinet knobs placed correctly makes a lasting difference in your kitchen’s daily use.
Remember the key measurements: 2.5 to 3 inches from corners for all cabinet doors, centered placement for standard drawers, and the rule of thirds for wider drawers. These basic rules help create a kitchen that looks good and works well.
Take time with your measurements, and always test positions before drilling. Small adjustments early on prevent frustration later.
While these guidelines work for most kitchens, your space might need slight changes to accommodate your family perfectly.
Have you tried these placement guidelines in your kitchen? We’d love to hear about your results and any tips you learned.
Share your experience or ask questions in the comments below. Your feedback helps make this guide even more useful for others.
Frequently Asked Questions (FAQs)
Where Should Knobs Be Placed On Cabinets?
Knobs are typically placed 2.5 to 3 inches from the corner of cabinet doors and centered horizontally on drawers for a balanced look and easy access.
What Is The Correct Placement Of Handles On Shaker Cabinets?
Handles on Shaker cabinets are usually centered vertically on doors and horizontally on drawers, maintaining symmetry while enhancing the design’s clean, classic lines.
Should Cabinet Pulls Be Vertical Or Horizontal?
For functionality, pulls are horizontal on drawers and vertical on doors. This arrangement ensures ease of use while complementing the overall design aesthetic.
