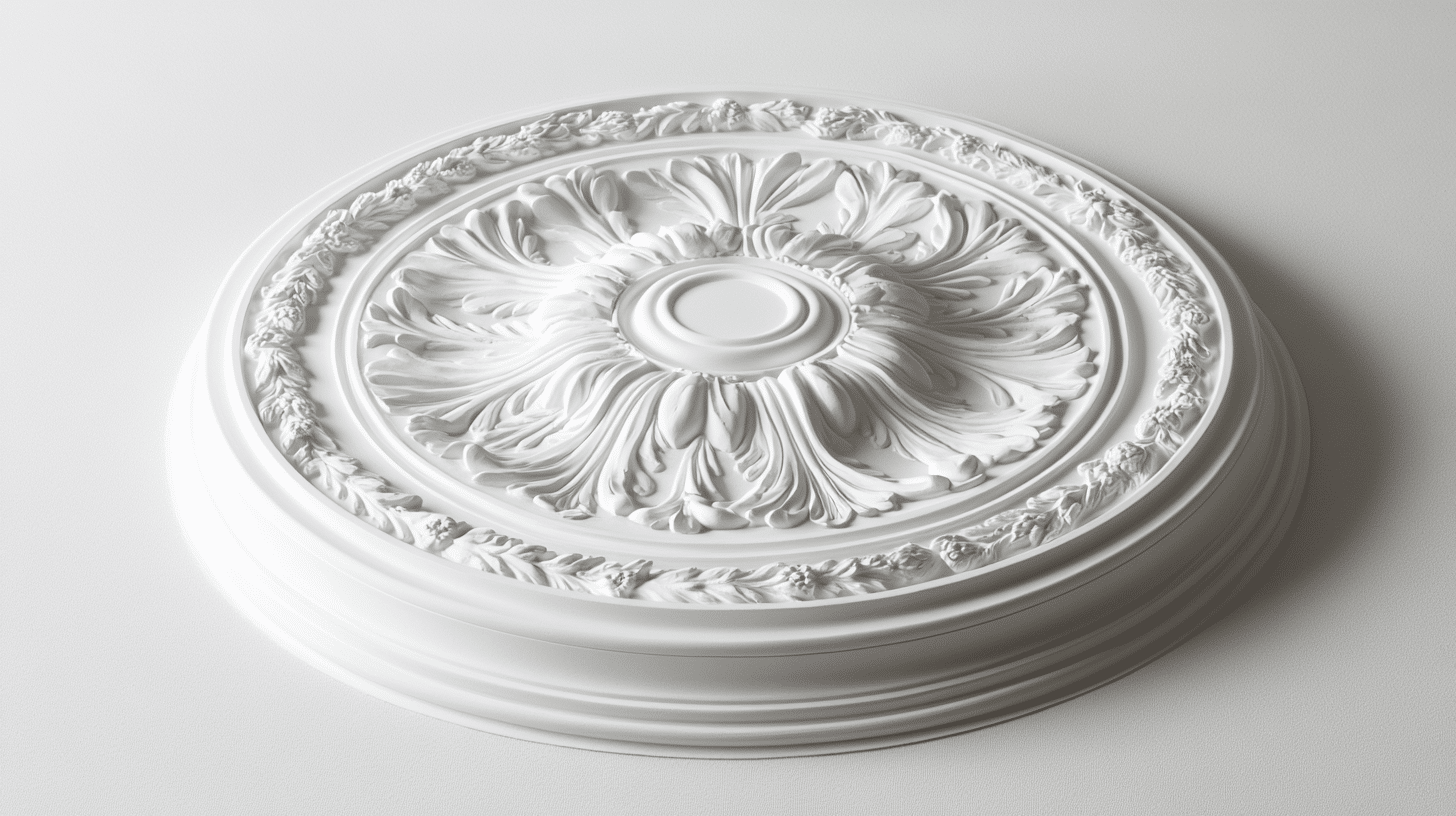
Installing plaster ceiling roses can add a touch of elegance to any room, but the process of installing these ceiling roses requires precision and care. If you’re planning to install one, this article provides eight common mistakes that you need to avoid to make sure that your ceiling rose is installed correctly and looks great for more years to come.
1. Not Measuring Properly
One of the most common mistakes is not measuring the area where you plan to place the ceiling rose. Also, it is important to take accurate measurements before starting. Remember, a ceiling rose that’s too large or too small for the room can look out of place. Measure the size of the room and the distance from the light fixture to the ceiling to ensure the ceiling rose will fit perfectly in the center.
2. Ignoring Ceiling Condition

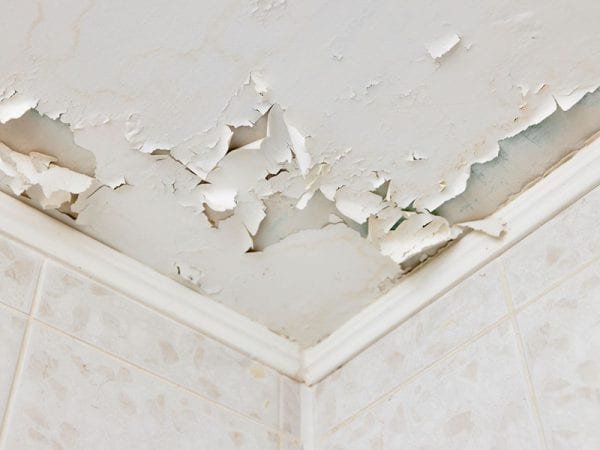
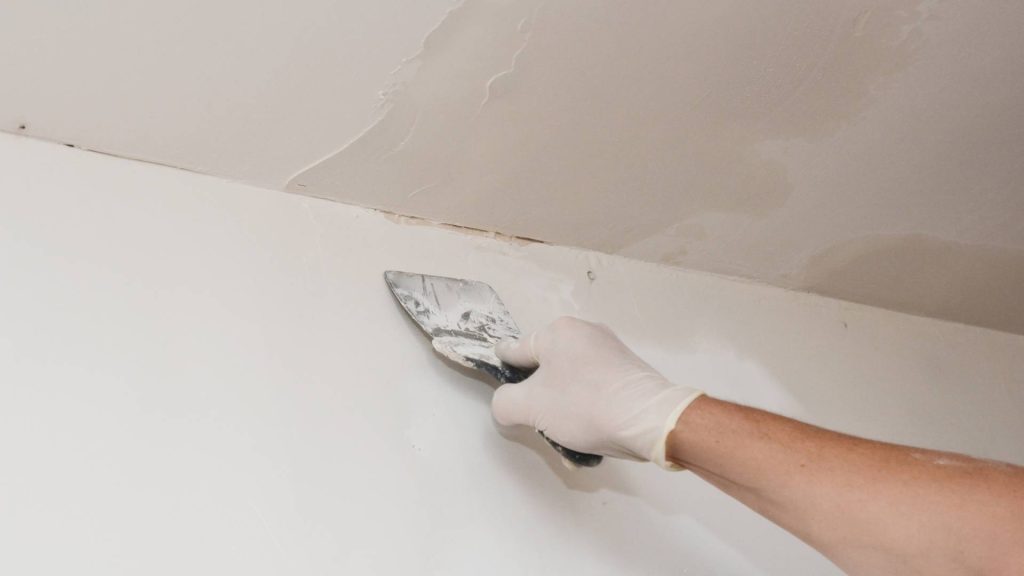
Before installing a plaster ceiling, it’s crucial to inspect the ceiling for any imperfections or uneven areas. Installing a plaster rose on a damaged or uneven surface can lead to poor adhesion and even cause the rose to fall off. That’s why it is important to make sure that the ceiling is clean and smooth.
3. Utilizing the Wrong Adhesive
Keep in mind that choosing the wrong adhesive is another common mistake. There are some individuals or installers that make the mistake of using general-purpose glue or adhesive that isn’t strong enough for plaster. In order for you to avoid these mistakes, you need an adhesive specifically designed for plaster to ensure a secure bond.
4. Preparing the Ceiling Rose Not Properly
Many individuals or installers as well forget to prepare the Plaster Ceiling Rose before installation. Don’t forget that plaster ceiling roses often have a coating that needs to be primed or cleaned before applying adhesive. However if not prepared properly, the adhesive might not stick properly, leading to an unstable installation, which is not right.
5. Overloading the Ceiling Rose with Paint Too Early
After installation, you may be excited to paint your ceiling rose, but it’s important to wait until the adhesive has completely set. Additionally, applying paint too early can weaken the bond and cause the rose to come loose. Take note that allow at least 24 to 48 hours for the adhesive to dry completely before painting.
6. Using Not Enough Adhesive

There are some installers that make the mistake of not using enough adhesive when installing the ceiling rose. This can result in a weak bond that could cause the rose to detach over time. Be sure to apply a generous amount of adhesive to the back of the ceiling rose to ensure it sticks properly to the ceiling.
7. Incorrect Alignment
Aligning the ceiling rose properly is critical. If you place it off-center, it can create an unbalanced look in the room. Ensuring the rose is placed exactly where you want it is essential to the overall aesthetic. Even a slight misalignment can be noticeable. You can use a pencil to mark the center of the room and the center of the rose. Aside from that, double-check the alignment before securing it to the ceiling.
8. The Weight of the Rose Was Not Considered
Lots of plaster ceiling roses can be quite heavy, especially if it has intricate designs. If the ceiling is not strong enough to hold the weight of the rose, it may fall off over time. This only means that it is important to ensure that the surface you’re attaching the ceiling to can support its weight.
Transform Your Ceiling with a Beautiful, Lasting Rose!
Always remember that installing a plaster ceiling rose is a simple and rewarding home improvement project if done correctly. Remember to measure carefully, prepare the ceiling and ceiling rose properly, and use the right materials. Avoiding these common mistakes will help you secure an installation that enhances the beauty of your ceiling.


