How to Hem Curtains with Sewing Machine?
Hi! As an interior designer who has fixed countless curtains, I share my tried-and-true method for shortening them with a sewing machine.
I often meet clients who buy beautiful curtains that need length adjustments to fit their windows perfectly.
I’ll guide you through each step, from measuring to the final stitch. Even if you’re new to sewing, my simple instructions, including tips on what is embroidery digitizing, will help you get professional results.
With basic tools and patience, you’ll learn how to make your curtains look like they were made just for your space.
Stepwise Guide to Shortening Curtains with a Sewing Machine
Materials Needed
- Curtains (e.g., IKEA curtains used in the tutorial)
- Curtain Rods (already installed)
- Pins
- Measuring Tape
- Tailor’s Chalk or Disappearing Ink Pen
- Ruler
- Iron
- Ironing Board or Flat Surface
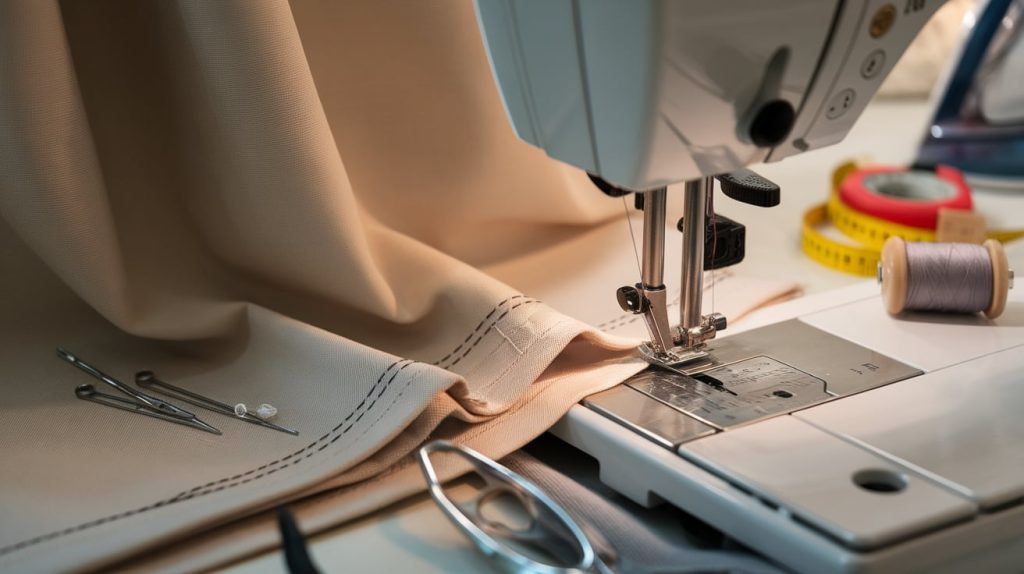
- Sewing Machine
- Thread (matching the color of the curtains)
- Scissors or Fabric Cutter
- Manual Hand Turner (on the sewing machine)
- Work Surface (table or floor)
Step 1: Prepare the Curtains
- Hang the curtains on the curtain pole.
- Turn the bottom under to the desired length and pin it in place.
- Remove the curtains from the pole and lay them flat on the floor or a table.
Step 2: Measure and Mark
- Measure from the pinned edge to the bottom of the curtain and note the measurement.
- Mark this measurement (e.g., 19 inches) across the curtain using the tailor’s chalk or a disappearing ink pen.
- Connect the marks with a ruler to create a straight line.
Step 3: Preliminary Pinning
- Fold the bottom edge of the curtain up to the marked line and pin it along the edge.
- Iron the pinned hem to create a crease.
- Rehang the curtains to ensure the length is correct. Adjust if necessary.
Step 4: Mark the Seam Allowance
- Once the length is confirmed, take the curtains down again.
- Measure 2 inches up from the bottom edge and mark this as the cutting line.
Step 5: Cut and Prepare the Hem
- Cut the curtain along the cutting line.
- Remove the pins and prepare to create the hem.
Step 6: Double Fold the Hem
- Turn up the fabric 1 inch and iron the fold.
- Turn it up another inch and iron again to create a double-fold hem.
- Pin the hem in place, ensuring the pins are positioned away from the sewing edge.
Step 7: Sew the Hem
- Place the fabric under the sewing machine’s foot.
- At the corner where the hems meet, reinforce the corner by sewing a small square box. Use the manual hand turner to guide the needle into the fabric.
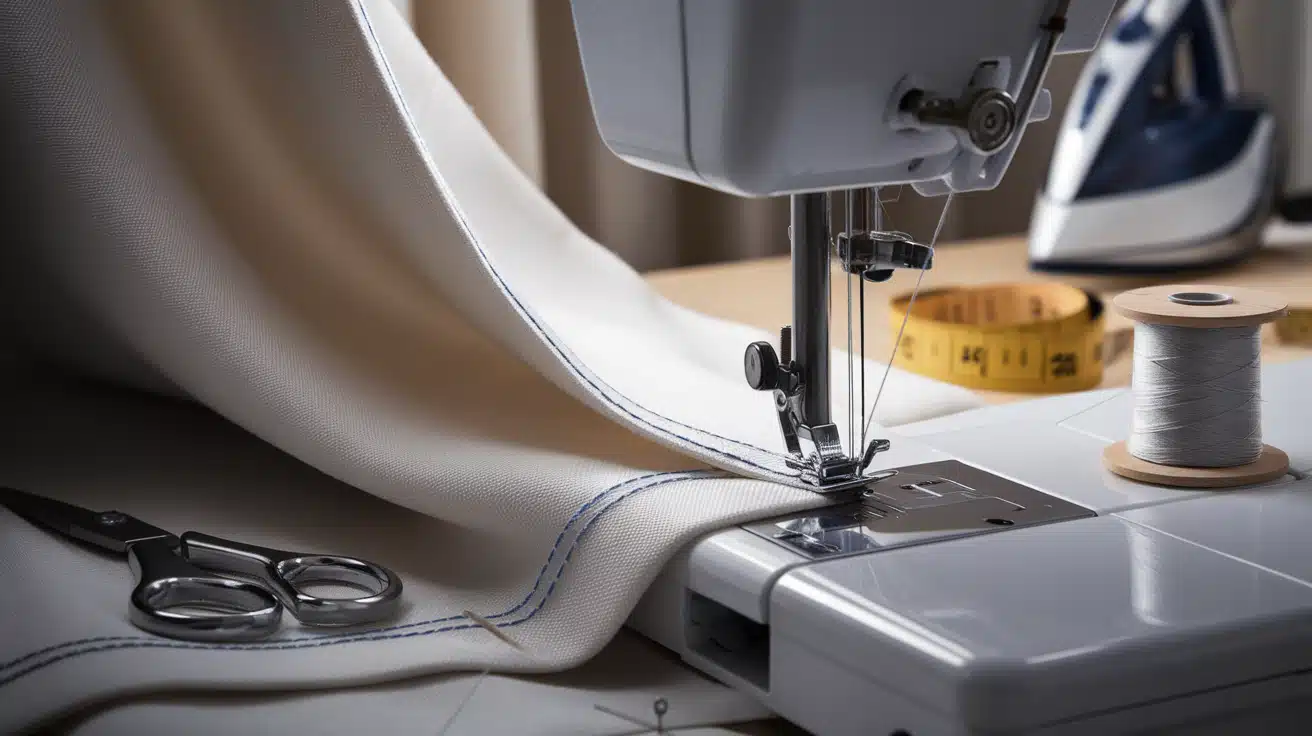
- Sew close to the edge of the hem along the entire curtain length.
- Repeat the square reinforcement at the opposite corner.
Step 9: Hang and Enjoy
- Rehang the curtains on the pole.
- Admire your work and enjoy your updated curtains.
Machine Hemming vs. Hand Hemming
| Feature | Machine Hemming | Hand Hemming |
|---|---|---|
| Speed | Faster, suitable for large projects. | Slower, requires more time. |
| Precision | High precision with consistent stitches. | Offers more control for intricate designs. |
| Appearance | Professional, often with visible stitches. | Nearly invisible stitches if done correctly. |
| Tools Needed | Sewing machine, thread, and needle. | Needle, thread, and thimble. |
| Skill Level | Moderate for beginners. | Requires patience and practice. |
When to Choose Each Method?
- Machine Hemming: Ideal for thick fabrics, curtains, and when time efficiency is a priority.
- Hand Hemming: Best for delicate fabrics, finishing formal garments, or when invisible stitching is required.
Selecting the Right Stitch for Hemming

Straight Stitch
- Pros: Strong and versatile; works for most fabrics.
- Cons: Visible on the outer side; limited elasticity.
- Best Uses: Cotton, polyester, and non-stretch fabrics.
Blind Hem Stitch
- Pros: Nearly invisible on the outer side; professional finish.
- Cons: Requires precision; more time-consuming.
- Best Uses: Curtains, trousers, and formalwear.
Zig-Zag Stitch
- Pros: Flexible; prevents fraying; accommodates stretch fabrics.
- Cons: It may not look as polished; it is visible on the outer side.
- Best Uses: Stretchy materials like jersey or knit fabrics.
Hemming from the Bottom vs. Top
| Approach | Bottom Hemming | Top Hemming |
|---|---|---|
| Advantages | – Easier to measure and pin. | – Avoids handling excess fabric. |
| – Aligns better with existing folds. | – Can provide a cleaner finish. | |
| Disadvantages | – More material manipulation is required. | – Requires precise measurement for alignment. |
| Best Uses | – Long curtains, casual garments. | – Sheer fabrics, structured garments. |
How to Decide?
- Choose bottom hemming for heavy or long fabrics where measuring from the top may introduce inaccuracies.
- Use top hemming when precision and a polished finish are essential, especially for lightweight or delicate materials.
Hemming Different Fabric Types
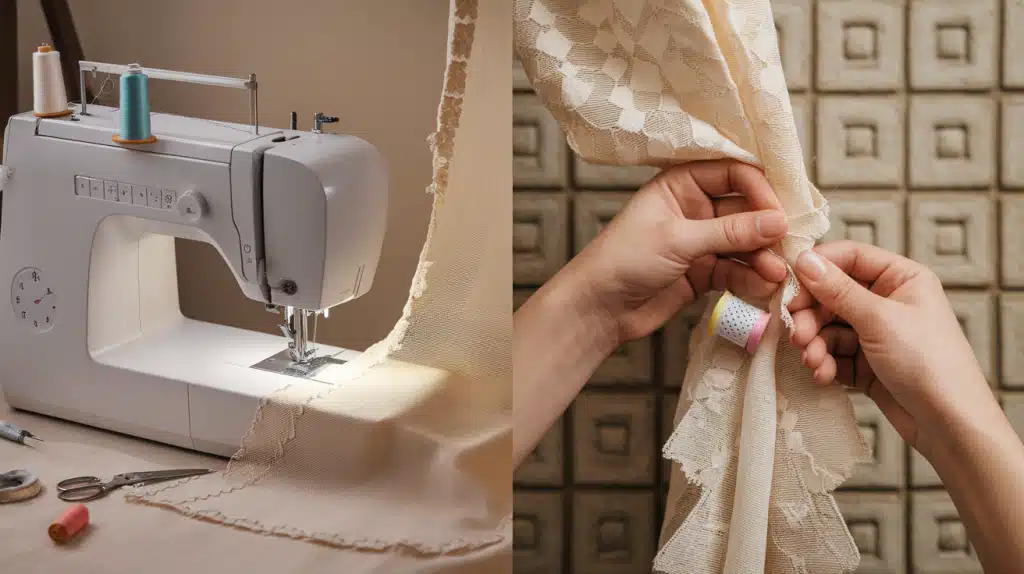
1. Sheer Fabrics
Special Considerations:
- Use a narrow hem or a rolled hem.
- Avoid heavy stitches to prevent puckering.
- Use a fine needle and lightweight thread.
Tips: Stabilize the fabric with tissue paper or a stabilizer during sewing.
2. Heavy or Bulky Fabrics
Handling Techniques:
- Use strong thread and a heavy-duty needle.
- Avoid overhandling to prevent stretching.
- Consider pressing folds with steam to ease stitching.
Tips: Pin generously and use a walking foot on your sewing machine to even feed.
Summing Up
After helping many clients with their window treatments, I can say that properly hemmed curtains make such a difference in a room’s overall look.
Remember to measure twice and sew once – it’s a rule I live by! Each fabric type needs special care, but the basic steps remain the same.
Take your time with the measuring and ironing steps; they’re key to getting that clean, professional finish.
Happy hemming!
Frequently Asked Questions
What is the Best Stitch for a Curtain Hem?
A straight stitch works well for most curtains. For sheer fabrics, try a blind hem stitch to hide the stitching and get a clean finish.
Should I Wash Curtains Before Hemming Them?
Yes, wash and iron your curtains first. This prevents unwanted shrinkage after hemming and helps you get the final length measurement.


