How to Make a Burlap Bow DIY (Step by Step)

| Quick Answer: To make a DIY burlap bow, fold the wired burlap ribbon into equal loops on both sides of a center point. Pinch the middle, secure it with floral wire or twine, then fluff and shape each loop. The whole process takes under 10 minutes. |
A few folds of burlap ribbon can create a lovely decoration for your home, gifts, or seasonal crafts. A DIY burlap bow project is simple enough for beginners and requires only a few basic supplies.
The natural texture of burlap brings a warm, rustic touch to wreaths, porch signs, gift boxes, and other décor pieces. You can customize the bow with different ribbons, colors, and embellishments to match any style or occasion.
This post covers Christmas, fall, and everyday farmhouse décor. You will find every step from cutting the ribbon to attaching your finished bow to a wreath.
| Bow Use | Ribbon Width | Ribbon Length | Best Securing Method |
|---|---|---|---|
| Gift wrapping | 2.5 inch | 18–24 inches | Twine or zip tie |
| Garland or mantel | 2.5 inch | 30–36 inches | Floral wire |
| Wreath (standard) | 4 inch | 4–5 feet | Floral wire |
| Tree topper | 4 inch | 5–6 feet | Floral wire + pipe cleaner |
What Is a Burlap Bow?
A burlap bow is a handmade decorative bow made from burlap ribbon or burlap fabric. It uses looped folds secured at the center with wire or twine. The result is a full, layered bow with a warm, rustic texture. Burlap bows work on wreaths, gift boxes, porch signs, garlands, and baskets.
Burlap comes in two main types:
- Wired Ribbon (pre-finished edges, holds its shape well) and
- Raw Fabric (cut from a roll, edges may fray).
Wired ribbon is the better choice for bows you want to last through a season.
What Do You Need for a DIY Burlap Bow?
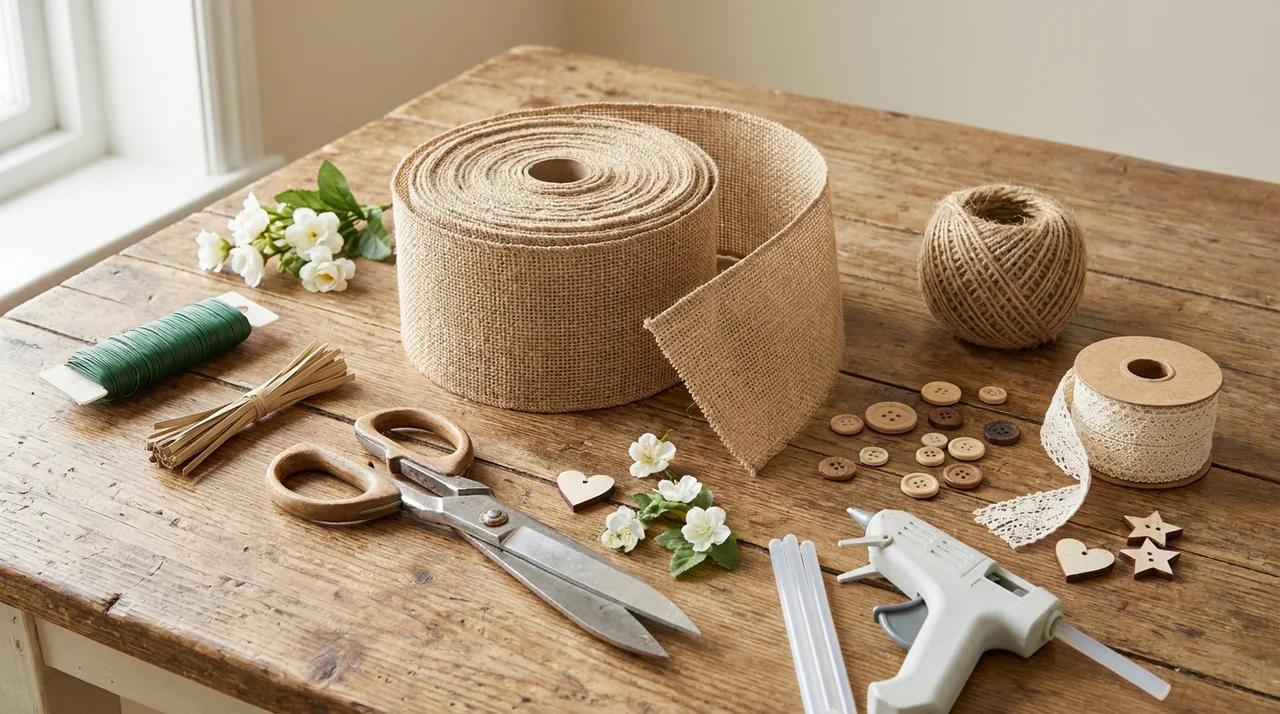
Choosing the right supplies before starting makes the process easier and helps create a neat, well-shaped bow. Each material has a specific role, from holding the loops in place to adding decorative details.
Burlap Ribbon
- Wired burlap ribbon is the best choice because it keeps the bow’s shape after folding.
- Use 2.5-inch ribbon for medium-sized bows and 4-inch ribbon for larger wreath decorations.
Scissors
- Use sharp fabric scissors to cut clean edges and reduce fraying.
- Avoid dull scissors, as they can leave uneven cuts and make the ribbon harder to shape.
Floral Wire or Twist Tie
- Floral wire or a twist tie secures the center of the bow tightly.
- A firm center helps the loops stay balanced and prevents the bow from loosening over time.
Hot Glue Gun (Optional)
- A hot glue gun is useful for attaching extra decorations to the bow.
- Use it for adding pieces like ornaments, flowers, or a decorative center wrap.
Decorative Additions
Add texture and personality with simple finishing pieces. Popular options include:
- Twine for a natural farmhouse look
- Lace ribbon for a softer style
- Buttons for a handmade touch
- Faux flowers for wreaths and seasonal décor
- Wooden ornaments for rustic decorations
Pair your bow with a seasonal wreath to complete the look.
How to Make a Burlap Bow DIY Step by Step?
Making a burlap bow is simple once you understand how to shape the loops and secure the center properly.
The key is to work slowly, keep each side balanced, and adjust the ribbon before tightening everything. Follow these steps to create a full, rustic bow that works well for wreaths, gifts, signs, and seasonal decorations.
Step 1: Cut the Burlap Ribbon
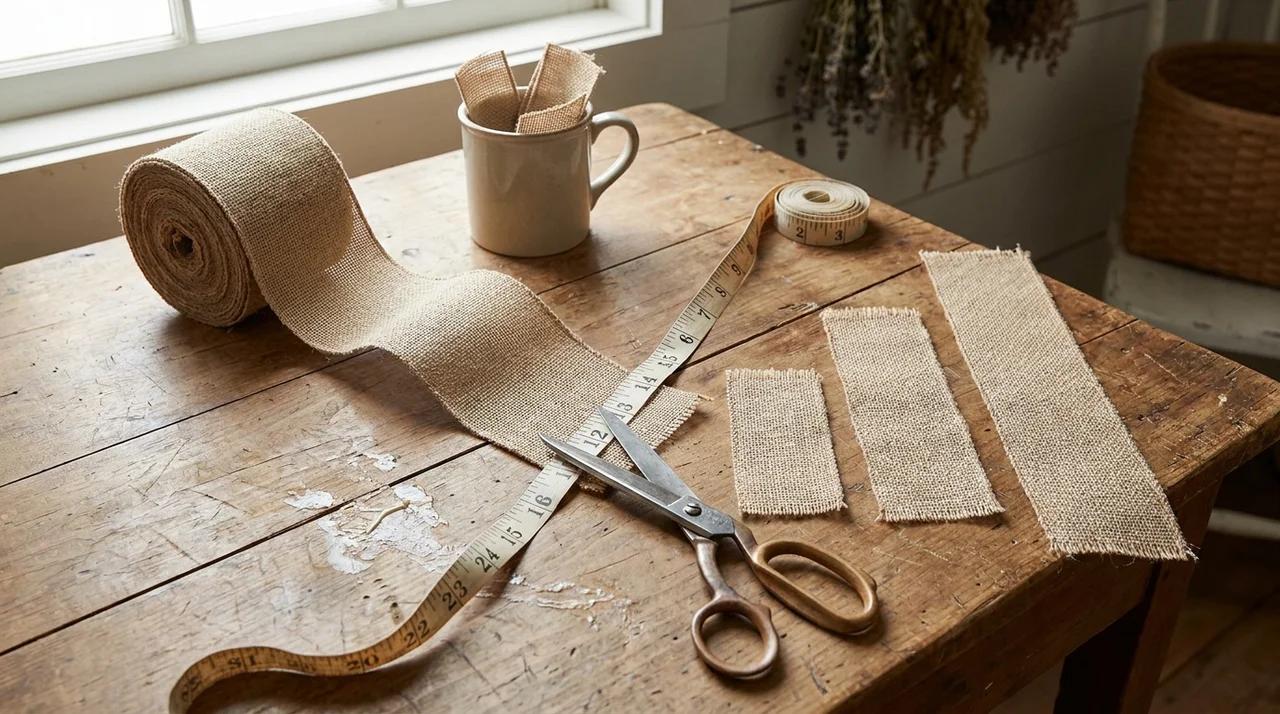
Start by deciding how large you want your bow to be. The ribbon length depends on where you plan to use it. Smaller bows work well for gift wrapping and small décor pieces, while larger bows are better suited for wreaths, porch signs, and outdoor decorations.
Measure the ribbon carefully and cut it with sharp fabric scissors for a clean edge. Leave enough extra ribbon at both ends to create decorative tails. Cutting the ribbon slightly longer is better than cutting it too short because you can always trim the ends later.
| Bow Type | Ribbon Length |
|---|---|
| Small gift bow | 18–24 inches |
| Medium décor bow | 30–36 inches |
| Large wreath bow | 4–5 feet |
Preparing the correct ribbon length before starting helps prevent uneven bows and reduce waste.
Step 2: Create the First Bow Loop
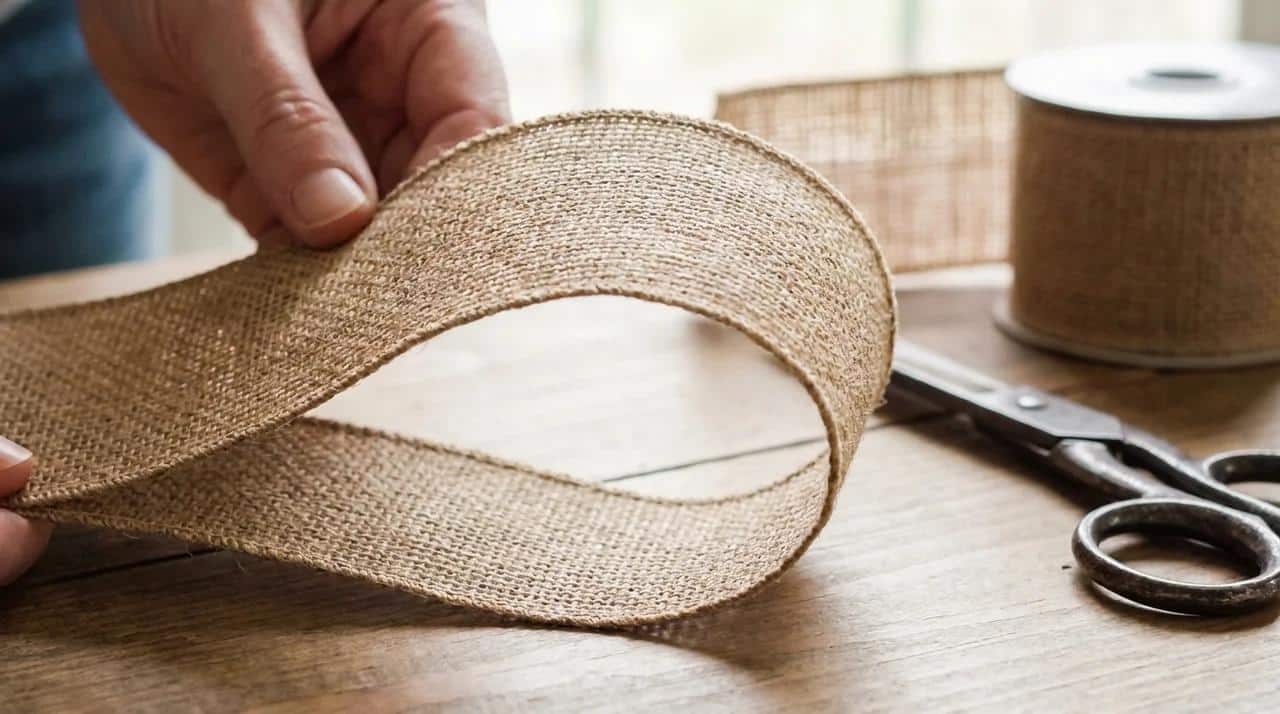
Hold the center of the ribbon between your fingers and fold one side backward to create your first loop. Keep the wired edges facing outward because they help the ribbon hold its shape after folding.
Make sure the ribbon stays flat as you create the loop. A common beginner mistake is allowing the ribbon to twist while forming the shape. Twisted loops can make the finished bow look uneven and harder to adjust later.
Before moving forward, check that the first loop has the size and shape you want. This first fold becomes the base for the rest of the bow, so keeping it neat will make the remaining steps easier.
Step 3: Make Matching Loops on Both Sides
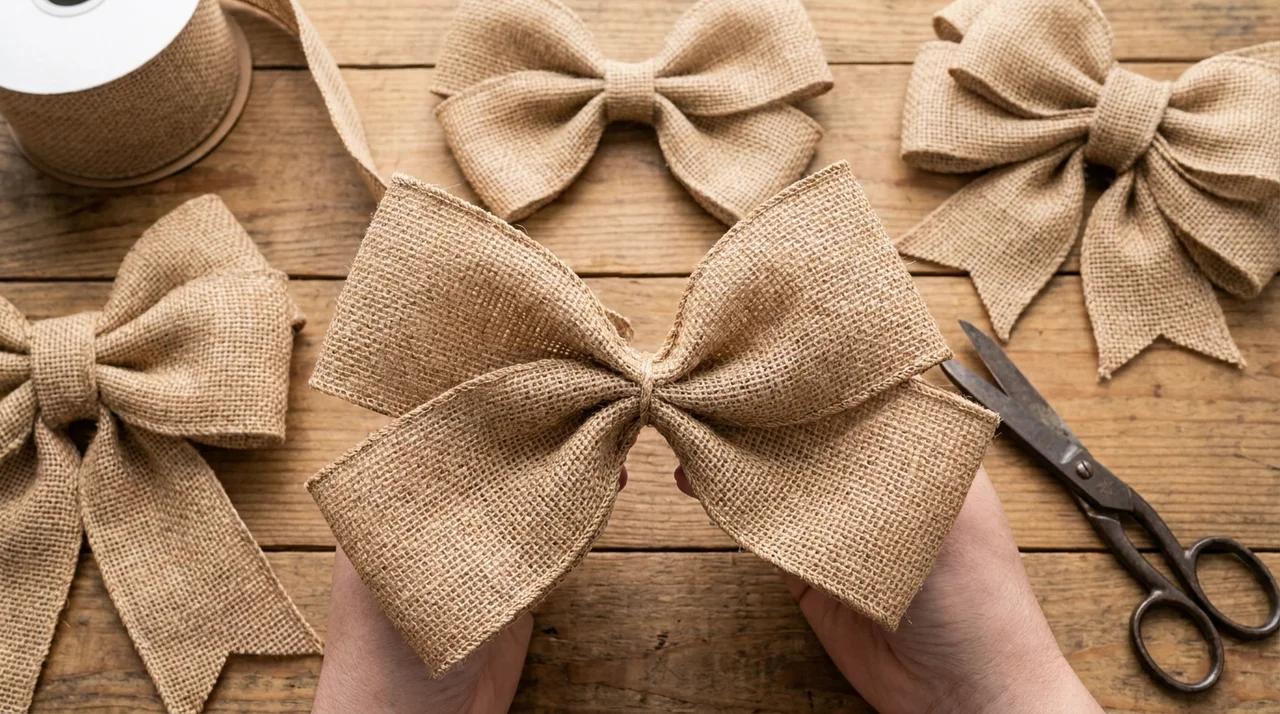
Once the first loop is formed, create a matching loop on the opposite side of the center. Try to keep both sides similar in size so the bow looks balanced.
For a fuller appearance, add extra layers of loops by folding more ribbon sections over the center. You can create different styles depending on how many loops you add:
- Single bow: One loop on each side for a simple, lightweight design.
- Double bow: Two loops on each side for more volume and texture.
- Layered bow: Three or more loops on each side for a bold statement.
Adjust the loops before securing the center. Once the ribbon is tied tightly, making major changes becomes more difficult.
Step 4: Secure the Center
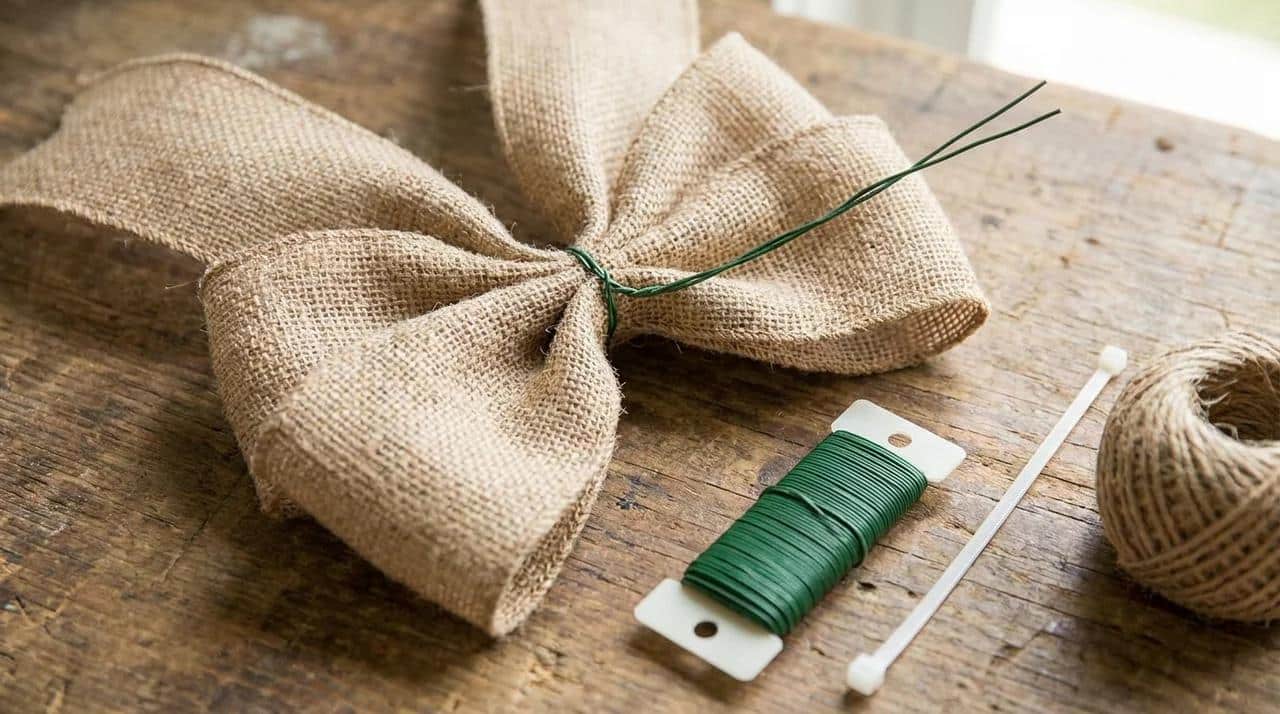
After creating all the loops, pinch the middle section firmly to hold the shape. Wrap the center with floral wire, a zip tie, or twine to secure the ribbon.
Each option creates a slightly different finish:
- Floral wire: A popular choice because it holds tightly and is easy to attach to wreaths.
- Zip tie: Provides a strong grip and works well for larger bows.
- Twine: Adds a natural farmhouse look that pairs well with burlap.
Tighten the center enough to prevent the loops from moving. If you plan to attach the bow to a wreath, sign, or door decoration, leave extra wire or tie length at the back for easier placement.
Step 5: Shape and Trim the Bow
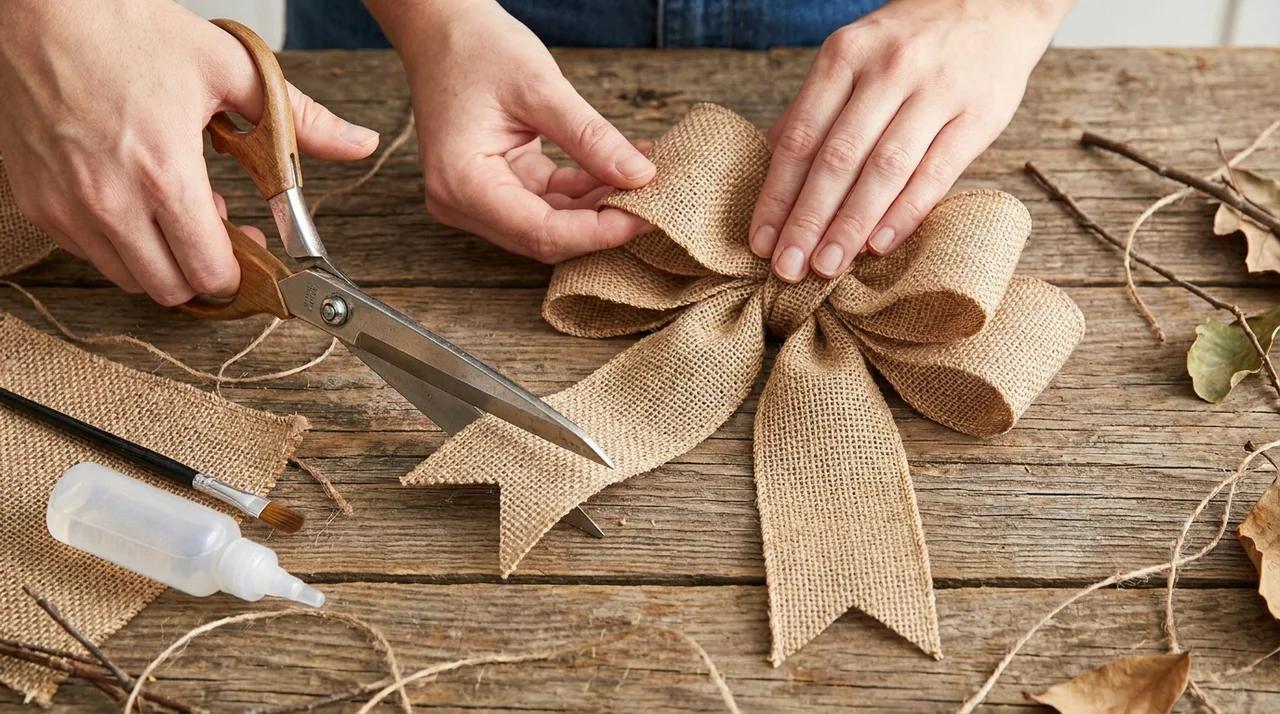
The final shaping step gives your burlap bow a fuller and more finished appearance. Gently pull each loop outward and adjust the sections until both sides look even.
Separate flattened areas, reshape the wired edges, and fluff the ribbon until the bow holds its form. Next, trim the ribbon tails to your preferred length. Cutting the ends into a V shape creates a cleaner decorative finish.
To reduce fraying along the cut edges:
- Apply a small amount of clear fabric glue along the edge.
- Choose wired burlap ribbon, which usually holds its shape better and keeps the edges more stable.
Taking a few extra minutes to adjust the loops and tails can make a simple burlap bow look polished and ready for display.
How to Attach a Burlap Bow to a Wreath
Once your bow is shaped, you can attach it to a wreath in two minutes. Cut a 4–6-inch strip of floral wire. Hot-glue the center of the wire to the back of the bow, then let it cool completely. Then twist the wire tails around the wreath base to hold the bow in place.
A few tips to keep the bow secure:
- Position the bow at the top for a classic wreath look, or at the 10 o’clock position for an off-center style.
- Add a second piece of wire if the bow is large or heavy.
- Pull the loops outward one more time after attaching to restore fullness.
If you want to display the bow without wire, a strong zip tie threaded through the center back and around one of the wreath wires works just as well.
How to Make a Burlap Bow from Burlap Fabric
No wired ribbon? You can still make a bow using raw burlap fabric. The process takes a few extra steps, but the result looks just as full.
- Cut your strip. Cut a long strip of burlap about 12 inches wide and 4–5 feet long.
- Fold lengthwise. Fold the fabric in half lengthwise so it is now about 6 inches wide. Iron flat to hold the fold.
- Clean the edges. Pull out one thread along each long edge to create a straight cutting guide. Trim along that line for a neat edge.
- From the bow. Follow the same loop-and-pinch steps from the ribbon method above.
- Secure the center. Use twine or a pipe cleaner to tie the center firmly. The folded fabric is thicker, so pull it tight.
- Trim the tails. Cut the tail ends diagonally or in a V shape to finish the look.
Fabric bows fray more than ribbon bows. Apply a thin line of clear fabric glue along every cut edge right after trimming. Let it dry before hanging the bow outdoors.
Different Burlap Bow Styles to Try
Once you know the basic method, you can try different styles to match any space or season.
1. Classic Rustic Burlap Bow
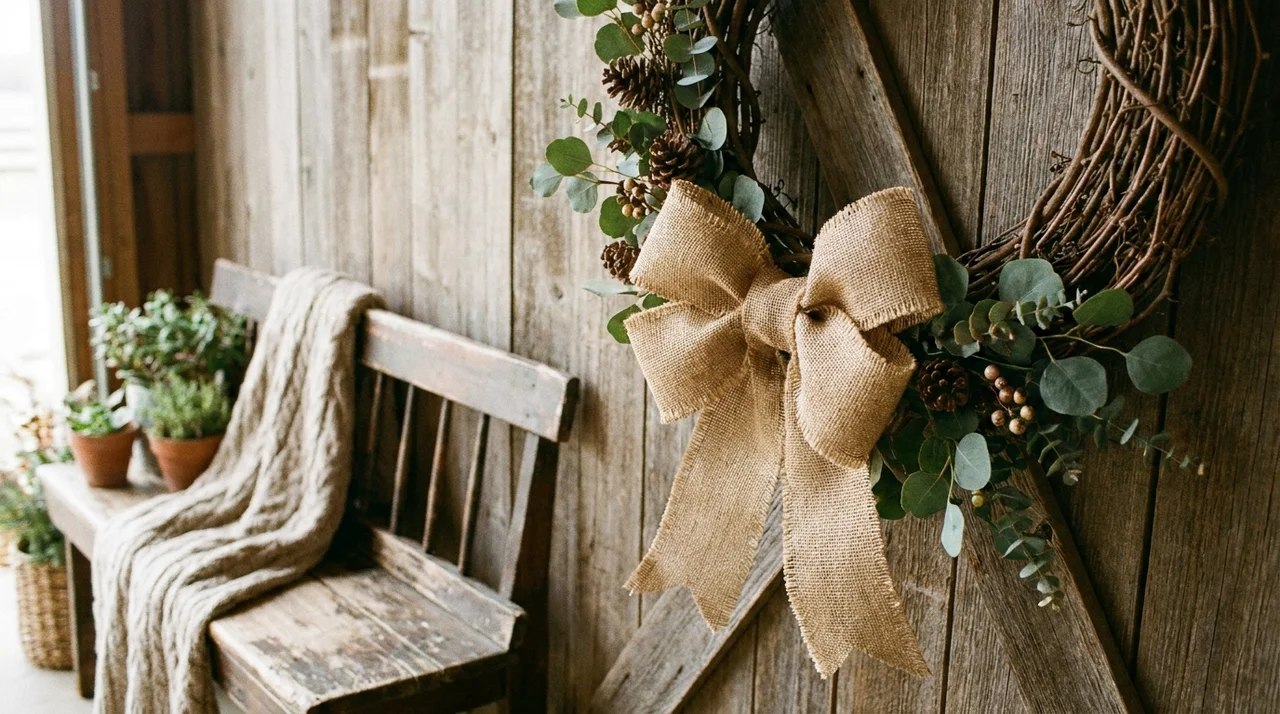
A classic burlap bow uses simple loops and natural texture to create a timeless rustic look. This style works well for farmhouse wreaths, wooden signs, baskets, and everyday home décor.
Pair it with greenery, pinecones, or neutral accents for a warm finish. Its simple design makes it one of the easiest bows for beginners.
2. Double Burlap Bow
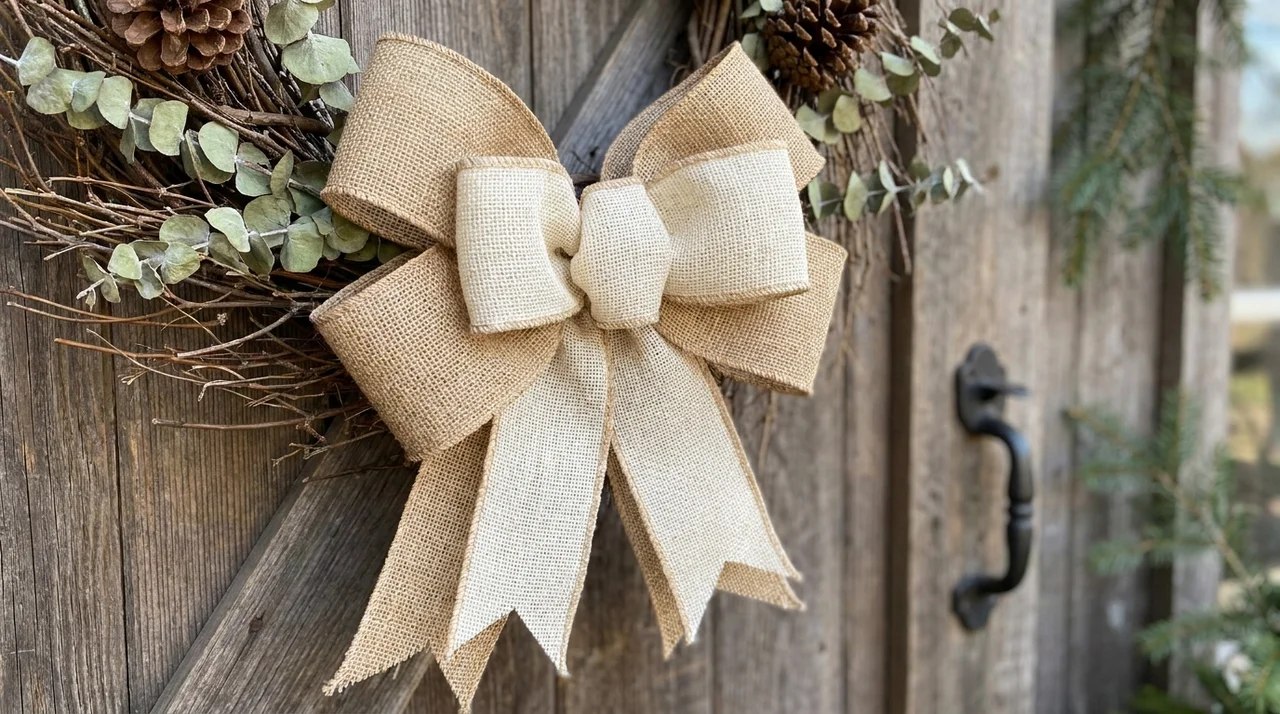
A double burlap bow adds extra volume by layering two sets of loops together. This style creates a fuller appearance and works especially well on large wreaths, porch signs, and seasonal decorations.
Combining different burlap shades or ribbon textures can add depth while keeping the natural farmhouse feel. It is a great option for larger statement pieces.
3. Burlap and Lace Bow
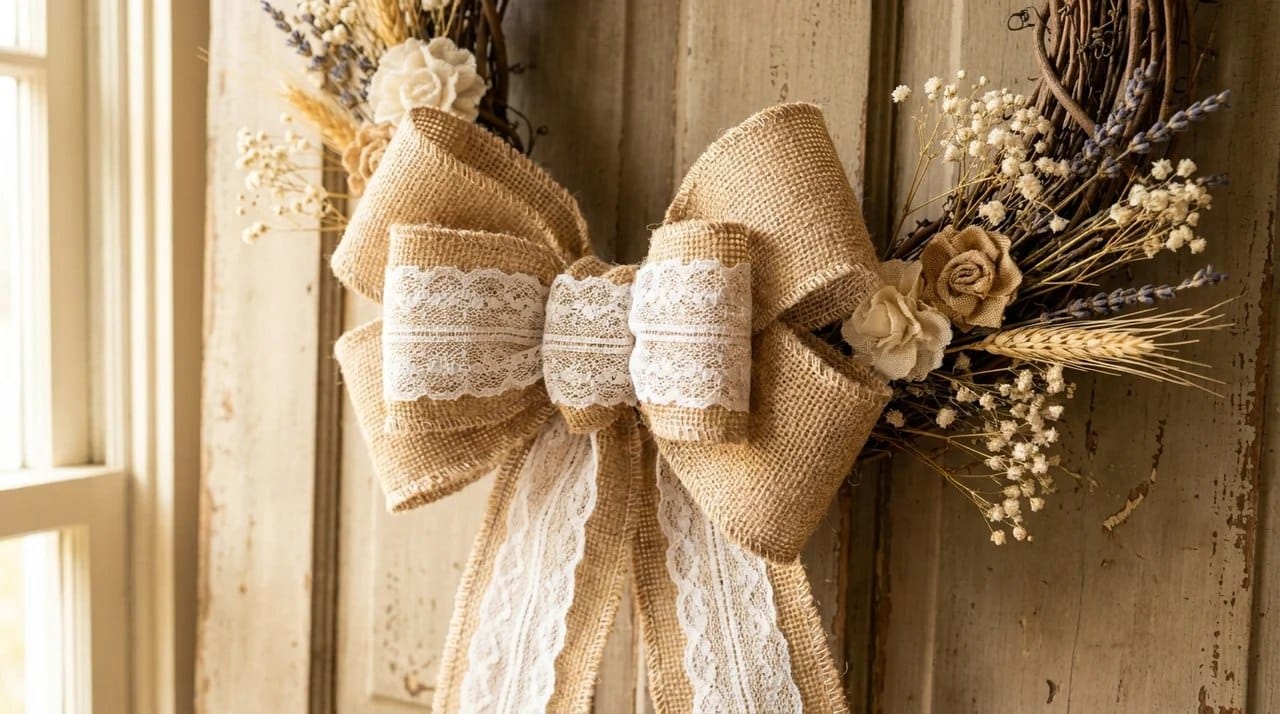
A burlap-and-lace bow combines rough, natural fibers with a softer decorative layer. The contrast creates a balanced look that fits vintage, farmhouse, and cottage-style décor.
Lace ribbon can be placed over burlap loops or wrapped around the center for added detail. This style works beautifully for weddings, spring decorations, and delicate wreath designs.
4. Burlap Flower Bow
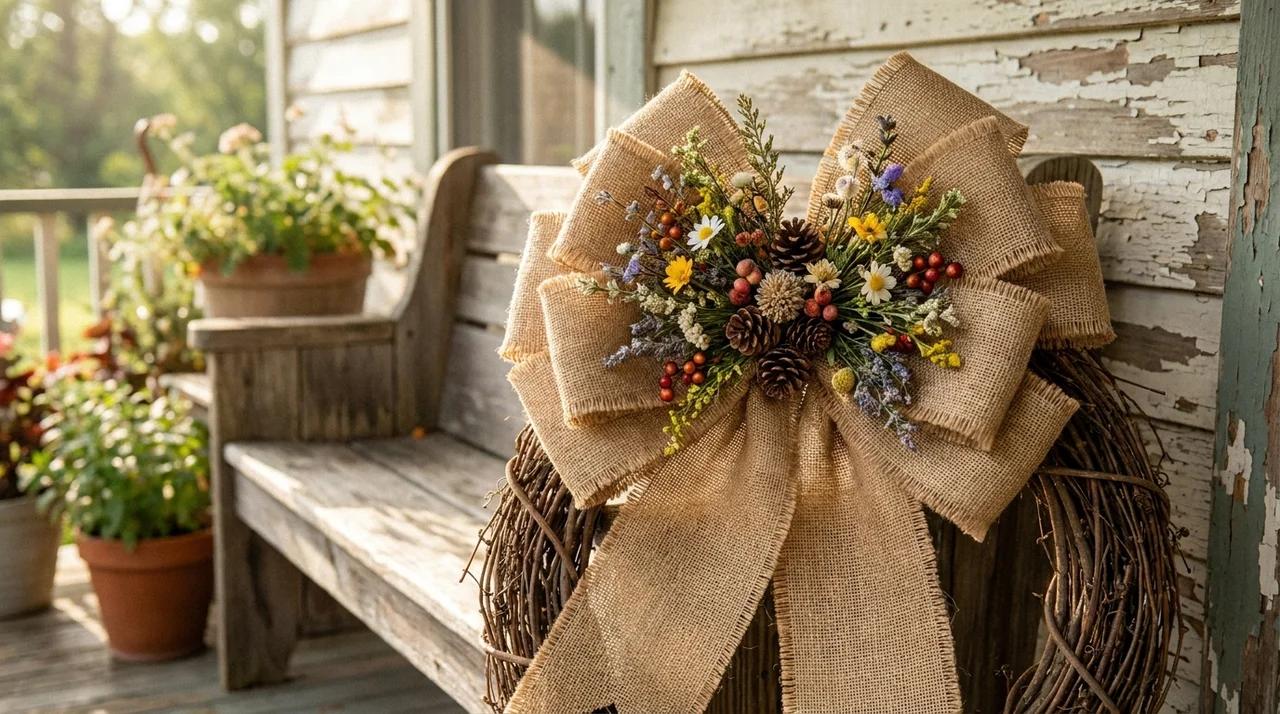
A burlap flower bow adds a decorative touch by combining ribbon loops with floral elements. Faux flowers, greenery, or dried blooms can be placed in the center or around the bow to create a more detailed arrangement.
This style works well for spring wreaths, garden décor, and seasonal displays that need extra color and texture.
5. Seasonal Burlap Bow
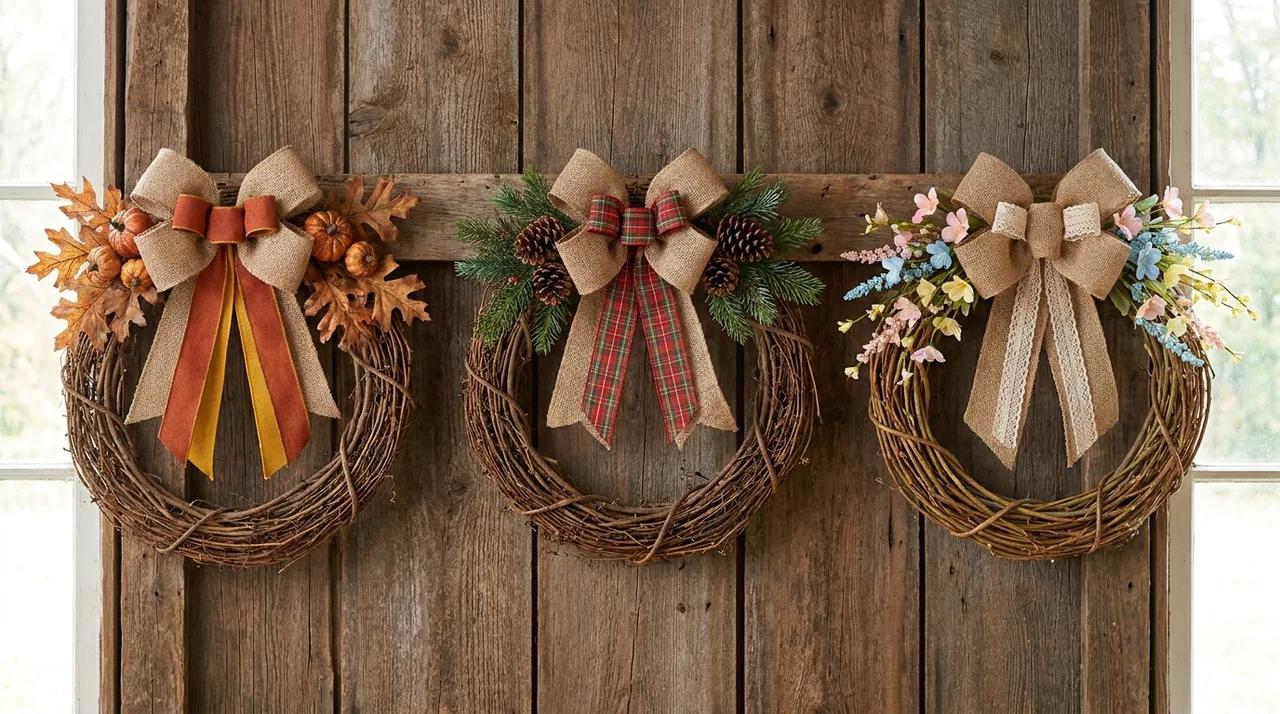
A seasonal burlap bow can be customized with colors and accessories to match different times of the year. Add orange ribbons and leaves for fall, red and green accents for Christmas, or soft floral details for spring.
The burlap base keeps the decoration versatile while small additions create a unique look for each season.
Common Burlap Bow Mistakes to Avoid
Small mistakes during the process can change the final appearance of your burlap bow. Keep these common errors in mind to create a neat, well-balanced bow.
Using the Wrong Ribbon Type: Thin, non-wired burlap collapses quickly and loses its shape. Always use wired ribbon when making bows for wreaths or door décor. It holds structure much longer.
Making Uneven Loops: Loops that are different sizes make the bow look off-balance. Measure each loop with your hand before tightening the center wire.
Not Securing the Center Enough: A loose center causes the entire bow to shift and fall apart. Wrap your floral wire or twine at least twice and pull it tight before twisting.
Cutting Tails Too Early: Many beginners trim the tails before shaping the bow. Always fluff and adjust your loops first. Then cut the tails to your preferred length.
Overloading With Decorations: Adding too many buttons, flowers, or ribbons hides the natural texture of the burlap. One or two accent pieces are enough to finish the look cleanly.
Where to Use a Burlap Bow in Your Home
A finished burlap bow can add a handmade touch to more than just wreaths. On a wreath, place it at the top for a classic look, at the bottom for a unique focal point, or to one side for a relaxed style.
If you are building a new wreath from scratch, a fabric wreath pairs well with a large burlap bow.
Large bows work well on front doors when paired with greenery, wooden signs, or seasonal accents. Smaller bows can decorate gifts, garlands, and mantels while adding rustic texture.
You can also wrap burlap bows around candle holders, baskets, or floral arrangements. Choosing the right size helps the bow complement the decoration without overwhelming the overall look.
Finish Your Burlap Bow
A burlap bow DIY is one of the quickest crafts to learn and one of the most useful.
With the right wired ribbon, firm loops, and a few minutes of shaping, you get a finished bow that looks clean and put-together.
Start with the basic technique, then adjust the style. Add lace for a softer look, flowers for more detail, or seasonal colors for the holidays.
Once you get the hang of it, making bows for different occasions takes only a few minutes each.
Try hanging your finished bow on a farmhouse mantel for a seasonal display that comes together fast.
Frequently Asked Questions
Can You Make Bows Out Of Cotton Fabric?
Yes, cotton fabric can be used to make bows. Cut and sew a rectangle, turn it right side out, press it, and shape it into a decorative bow.
How To Stop Burlap Ribbon From Fraying?
To stop burlap ribbon from fraying, apply fabric stiffener and let it dry completely. This helps strengthen the fibers and keeps the edges neat.
Can I Make A Burlap Bow Without Wire?
Yes, you can make a burlap bow without wire. Use strong ties, twine, or glue to secure the center and help the bow hold its shape.
What Width of Burlap Ribbon Is Best for a Wreath Bow?
Use 4-inch wired burlap ribbon for standard 18–24-inch wreaths. For smaller wreaths or gifts, 2.5-inch ribbon works well and is easier to handle.
How Do I Keep a Burlap Bow from Looking Flat?
Use wired ribbon and fluff each loop outward after securing the center. Separate any compressed sections by hand. Wired edges hold the shape far better than unwired ribbon.