How to Paint IKEA Furniture That Lasts
IKEA furniture pieces are everywhere, affordable, functional, but often visually plain. You might have a simple white laminate bookshelf or dresser that does its job but doesn’t add character to your room.
The plastic-like finish over chipboard keeps costs low but also makes the piece look bland.
Here’s the good news: with the right approach, you can completely transform IKEA furniture into something stylish and long-lasting.
This guide will show you exactly how to paint IKEA furniture, so your finish lasts for years without peeling or chipping.
You’ll learn surface preparation, paint selection, and step-by-step instructions for professional results every time.
What Makes IKEA Furniture Different from Paint
IKEA furniture uses laminate or melamine finishes over chipboard construction. This smooth, plastic-like coating creates a non-porous surface that paint struggles to stick to naturally.
Unlike real wood that absorbs paint, these surfaces can cause your paint job to peel off within weeks if you use the wrong approach.
The key difference is understanding that you’re not painting wood – you’re painting plastic. This changes everything about your technique and material choices.
How to Paint IKEA Furniture: 4 Simple Steps
Follow these proven steps to change your IKEA pieces with paint that won’t chip or peel.
Essential Tools and Materials
| Category | Items Needed | Why You Need It |
|---|---|---|
| Surface Prep | Fine sandpaper (220 grit), degreasing cleaner, Tack cloth | Creates paint adhesion on smooth surfaces |
| Paint Application | Furniture paint or chalk paint, Quality synthetic brush, Small foam roller | Ensures proper coverage and a smooth finish |
| Protection & Finish | Clear wax or polyurethane, Drop cloths, Painter’s tape | Protects both furniture and workspace |
| Optional Helpers | Hair dryer, Mixing sticks, Clean rags | Speeds the process and aids in touch-ups |
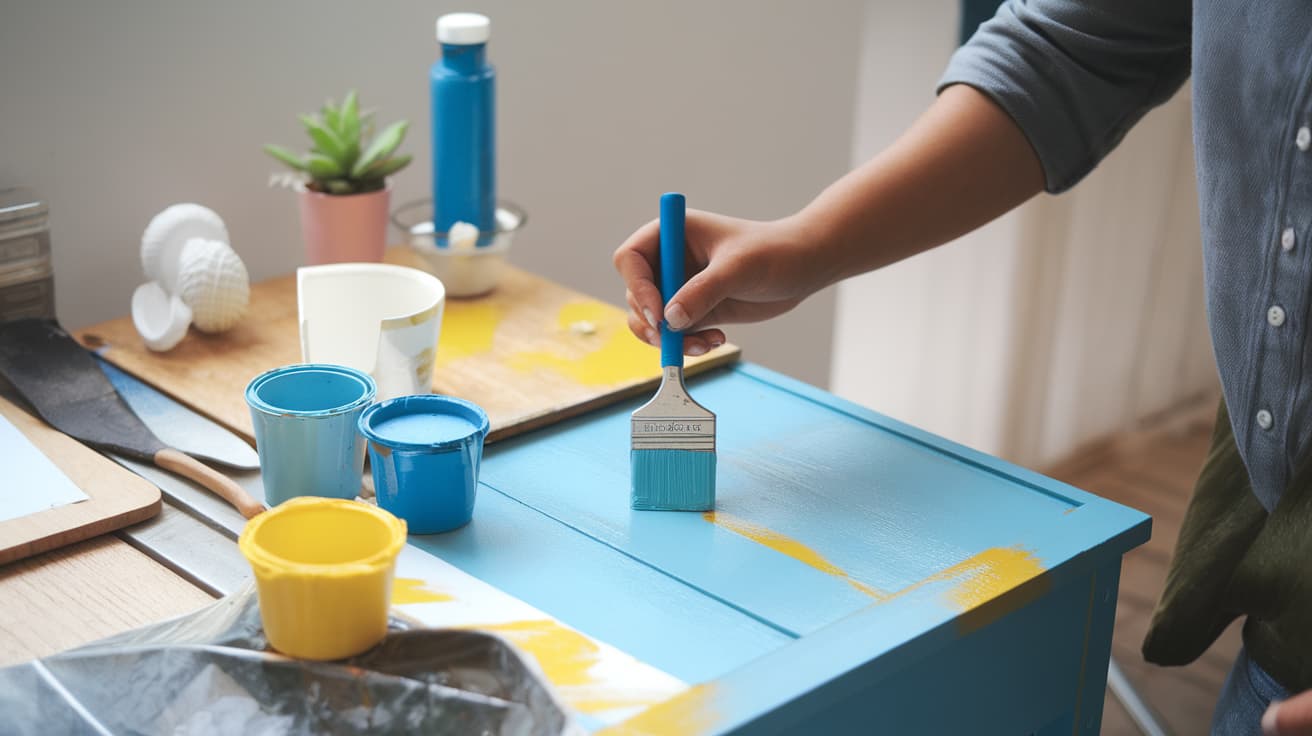
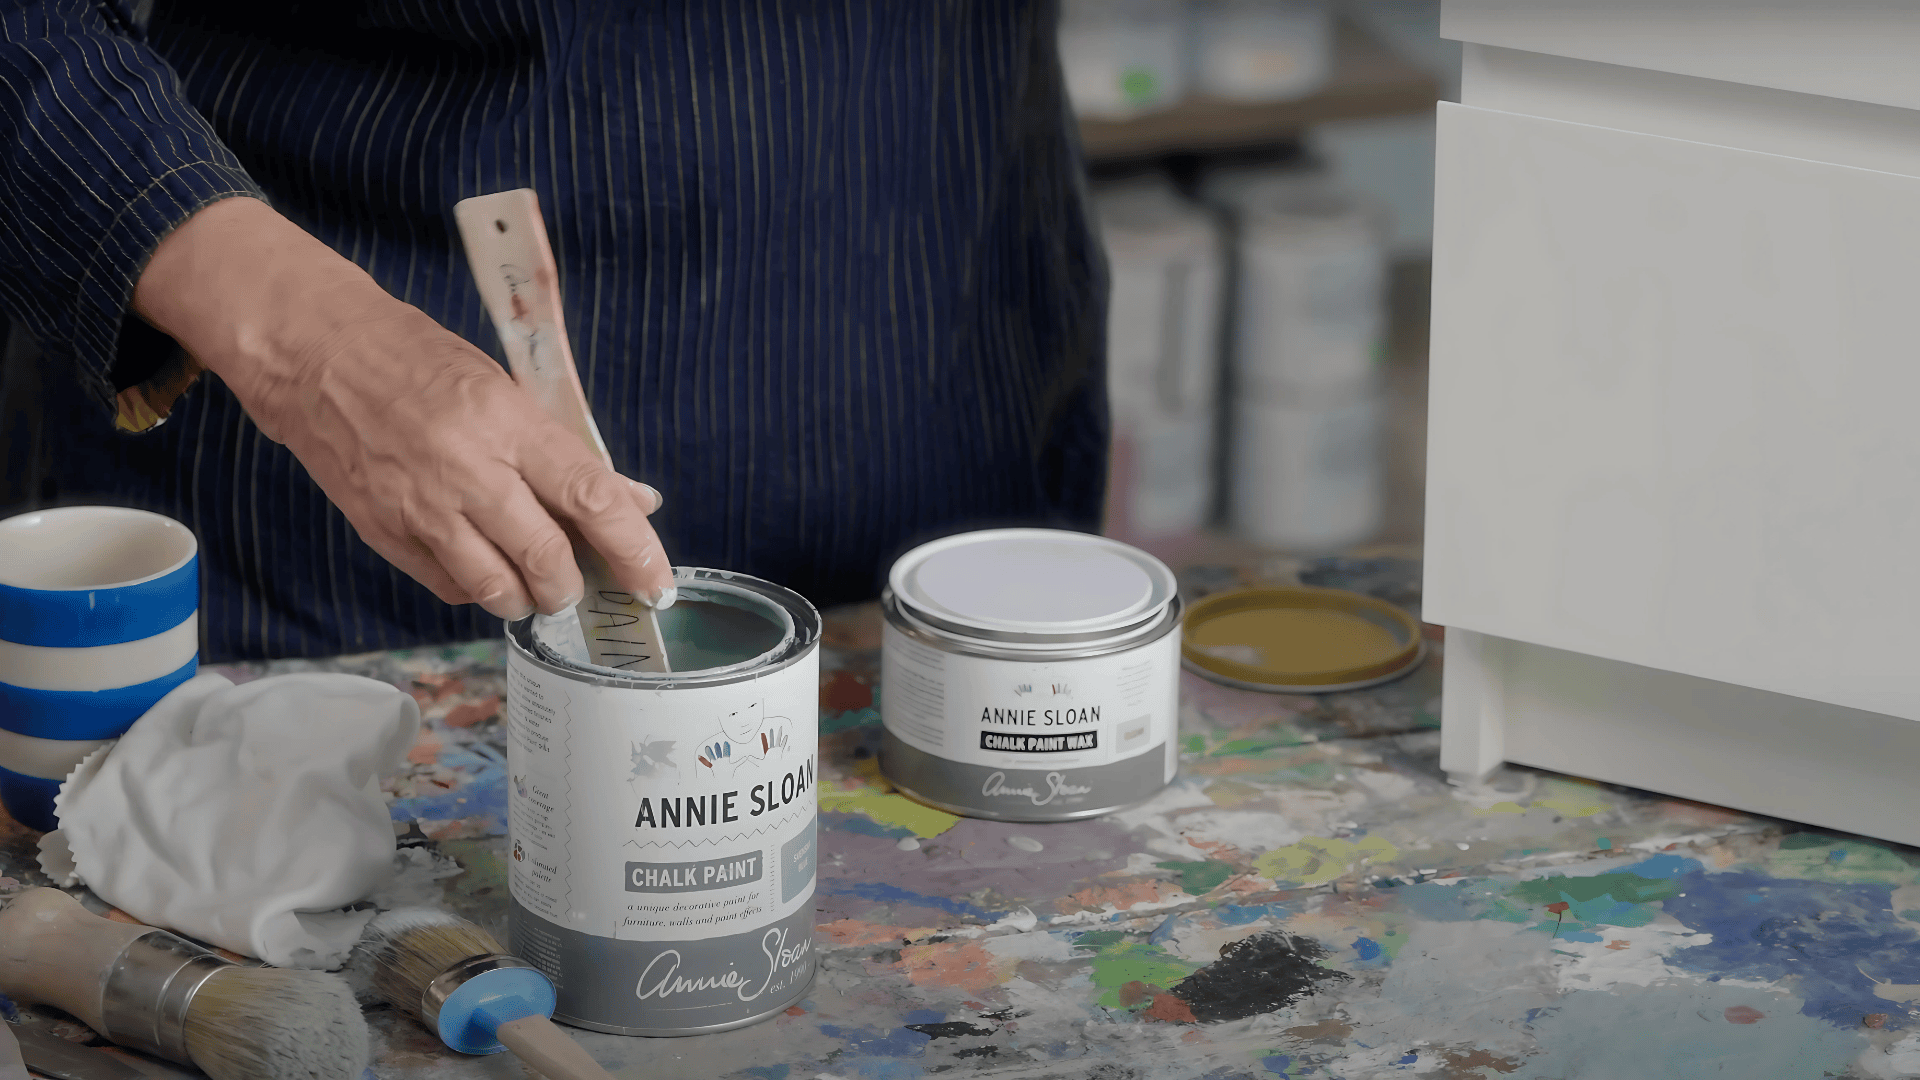
Step 1: Prepare Your Furniture Surface
Remove all hardware, including handles, knobs, and hinges, before you start. Clean the entire piece thoroughly with degreasing cleaner to remove oils and residue that prevent paint adhesion.
Lightly sand all surfaces with fine-grit sandpaper to create texture for paint to grip. You don’t need to obliterate the finish – just rough it up enough so it feels slightly textured.
Materials needed in this step:
- Degreasing cleaner and clean cloths
- 220-grit sandpaper
- Screwdriver for hardware removal
- Tack cloth for dust removal
Instructions: Work in a well-ventilated area and wear a dust mask while sanding. Remove all dust with a tack cloth before moving to the next step. The surface should feel clean and slightly rough.
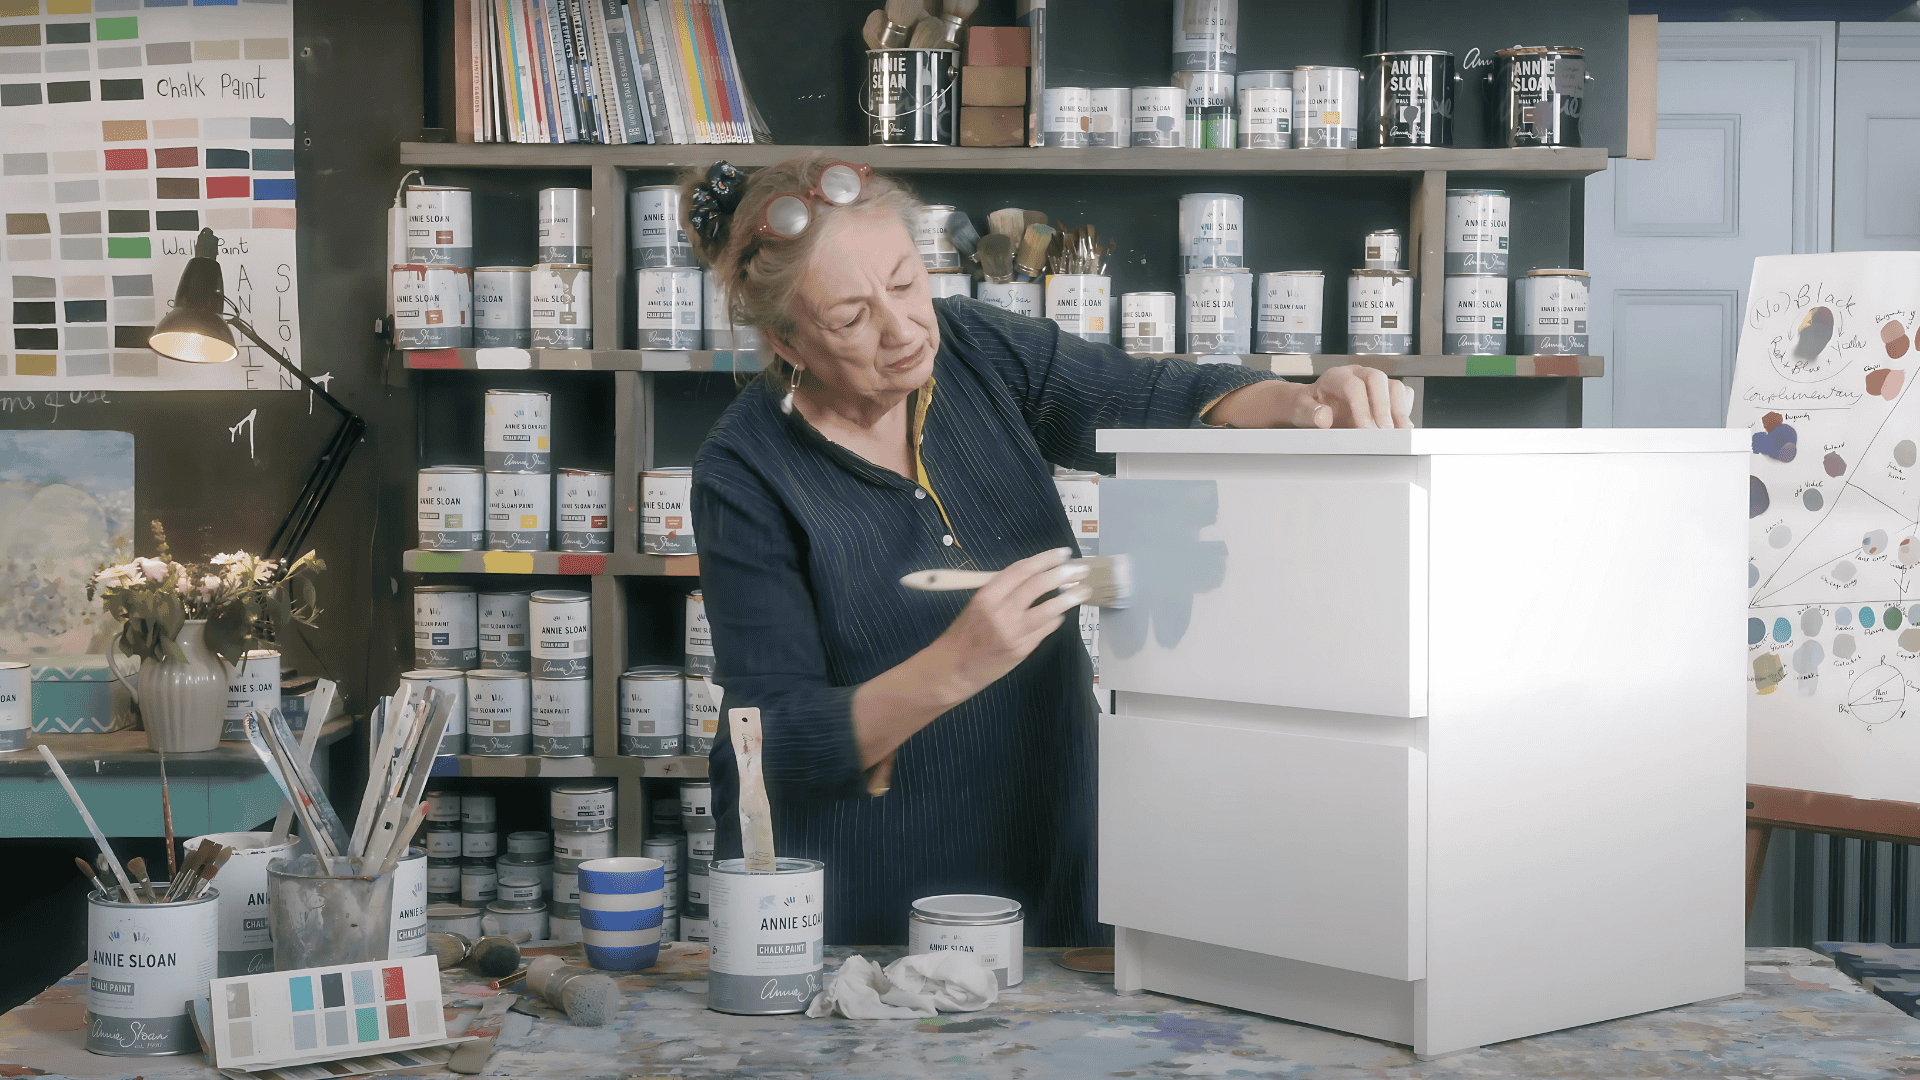
Step 2: Mix and Apply First Coat
Stir your paint thoroughly before starting – poor mixing creates streaky coverage. Scrape the sides and bottom of the container to blend everything thoroughly.
Apply your first coat using thin, even strokes across the surface. Don’t try to get complete coverage in one coat – laminate surfaces need multiple applications. Don’t worry if it looks patchy initially.
Materials needed in this step:
- Your chosen furniture paint
- Quality synthetic brush or small roller
- Paint mixing stick
- Clean the container if mixing colors
Instructions: Start at the top of your piece and work downward. Use long, smooth brush strokes and maintain a wet edge to prevent lap marks. Keep your coats thin and even.
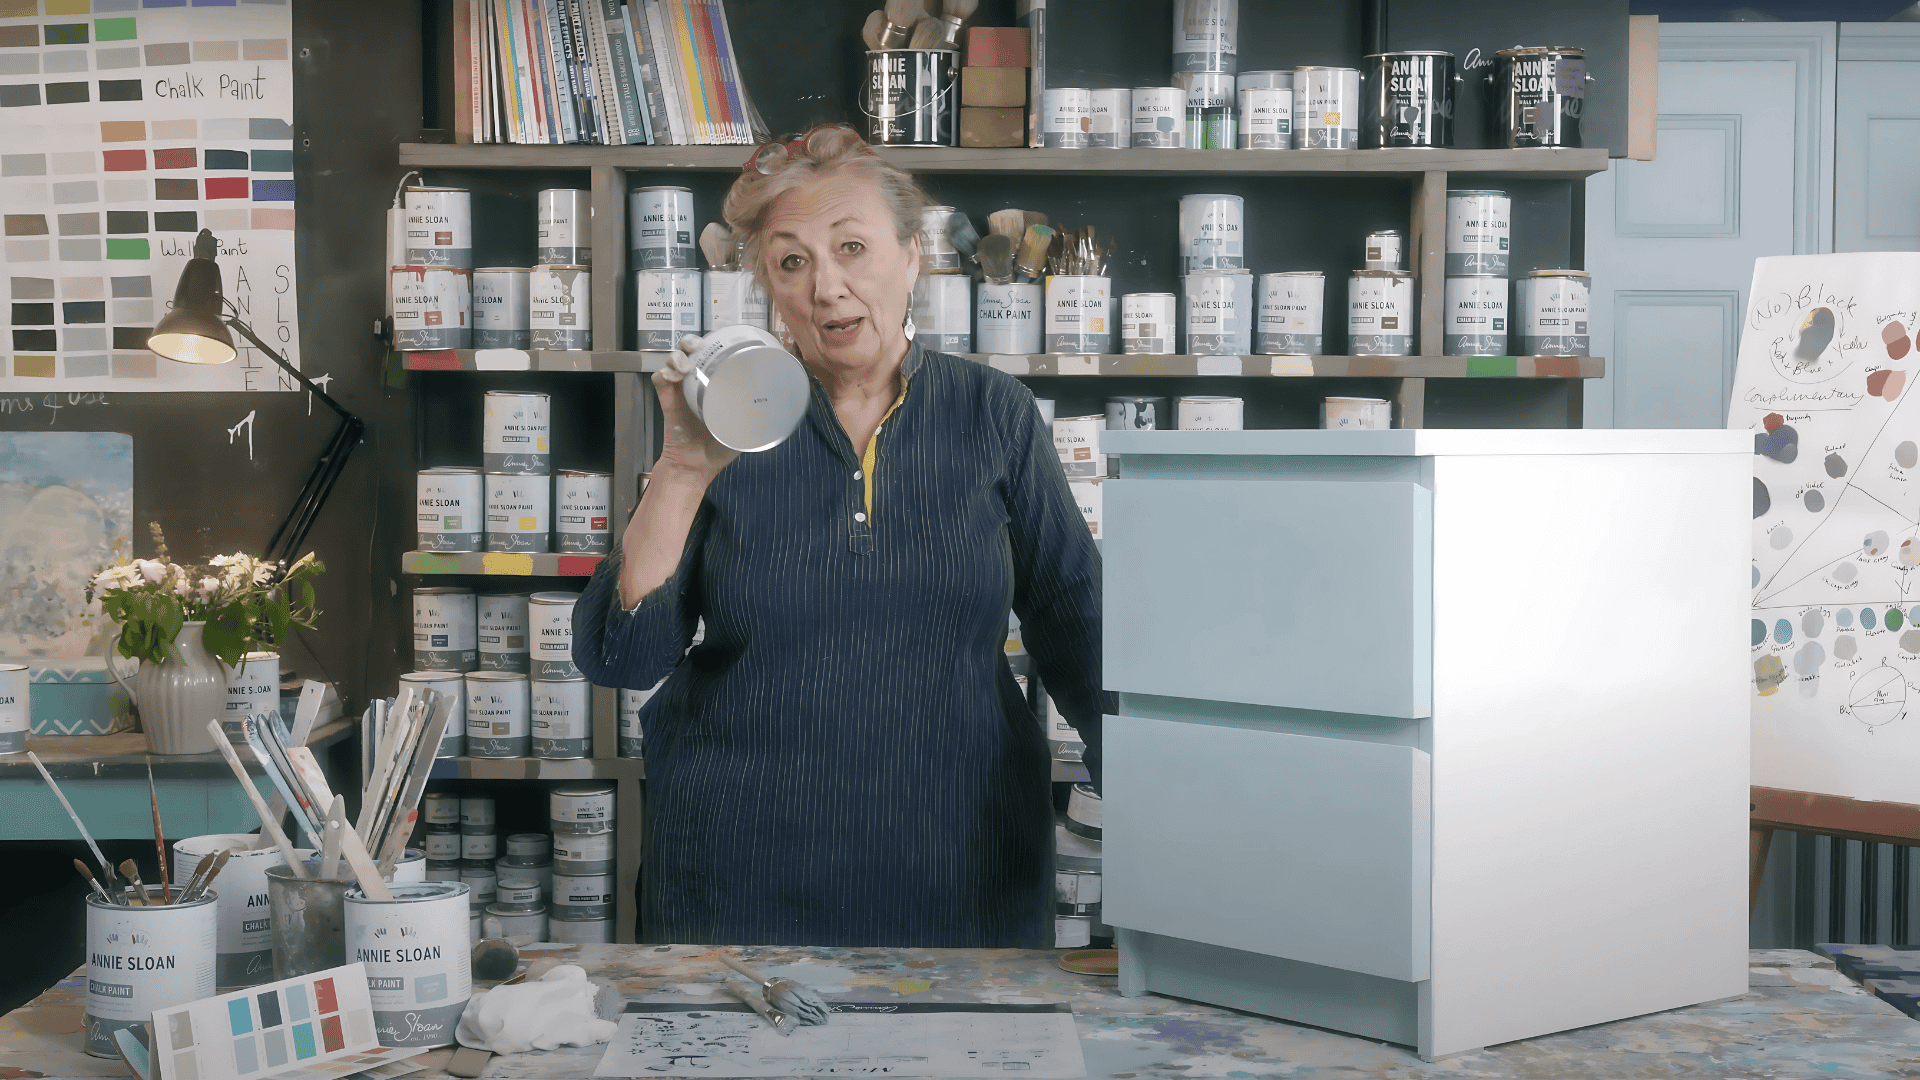
Step 3: Apply Second Coat and Allow Proper Drying
Wait for the first coat to dry completely before applying the second layer. Laminate surfaces take 20-30 minutes to dry because they don’t absorb moisture from the paint.
You can speed up drying with a hair dryer, but use it consistently across the entire surface to prevent color variations. Apply the second coat using the same technique as the first.
Materials needed in this step:
- Same paint from the previous step
- Hair dryer (optional)
- Fresh brush if the previous one has dried paint
- Good ventilation or a fan
Instructions: Test that the first coat is completely dry by touching a hidden area. Apply the second coat with the same care as the first, ensuring complete and even coverage.
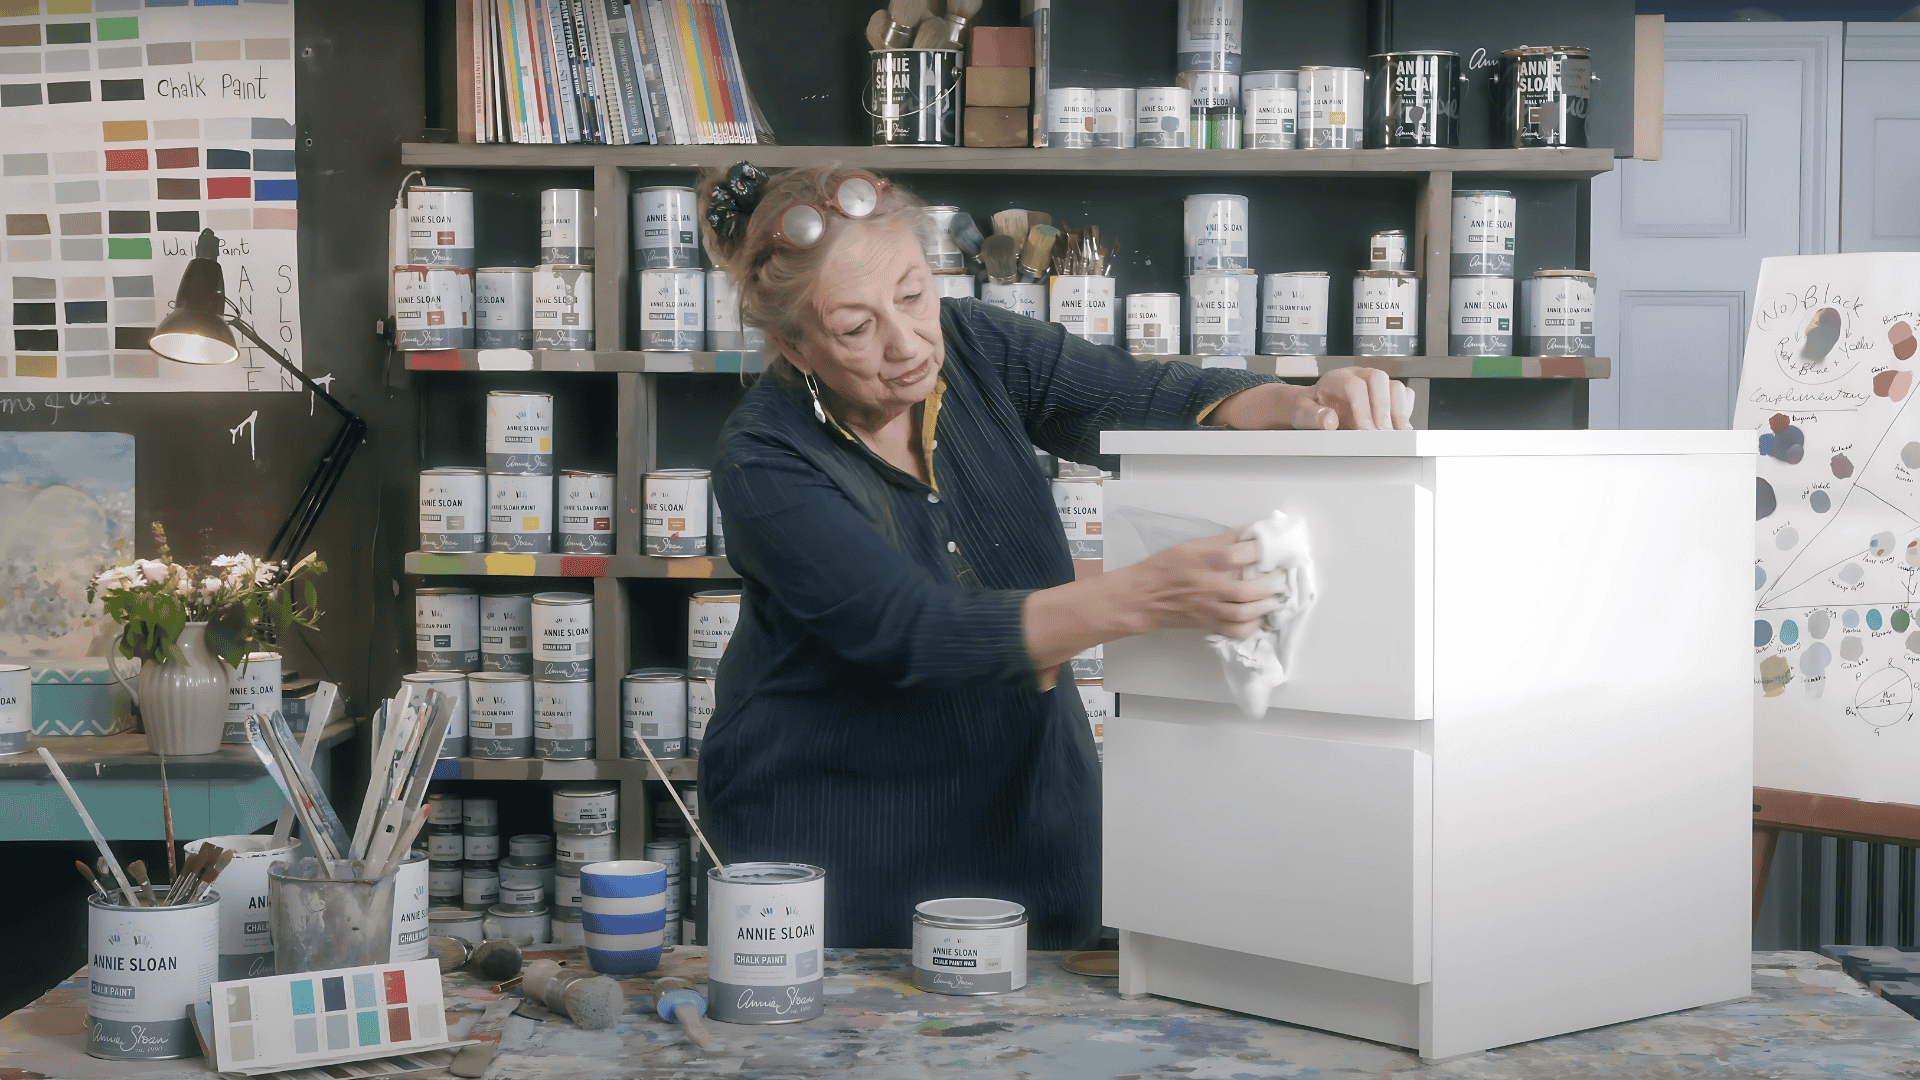
Step 4: Protect with Topcoat Application
Once your final coat of paint has dried completely, apply a protective finish. Clear wax works beautifully with chalk paint, while polyurethane offers maximum durability for high-traffic pieces.
Follow the manufacturer’s instructions for your chosen topcoat product. Allow the completed piece to cure for at least 24 hours before returning it to service.
Materials needed in this step:
- Clear protective topcoat (wax or polyurethane)
- Clean the application brush or cloth
- Fine steel wool (for wax finishes)
- Lint-free buffing cloth
Instructions: Apply topcoat evenly across all painted surfaces. If using wax, buff to your desired sheen level after it sets. Allow proper curing time before heavy use.
Video Tutorial
Special thanks to Annie Sloan for providing valuable insights in their video, which I referenced while creating this guide.
How to Care for Painted IKEA Furniture Long-Term
Simple daily habits and seasonal care tips that keep your painted furniture looking fresh for years.
1. Daily Cleaning Best Practices
Keep your painted furniture looking fresh with gentle, regular maintenance. Use a soft, slightly damp cloth to remove dust and minor spills. Avoid harsh chemicals or abrasive cleaners that can damage the paint finish over time.
Clean spills immediately to prevent staining or water damage. Never let moisture sit on painted surfaces, as this can cause paint to soften or bubble.
2. Touch-Up and Repair Techniques
Save leftover paint for future touch-ups and repairs. Minor chips and scratches happen with regular use, but they’re easy to fix when caught early. Clean the damaged area, sand lightly if needed, and apply paint with a small artist’s brush.
Blend the edges of touch-ups carefully so repairs aren’t noticeable. Allow repairs to dry entirely before applying topcoat to match the surrounding finish.
3. Protecting Your Investment
Use coasters, placemats, and protective pads to prevent damage from hot items, spills, and scratches. Rotate decorative objects occasionally to avoid uneven fading from sunlight exposure.
Consider reapplying protective topcoat every few years, especially on heavily used pieces. Regular maintenance keeps your painted furniture looking like new for many years.
4. Handling Moving and Storage
When moving painted IKEA furniture, wrap pieces in moving blankets or bubble wrap to prevent scratches and chips. Avoid dragging furniture across floors – always lift and carry to protect both the paint and your flooring.
For long-term storage, clean the furniture thoroughly first and store it in a climate-controlled environment. Extreme temperature changes can cause paint to crack or bubble over time.
5. Seasonal Care Tips
Check your painted furniture regularly for signs of wear, especially during seasonal changes when humidity levels fluctuate. Wipe down surfaces monthly with a dry cloth to prevent dust buildup that can make cleaning harder later.
During winter months, keep painted pieces away from heating vents and radiators. The direct heat can cause paint to dry out and become brittle, leading to cracks and peeling.
Your desired sheen level after it sets. Allow proper curing time before heavy use.
Choosing the Right Paint for Your Project
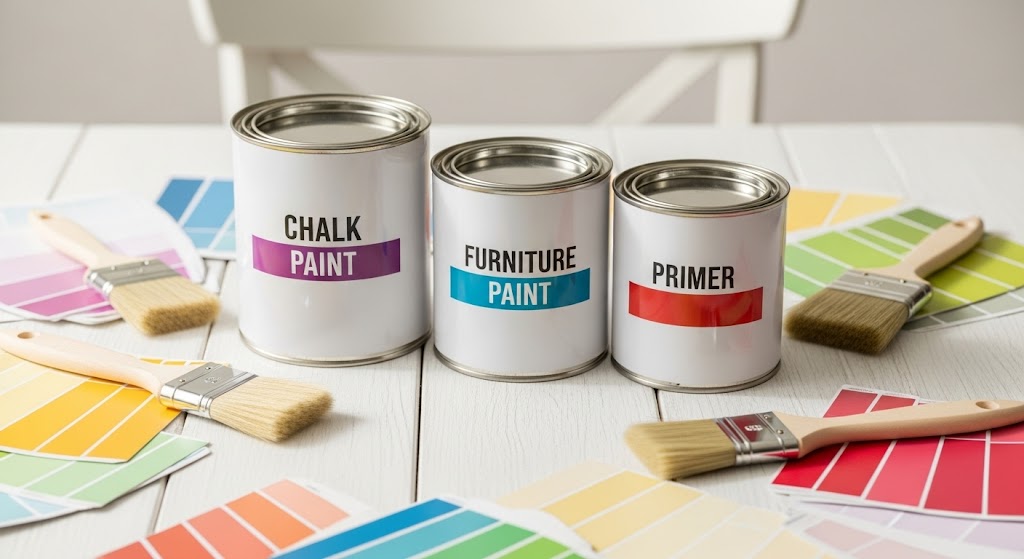
Not all paints work on IKEA laminate surfaces. Here’s what sticks and lasts.
1. Chalk Paint Benefits and Drawbacks
- Sticks well to laminate with minimal prep but requires wax maintenance
- Creates a matte vintage finish perfect for decorative pieces
- More expensive than other options and needs periodic reapplication
- Not ideal for heavily used furniture due to durability concerns
2. Furniture-Specific Paint Options
- Contains bonding agents for better adhesion to smooth surfaces
- Offers superior durability without requiring wax protection
- Available in multiple sheen levels from matte to semi-gloss
- Higher upfront cost but longer-lasting results and easier maintenance
3. When to Use Primer
- Bonding primer provides the most reliable results on laminate surfaces
- Creates an ideal foundation for paint adhesion on smooth materials
- Apply thin coats and cure completely before painting
- An extra step adds time but prevents paint failure and peeling
IKEA Painting Mistakes That Ruin Your Results
| Mistake | Why It Causes Problems | Correct Approach |
|---|---|---|
| Skipping surface cleaning | Oils and residue prevent paint adhesion | Always degrease and clean first |
| Using thick paint coats | Causes drips, longer drying, and a poor finish | Apply multiple thin coats instead |
| Painting in humidity | Extends drying time, affects curing | Choose dry conditions or use a dehumidifier |
| Rushing between coats | Poor adhesion and uneven results | Always allow proper drying time |
| Using cheap brushes | Leaves brush marks and streaks | Invest in quality synthetic brushes |
| Ignoring topcoat protection | Paint chips and wears quickly | Always apply an appropriate protective finish |
Conclusion
Painting IKEA furniture transforms basic pieces into personalized decor. Success depends on understanding that laminate surfaces need proper prep, the right paint, thin, even coats, and protective topcoats.
Follow these techniques, and your furniture will look professional and last for years. The investment in quality materials and careful technique pays off in results you’ll enjoy long-term.
Share your before-and-after photos in the comments and inspire others to try their own IKEA makeover.