How to Use a Router Table Without Ruining Your Wood
A router table is one of those tools that can feel intimidating the first time you use it. The spinning bit is loud, the cuts happen fast, and there is definitely a learning curve in the beginning.
But after a few practice cuts and a little setup time, things start feeling much more comfortable.
What makes a router table so useful is how easy it is to guide the wood compared to using a handheld router. Instead of wrestling with the tool itself, the router stays fixed under the table while you move the board across the bit.
That makes it easier to cut grooves, shape edges, trim boards, and make repeat cuts without fighting the router while you work.
Most early mistakes come from rushing the setup, feeding the board the wrong direction, or trying to remove too much wood in one pass. Once you understand what causes those problems, they become much easier to avoid.
This guide walks through everything step by step using the same routines many DIY woodworkers use in their own garage shops.
Tools and Materials Needed for Using a Router Table
Before turning the router on, take a few minutes to gather the tools and safety gear you need. Having everything within reach makes the setup feel smoother once the router starts running.
| Tools and Materials | Quantity |
|---|---|
| Router Table | 1 |
| Router | 1 |
| Router Bits | 3–5 Basic Bits |
| Safety Glasses | 1 Pair |
| Hearing Protection | 1 Pair |
| Push Blocks | 1–2 |
| Featherboards | 1–2 |
| Straight Edge or Combination Square | 1 |
| Shop Vacuum or Dust Collector | 1 |
| Scrap Wood for Test Cuts | 2–4 Pieces |
| Wood Boards | As Needed |
| Pencil for Marking Cuts | 1 |
| Measuring Tape | 1 |
Step-by-Step Guide on How to Use a Router Table
Router tables feel far less intimidating when you take things one step at a time. Slow down, practice on scrap wood first, and do not worry about getting every cut perfect right away.
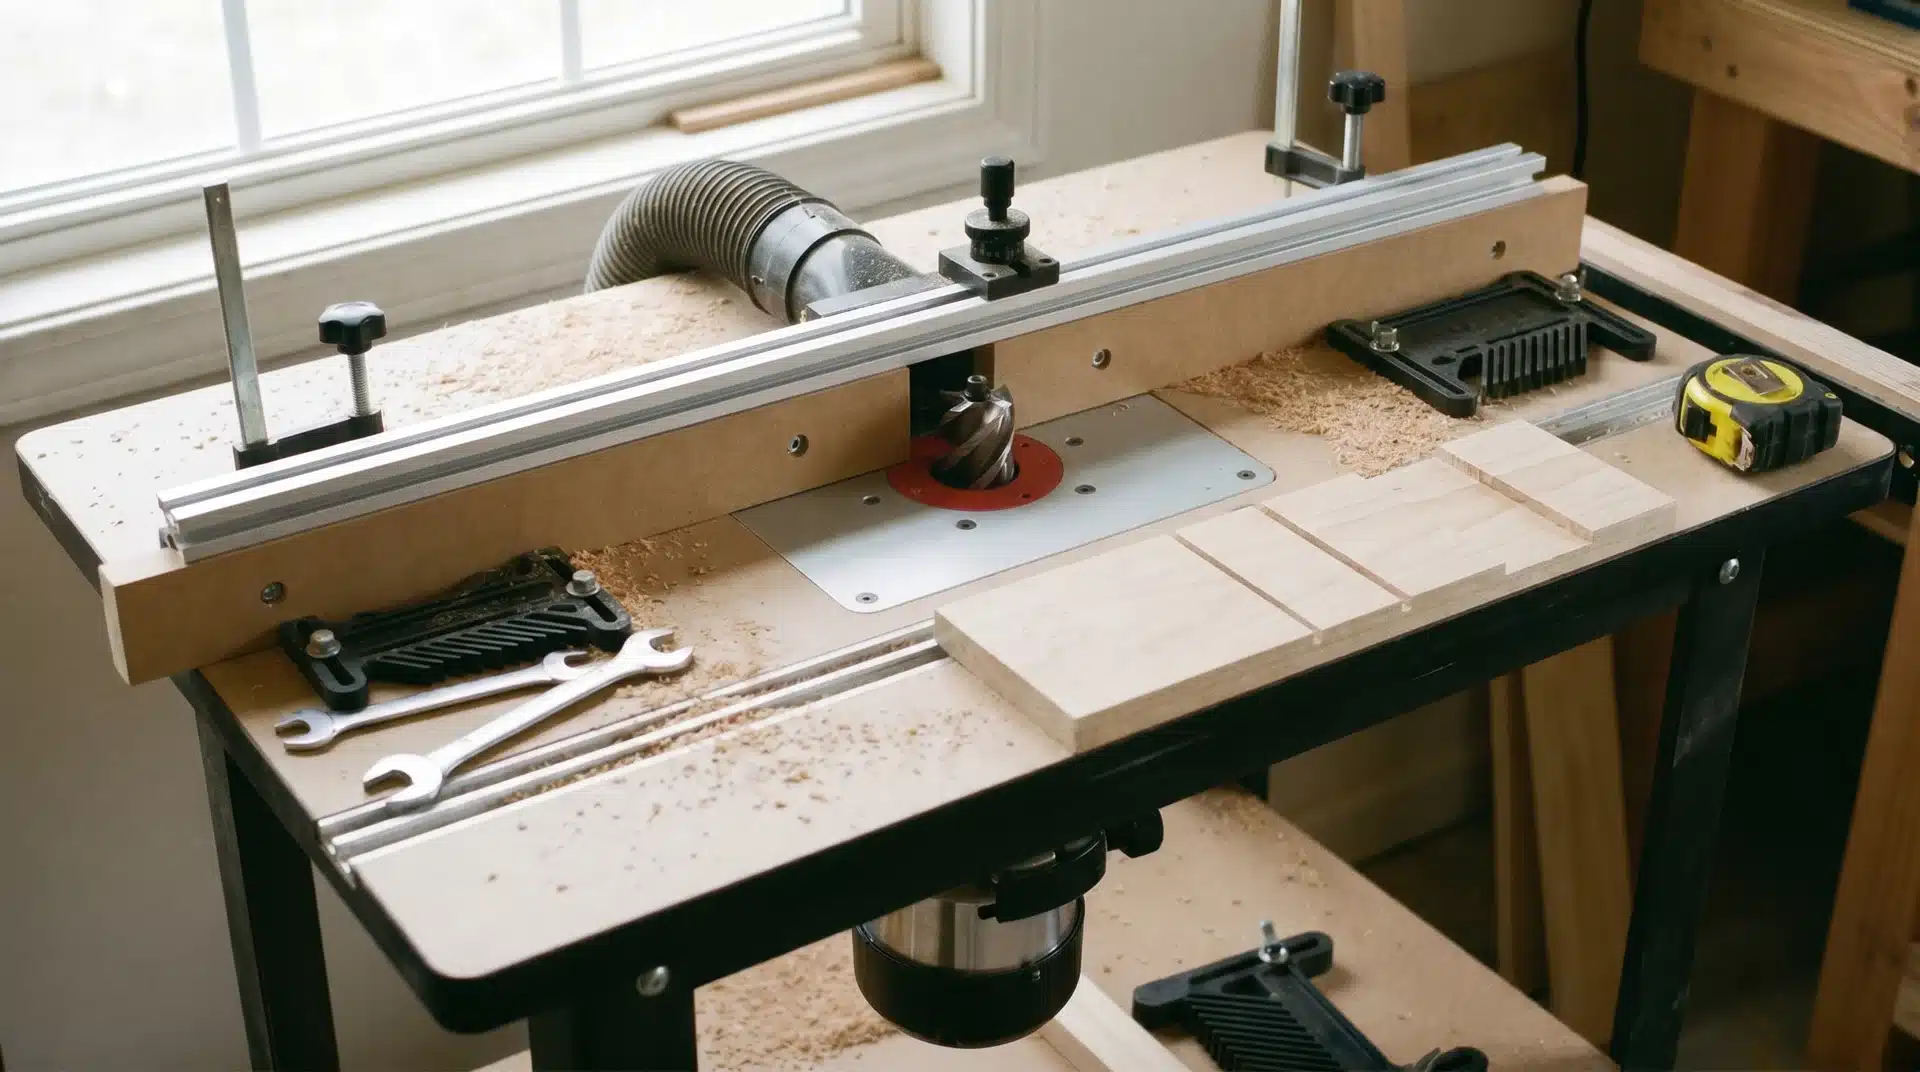
Step 1: Understand the Router Table Setup
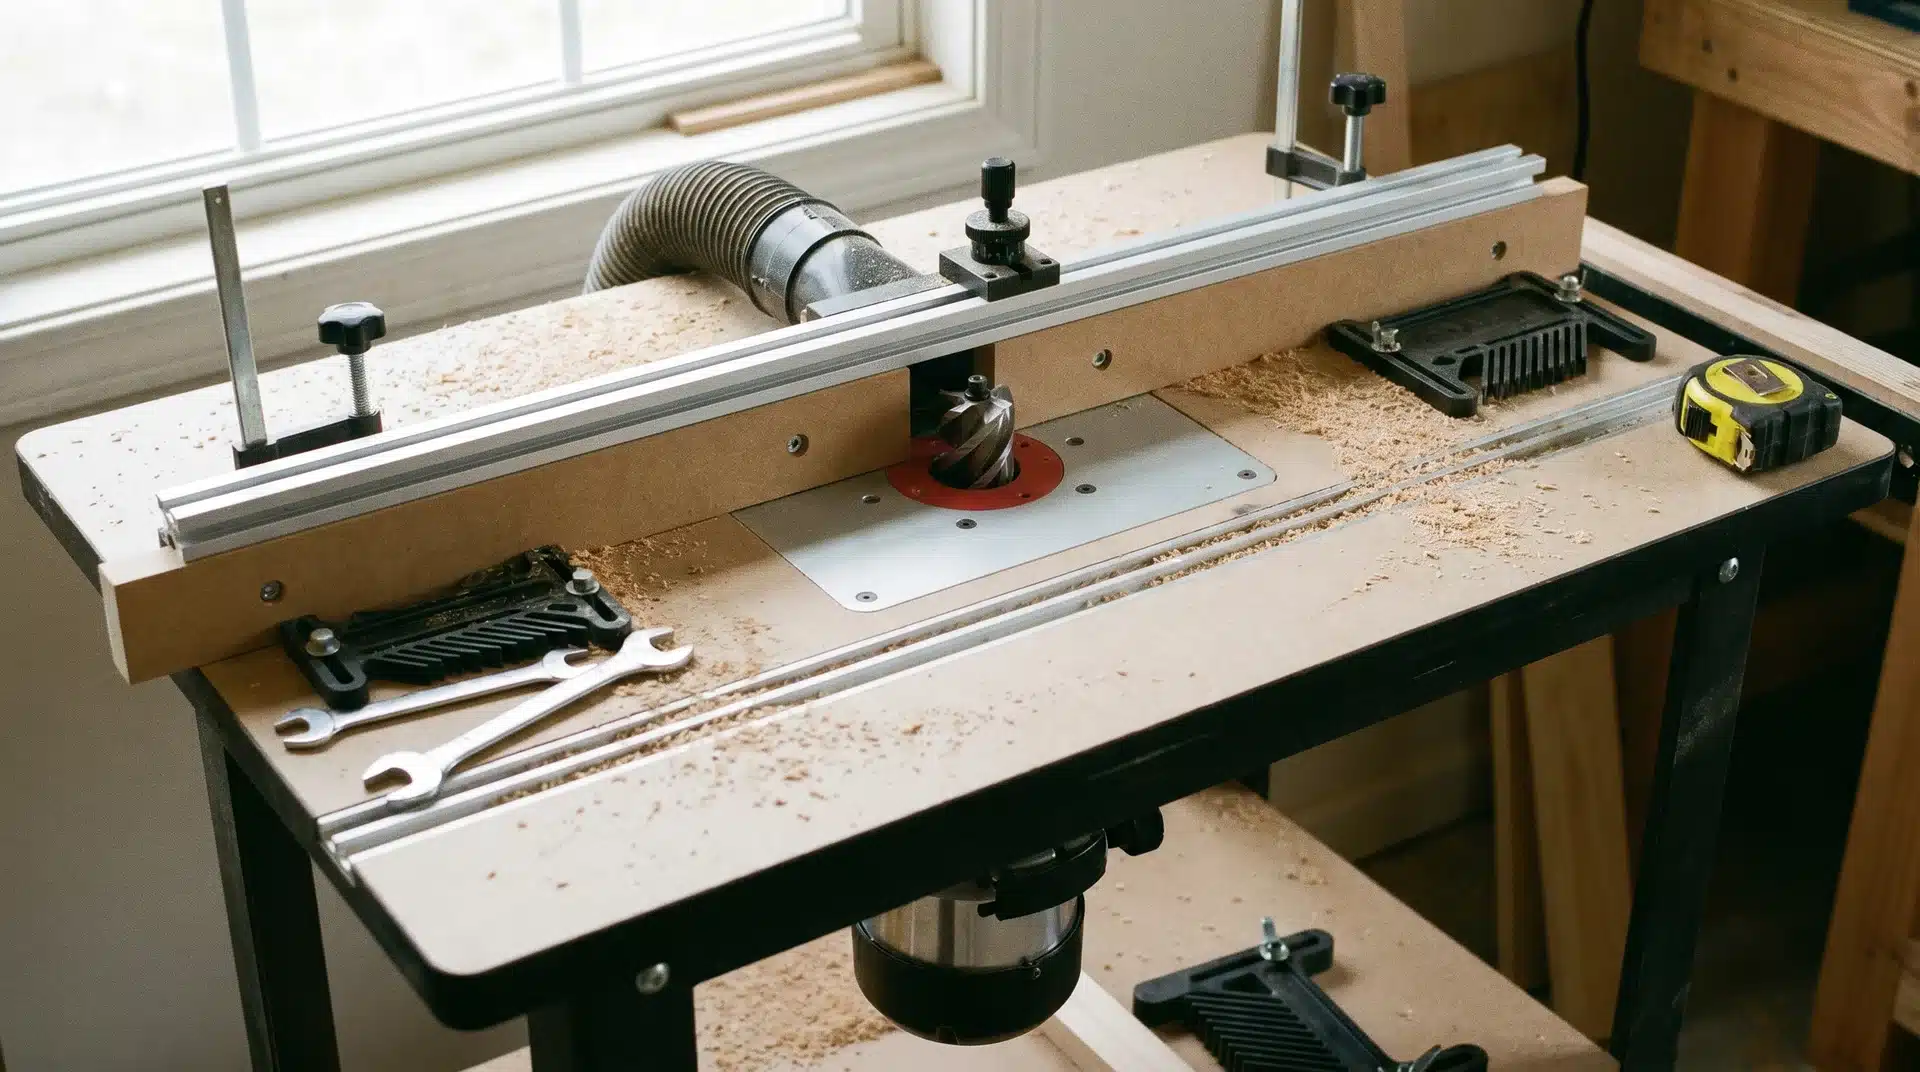
Before making your first cut, spend a few minutes getting familiar with the table. The tabletop supports the wood, the fence guides the board during cuts, and the router bit sticks up through the center opening.
Most beginners feel a little overwhelmed at first, and that is completely normal. After a few practice runs, the setup starts making much more sense.
Step 2: Put On Safety Gear and Clear the Workspace
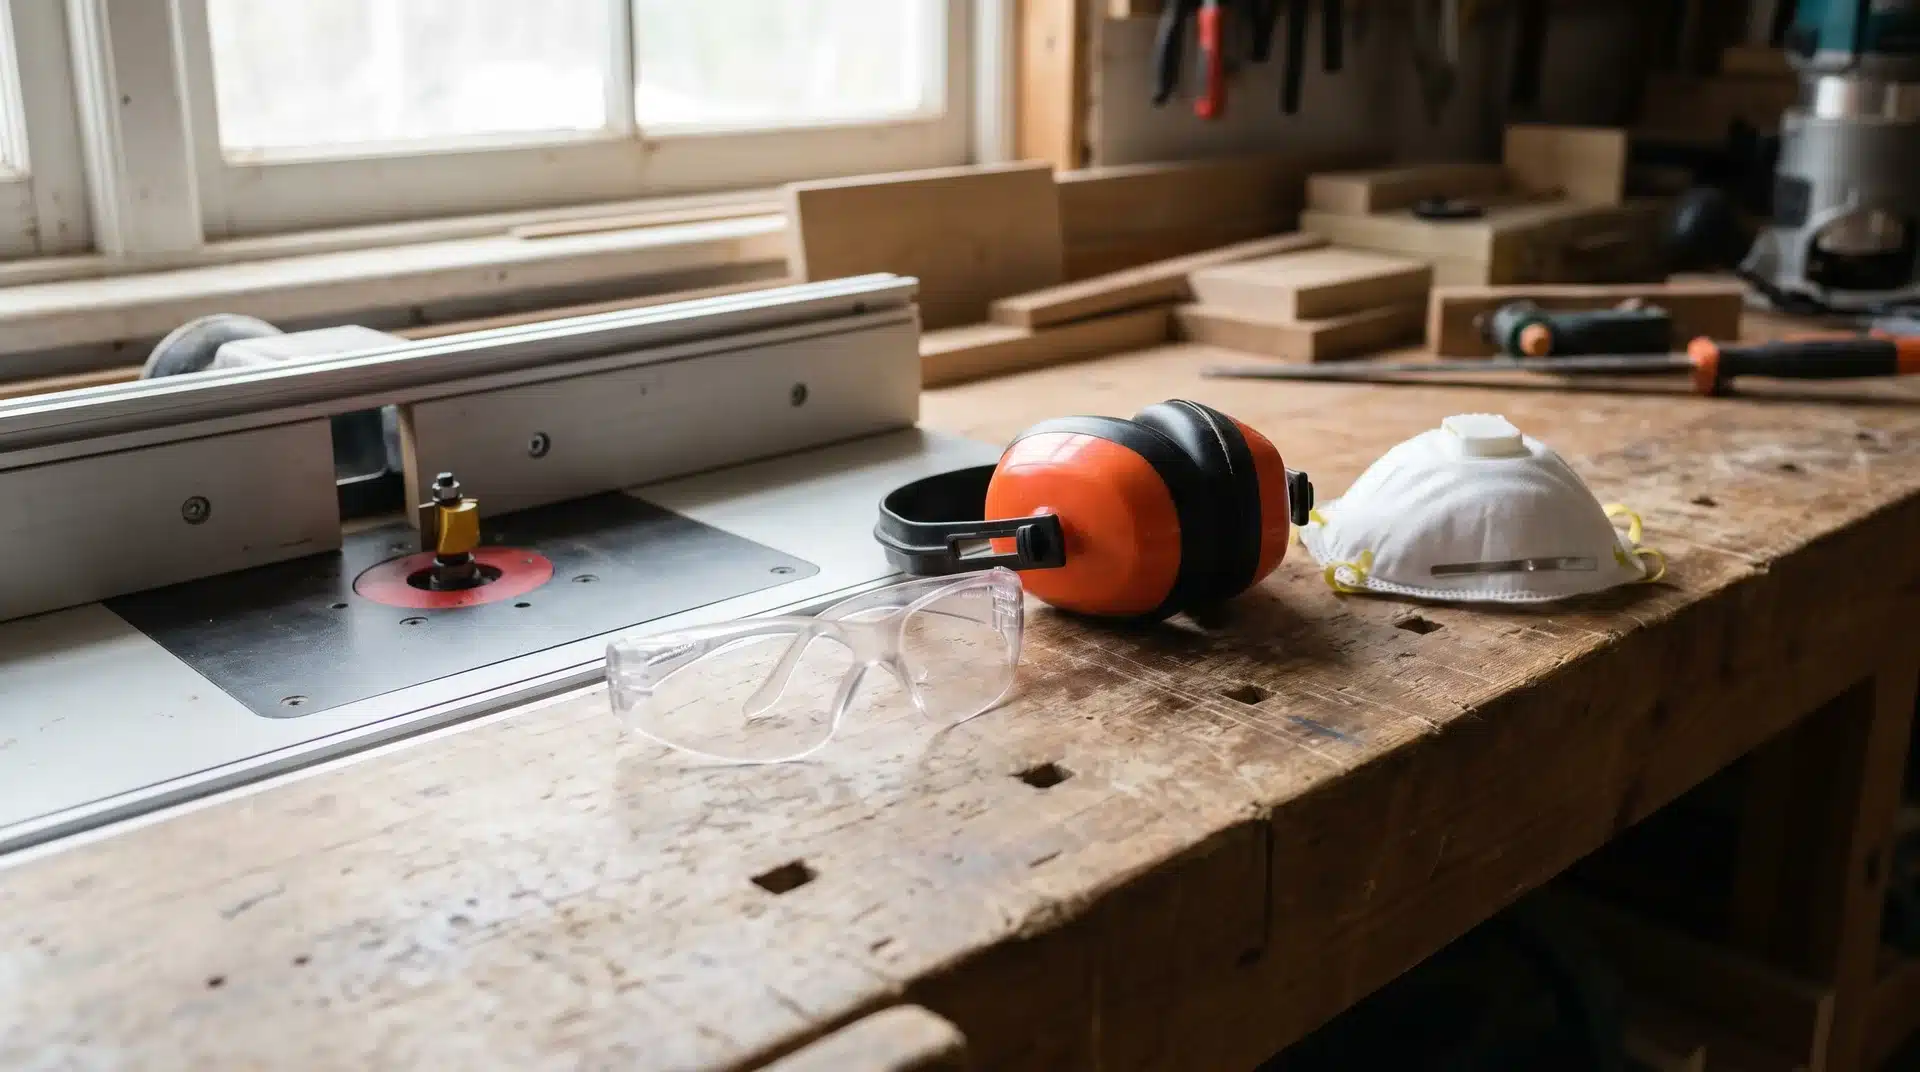
Wear safety glasses, hearing protection, and a dust mask before plugging the router in. Router bits spin really fast, and wood chips can fly farther than you expect.
Clear extra tools, scraps, and clutter off the table, too. A clean workspace makes it easier to stay focused once the router starts running.
Step 3: Choose and Install the Correct Router Bit
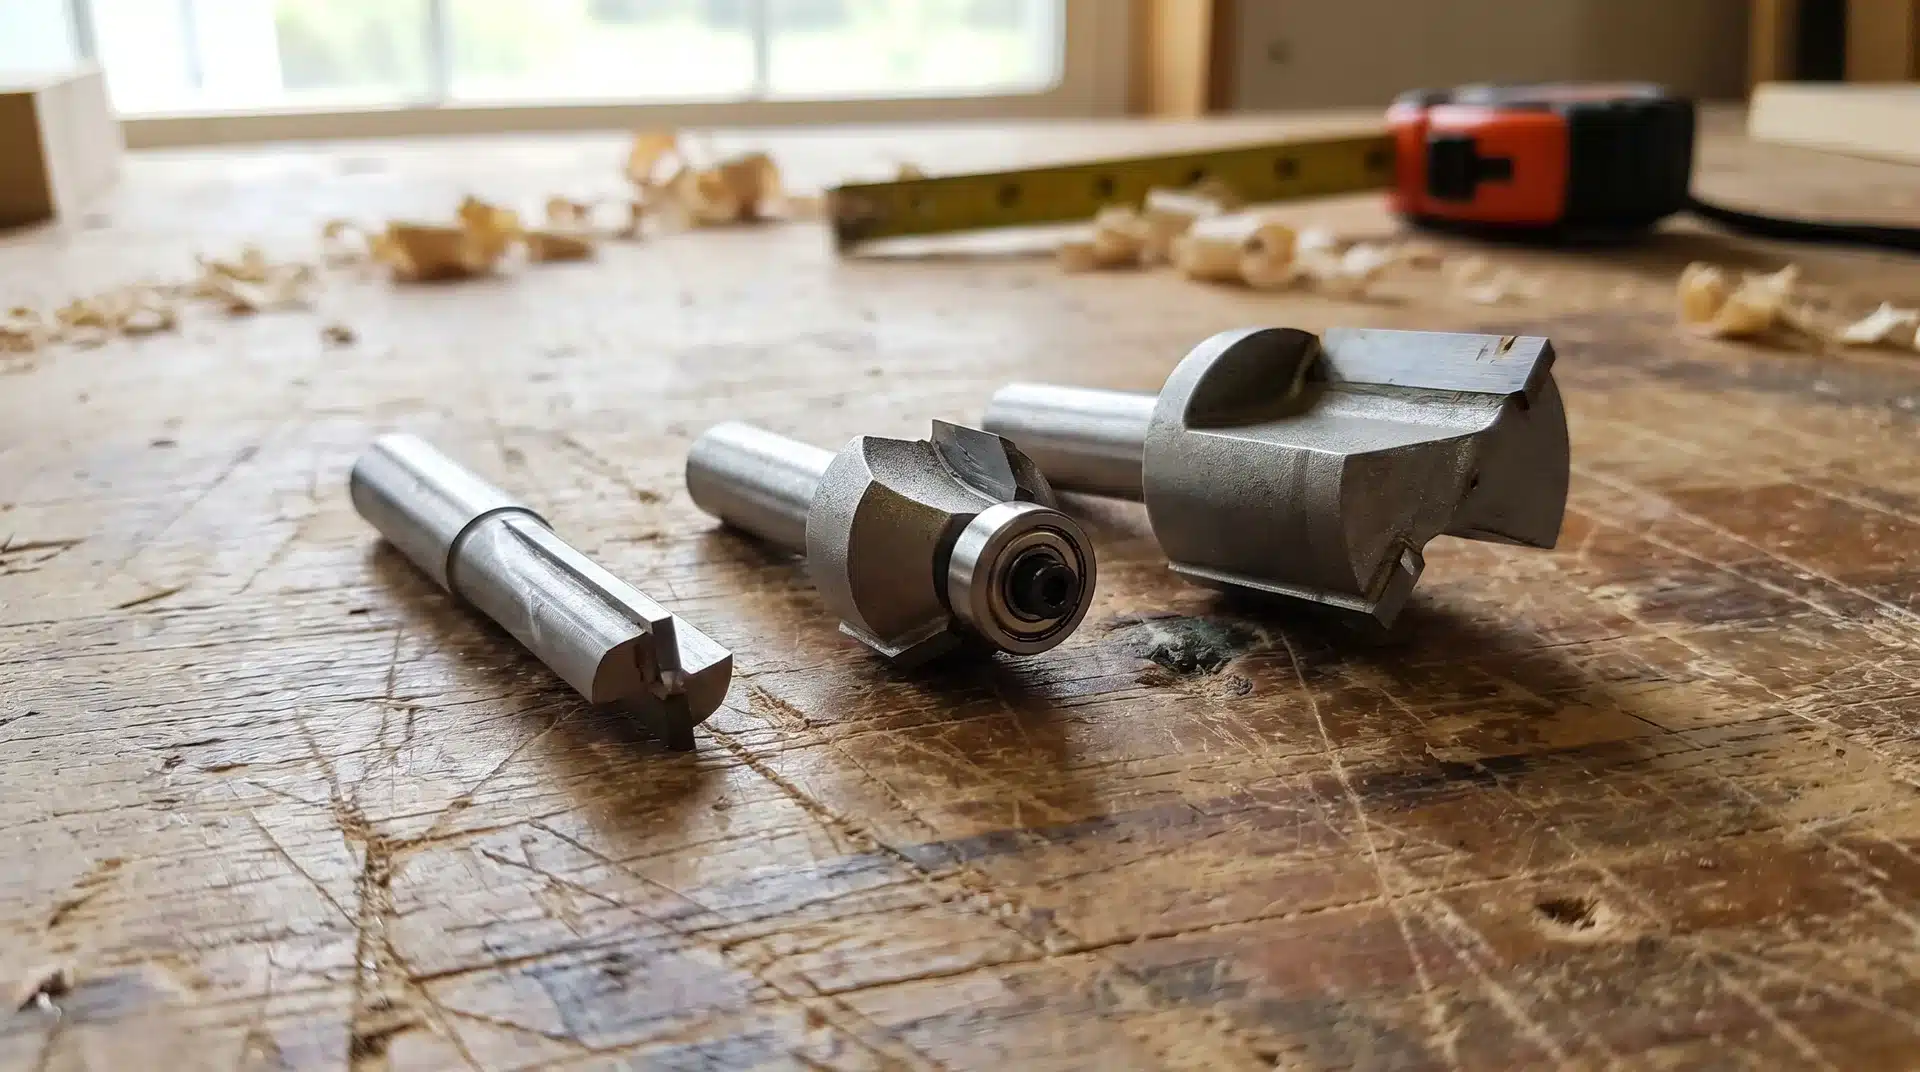
Different router bits create different cuts. Straight bits work for grooves, roundover bits soften edges, and rabbeting bits help with joinery.
Slide the bit into the collet, then pull it back slightly before tightening it down securely. Most people only make the mistake of leaving a bit loose once.
Step 4: Adjust the Bit Height and Fence
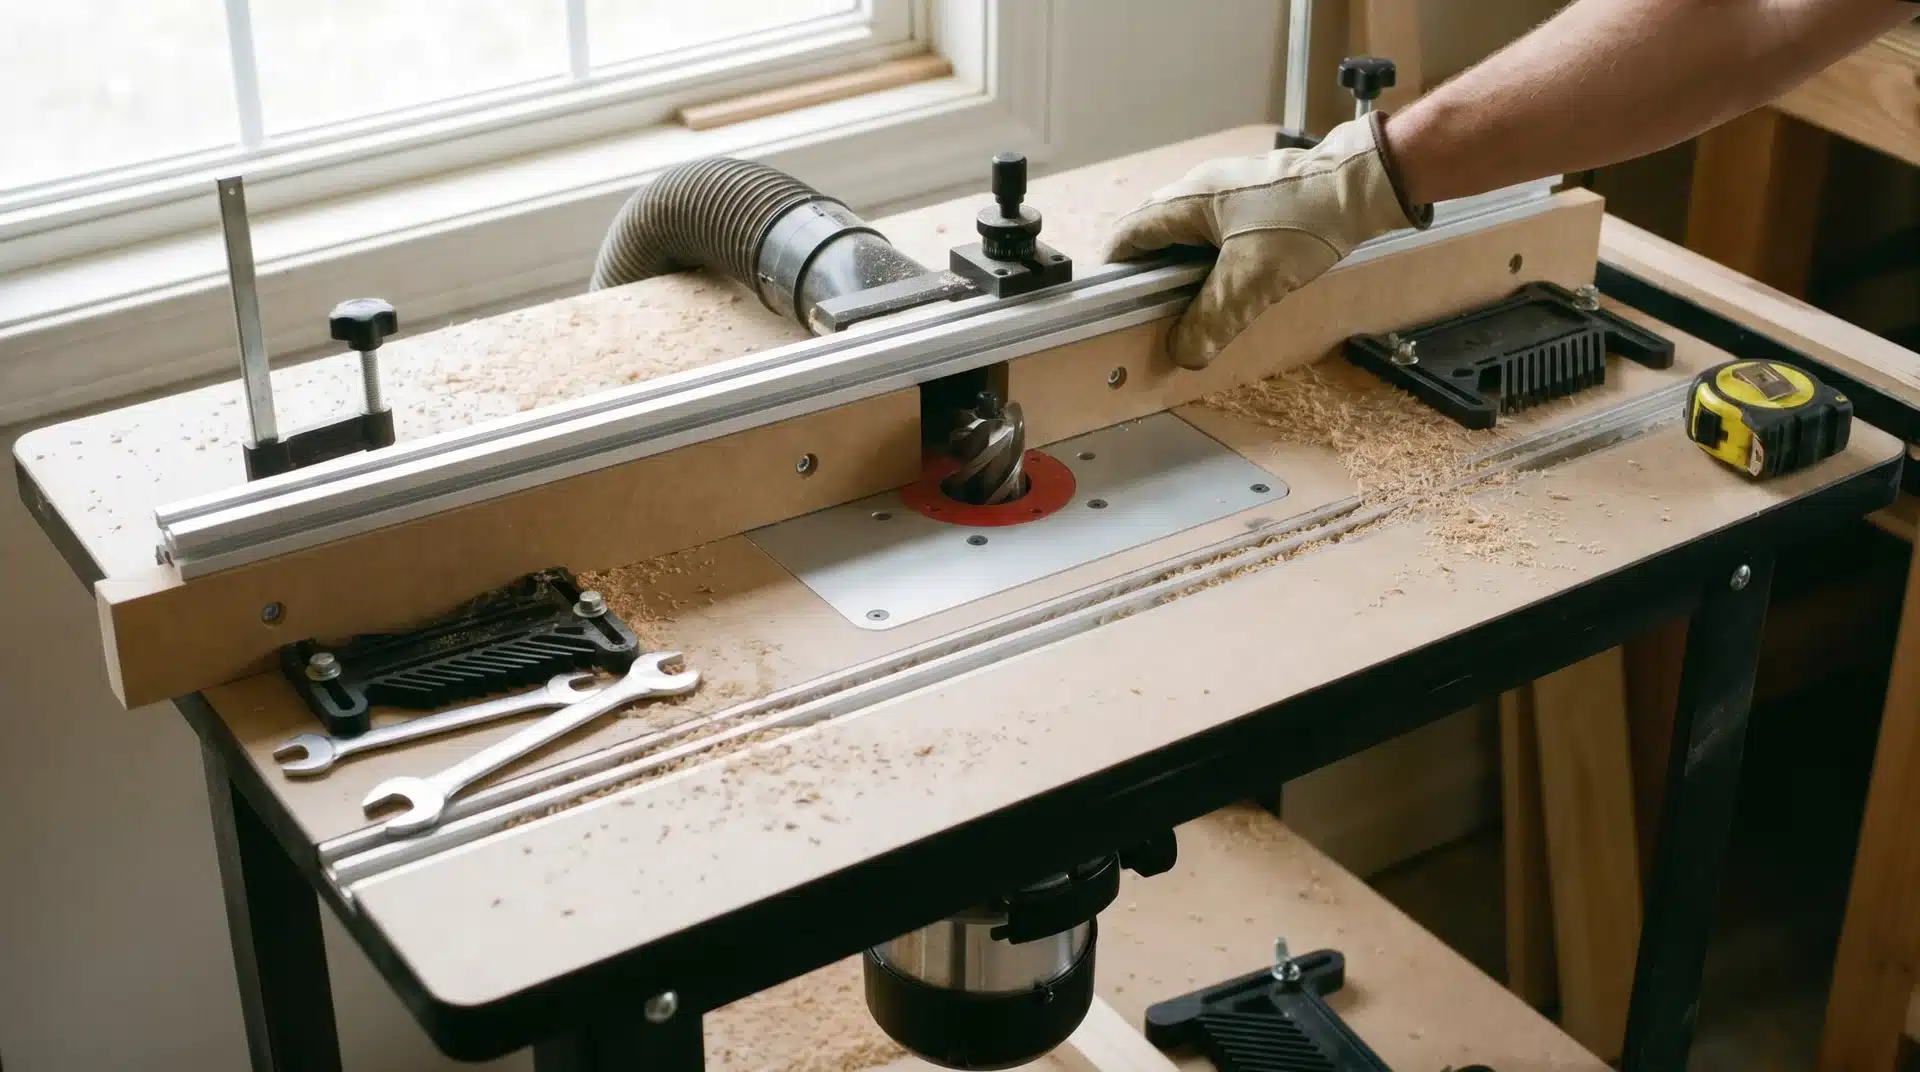
The higher the bit sits above the table, the more wood it removes. Start with shallow cuts because they are easier to manage and usually leave smoother edges.
Then line up the fence according to the cut you want to make. Double-check the fence before moving on, as it can shift slightly during tightening.
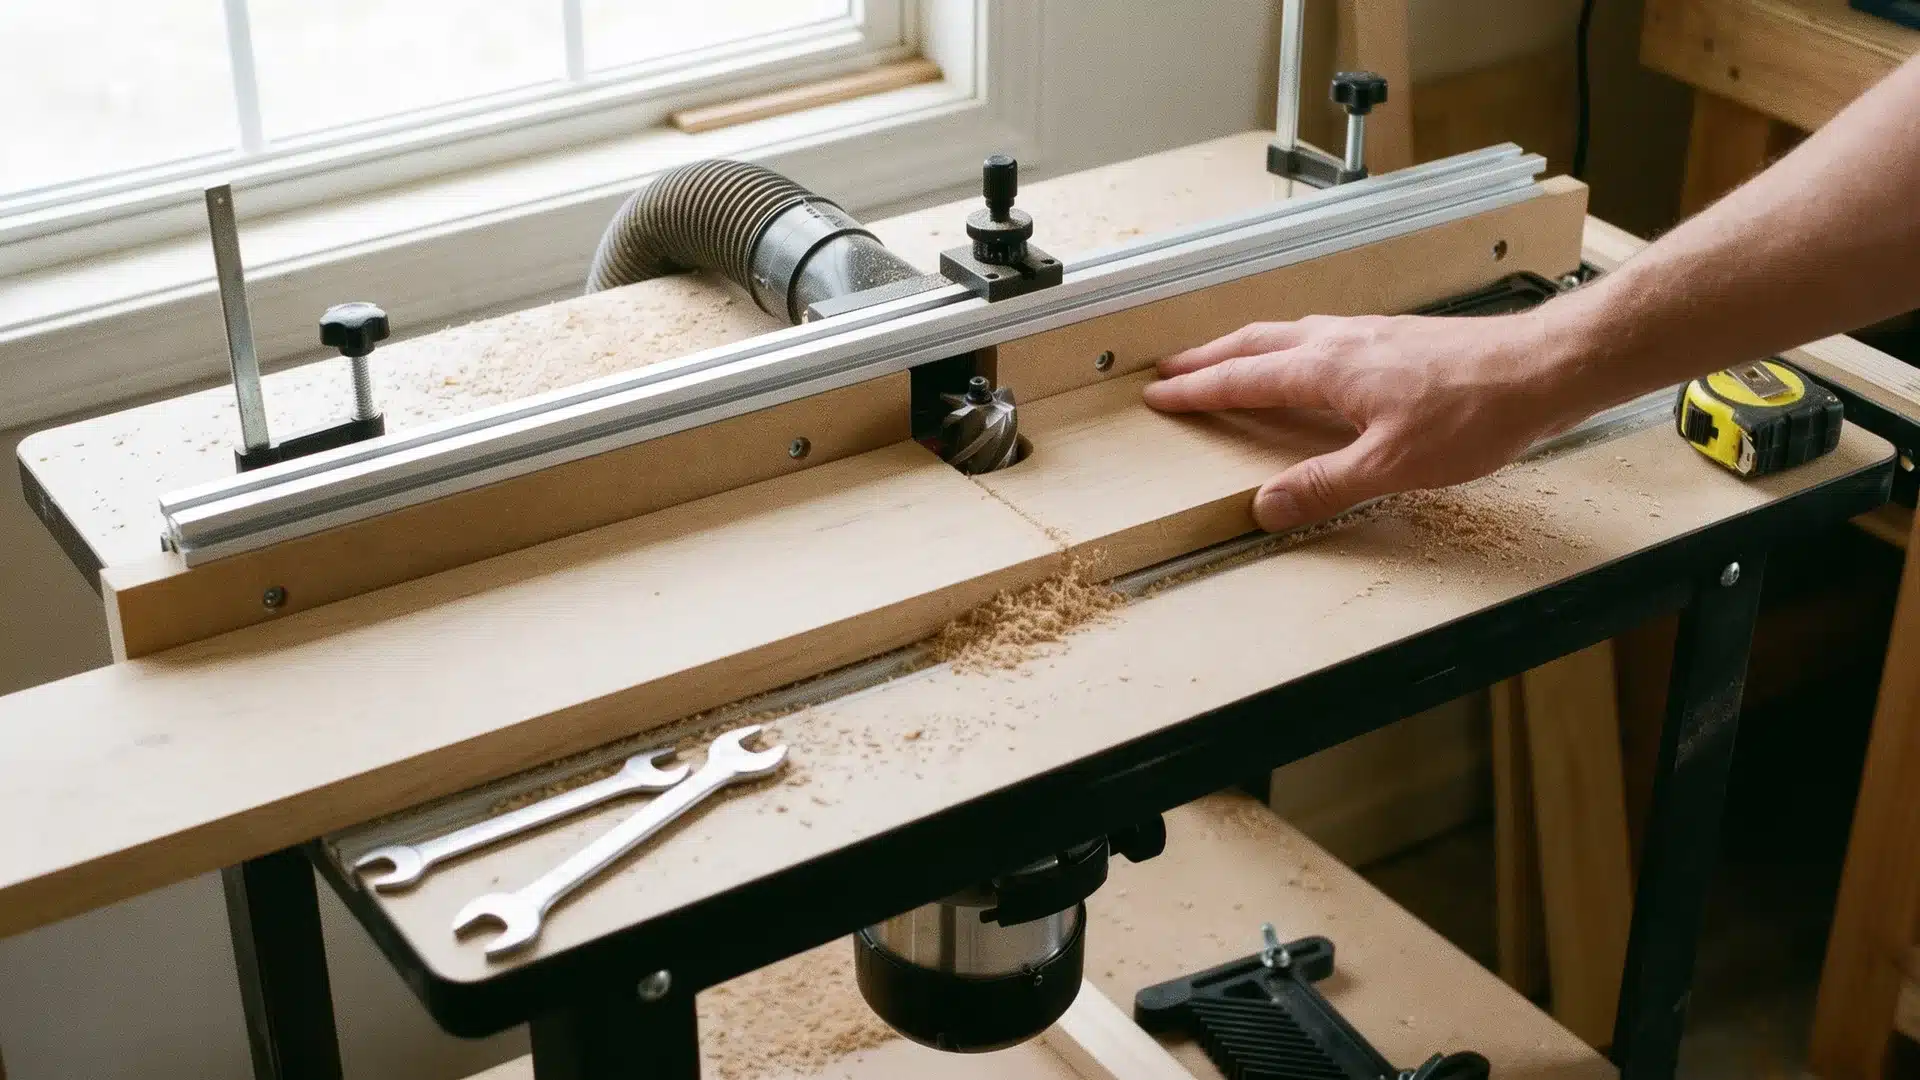
Step 5: Learn the Correct Feed Direction
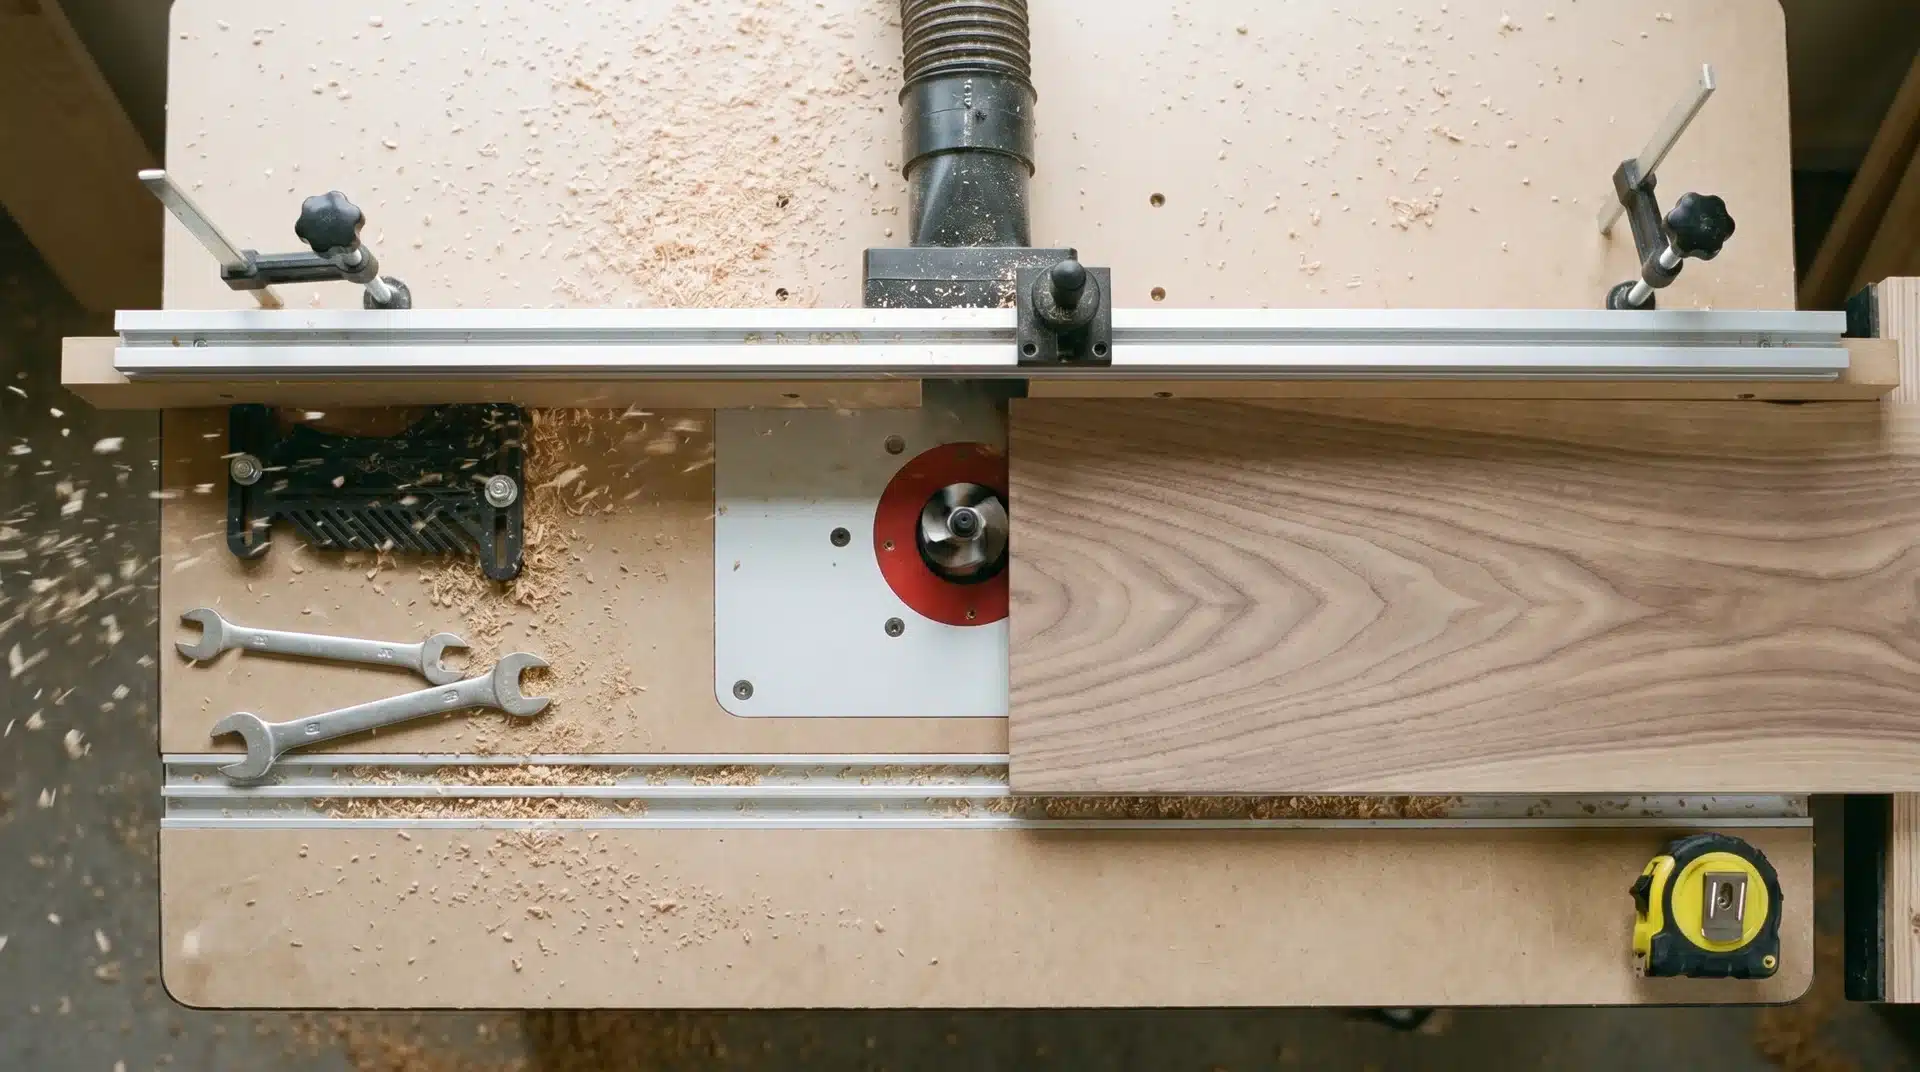
Always feed the board from right to left across the router bit. That is one of the biggest safety rules when using a router table.
A simple way to remember it is this: the wood should move against the spin of the bit. Feeding the wrong direction can cause the bit to grab the board suddenly.
Step 6: Secure the Board Before Cutting
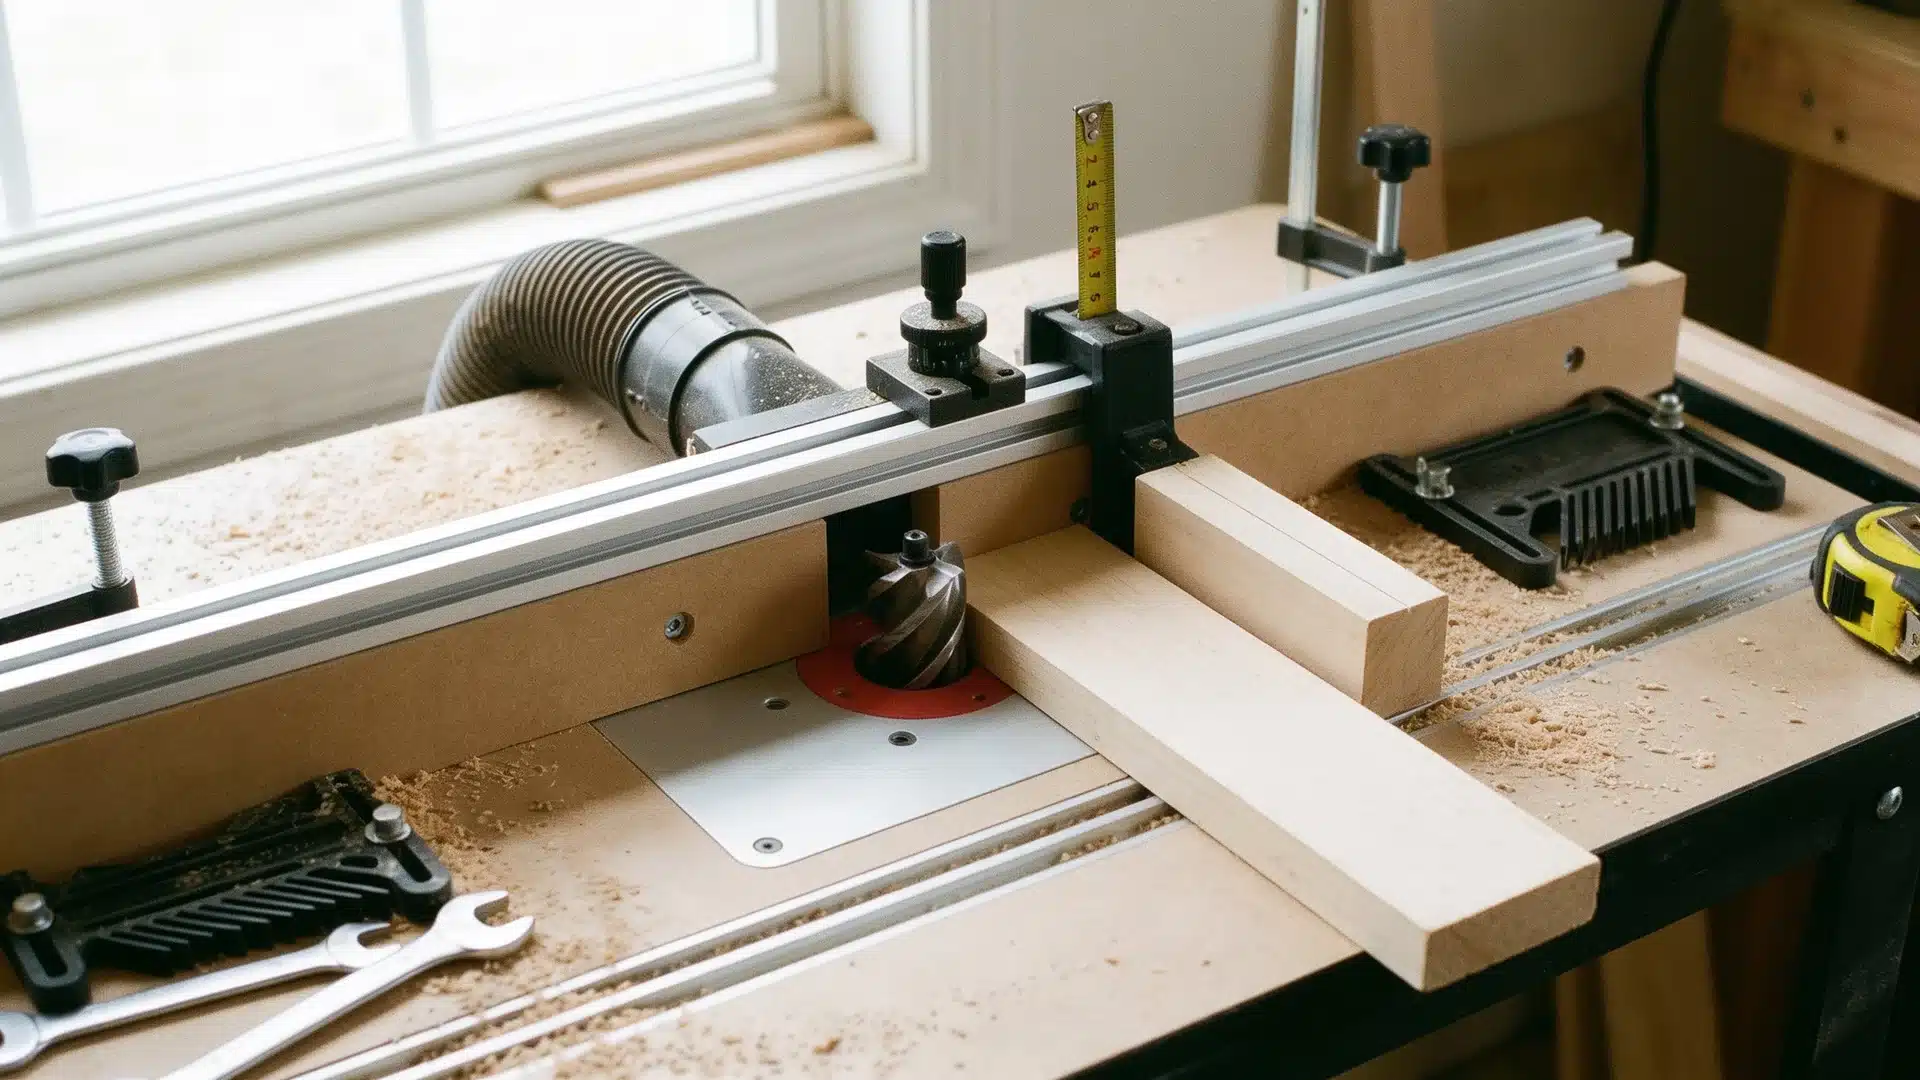
Use push blocks and featherboards whenever possible, especially with smaller boards. They keep the board steady and make the cut easier to handle.
If the board rocks or wobbles before the cut starts, stop and fix that first. A shaky board rarely leaves a clean result.
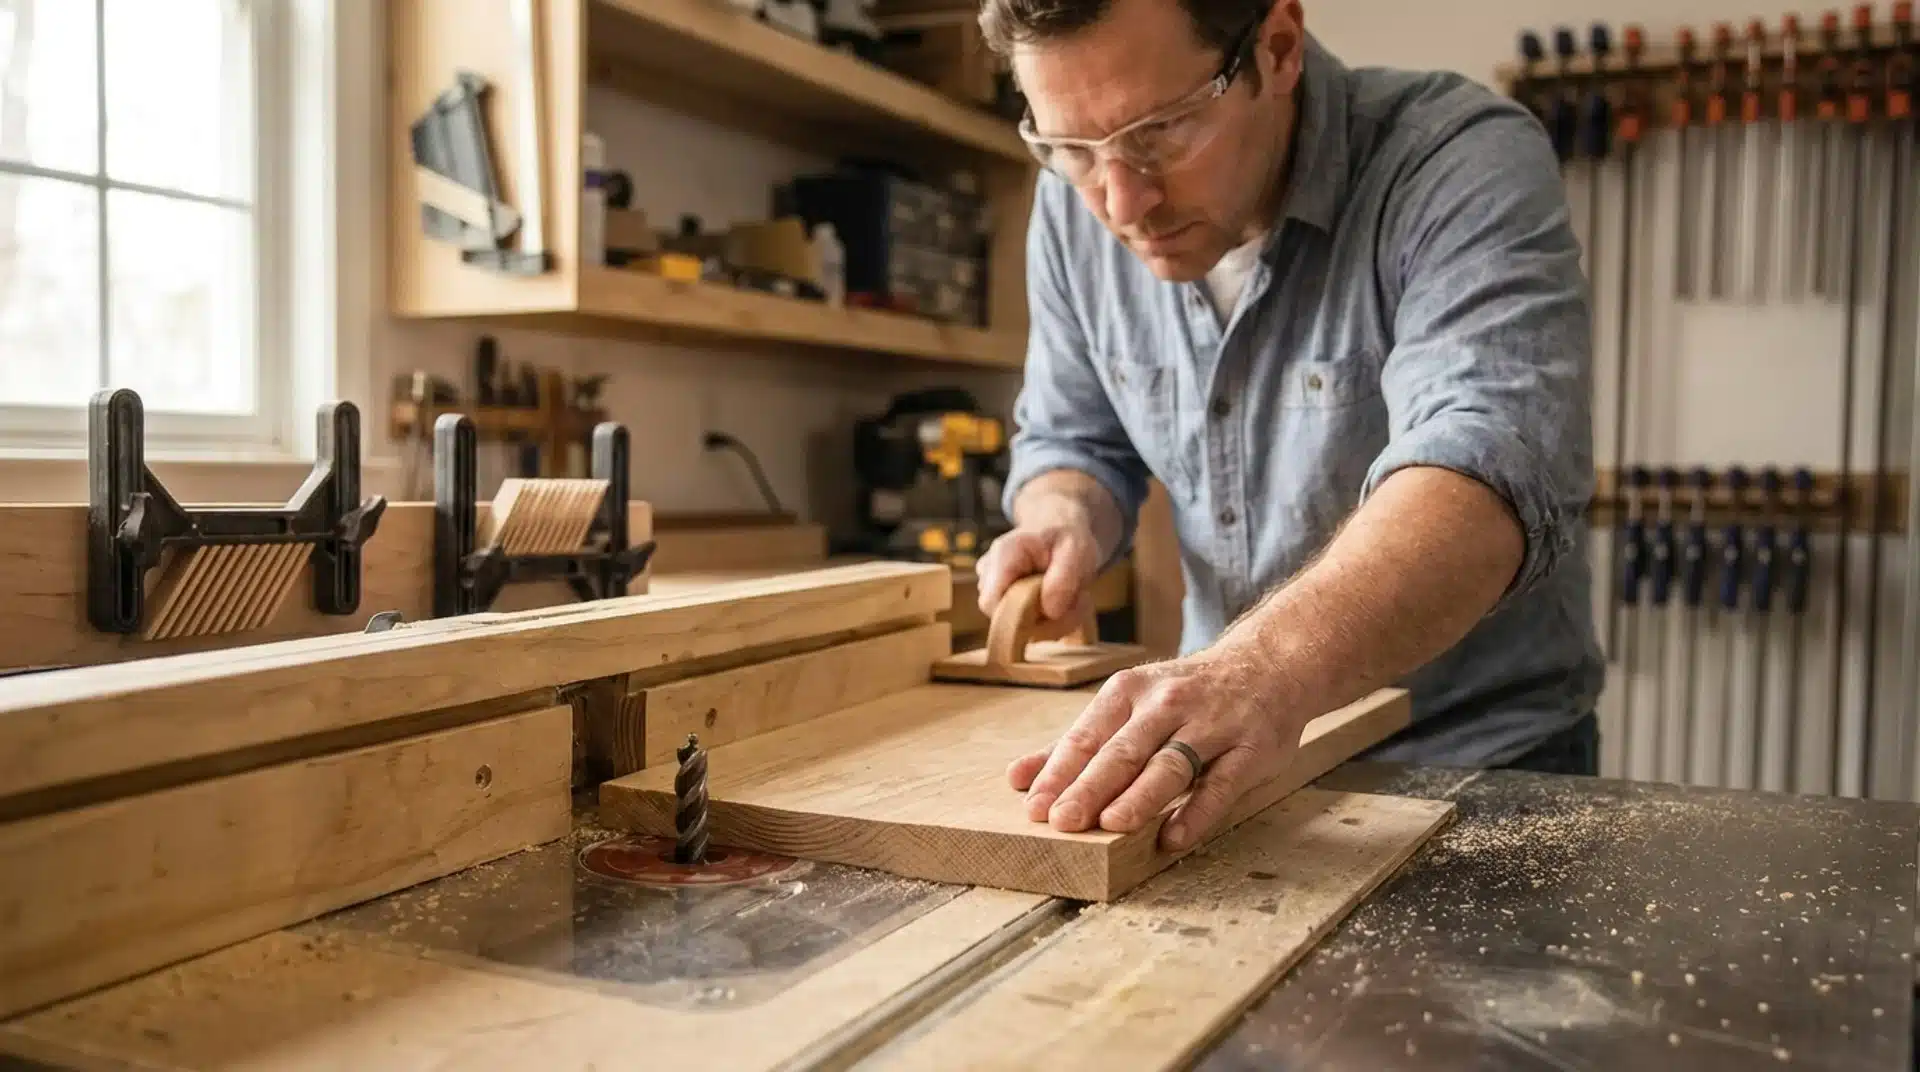
Step 7: Start the Router and Make the First Cut
Stand slightly off to the side when turning the router on. Let the motor reach full speed before bringing the board near the bit.
Ease the board across the bit slowly and let the router do the work. If the wood starts burning, you are probably moving too slowly. If the cut feels rough, you may be pushing too fast.
Step 8: Make Multiple Light Passes
If you need deeper grooves or larger cuts, make several shallow passes instead of forcing everything at once. Smaller cuts are easier on the router and usually leave cleaner edges, too.
This is also where scrap wood comes in handy, because you can test the setup before touching the real project board.
Pro Tip: If you are widening a groove, move the fence slightly away from the bit between passes instead of moving it toward the bit. That keeps the front edge of the bit doing the cutting and helps avoid dangerous climb cuts.
Step 9: Check the Cut After Every Pass

Turn the router off and wait for the bit to stop spinning before checking the cut. Look for rough spots, burning, or uneven depth along the edge.
Small fence or bit-height adjustments can completely change the finished cut, so do not be afraid to make changes as you go.
Step 10: Clean the Router Table After Use
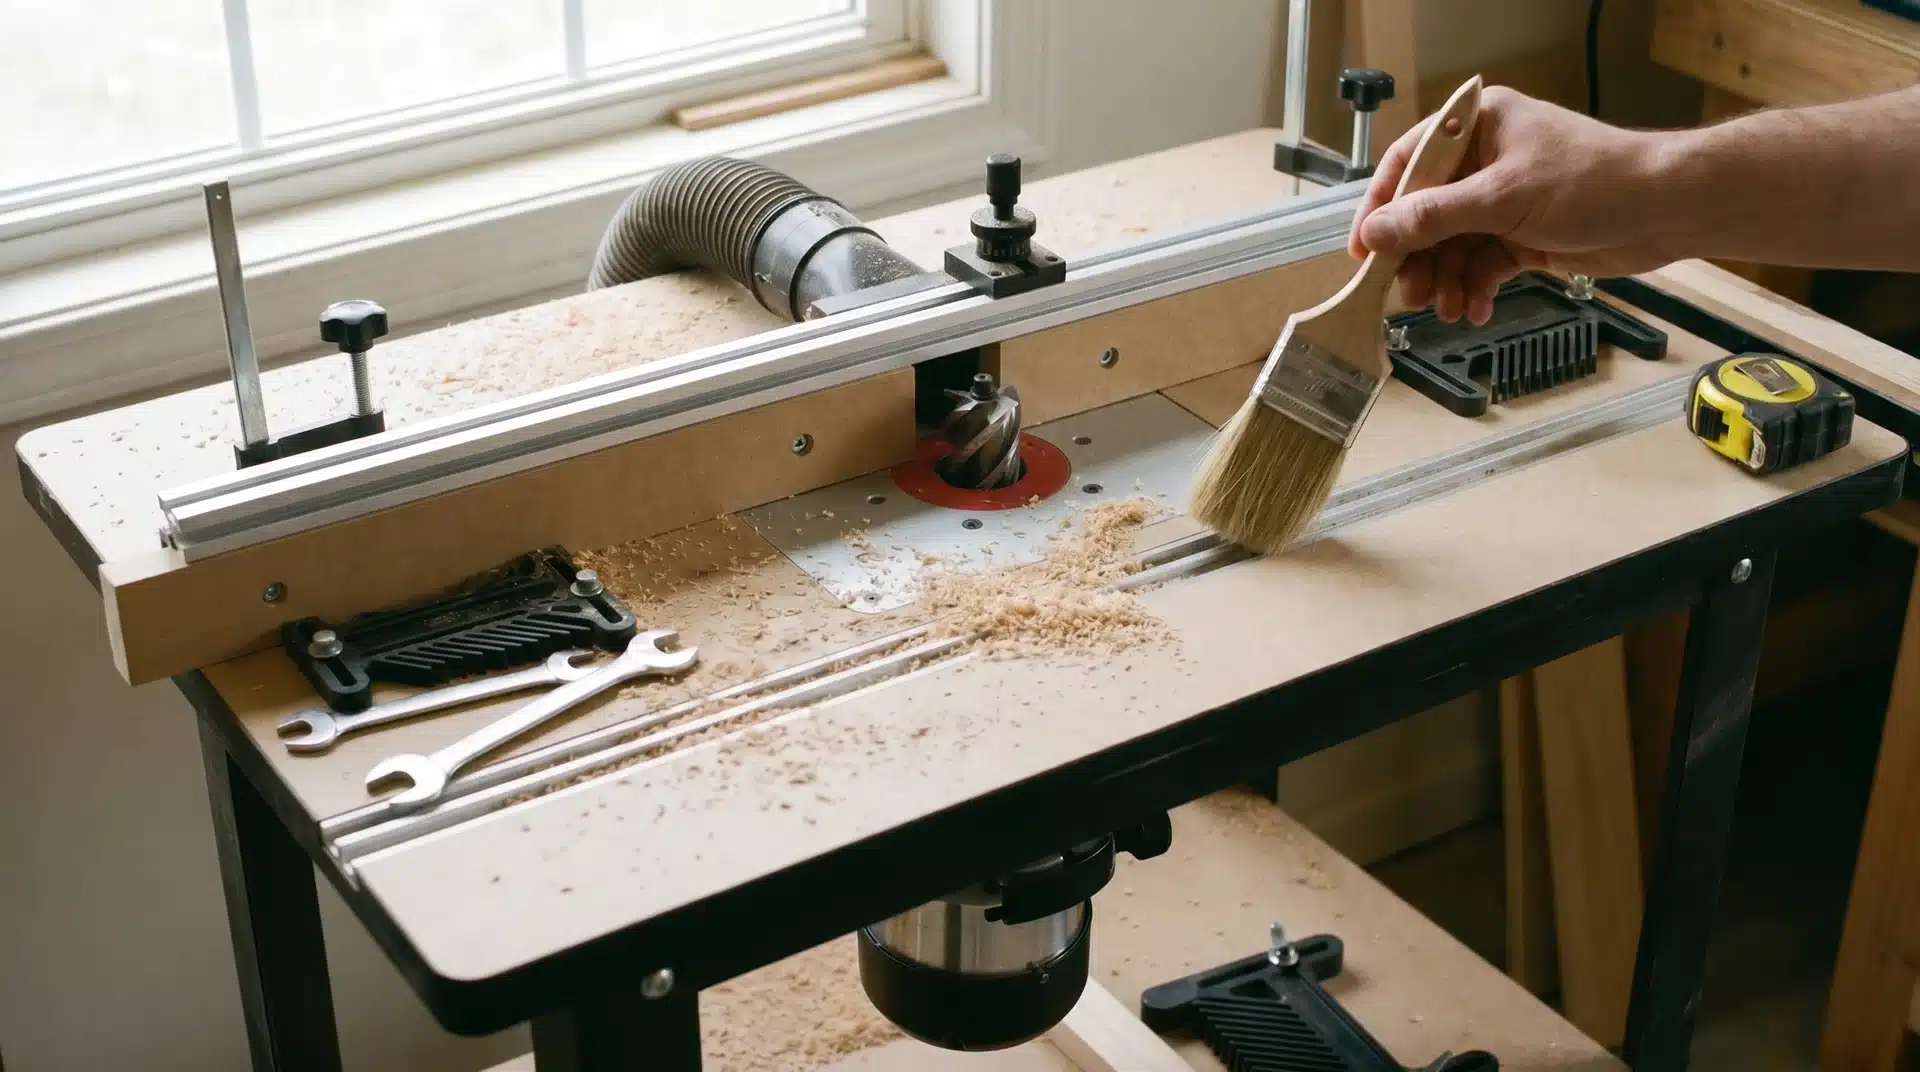
Sawdust builds up quickly around router tables, especially near the fence and insert plate. Brush everything off after each session and regularly clean any resin buildup from the router bits.
A few minutes of cleanup make the next project much easier when you come back into the shop.
Video Tutorial
Special thanks to Casual DIY for providing valuable insights in their video, which I referenced while creating this guide.
Router Table Cost and Budget for Beginners
Getting started with a router table does not have to be expensive. Most beginners can put together a solid setup without buying professional workshop equipment right away.
| Item | Average Beginner Cost |
|---|---|
| Benchtop Router Table | $100–$300 |
| Fixed-Base Router | $120–$250 |
| Basic Router Bit Set | $20–$80 |
| Push Blocks and Featherboards | $15–$50 |
| Safety Glasses and Hearing Protection | $20–$60 |
| Dust Mask or Shop Vacuum | $50–$200 |
| Straight Edge or Combination Square | $15–$40 |
A basic beginner router table setup usually costs around $250 to $600 total, depending on the router, table size, and accessories you choose. Benchtop router tables are usually the best option for small garage shops because they cost less and do not take up much space.
One thing worth spending a little extra on is router bits. Cheap bits dull faster, leave rough edges, and burn wood more easily. A small set of good carbide-tipped bits usually works better than buying a large, low-quality set.
If your budget feels tight, start small. A simple router table, a decent router, and a few basic bits are enough for most beginner woodworking projects. You can always upgrade the fence, dust collection, or table setup later as your skills improve.
Common Router Table Mistakes Beginners Should Avoid
Most router table mistakes are pretty easy to avoid once you know their causes. Many of these problems happen when people rush the setup or skip test cuts.
1. Feeding the Wood in the Wrong Direction: This is probably the biggest beginner mistake. Feeding left to right creates a climb cut, meaning the bit grabs the board rather than resisting it. The board can shoot forward faster than you expect when that happens, so always double-check feed direction before starting.
2. Taking Too Much Material Off in One Pass: Trying to remove too much wood at once usually leads to rough cuts, burning, and extra strain on the router motor. It takes a little more time, but lighter passes usually leave a cleaner edge and put less strain on the router.
3. Using Dull Router Bits: Dull bits tear the wood rather than slice it cleanly. That usually leaves fuzzy edges, rough cuts, and burn marks. If the cut starts looking rough or the router feels harder to push, the bit probably needs attention.
4. Forgetting to Test Cuts on Scrap Wood: Many routing problems disappear once you get into the habit of making quick test cuts first. Fence position, bit height, and feed speed all affect the finished cut. Even experienced woodworkers still test new setups on scrap before touching project pieces.
5. Routing Small Pieces Without Push Blocks: Small boards are harder to handle and bring your fingers closer to the bit. Push blocks keep your hands safely away while making the cut steadier and easier to manage.
6. Trapping Wood Between the Fence and the Router Bit: If the board feels squeezed or trapped during the cut, stop immediately and fix the setup before continuing. That kind of setup can cause kickback before you have time to react.
Router Table Safety Tips for DIY Beginners
Router tables start feeling much more comfortable once a few safety habits become routine.
-
Push Blocks: Keep steady pressure on the board without putting your fingers close to the spinning bit. They also make smaller pieces easier to handle.
-
Featherboards: Keep the board tight against the fence during the cut. That extra support prevents wobbling and usually leaves a smoother edge, too.
-
Keeping Hands Away From the Router Bit: Make it a habit to keep your hands several inches away from the bit while the router is running. If something feels unsafe or awkward, turn the router off and reset the setup first.
-
Eye, Ear, and Dust Protection: Wood chips, fine dust, and loud motor noise are part of almost every routing session. Safety gear may feel annoying at first, but it becomes routine pretty quickly.
-
Never Rush a Router Cut: Most router table accidents happen when someone rushes the setup or tries to squeeze in one last cut after a long day. Take your time here. There is no prize for rushing router work.
-
Test Cuts Before Final Passes: A quick test cut tells you a lot before the real board touches the bit. It confirms the setup, checks the cut depth, and helps you catch problems early.
Conclusion
Using a router table becomes much less intimidating once you slow down and focus on the basics. Good setup habits, light passes, and the correct feed direction make a huge difference in both safety and cut quality.
The first few cuts might feel awkward, and that is completely normal. Most woodworkers learn by practicing on scrap wood, making small adjustments, and getting comfortable with how the router reacts during each pass.
Take your time with the setup, pay attention to how the wood moves across the bit, and do not rush the learning process.
After a little practice, the router table starts feeling less like a noisy machine and more like a tool you can actually trust for clean, accurate woodworking cuts.