Imagine turning free wooden pallets into your dream backyard retreat! This guide unlocks the secrets of creating incredible structures from materials others throw away.
No professional skills are needed—follow these simple steps to build a personalized space that will make friends ask, “You built THAT from pallets?!”
In just a weekend, change industrial cast-offs into a cozy sanctuary that reflects your style while saving thousands in building costs.
Join the global movement of creative builders who are finding that yesterday’s shipping platforms make today’s most impressive DIY projects. Are you ready to create something extraordinary with your own hands?
Why Pallets Are The Perfect Building Material?
Wooden pallets make exceptional building materials because they’re designed to support heavy loads in industrial settings. Each pallet provides ready-made floor joists and wall studs with standardized dimensions for easy planning.
The spaces between slats create natural insulation opportunities and channels for electrical wiring. From a sustainability perspective, each repurposed pallet keeps about 40 pounds of wood from landfills.
Additionally, pallets are widely available at little to no cost from warehouses and stores, dramatically reducing your building costs compared to traditional lumber.
The weathered appearance of pallet wood offers a rustic charm that’s currently trending in design. Your pallet house represents creative recycling that transforms industrial waste into a personalized retreat while showcasing your environmental consciousness and creativity.
Tools and Materials Needed for Pallet House
| Item | Use |
|---|---|
| Wooden pallets | Base structure |
| Screws | Fastening parts |
| Power drill/screwdriver | Assembly tool |
| Saw | Cutting wood |
| Measuring tape | Accurate sizing |
| Hammer | Nailing tasks |
| Duct tape | Quick fixes |
| OSB sheets | Roof panels |
| Paint/wood stain (opt.) | Finishing touch |
| Mattresses/Cushions | Seating/bedding |
| LED lights/lamps | Lighting |
| Decor (optional) | Visual appeal |
| Work gloves | Hand safety |
| Safety glasses | Eye protection |
Step-By-Step Guide for Building a Simple Pallet House
Step 1: Planning and Site Preparation
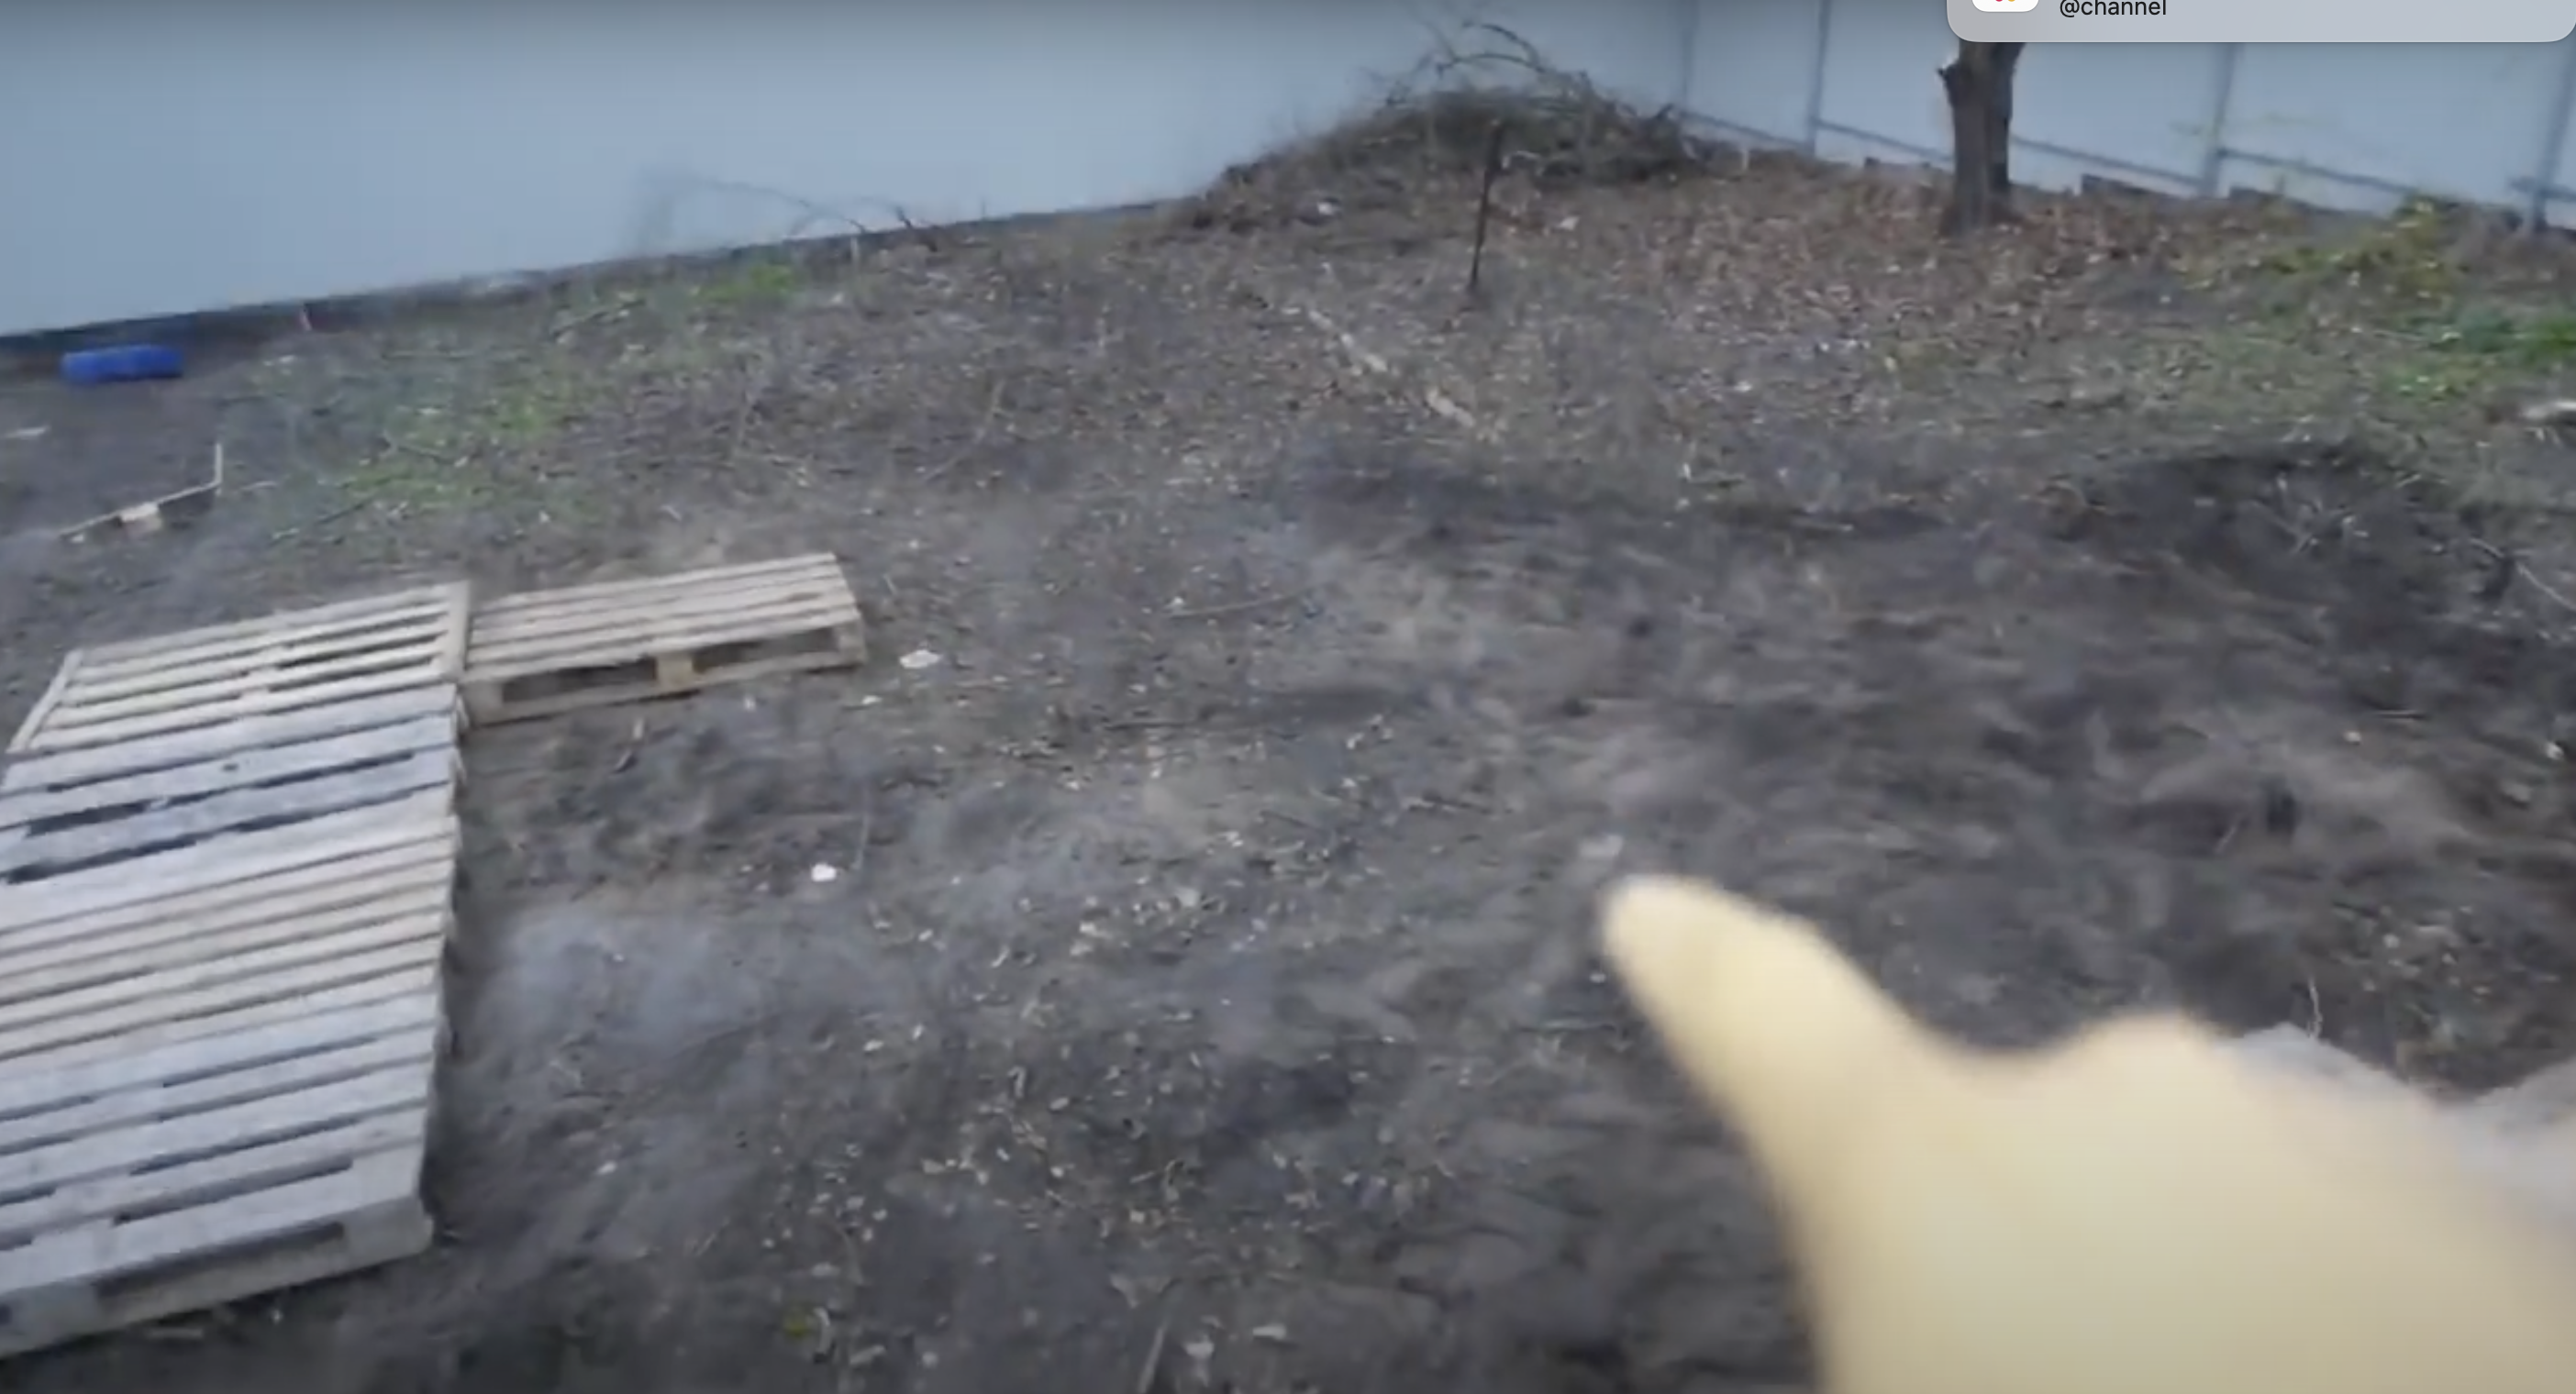
Measure and mark your building area, ensuring the ground is level. Sketch a floor plan showing dimensions and door and window placement.
Calculate the pallets needed, accounting for the floor, walls, and roof. Consider wind direction when positioning the door. Clear the area of stones, branches, and debris that might interfere with construction.
Step 2: Gathering and Preparing Pallets
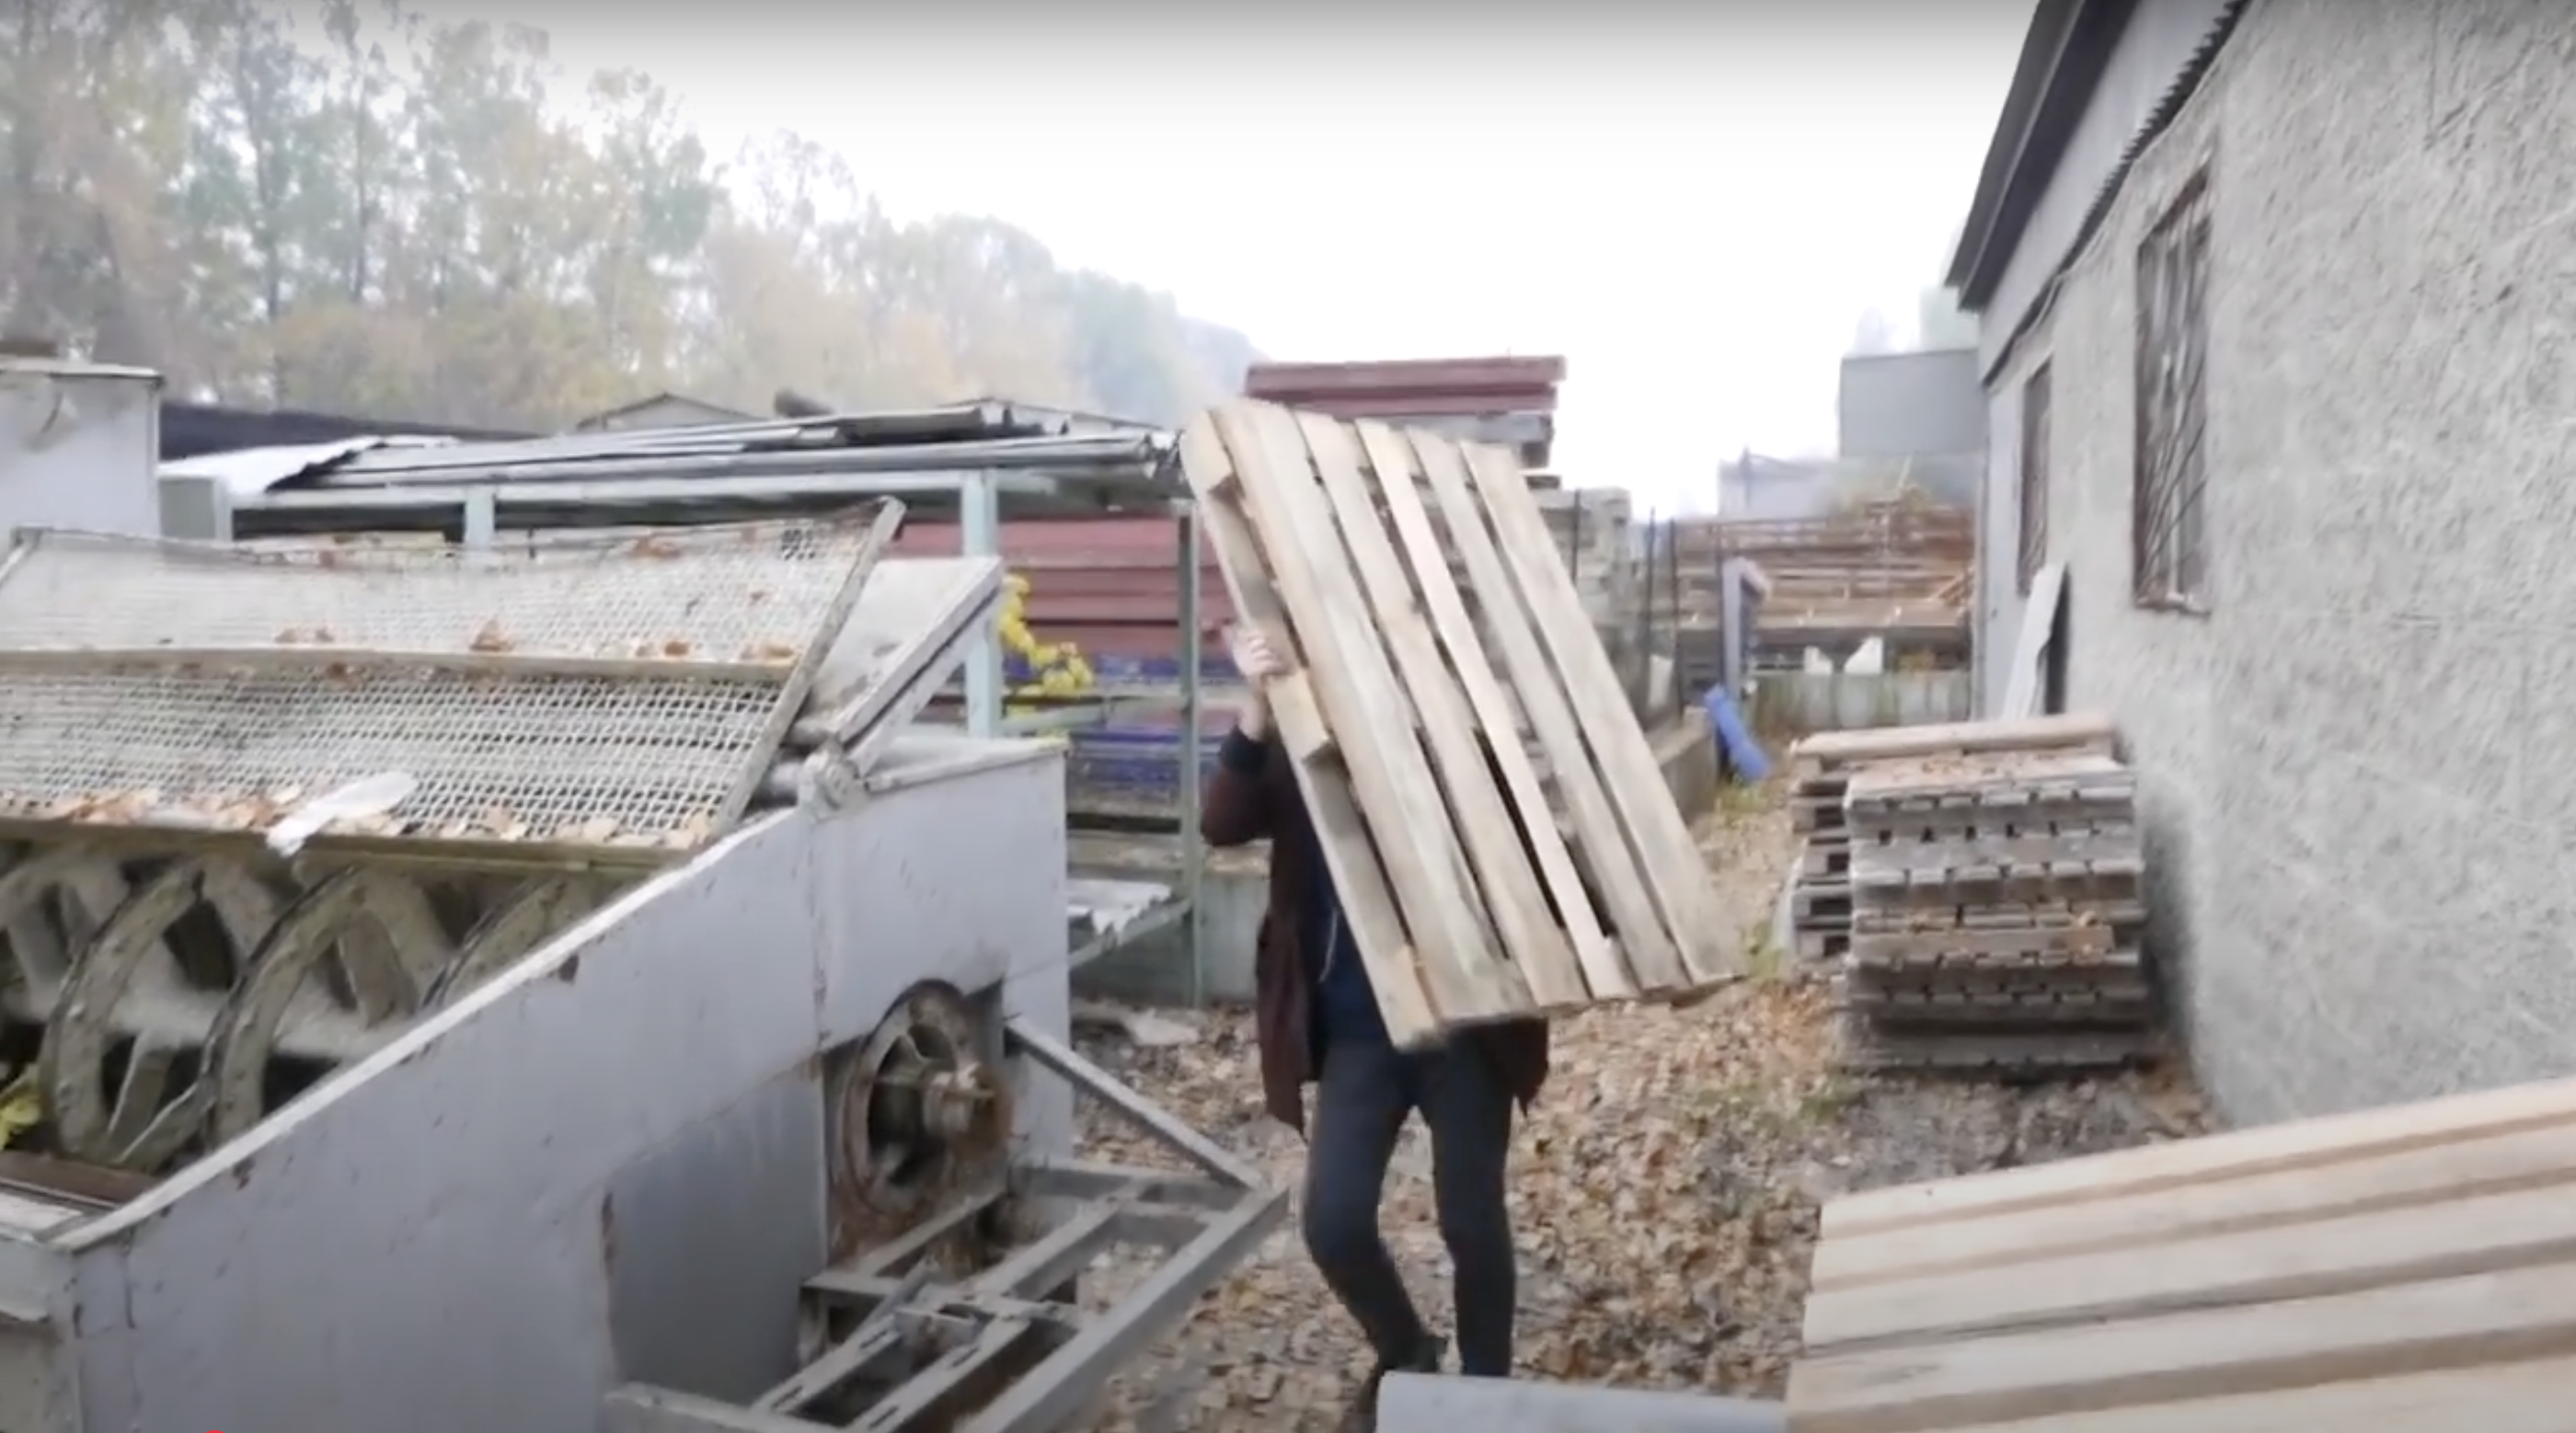
Source pallets in good condition without damage or rot. Each pallet weighs about 25kg, so prepare for physical work. Inspect each pallet, removing protruding nails or staples.
Sand rough edges if needed. If treated with chemicals, consider sealing with a non-toxic finish. Sort pallets by size and quality, reserving the best for structural elements.
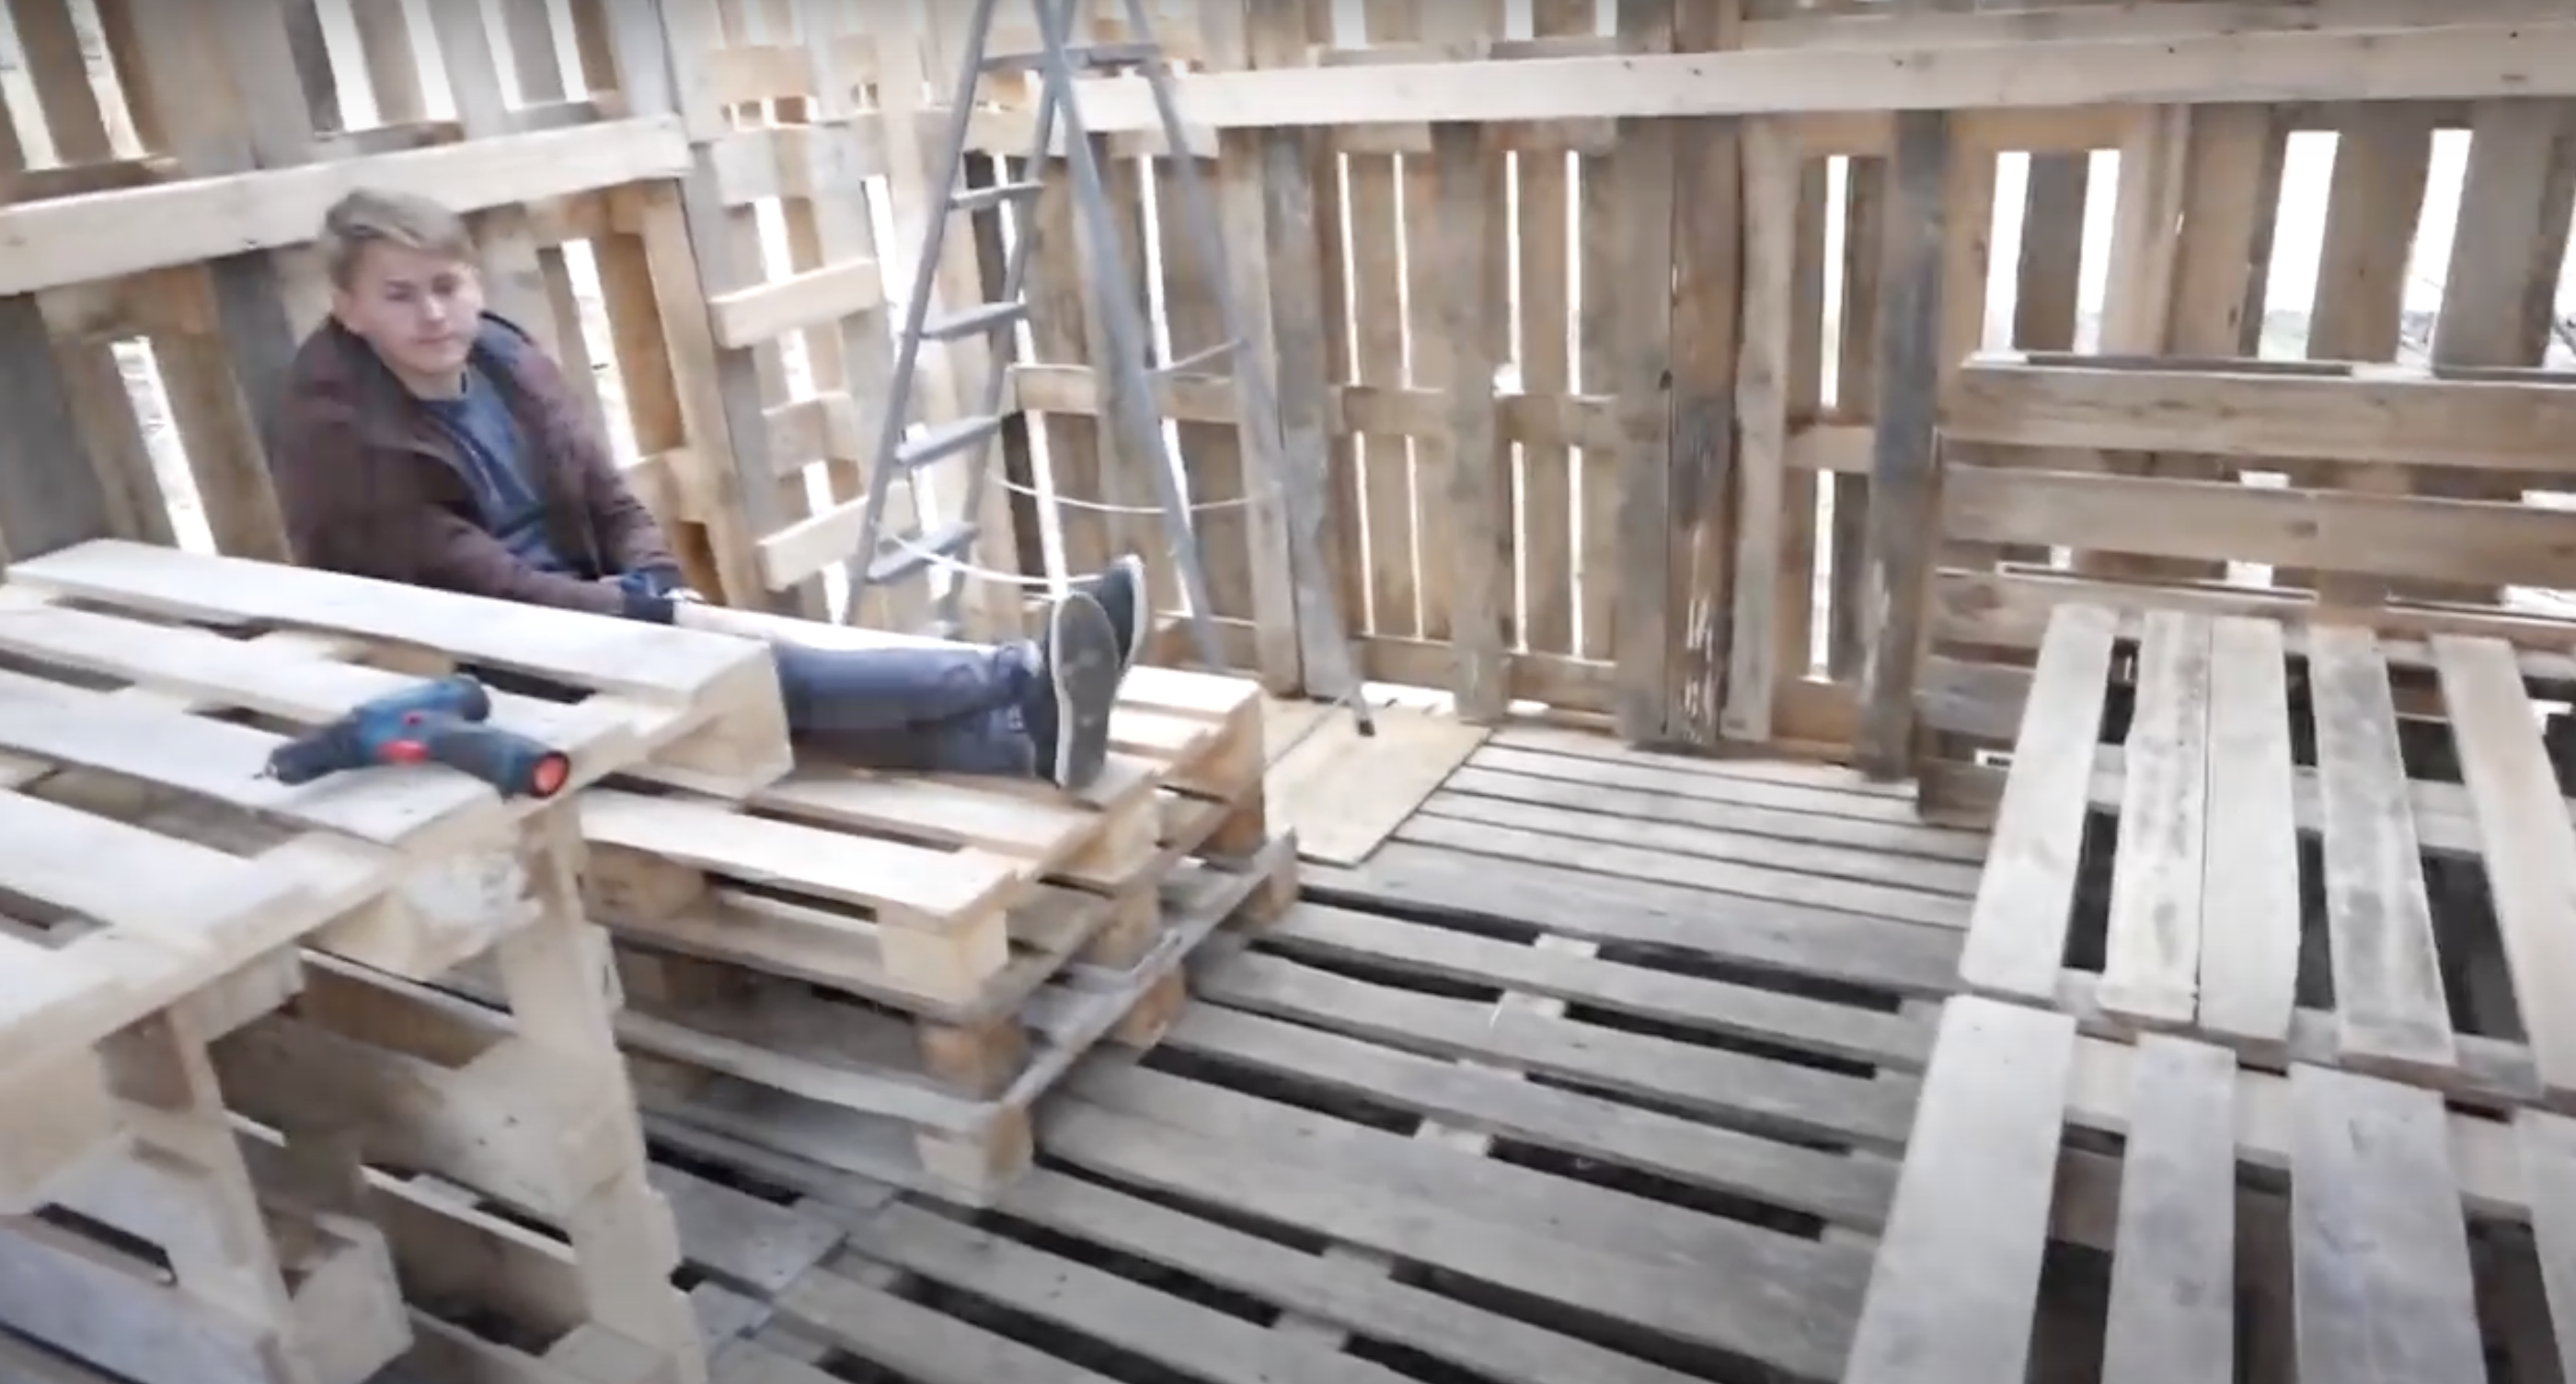
Step 3: Creating the Floor Foundation
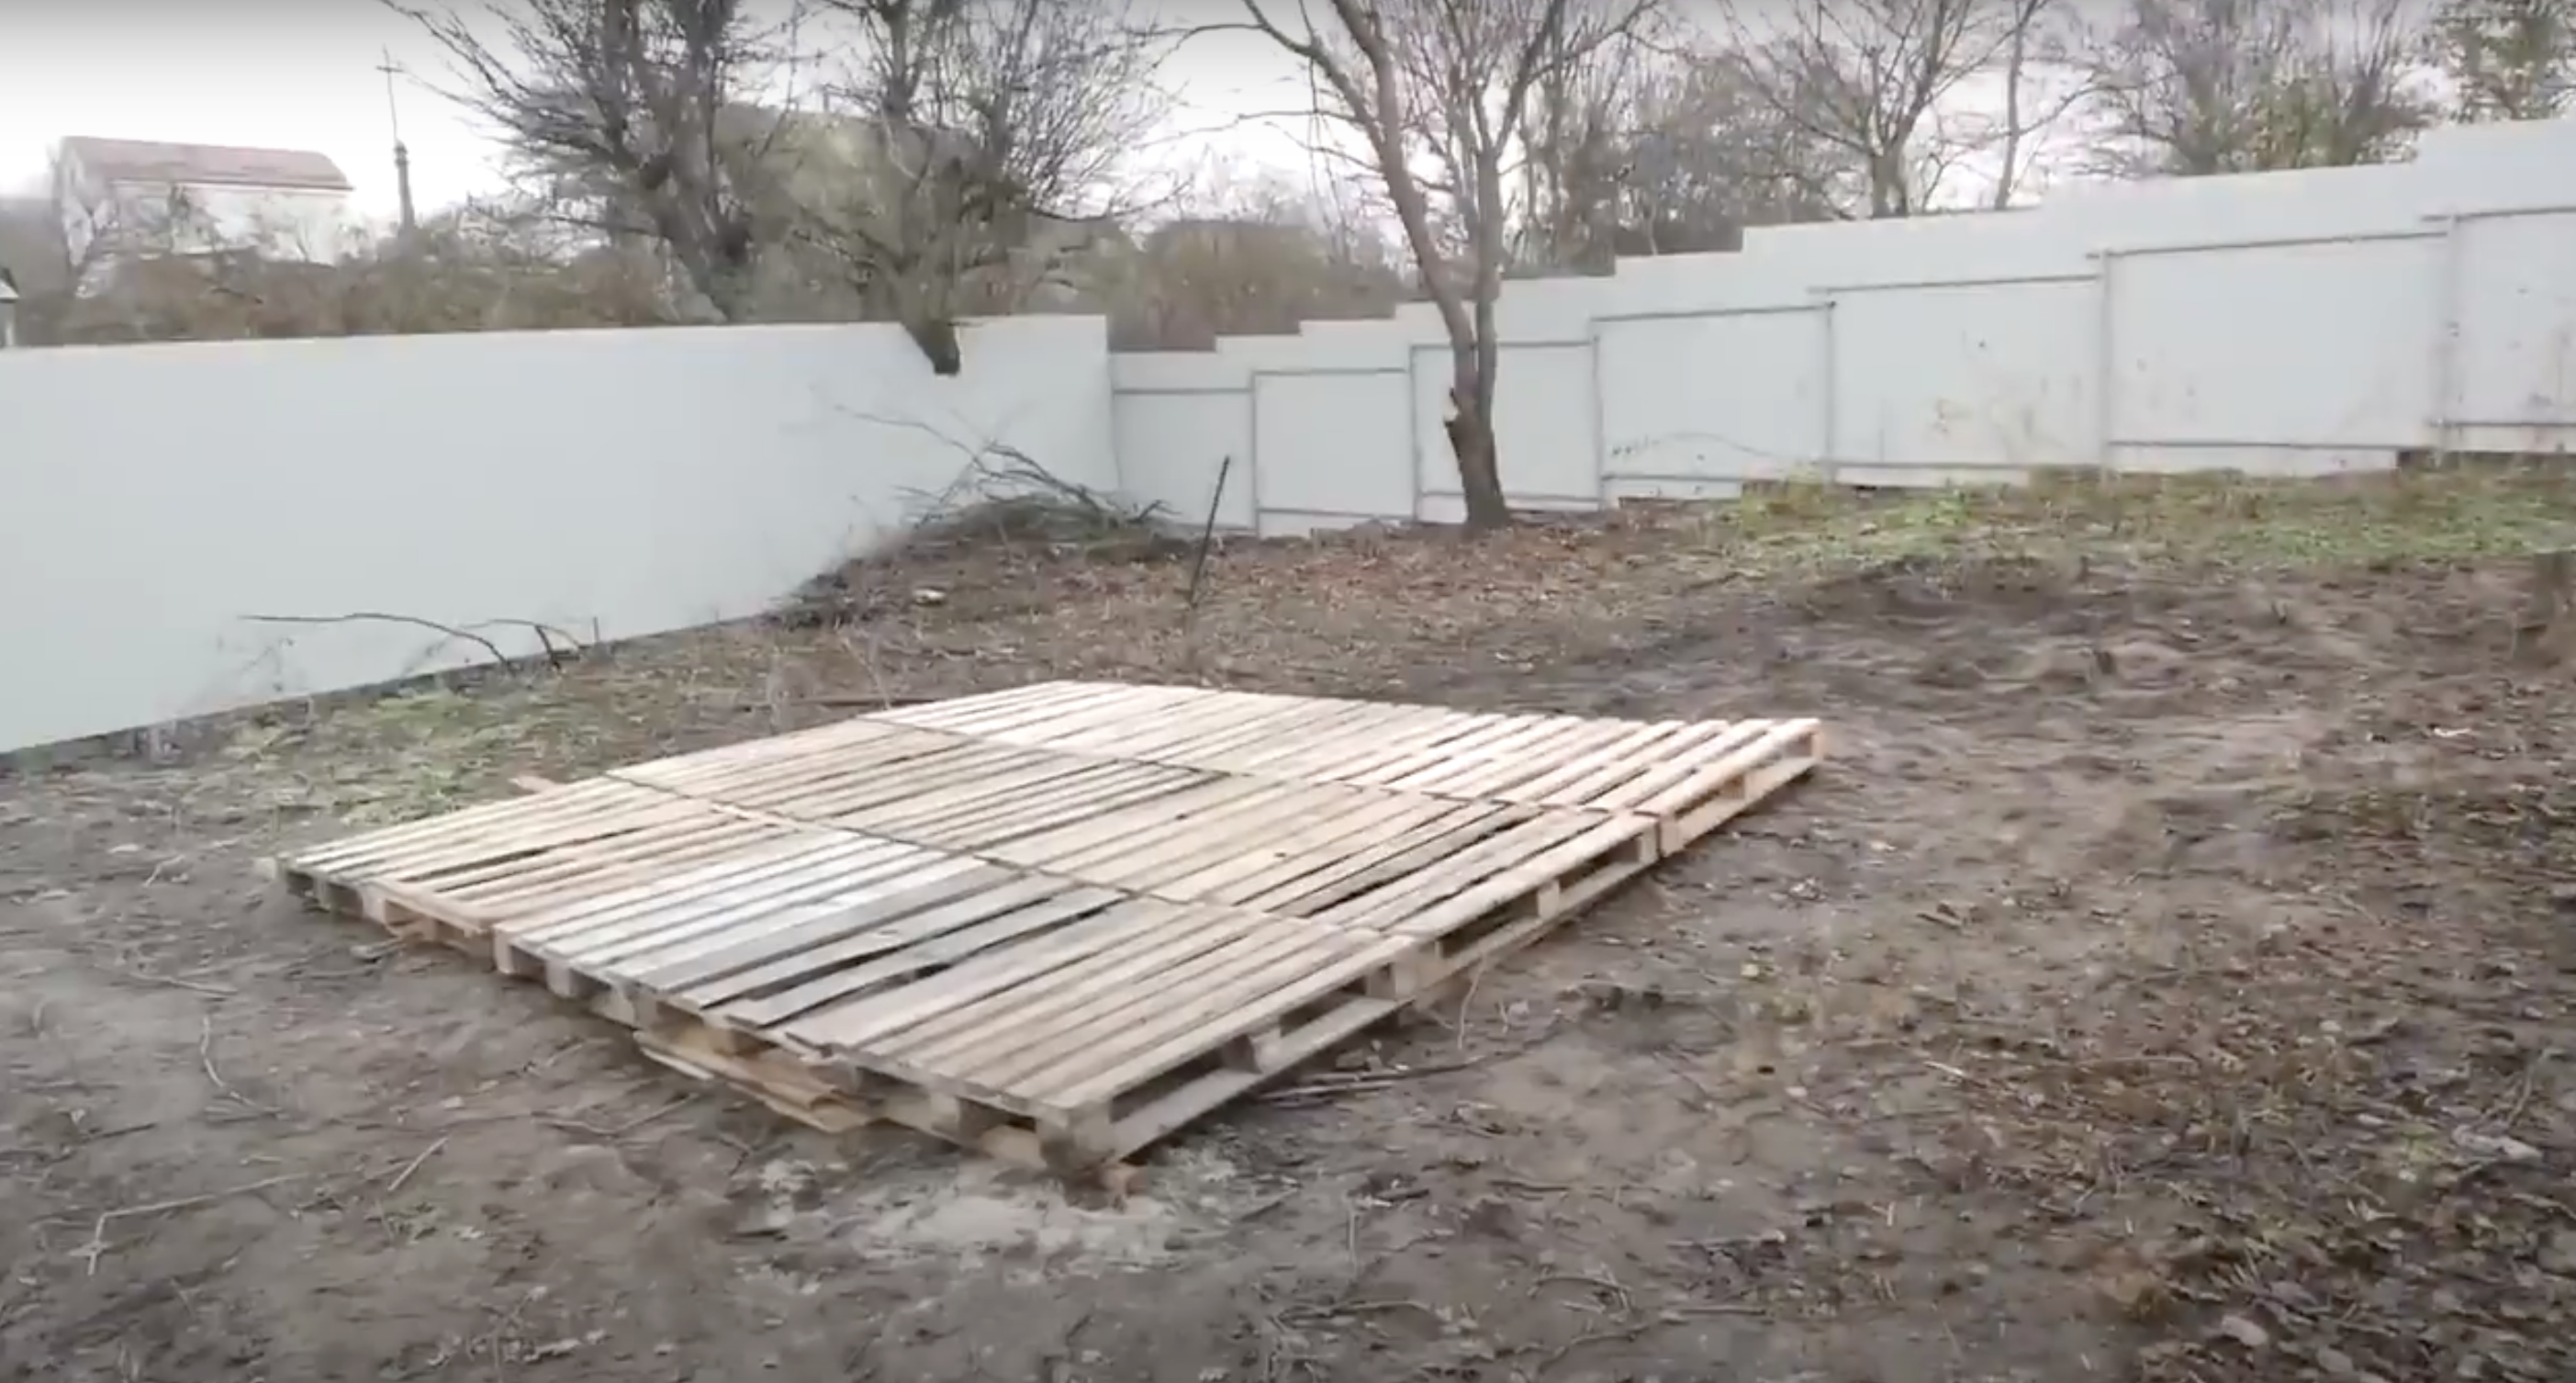
Lay pallets side by side to form the foundation. Secure them to each other with screws at multiple points. For stability, place foundation pallets on concrete blocks or stones at corners to prevent soil contact.
Check that your foundation is square by measuring diagonally from corner to corner—both measurements should be equal.
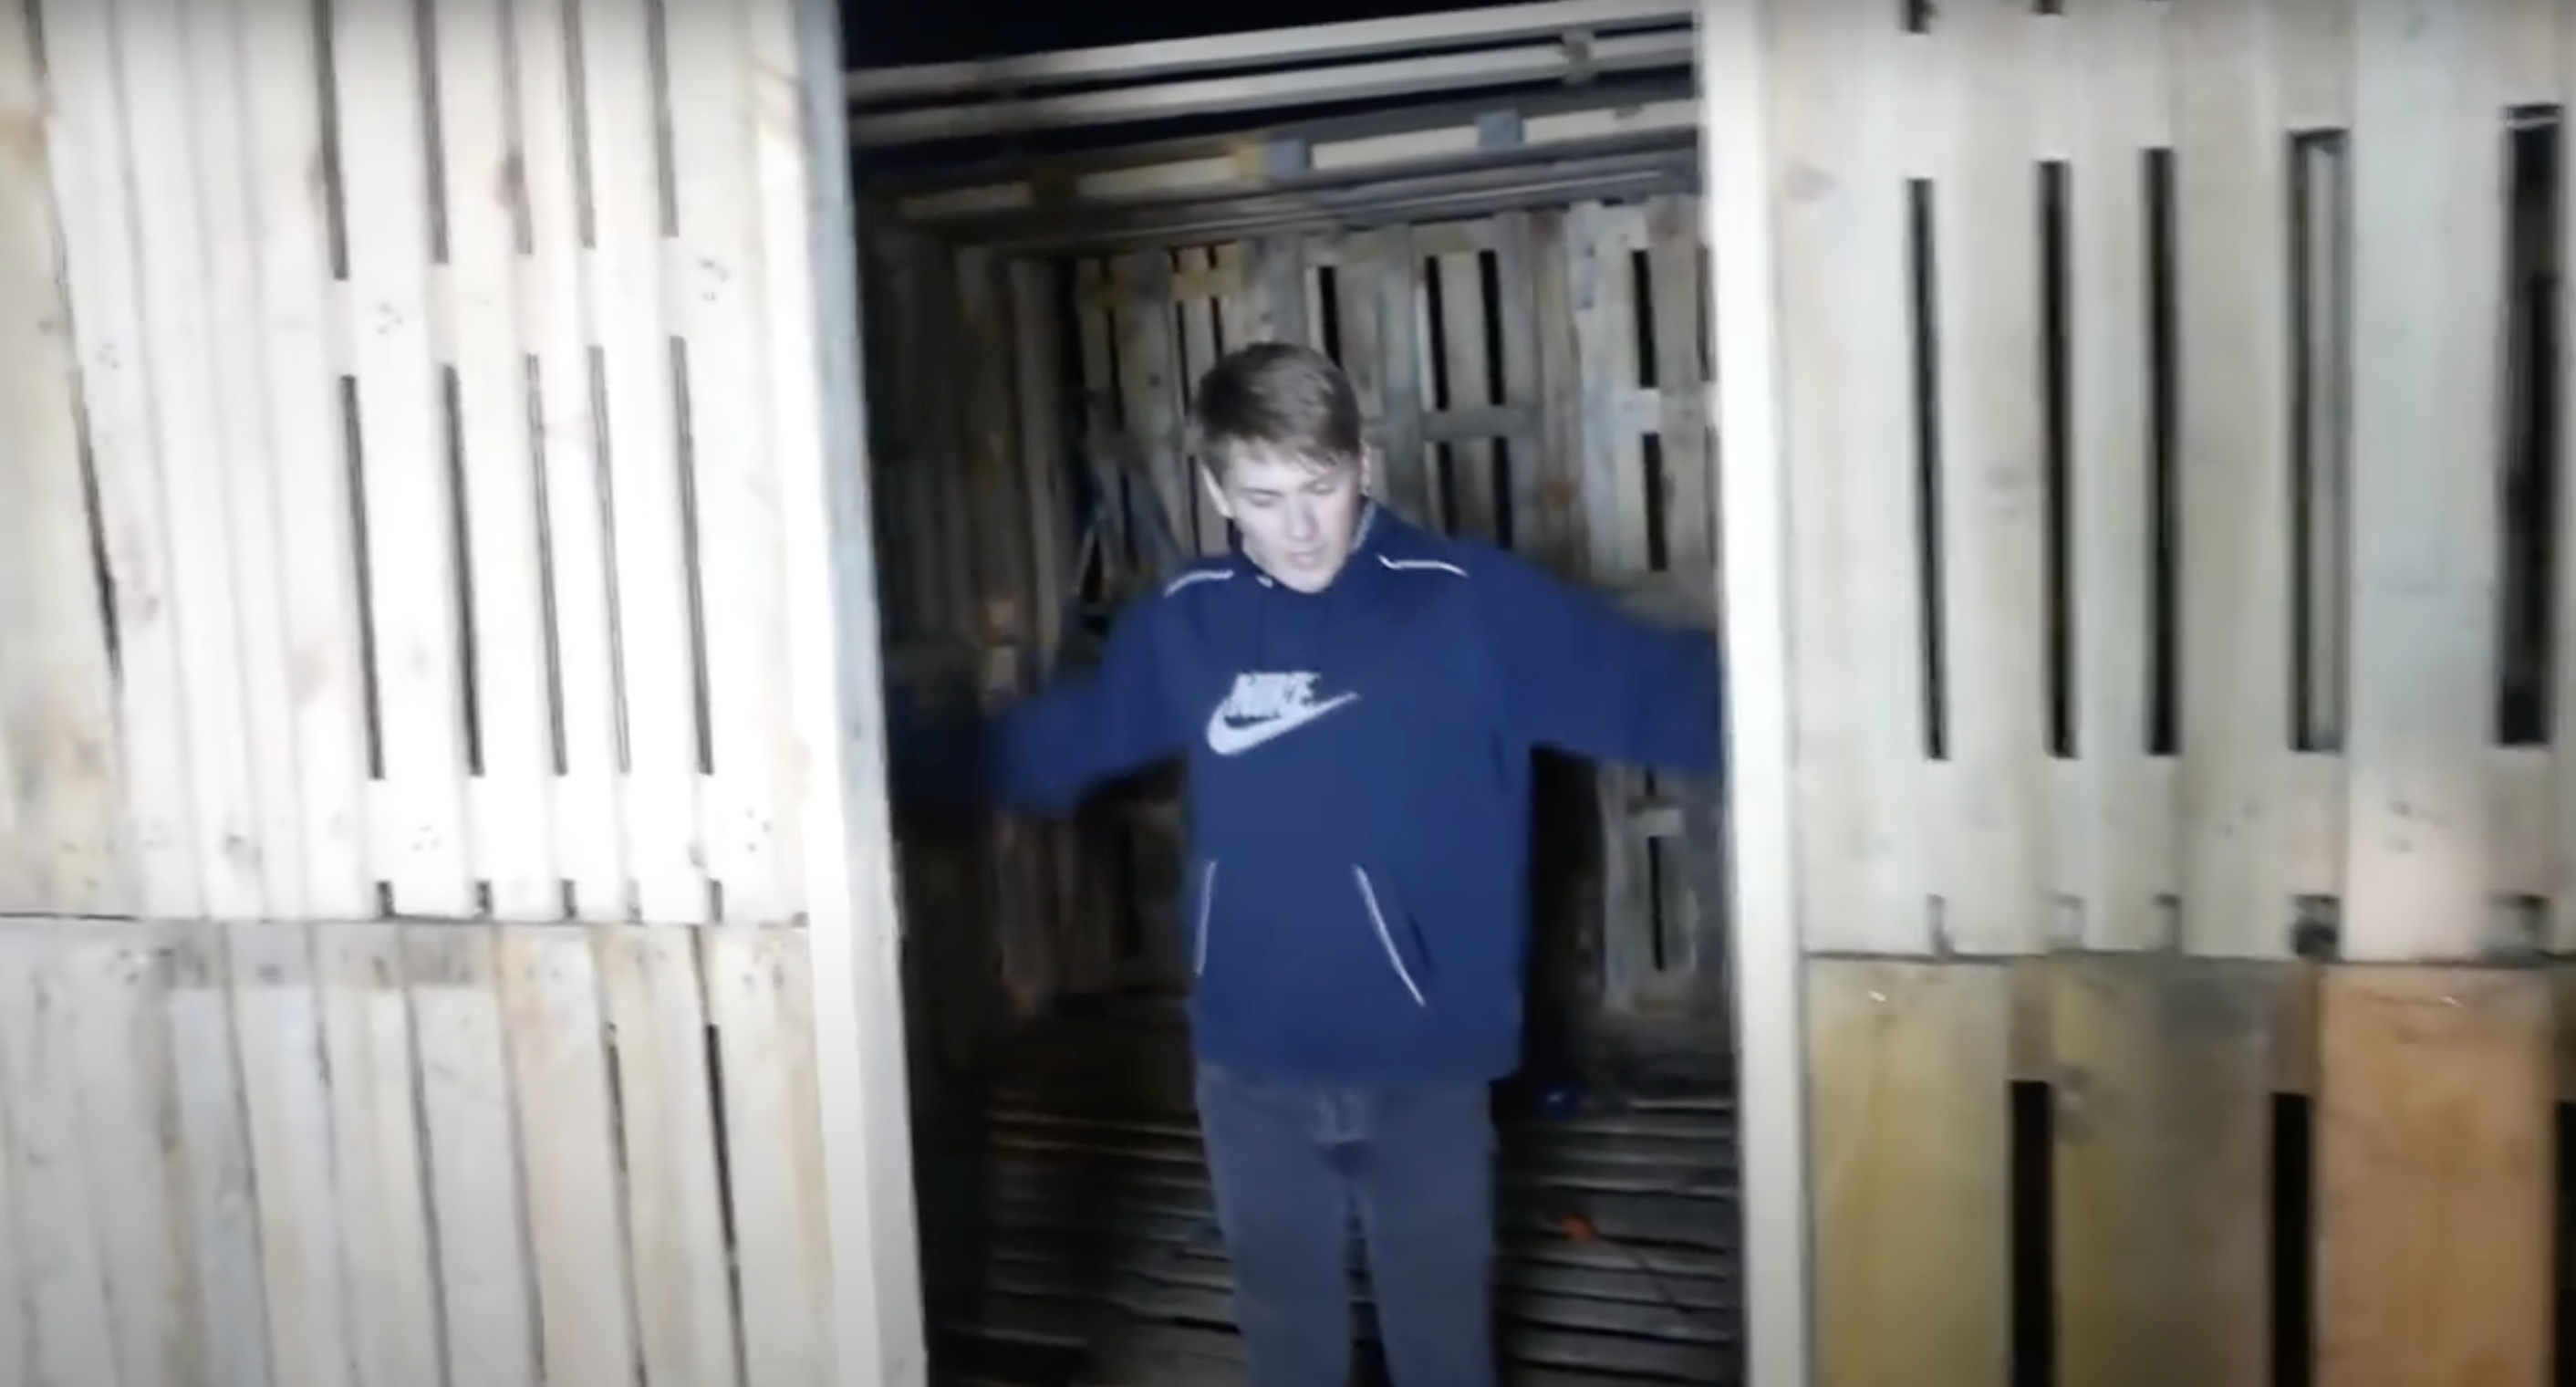
Step 4: Building the Walls
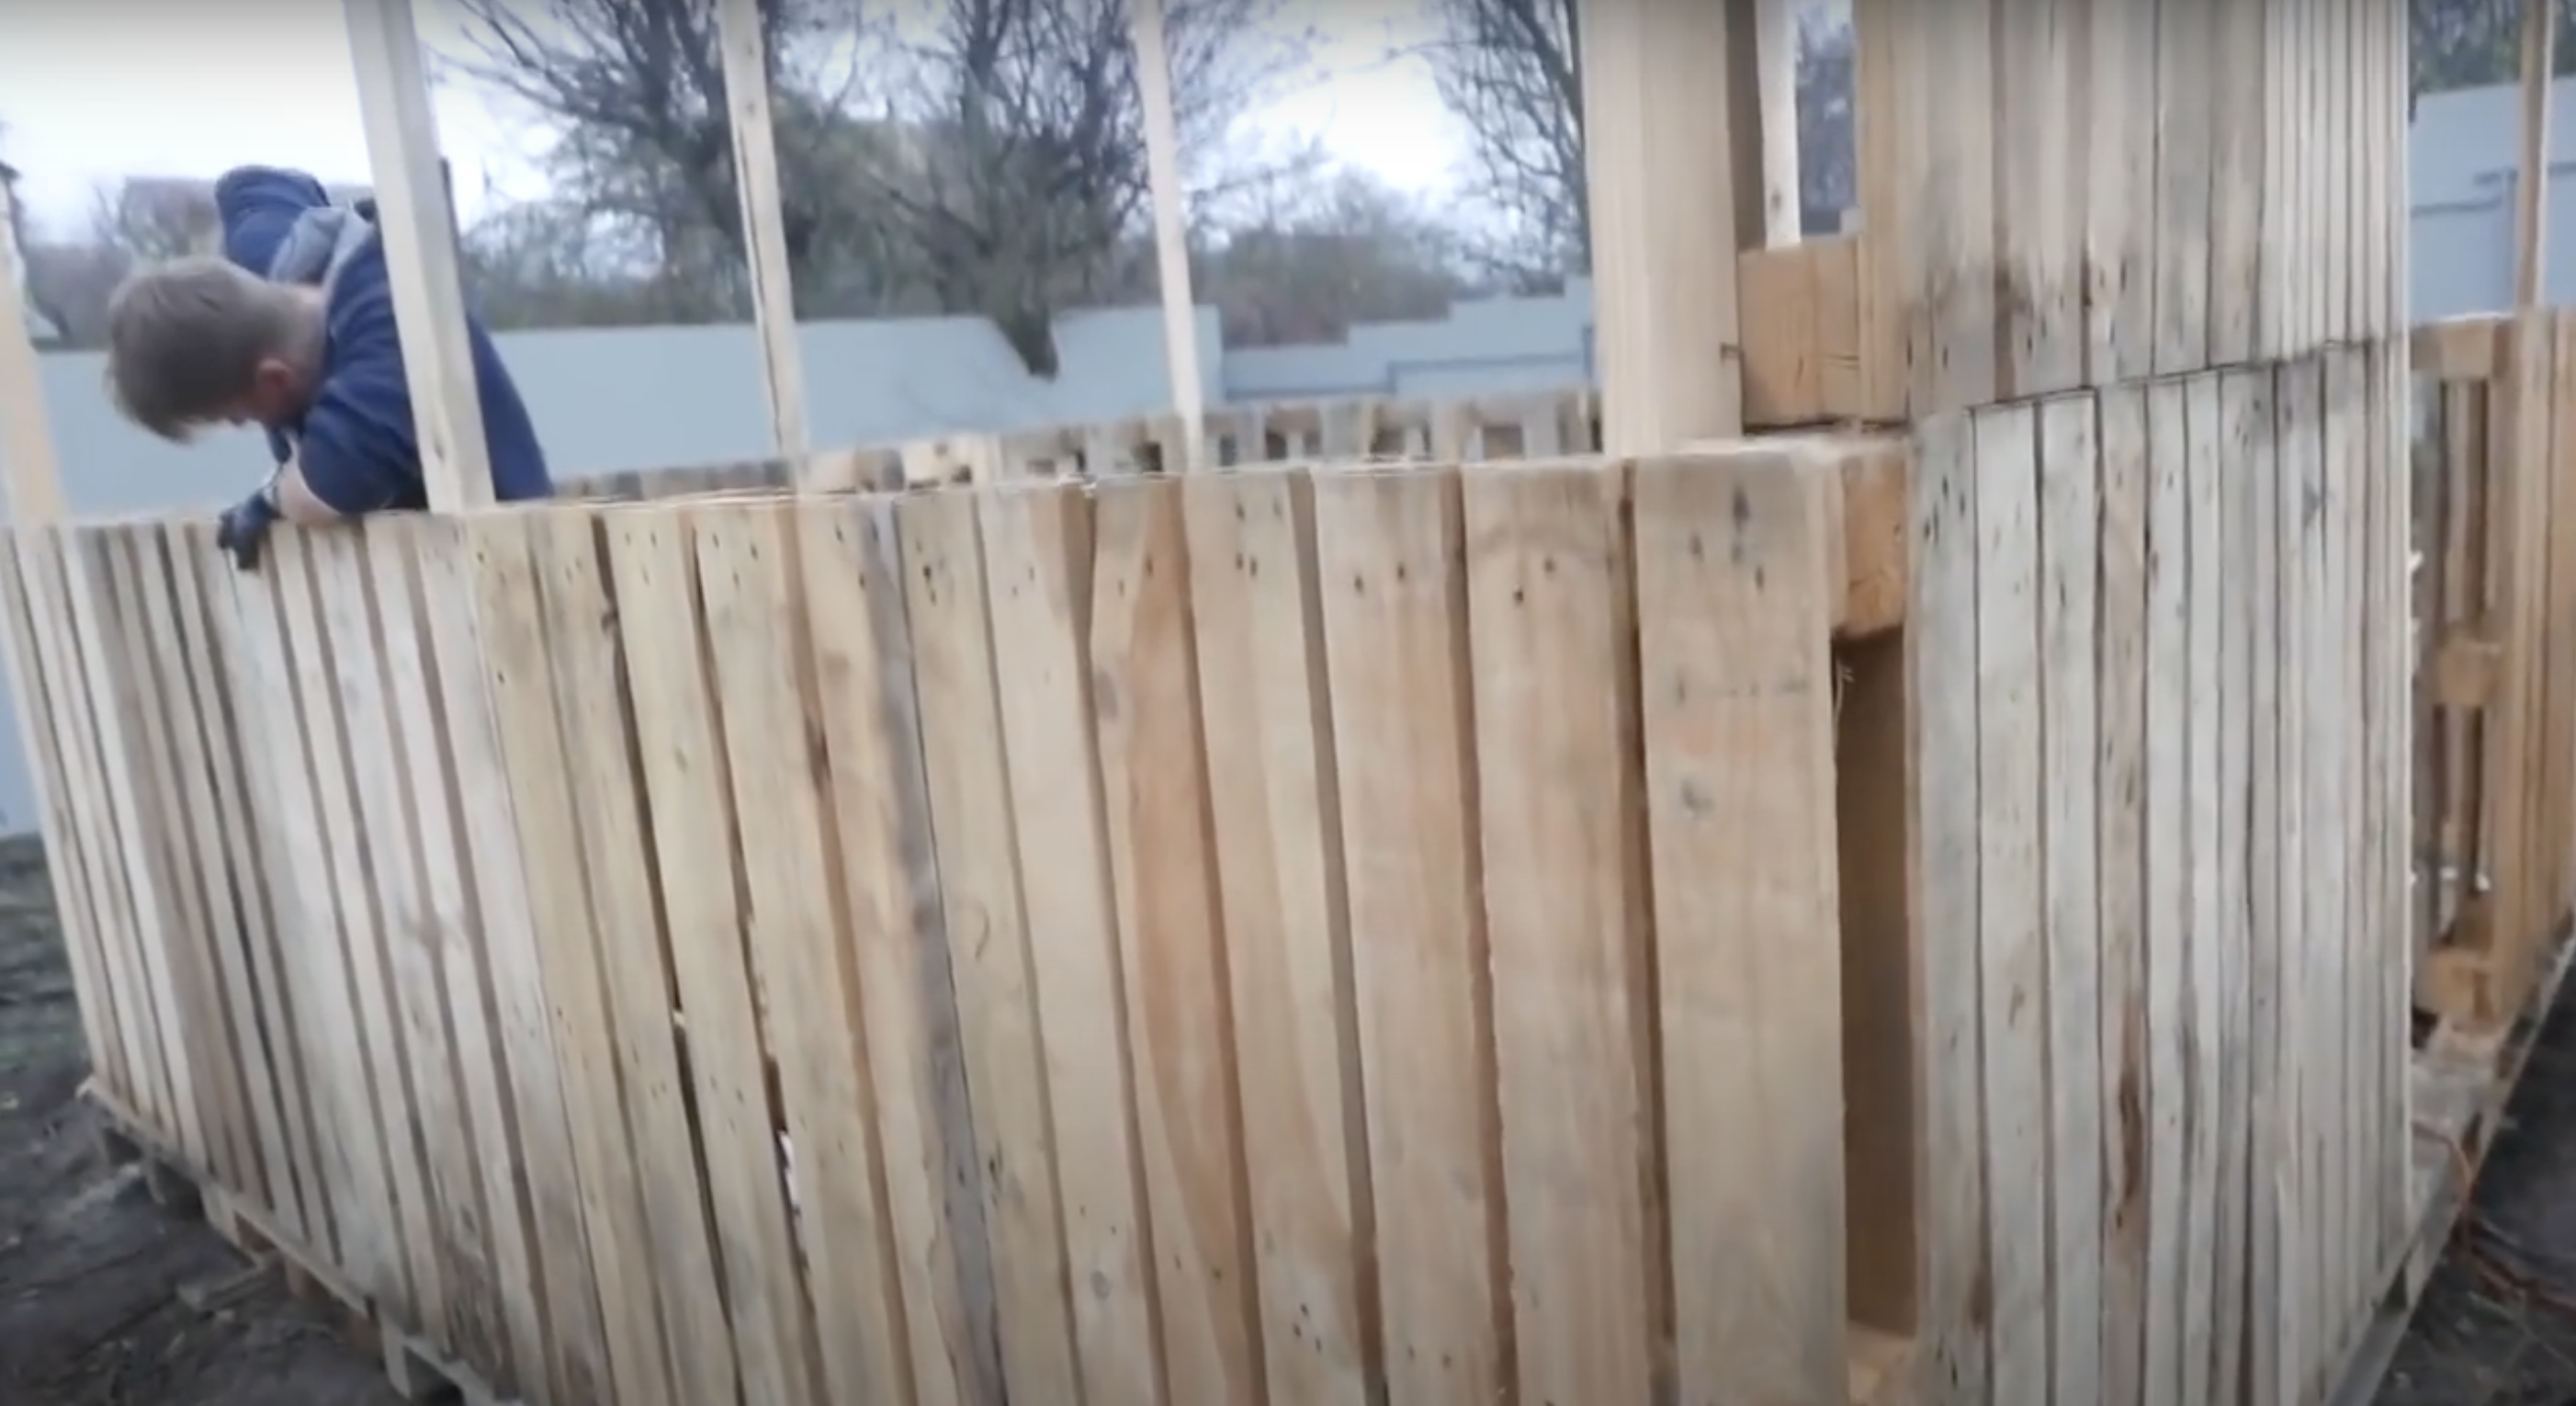
Stand pallets vertically around the perimeter and secure them to the floor using screws or metal brackets. Join adjacent wall pallets together.
Leave a gap for the door or prepare a pallet to function as one. Cut pallets as needed for windows. Continue until walls reach desired height, typically two pallets tall for comfortable interior space.
Step 5: Creating Doors and Windows
Mark and cut openings for doors and windows, being careful not to compromise structural integrity. Create a hinged door from a modified pallet or leave a gap.
Cut sections of the pallet wall for windows. Consider decorative shapes like the play button window mentioned in the transcript. For a finished look, add frames around openings using pallet wood.
Step 6: Constructing the Roof
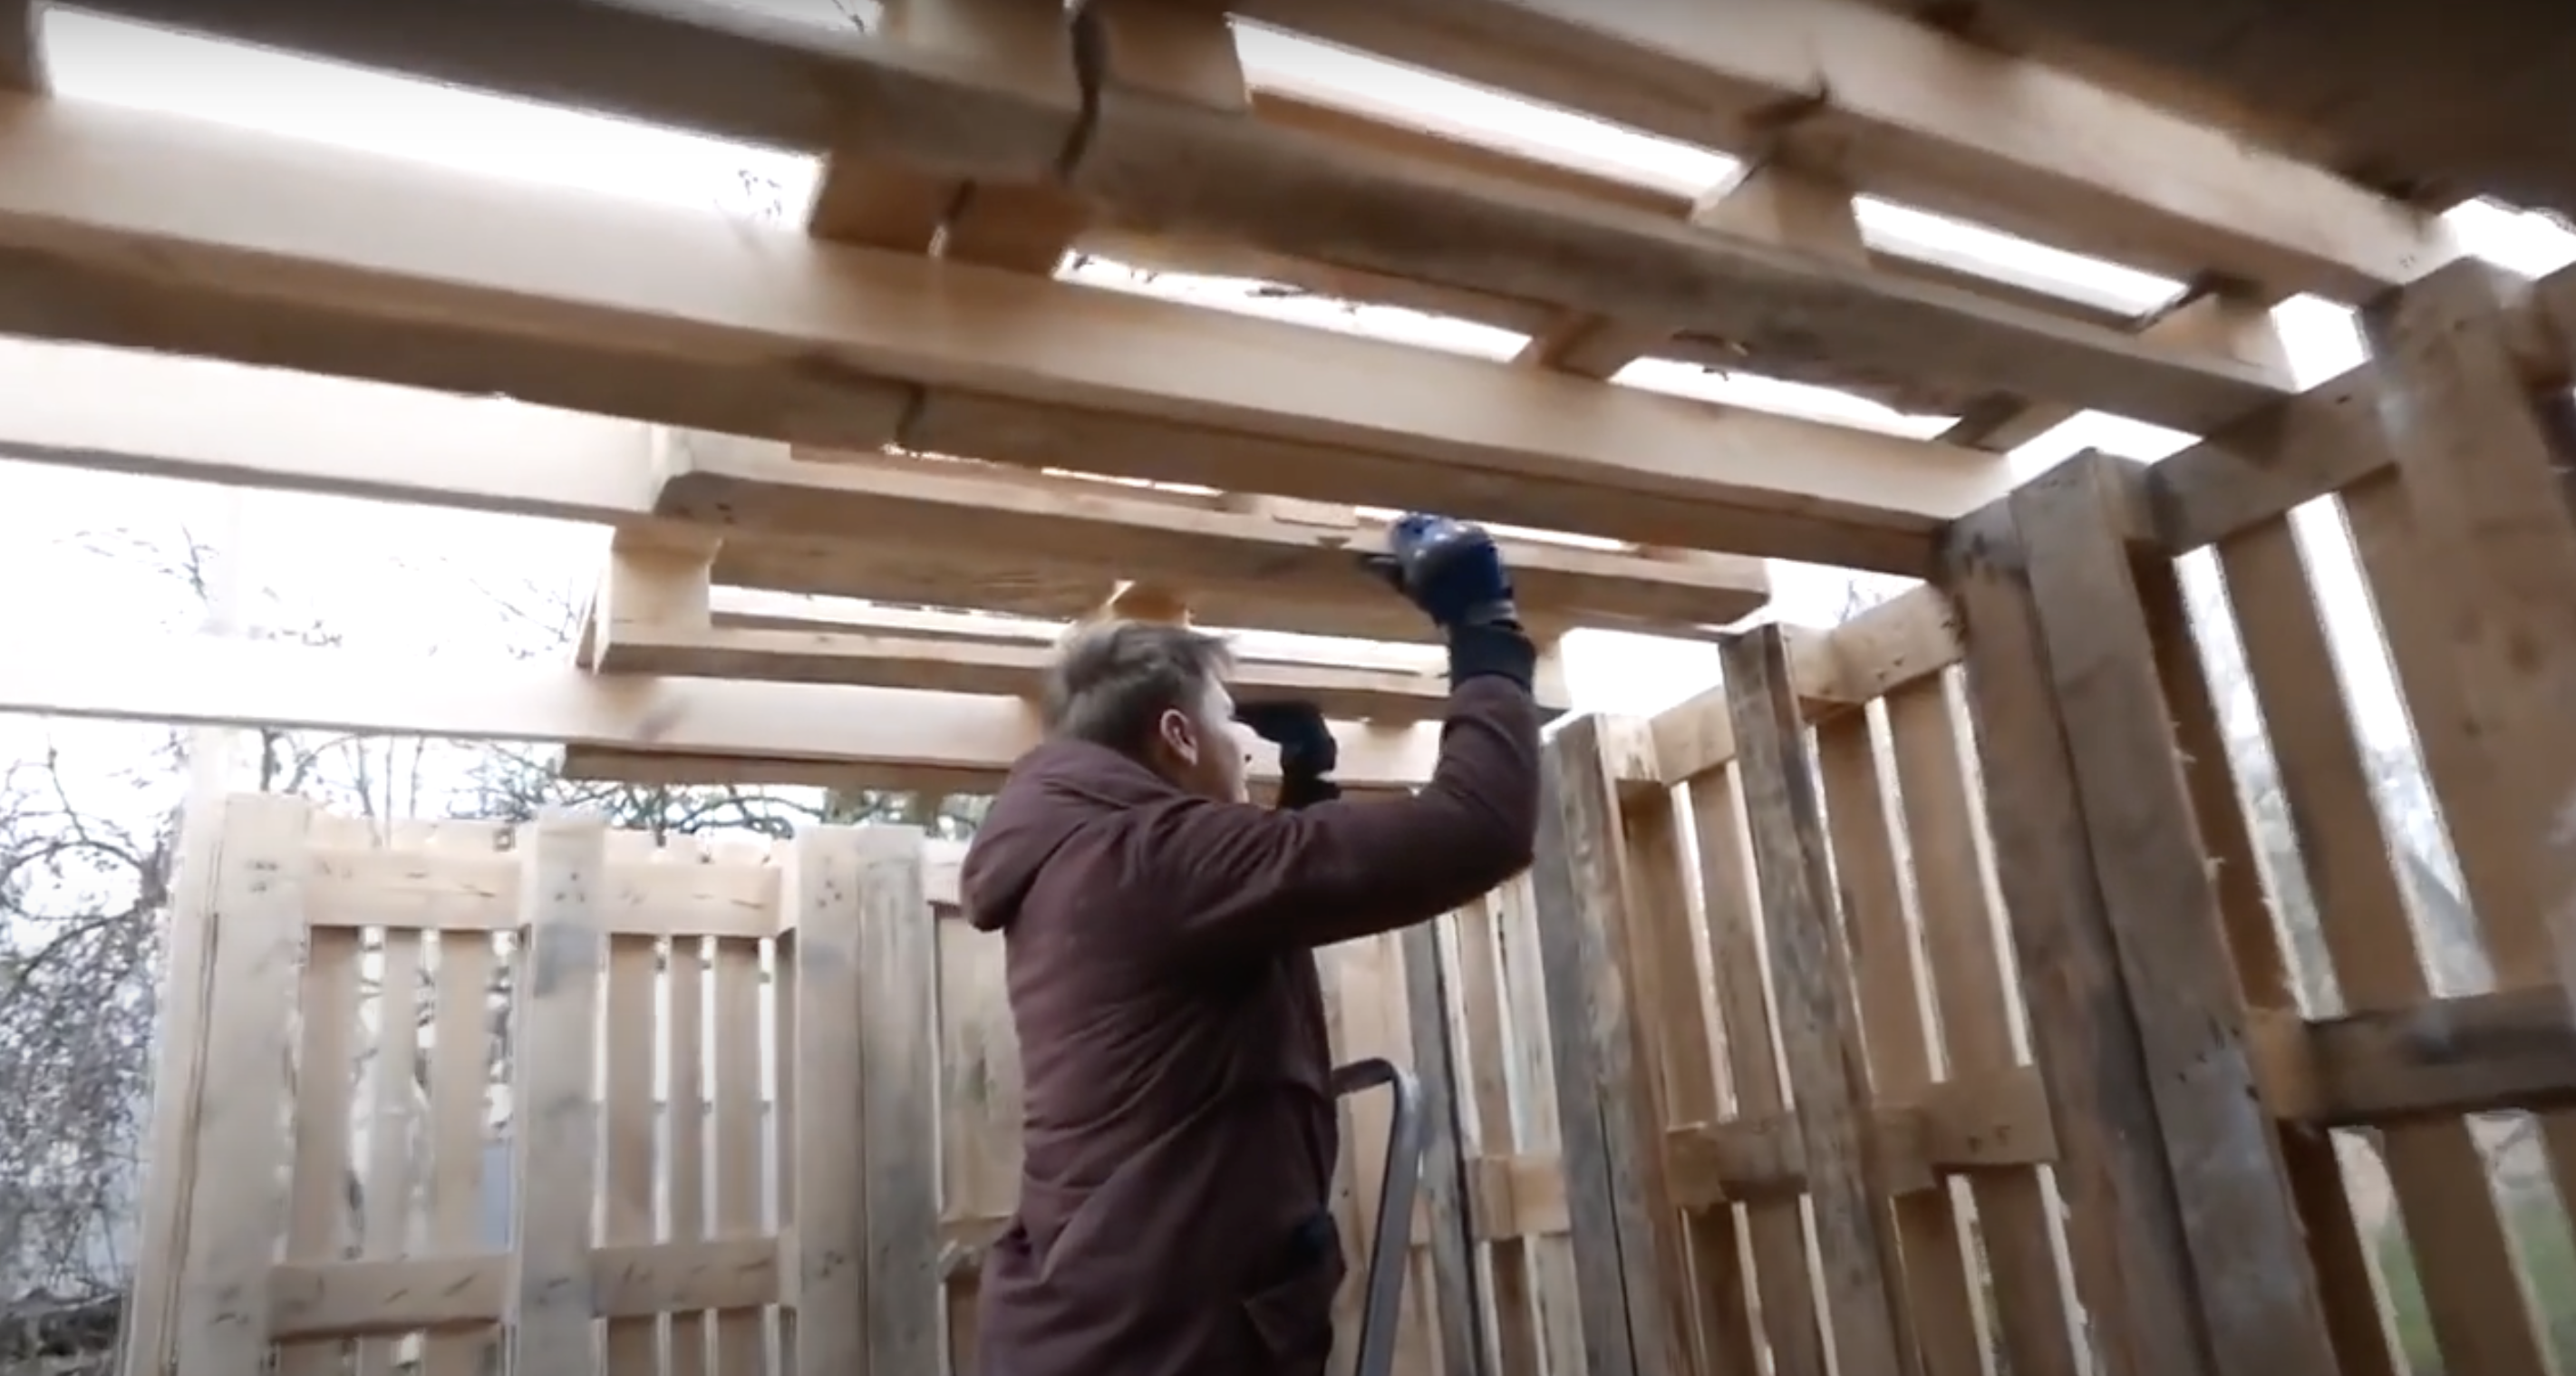
Lay pallets flat across the top of the walls and secure them firmly. Cover with OSB sheets for a solid, weatherproof ceiling.
Add a slight angle for water runoff. For additional protection, add roofing felt or tarpaulin over the OSB sheets. Ensure the roof is strong enough to support the potential snow load in colder climates.
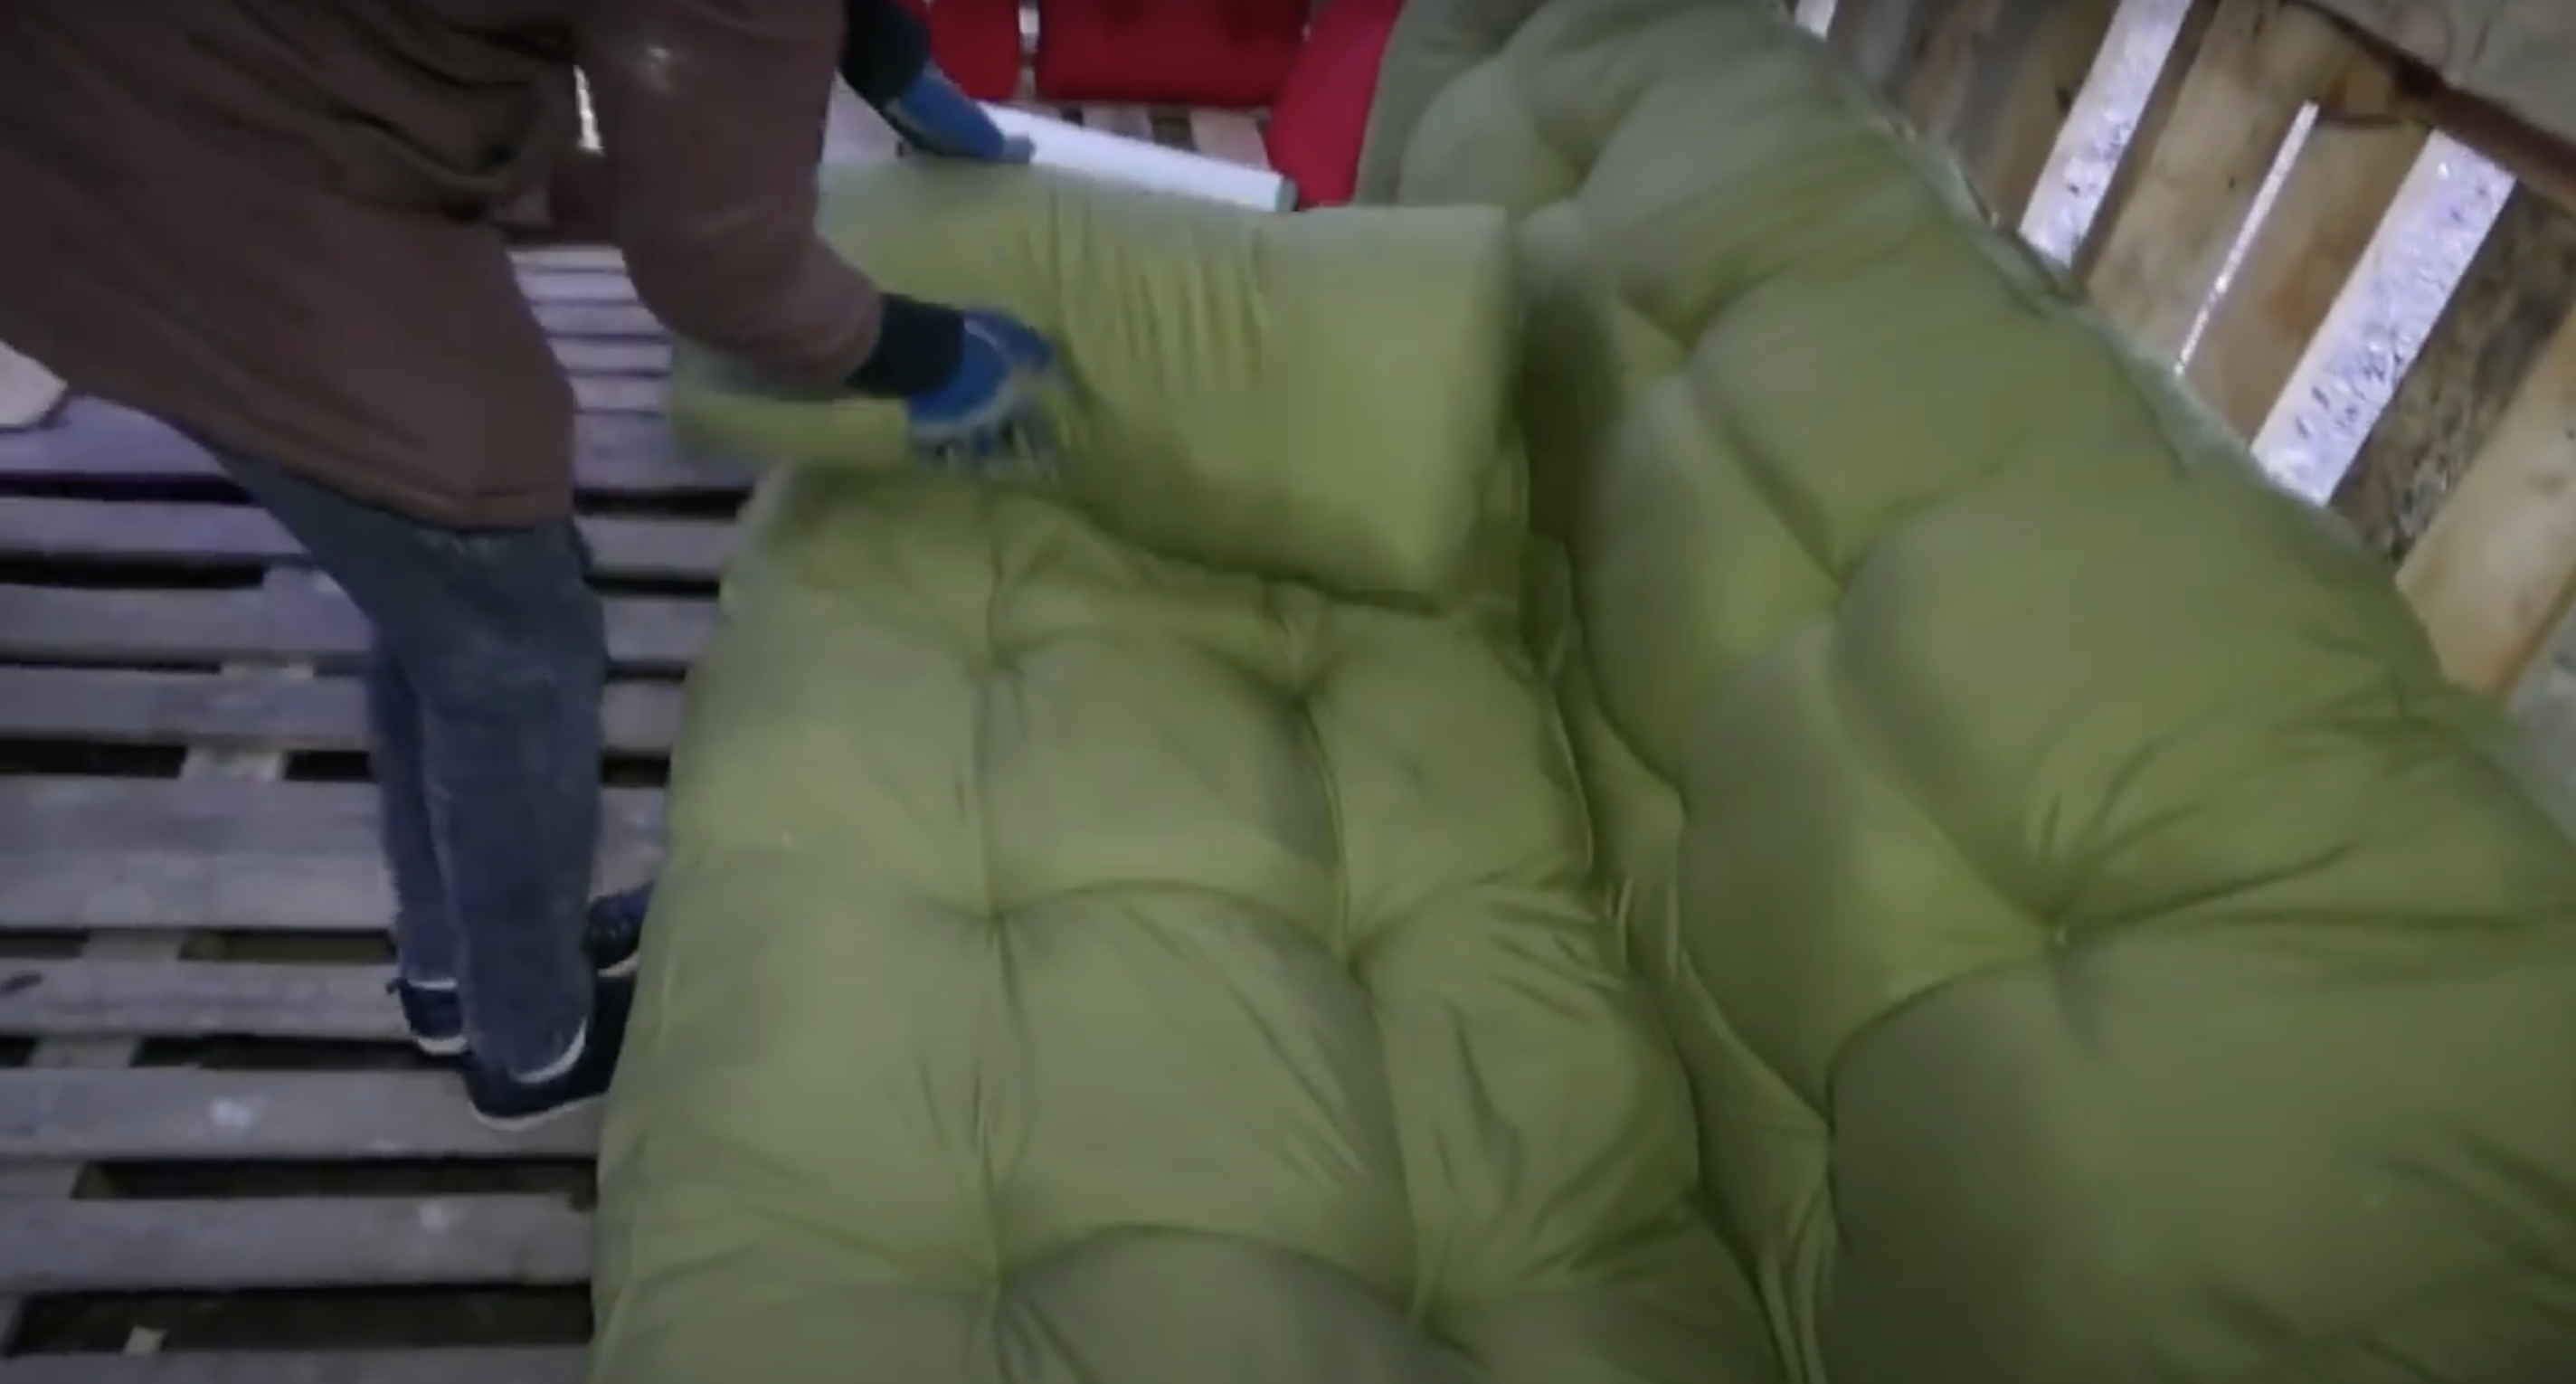
Step 7: Interior Furnishing
Create furniture using pallets—benches or sofas with mattresses on top, tables, and storage areas. Add shelves along the walls for additional storage. Install battery-powered LED lights for evening use.
Add personal touches like decorative branches or artwork to make the space feel homey and reflect your style.
Step 8: Finishing Touches and Decorations
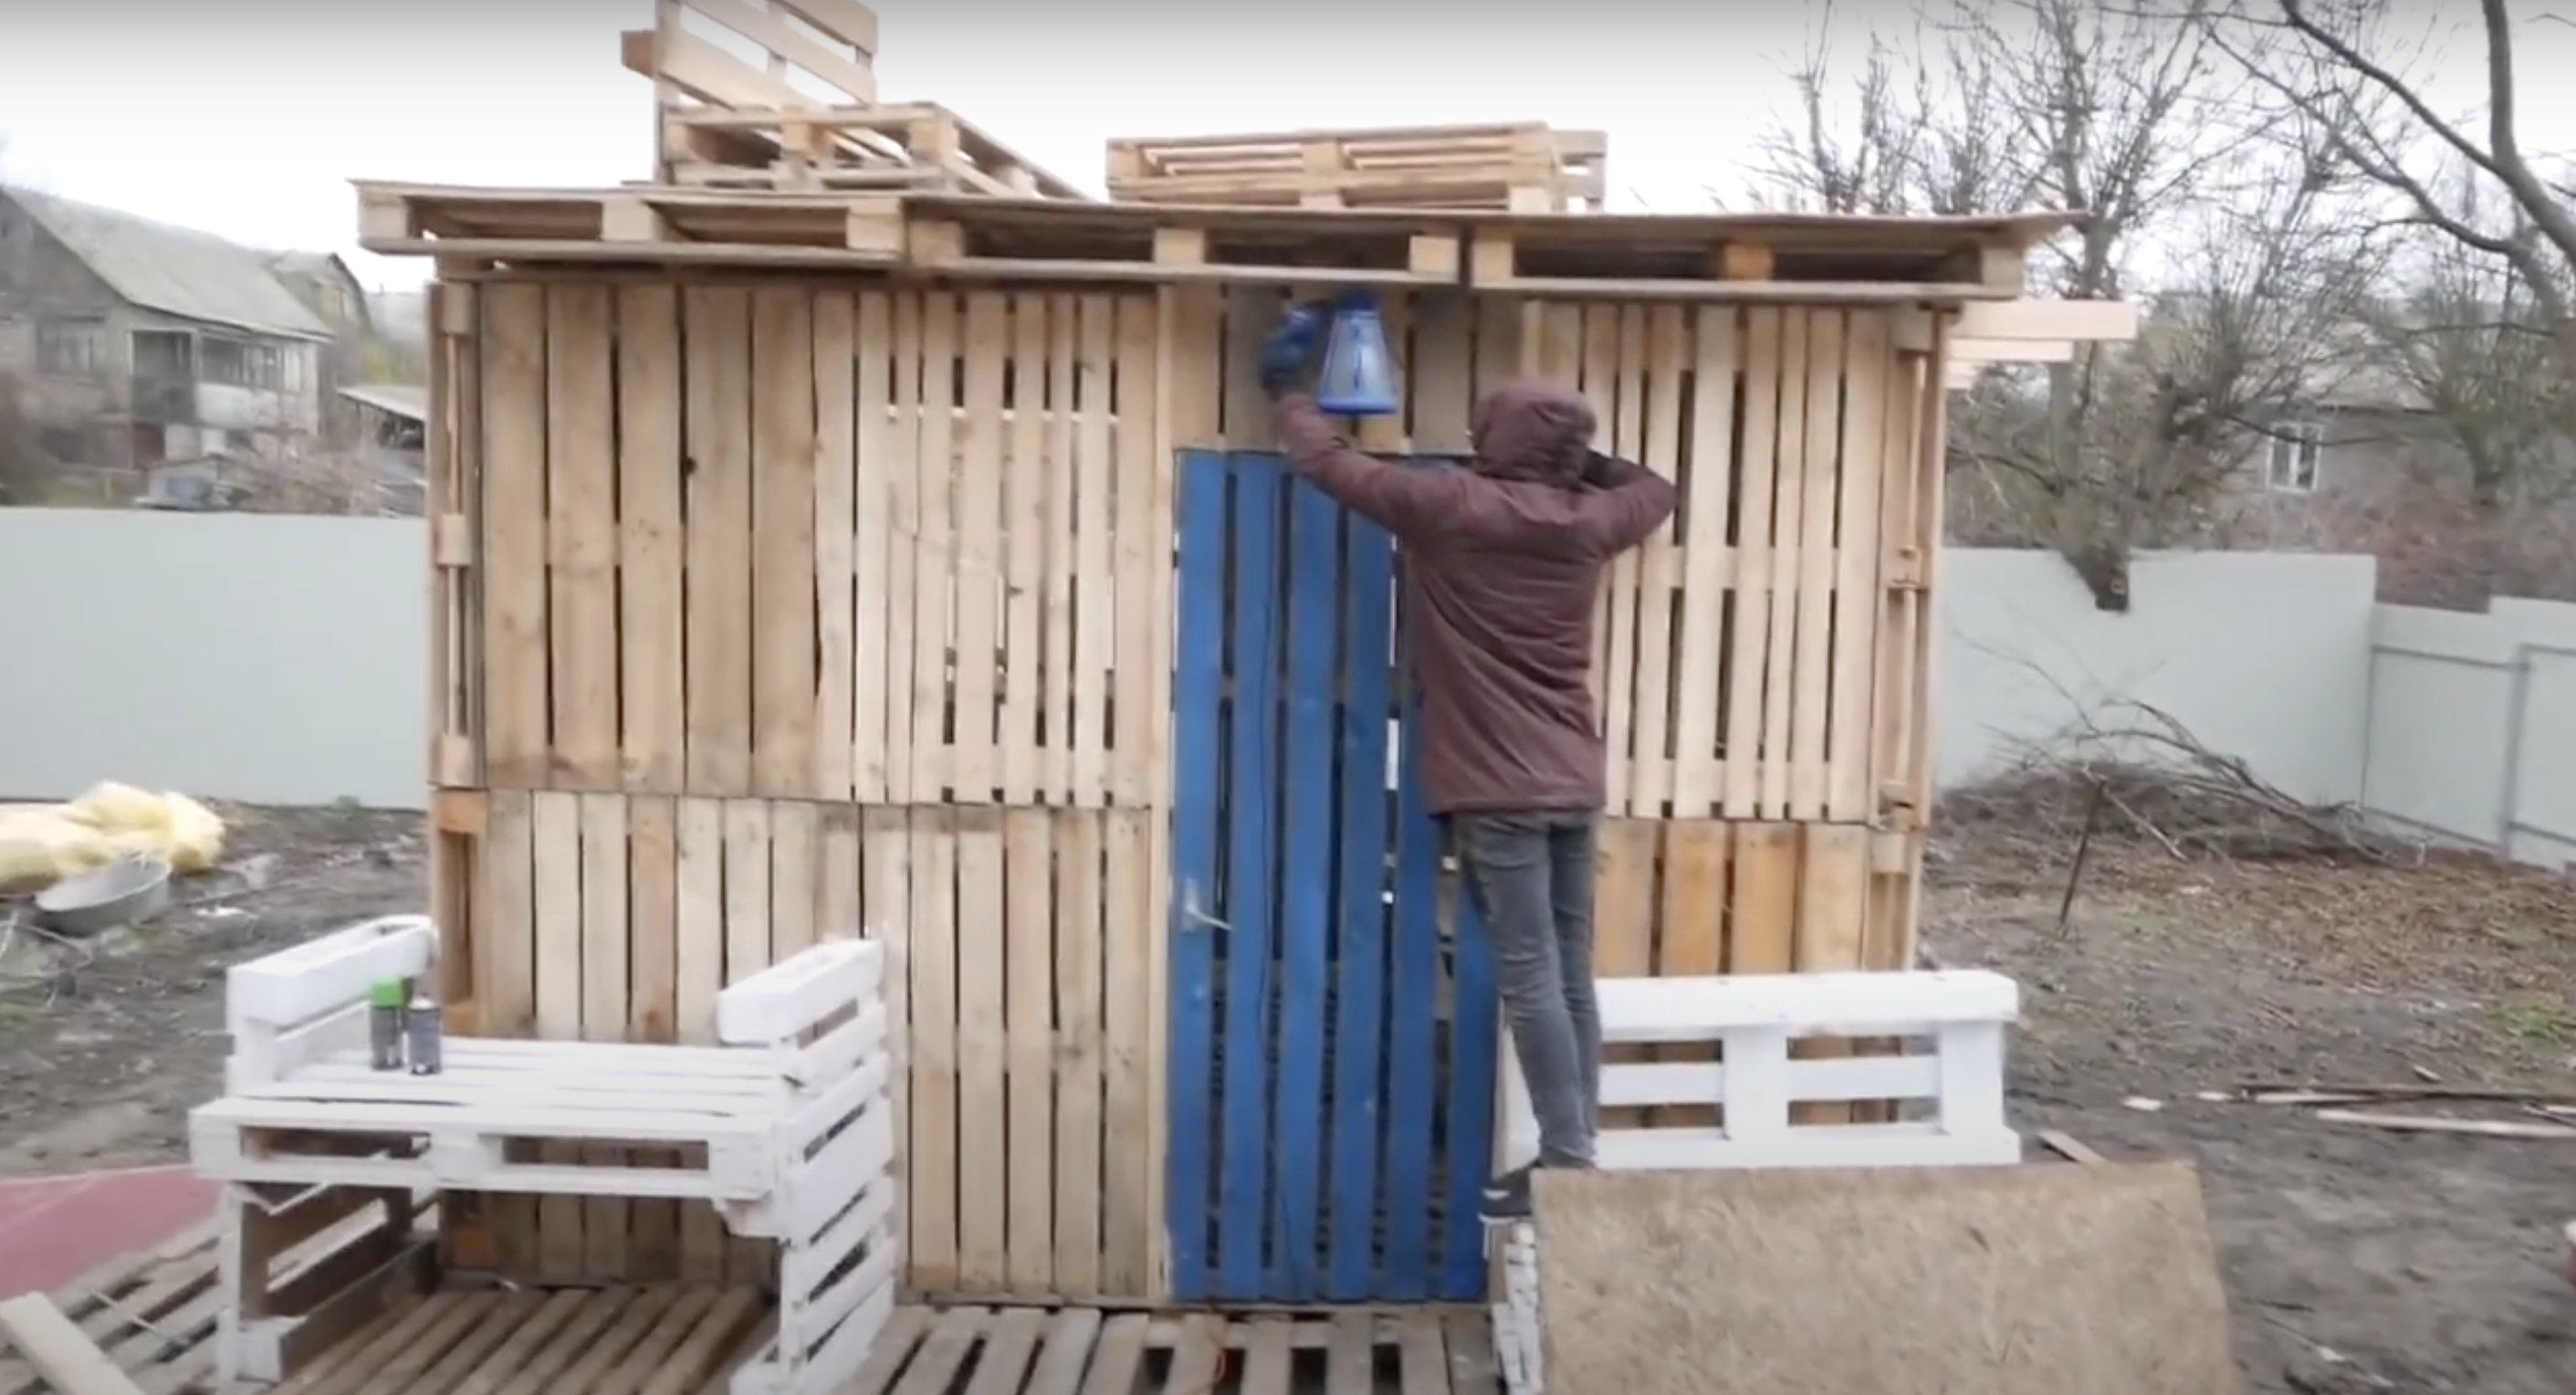
Paint the exterior or apply a wood stain. Add outdoor solar lights for nighttime ambiance—plant flowers or shrubs around the house to integrate with the landscape.
Consider adding a small porch or sitting area outside. Weatherproof exposed wood with appropriate sealants for year-round use.
Step 9: Testing and Improvements
Check for drafts and add bracing if the walls seem unstable. Observe how the space functions in different weather conditions and modify it accordingly.
Add rugs for floor insulation or curtains for windows. List potential improvements, like adding a second floor or extending the structure. Remember that your pallet house can evolve.
Video Tutorial
Check out this YouTube video for a detailed step-by-step Tutorial by Interesting Sneaks.
Maintenance and Care for Pallet House
1. Weather Protection Strategies
Apply quality exterior wood sealer to all exposed surfaces, focusing on joints where water accumulates. Reapply annually before wet weather begins. Add plastic sheeting under the roof covering as a moisture barrier.
Create simple gutters from split PVC pipes to direct rainwater away from the structure. Check regularly for leaks and address them promptly to prevent rot.
2. Pest Prevention Measures
Elevate the foundation using concrete blocks to discourage termites and ground insects. Inspect regularly for signs of infestation, like small holes or sawdust. Apply non-toxic borate treatments as preventative measures.
Keep vegetation away from walls to reduce dampness and insect habitats. Use natural deterrents like cedar blocks or lavender sachets inside.
3. Structural Integrity Checks
Inspect load-bearing elements monthly, including floor supports, wall connections, and roof structure. Tighten loose fasteners that may have worked out due to temperature changes. Check for warping or splitting, especially after storms.
Replace compromised elements promptly. Reinforce corner joints where walls meet, as these areas experience the most stress.
4. Cleaning and Surface Maintenance
Sweep surfaces regularly to prevent dirt buildup that traps moisture. Clean exterior walls annually with a mild soap solution, avoiding pressure washers.
Remove mildew with a vinegar solution (1:4 ratio with water). Sand and refinish areas where the protective coating has worn thin. Keep windows and door tracks clean for proper operation.
5. Seasonal Preparation Guidelines
Check the roof integrity and seal gaps before winter. In autumn, clear leaves fall from the roof. Check windows and add shade features if needed to ensure proper ventilation for summer.
In spring, inspect for winter damage, especially around the foundation where frost heaving occurs. During periods of disuse, provide ventilation and use moisture absorbers to prevent mustiness.
Mistakes to Avoid for a Strong and Durable Structure
| Mistake | Prevention |
|---|---|
| Chemically treated pallets | Use heat-treated (HT) pallets only |
| Poor anchoring | Secure foundation with stakes |
| Improper drainage | Build on elevation with drainage |
| Weak roof | Reinforce properly |
| Poor waterproofing | Apply sealants and overlaps |
| Missing bracing | Add diagonal braces |
| Wrong fasteners | Use outdoor-rated screws |
| Blocked ventilation | Include ventilation openings |
| Rushed work | Follow the proper sequence |
| Uneven weight | Distribute heavy elements evenly |
Pallet Building: Share, Grow, and Inspire Others
1. Pallet Building Communities
Join the growing community of pallet builders online through social media platforms and forums. Many builders share plans, tips, and creative ideas that can enhance your project. Engaging with these communities can help you discover innovative techniques not covered in basic tutorials.
2. Showcase Your Creation
Document your building process and consider sharing it to inspire others. Once your structure is complete, hosting a small gathering can spark interest in sustainable building practices within your local community.
3. Future Expansion Ideas
As your skills grow, consider adding simple extensions to your pallet house, like a covered porch, rain collection system, or solar panels. Many builders find that their first project inspires more ambitious creations, from garden furniture to larger structures.
4. Legal Considerations
Before building, check local building codes and permit requirements. Small structures often fall under “shed” exemptions, but requirements vary between jurisdictions. Consulting with local authorities before beginning construction can prevent potential legal issues later.
Conclusion
You’ve now got everything needed to change forgotten pallets into your dream space! This sustainable building approach proves that beautiful, functional structures don’t require hefty budgets or specialized skills.
As your pallet house takes shape, you’ll gain valuable DIY confidence while creating something uniquely yours.
Share your trip, inspire others, and join the movement revolutionizing how we think about reusing materials. Your perfect pallet paradise isn’t just a building—it’s a statement about creativity, sustainability, and the joy of building something extraordinary with your own hands. What will you create?
Frequently Asked Questions
How Long Will a Pallet House Last?
A pallet house can last 5–10 years with proper construction, weatherproofing, and regular maintenance.
What Pallets Should Be Avoided?
Avoid “MB” pallets and ones with stains, mold, or damage.
Do Pallet Homes Have Bathrooms?
Some pallet homes do have bathrooms, but it depends on the design and available plumbing.