Many crafters want to make felt flowers but feel stuck with basic designs. I get it. I once struggled to create felt flowers that looked real and appealing.
What if I told you that making stunning felt flowers doesn’t need fancy tools or years of practice? With the right steps, anyone can craft beautiful felt flowers at home.
In this tutorial, I’ll show you how to make a felt flower using simple materials. You’ll learn techniques that turn flat fabric into soft, lifelike blooms perfect for home decor, gifts, or fashion accessories.
Ready to start making felt flowers that will impress your friends? Let’s begin with the basics.
Creative Ways to Use Felt Flowers
Felt flowers offer a colorful, durable, and versatile way to enhance your space, style, and events year-round. Here’s how to make the most of them:
Home Décor
- Wreaths & Garlands- Attach flowers to foam wreaths or string them into garlands for doors, walls, or mantels.
- Centerpieces- Group 3–5 flowers in varied sizes for simple, eye-catching table arrangements.
Fashion & Accessories
- Headbands, Bags, Brooches- Add flowers to accessories for a custom touch—great for everyday wear or gifts.
- Lapel Pins- Use pin backings to create unique, wearable accents.
Events & Holidays
- Weddings & Parties- Craft budget-friendly bouquets or embellish favor bags with mini blooms.
- Seasonal Decor – Choose themed colors, such as pastels for spring and red and green for winter, for festive displays.
Step-by-Step Guide to Felt Flowers
1. Choose Soft Felt that Folds Easily Without Creases
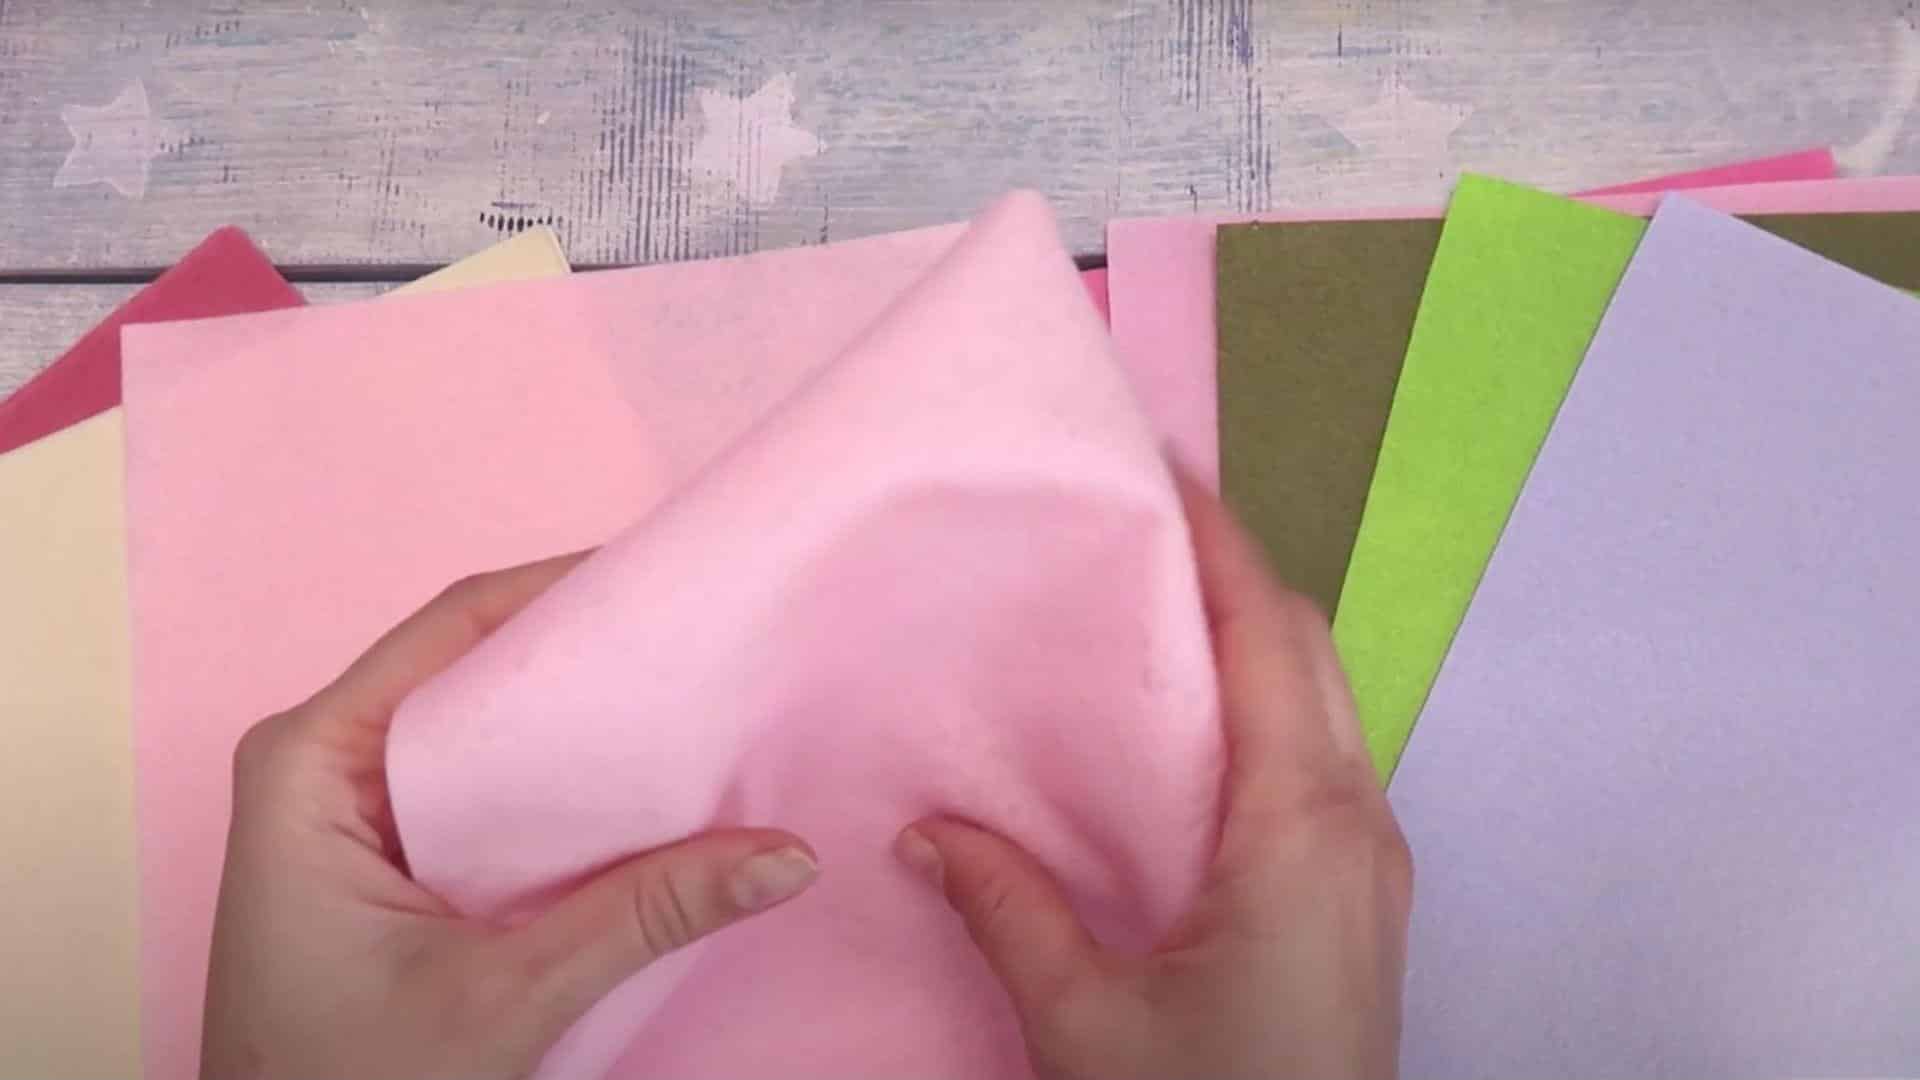
When picking felt for your flowers, test its flexibility first. Good felt bends without showing harsh lines or creases. Rub the material between your fingers – it should feel smooth and pliable. Stiff felt will make rolling difficult and result in flowers that look forced.
The thickness matters too – too thick and it won’t roll well; too thin and your flower might droop. Wool blends often work better than pure synthetic options. Most craft stores offer various colors and qualities. Try folding a corner before buying to check its softness and flexibility.
2. Cut a Circle of Your Chosen Size
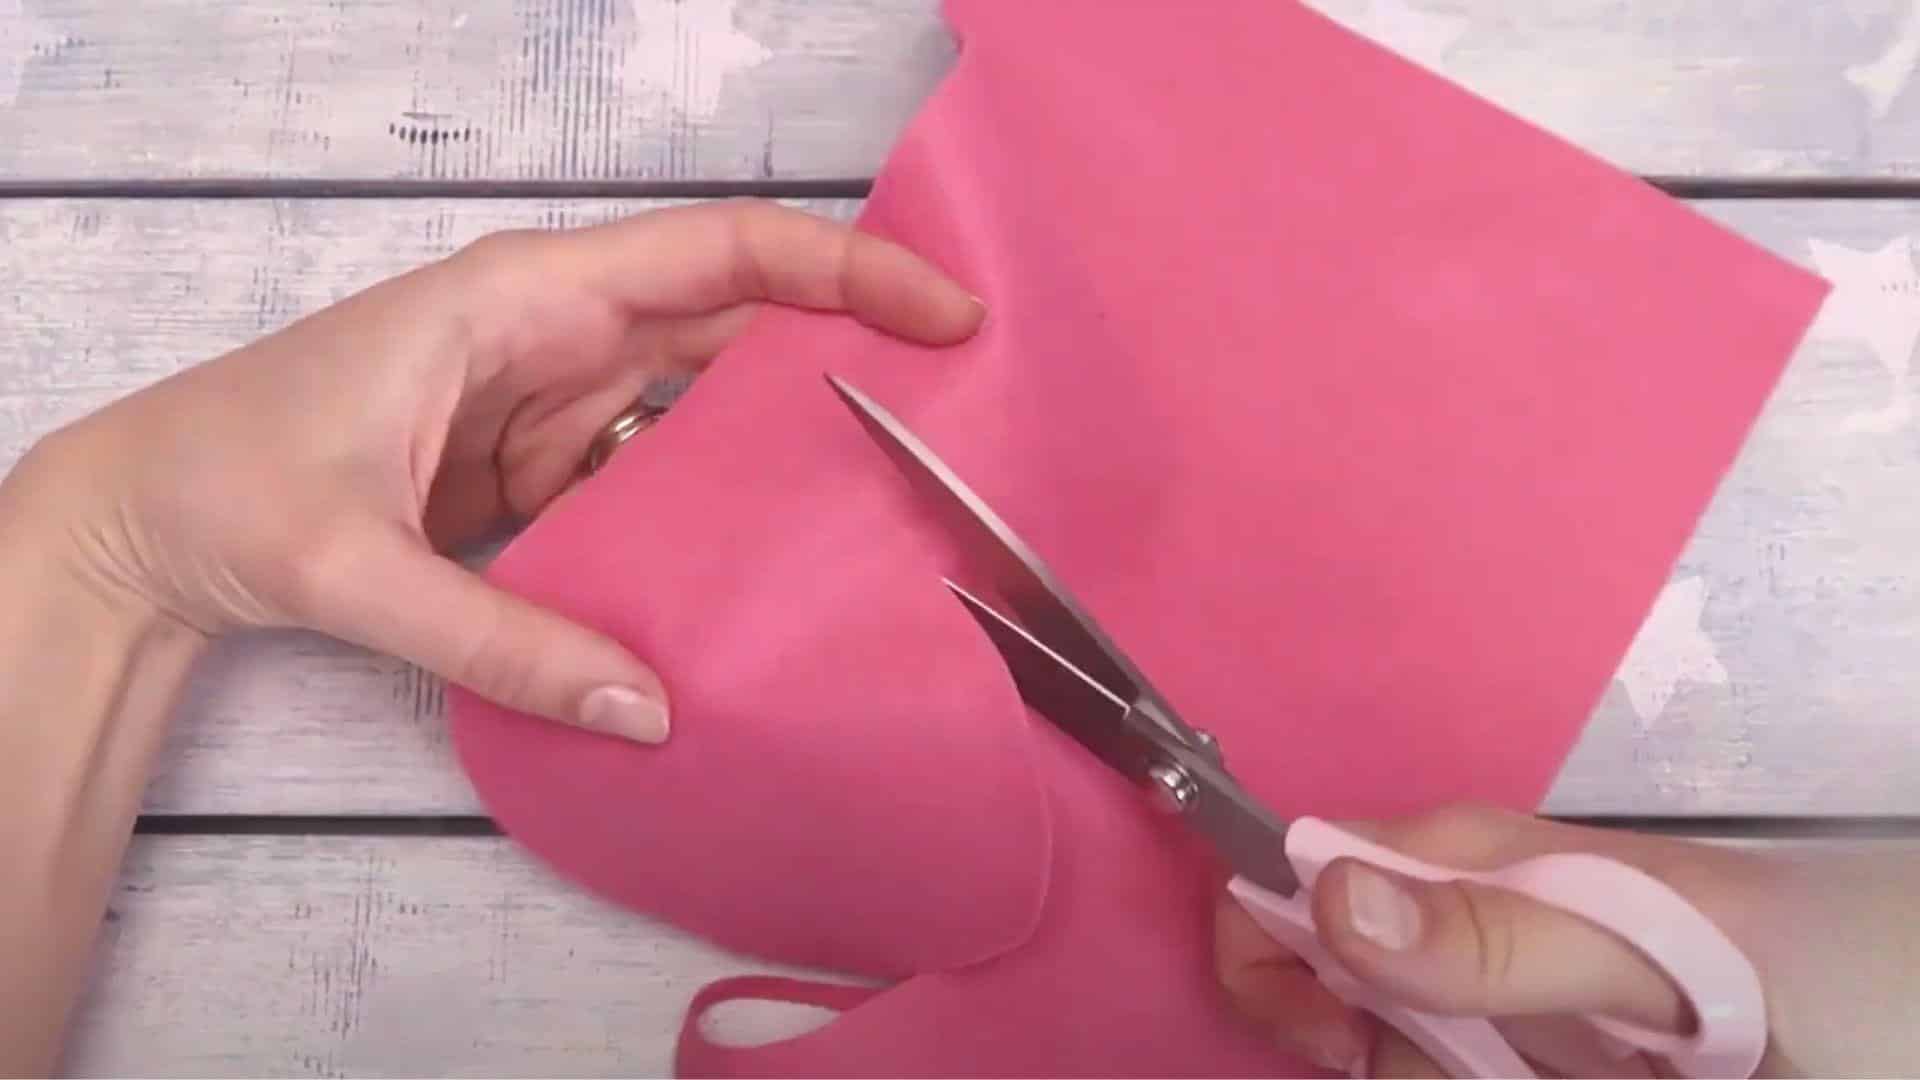
Start with a paper template if you’re new to cutting circles. Trace a round object like a cup or bowl on paper, then cut it out to use as your pattern.
Place this template on your felt and trace around it with a fabric pen or chalk. For beginners, a 4-5 inch circle works well.
Don’t worry about making a perfect circle – slight imperfections add to the natural look of your final flower. If you’re comfortable with free-cutting, you can skip the template and cut directly on the felt.
3. Spiral Cut: From Edge to Center
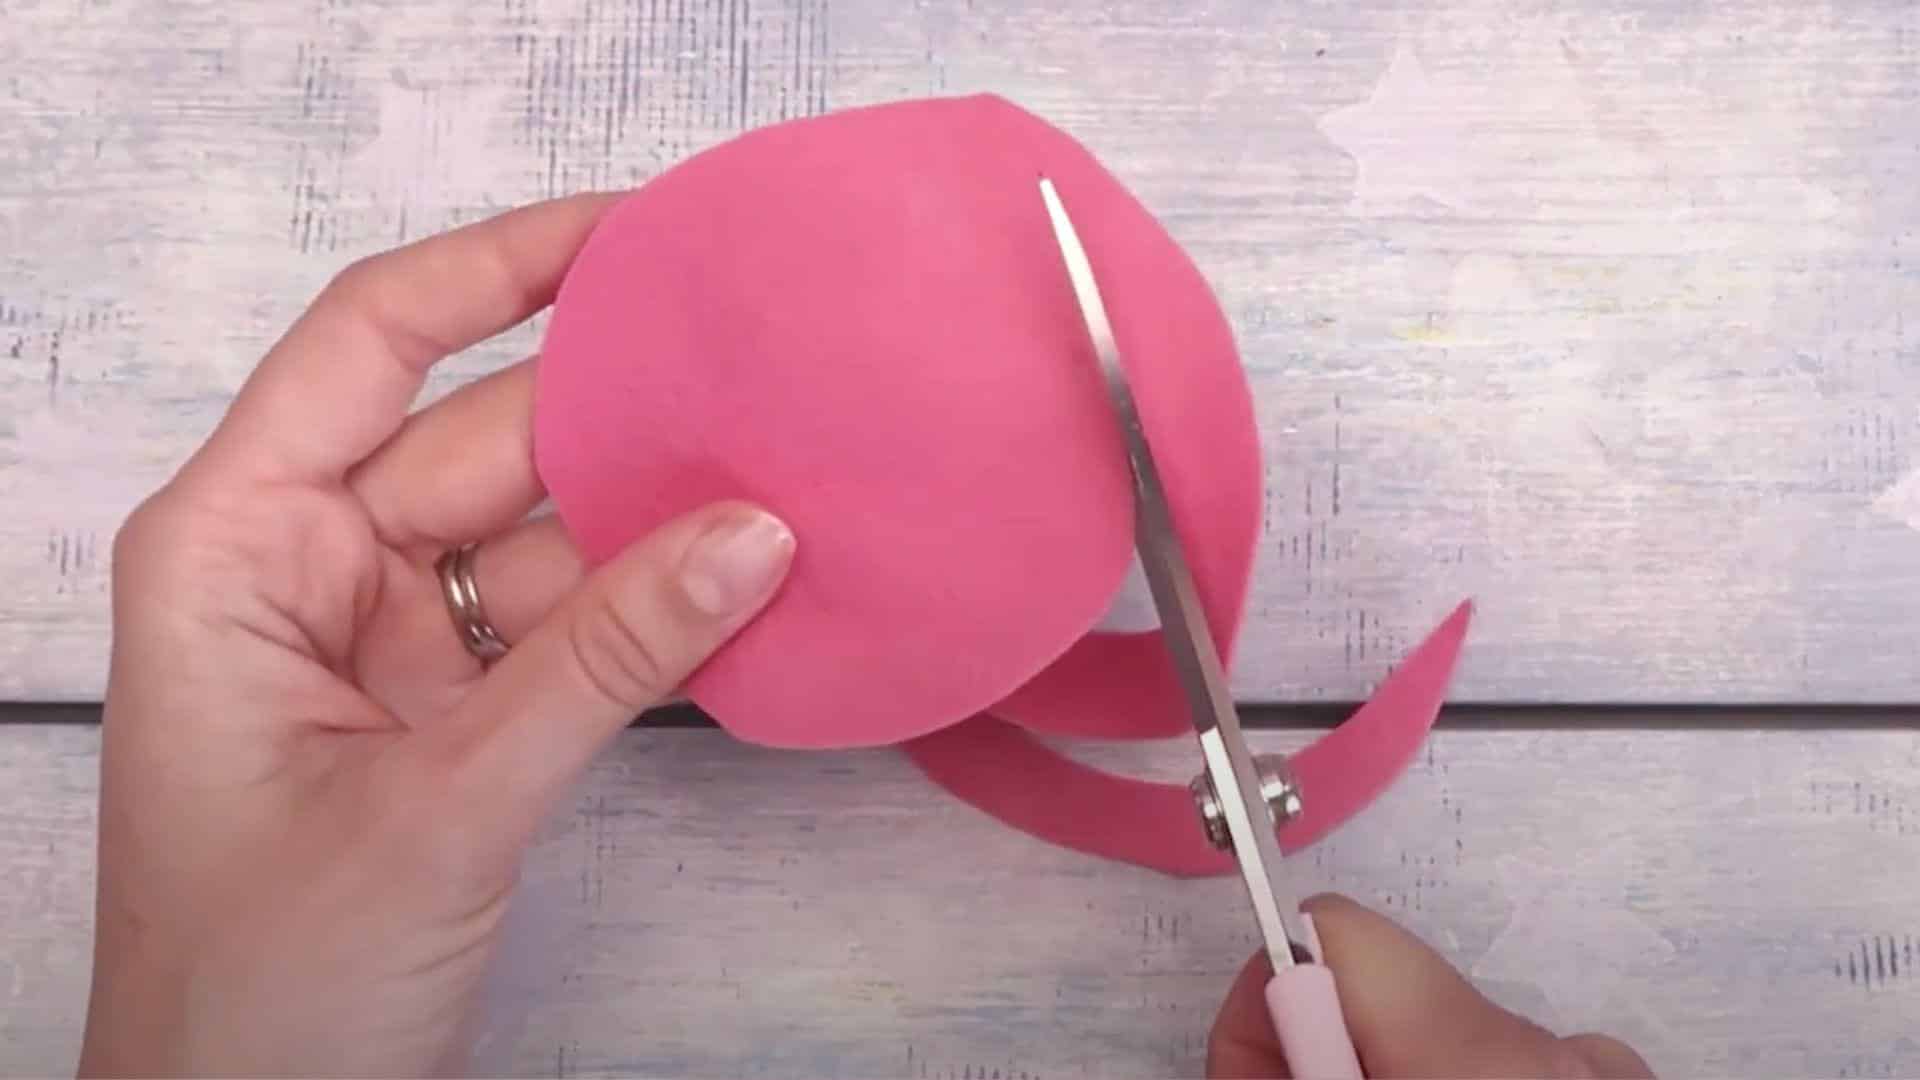
Hold your felt circle firmly and begin cutting from the outer edge. Move in a spiral pattern toward the center, keeping your cuts smooth and steady.
Start with a thin strip (about 1/4 inch wide) at the outer edge. As you continue cutting inward, slowly increase the width to about 3/4 inch. This width variation creates the natural look of flower petals when rolled.
The spiral should flow without sharp turns or angles. Take your time with this step – the quality of your spiral affects the final shape.
4. Leave a Small Circle at The Center
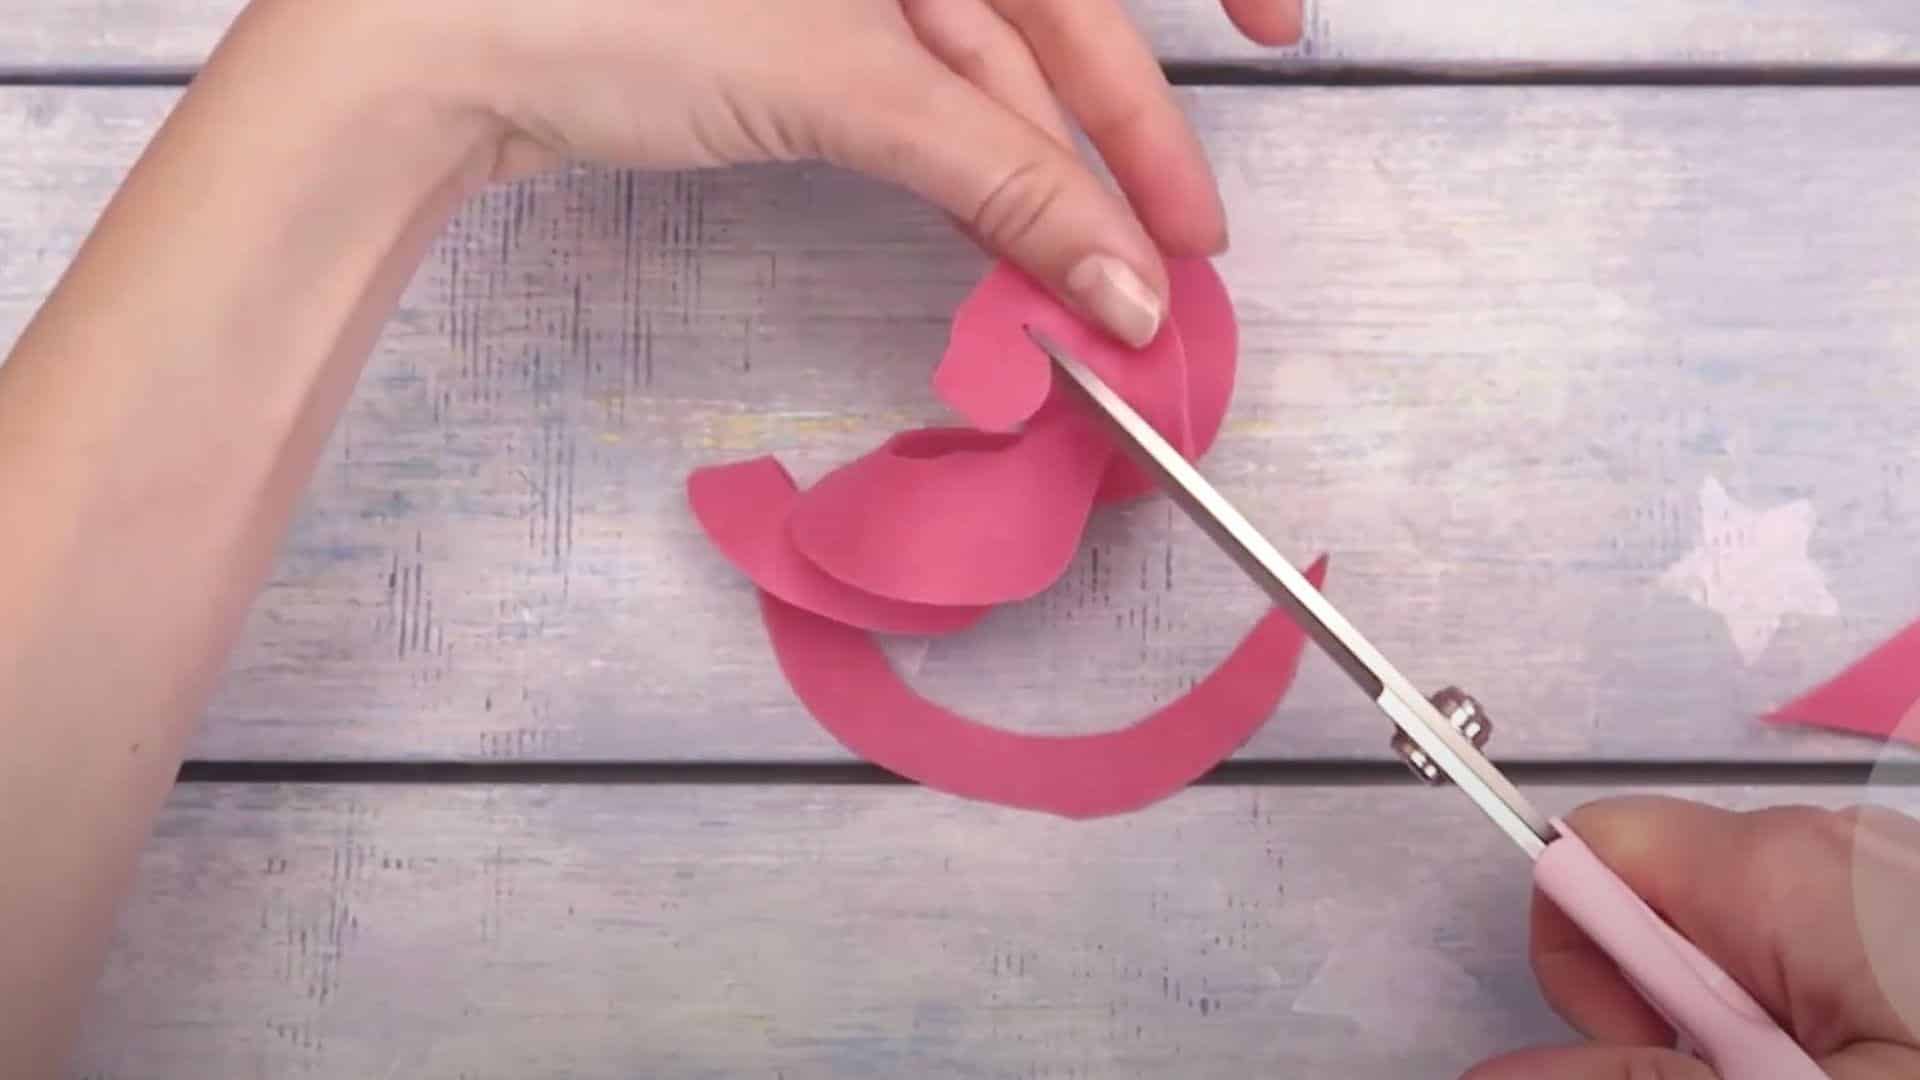
When you reach the middle of your spiral, stop cutting and leave a small circle intact. This centerpiece should be about 1/2 to 1 inch across, depending on your overall flower size. This circle serves as the base of your flower and helps secure everything together.
It creates stability and gives you something to attach your flower to other items like pins or headbands. The size of this circle affects how tight your flower center looks – larger circles make more open centers, smaller ones create tighter buds.
5. Roll the Strip from The Outer Edge Inward
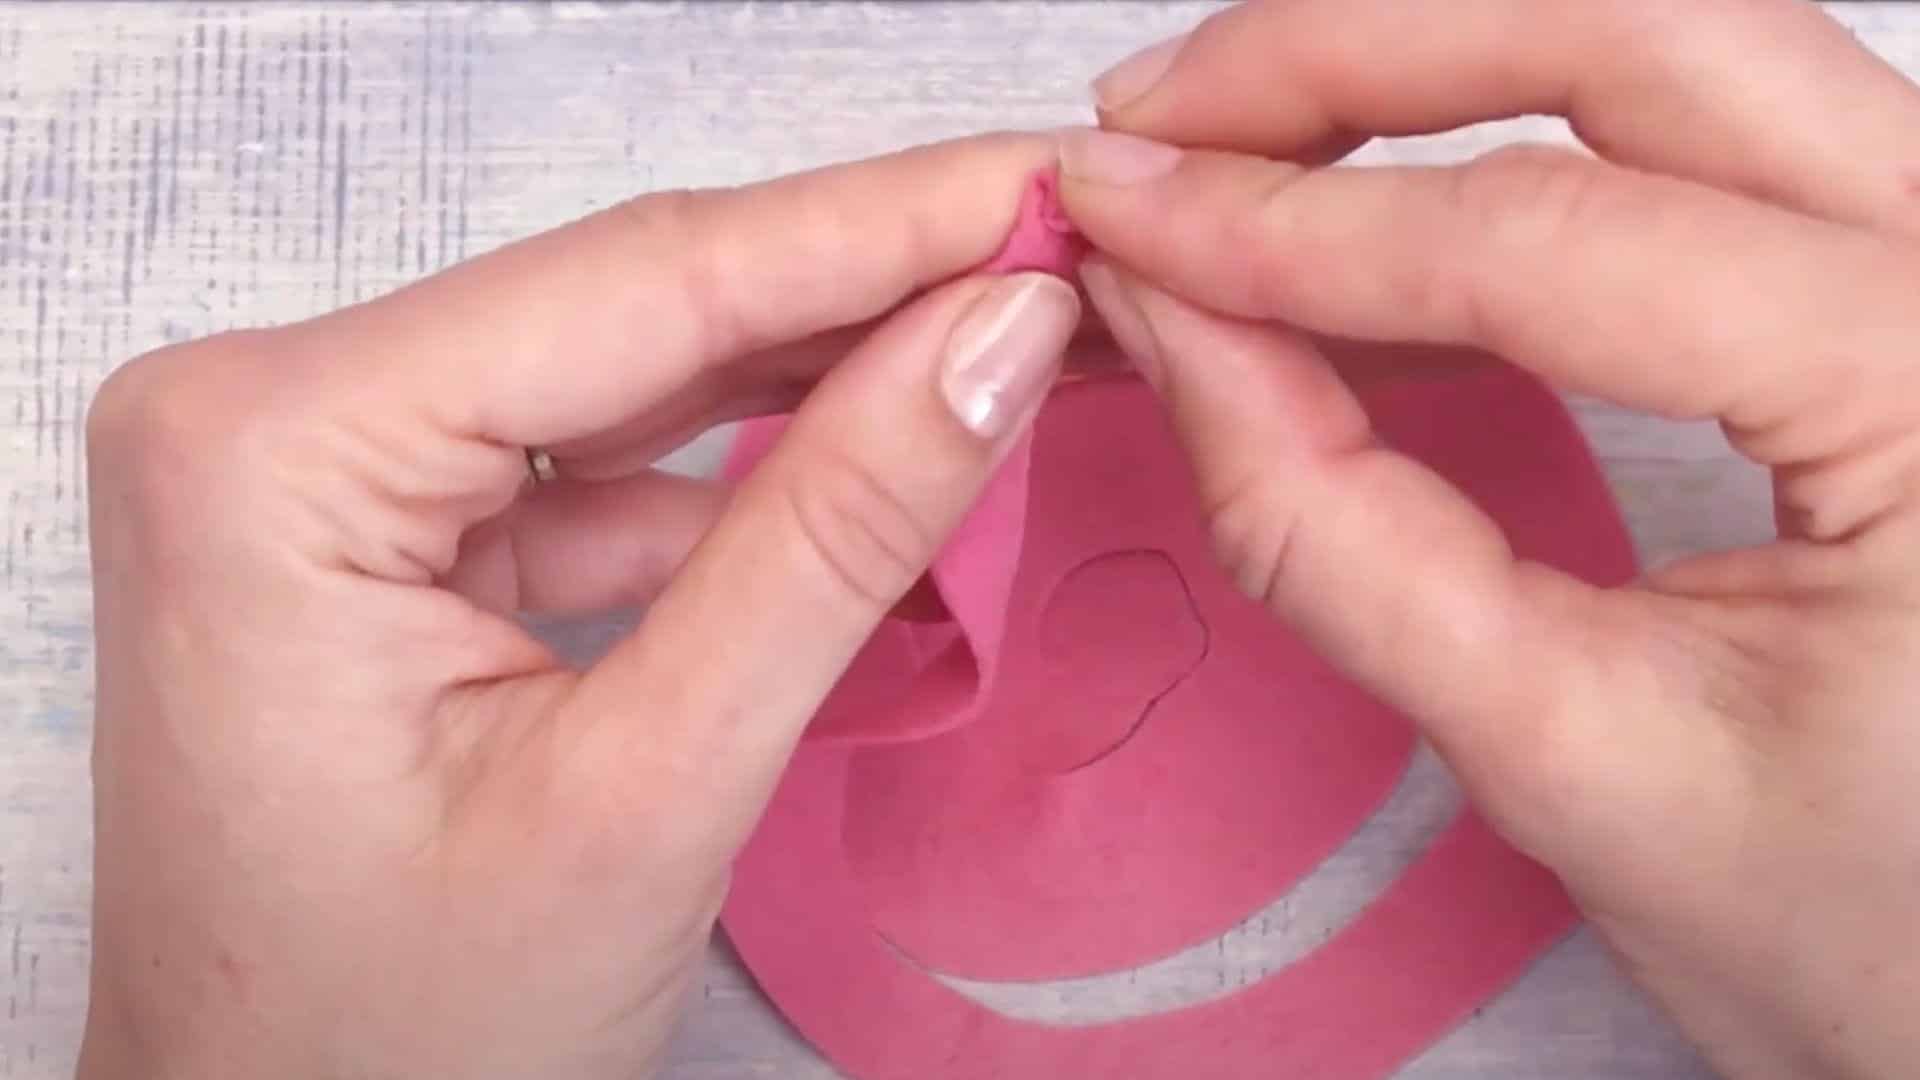
Begin rolling from the outer tip of your spiral strip. Hold the end between your fingers and roll it tightly to form the center bud. As you continue rolling, the strip gets wider, creating the look of opening petals.
Keep the bottom edges aligned as you roll for a clean base. The rolling motion should be smooth but firm. If your felt is stiff, you might need to gently twist as you roll to help it form a natural-looking curve around the center bud.
6. Apply Small Dots of Glue to Hold the Shape
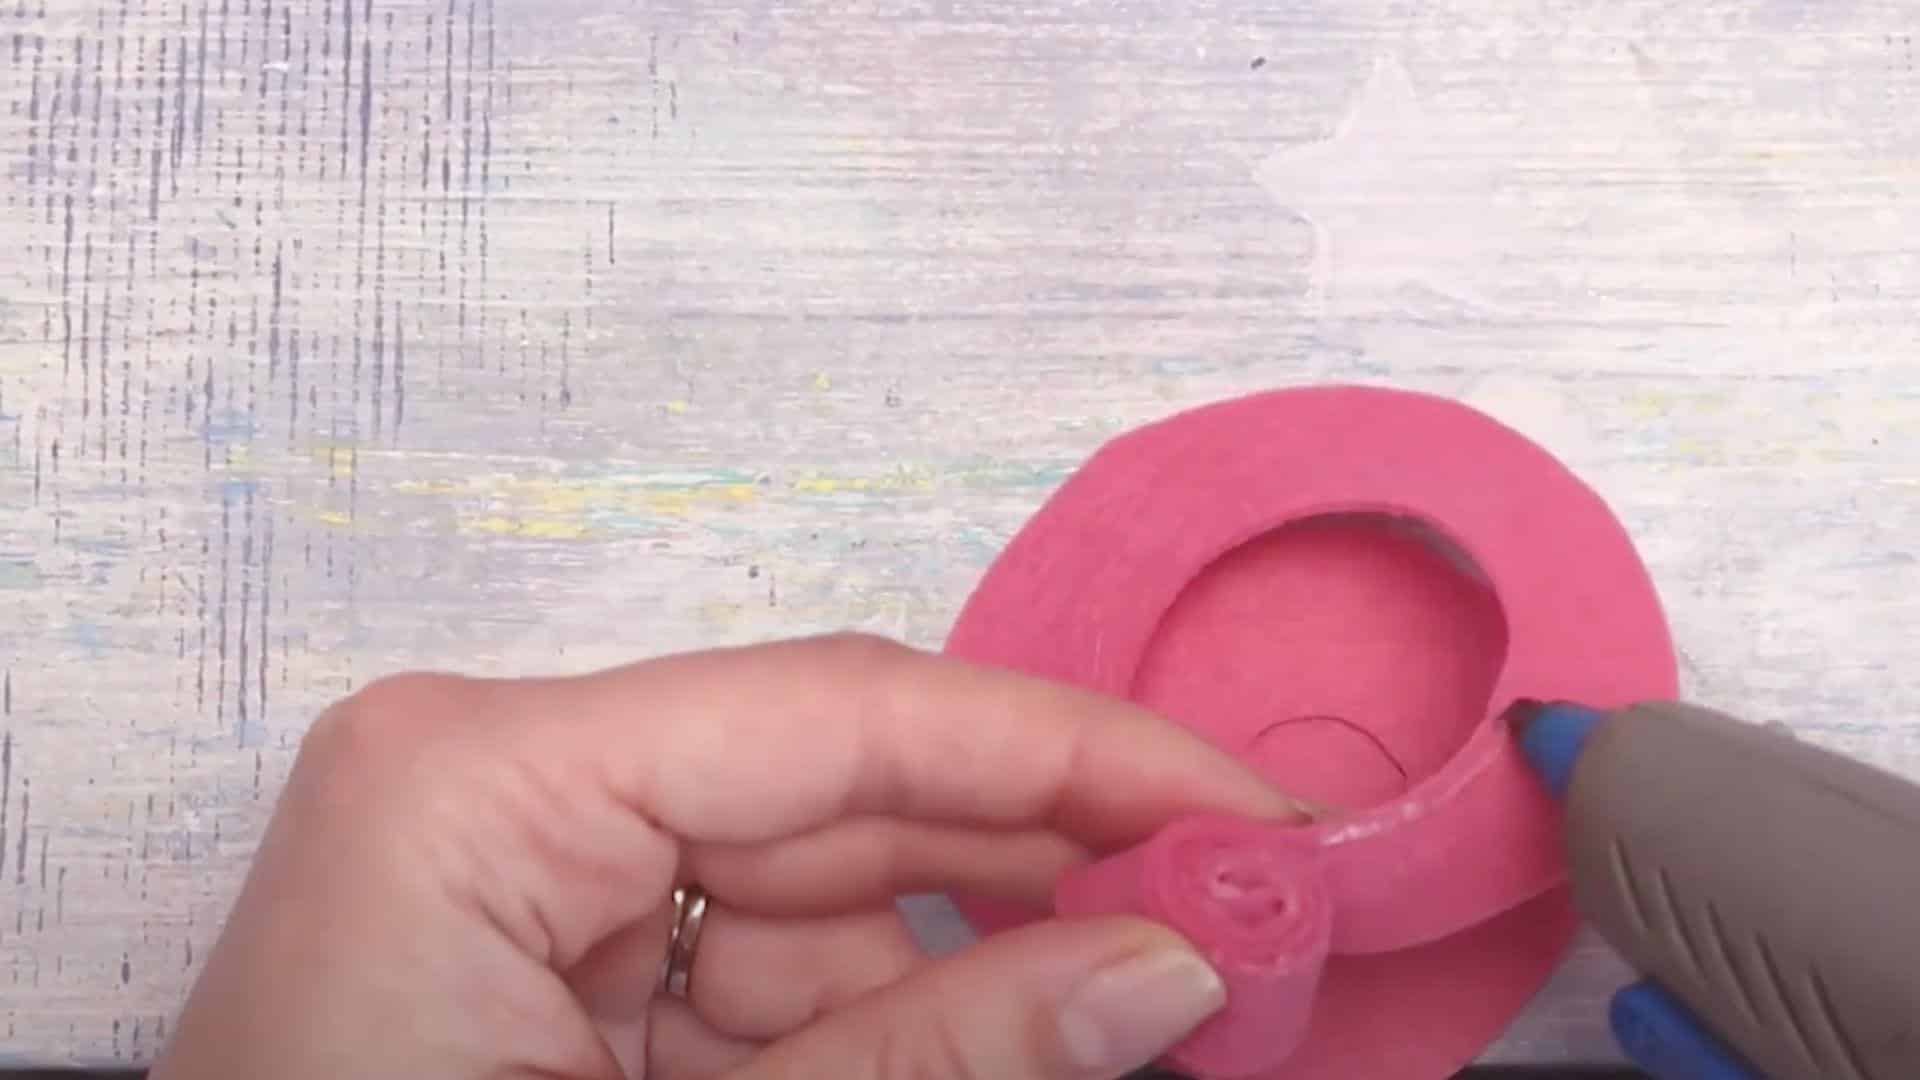
As you roll your spiral, add tiny dots of craft glue every few inches along the bottom edge. This secures each section without making the flower stiff.
Hot glue works for quick projects, while fabric glue creates a more lasting bond. Be careful not to use too much – excess glue can seep through and show on your petals. Let the glue cool or dry slightly between sections to maintain the flower’s shape. Keep a clean cloth nearby to wipe away any glue that might squeeze out from the edges.
7. Attach the Center Circle to The Bottom For Stability
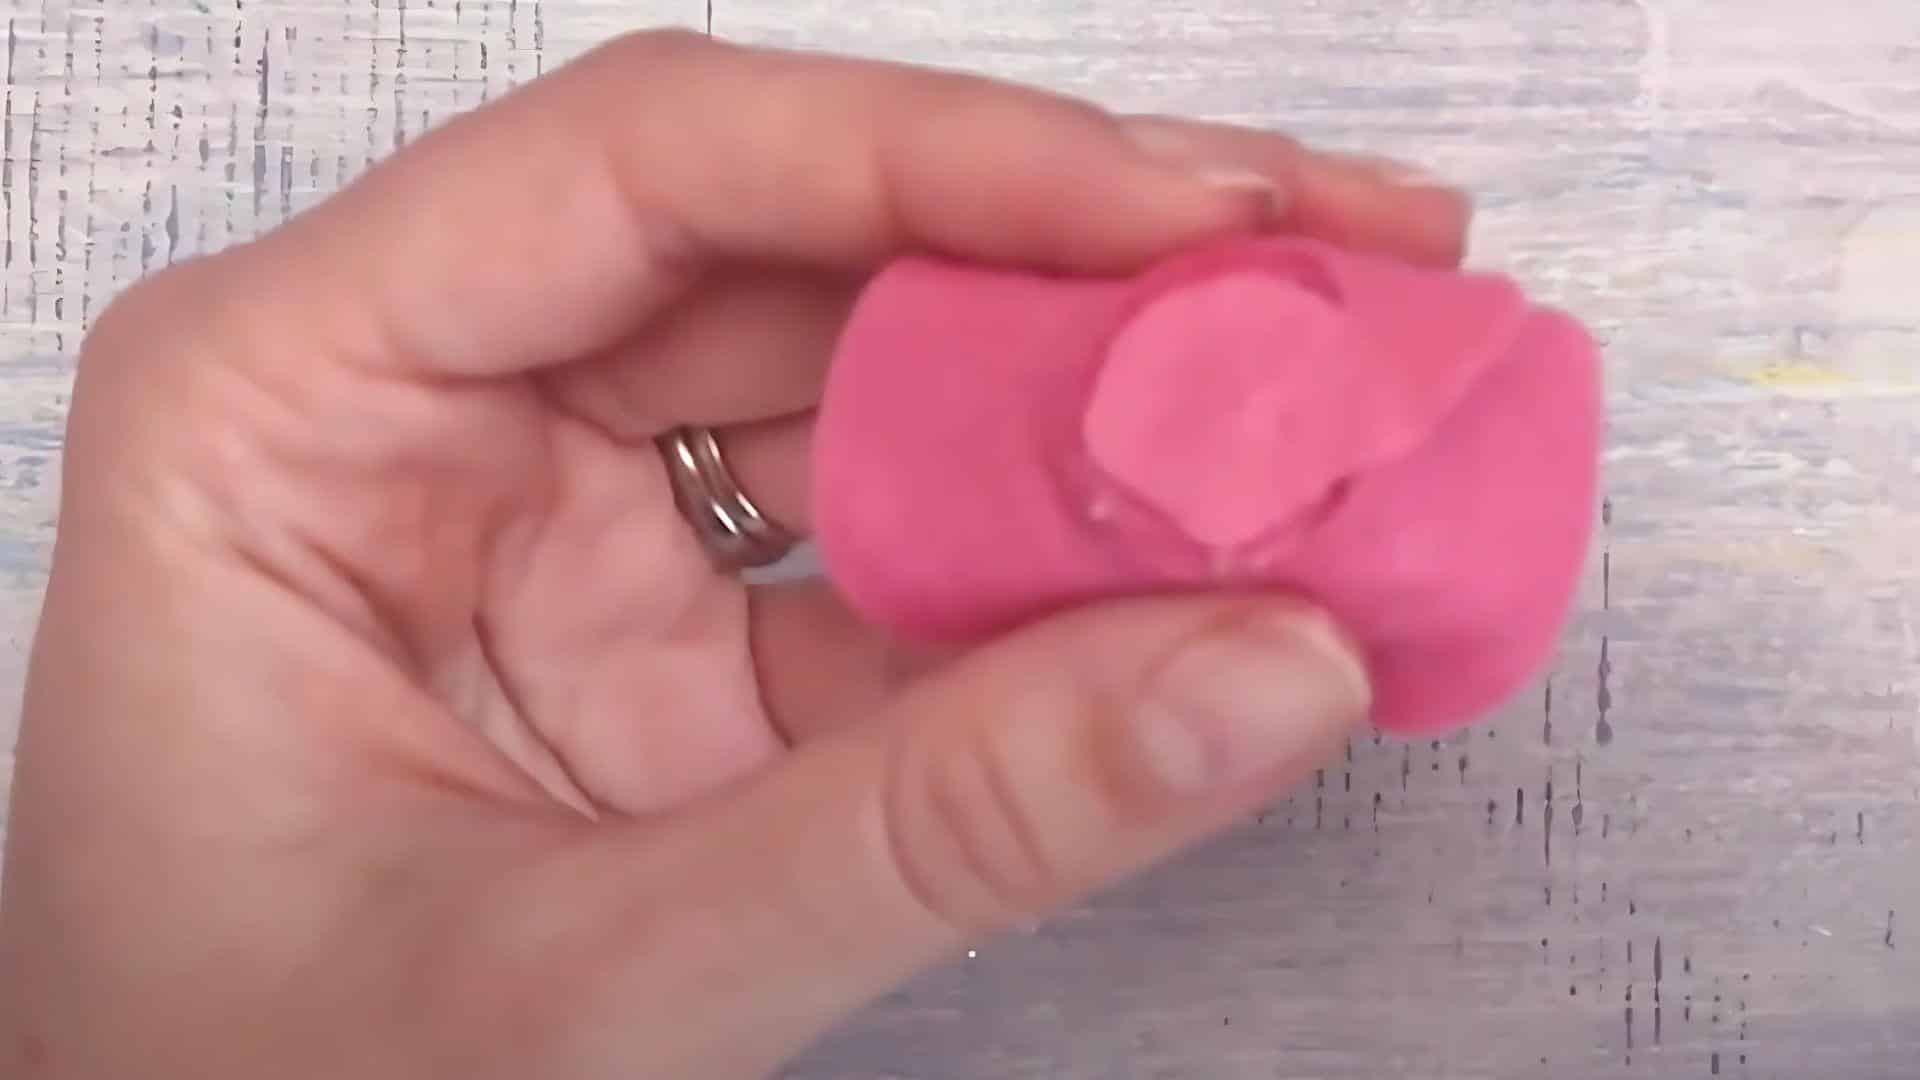
Once your flower is completely rolled, flip it over and add glue to the bottom surface. Press the center circle you saved firmly against this glued area. Hold it in place for 30 seconds until secure.
This circle hides the messy bottom and provides a flat surface for adding pins, clips, or stems. For extra security, you can add a few stitches through the center to keep layers from separating. This base also lets you attach multiple flowers together for larger projects.
I’d like to give credit to AmyFamily DIY for their informative video, which served as a reference for this guide.
5 Pro Tips for Making Felt Flowers
1. Use Heat for Shaping: A low-heat iron helps shape stubborn felt petals. Place a thin cloth over your felt and press quickly with an iron on a low setting. This softens the fibers and makes rolling easier. Let the felt cool completely before handling to keep the new shape.
2. Color Blending Techniques: Layer two different colored felts together before cutting your spiral for a two-tone effect. The colors will show as the flower curls, creating depth. You can also use felt markers on the edges of white or light-colored petals to add subtle color shifts.
3. Tool Alternatives: No fancy tools needed! Bobby pins work great for holding tiny sections while the glue dries. For precise cutting, manicure scissors often work better than large craft scissors. A wooden skewer helps you roll tight centers without burning your fingers on hot glue.
4. Size Consistency: Make templates from cardboard for circles you use often. This ensures all your flowers in a project stay consistent in size. For sets of flowers, cut all your circles at once, then all your spirals, then roll them all.
5. Adding Texture: Brush finished flowers lightly with a clean, dry toothbrush to create a fuzzy, soft look similar to real flower petals. You can also pinch or crease petals after rolling to add texture. Some crafters lightly mist wool felt with water, then let it dry to create subtle texture effects.
Conclusion
Now you have all the steps to create beautiful felt flowers at home. With just felt, scissors, and glue, you can make decorations that last far longer than real blooms.
The basic spiral technique opens up countless design options. Try different petal shapes, colors, and sizes to build your own unique collection. Remember that small changes in your cutting pattern create totally different flower types.
Why does this matter? Felt flowers add a personal touch to your home, wardrobe, and special events without the cost of fresh flowers. They’re perfect for people with allergies or those who want lasting decorations.
Ready to start? Grab some felt and make your first flower today. Share photos of your creations in the comments section below!