Wood staining improves the natural beauty of wooden surfaces, but blotchy results can be frustrating.
Uneven absorption often causes these imperfections, but with proper techniques and materials, you can restore your wood to a beautiful, uniform finish.
This guide walks you through the step-by-step process of fixing blotchy wood stain, ensuring you achieve professional-looking results.
Whether you’re working with furniture, flooring, or trim, these methods will help you convert patchy, irregular staining into a smooth, consistent finish that highlights the wood’s natural grain and adds warmth to your space.
The Science Behind Wood Staining
Wood staining isn’t just about changing the color of your furniture; it’s about understanding how wood absorbs liquid.
The structure of wood, particularly its grain and pores, plays a significant role in how it absorbs stain. Wood fibers, which comprise the grain, can be either tight or loose, and areas with open grain tend to absorb more stain, resulting in blotches.
Additionally, the moisture content of the wood affects how evenly it absorbs the stain—too much moisture can cause uneven absorption, while too little can result in streaks.
By using a wood conditioner and controlling the environment, you can help ensure the stain is absorbed evenly, giving you a smooth, professional-looking finish.
Step-by-Step Guide to Fixing Blotchy Wood Stains
Blotchy stains can affect your wood project, but with the right tools and technique, you can restore a smooth, even finish.
Tools and Materials Needed:
| Tool/Material | Purpose |
|---|---|
| Sandpaper (150-220 grit) | Remove the old finish and smooth the surface |
| Sanding block/orbital sander | Ensure even sanding pressure |
| Wood conditioner | Prevent uneven absorption |
| Wood stain | Provide the desired color |
| Clear topcoat | Protect the finished surface |
| Lint-free cloths | Apply products and wipe excess |
| Mineral spirits | Clean surfaces and tools |
| Protective gear | Safety during the project |
| Painter’s tape | Protect adjacent areas |
| Natural-bristle brushes | Apply finishes evenly |
Step 1: Assess the Damage
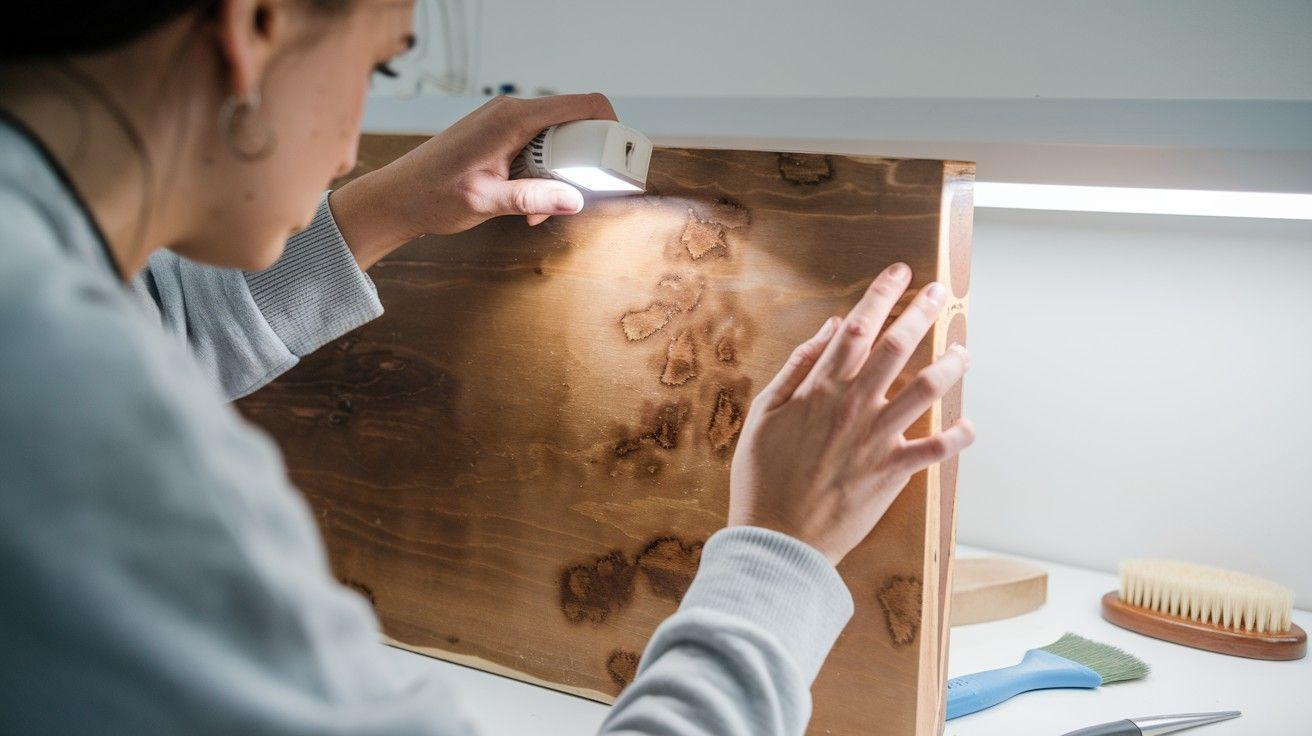
Examine the blotchy surface under good lighting to determine whether the problem affects specific areas or the entire piece. Touch the surface to check if the existing finish has fully cured, as some issues appear less noticeable after proper drying.
Take reference photos to help decide between spot-fixing or complete refinishing. Understanding the extent of blotchiness helps plan your approach and estimate the time needed for your project.
Step 2: Prepare Your Workspace
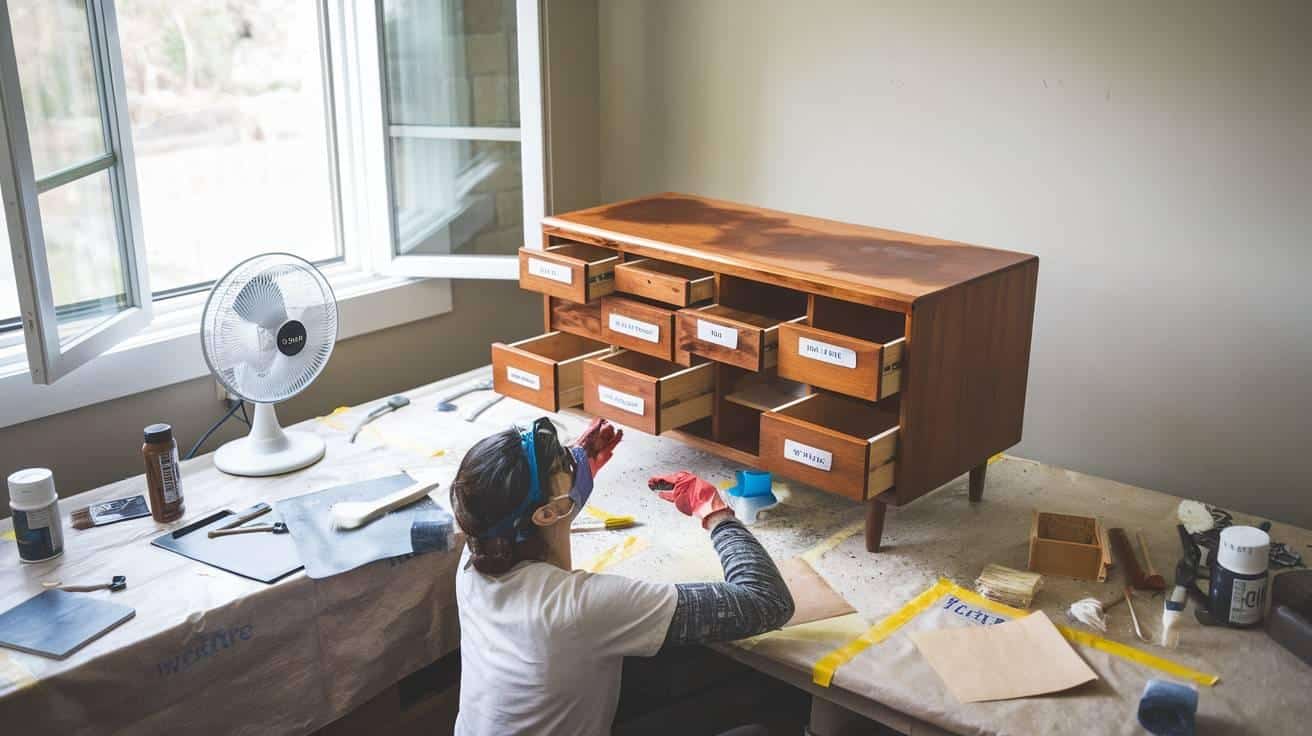
Open windows or set up fans to create a well-ventilated area. Protect surrounding surfaces with drop cloths secured with painter’s tape.
Remove hardware, drawers, and any removable parts, labeling them for easy reassembly. Position your wood piece on a stable surface at a comfortable working height, and arrange your tools within reach.
Wear protective gear, including gloves, eyewear, and a dust mask, particularly during sanding and chemical application.
Step 3: Remove the Existing Finish
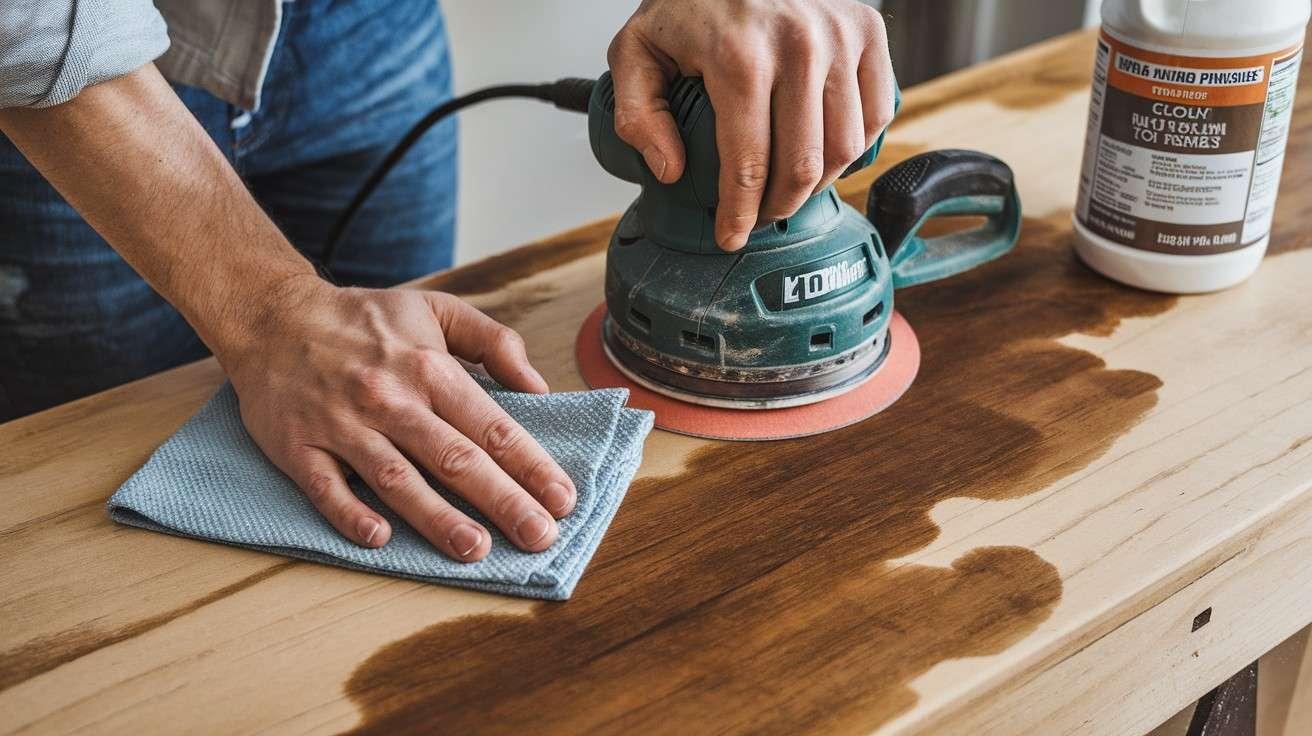
Using 150-grit sandpaper, sand the entire surface in the direction of the wood grain to remove the blotchy stain.
An orbital sander saves time for large areas, but avoid pressing too hard to prevent damage. Periodically wipe with a tack cloth to remove dust and check your progress until you reach bare wood.
Pay special attention to heavily blotched areas, which may require more sanding. For stubborn finishes, follow the manufacturer’s instructions for a chemical stripper.
Step 4: Sand for Smoothness

Progress to finer sandpaper (180-grit, then 220-grit) to create a smooth, even texture. Sand the entire piece consistently to ensure uniform stain absorption.
Focus extra attention on end grains, which typically absorb more stain and contribute to blotchiness. Between grits, wipe the surface clean with a tack cloth. Run your hand over the wood to feel for rough spots or inconsistencies—the surface should feel uniformly smooth with no visible scratches.
Step 5: Apply Wood Conditioner
Apply conditioner liberally using a brush or cloth, ensuring complete coverage, especially on blotch-prone woods like pine, maple, or cherry.
Allow it to penetrate according to the manufacturer’s instructions, typically 5-15 minutes. Before it dries completely, wipe off any excess with a clean cloth.
The conditioner partially seals the wood’s pores, creating a more uniform surface for stain absorption. Wait the recommended time before staining—usually 2 hours, but sometimes up to 24 hours.
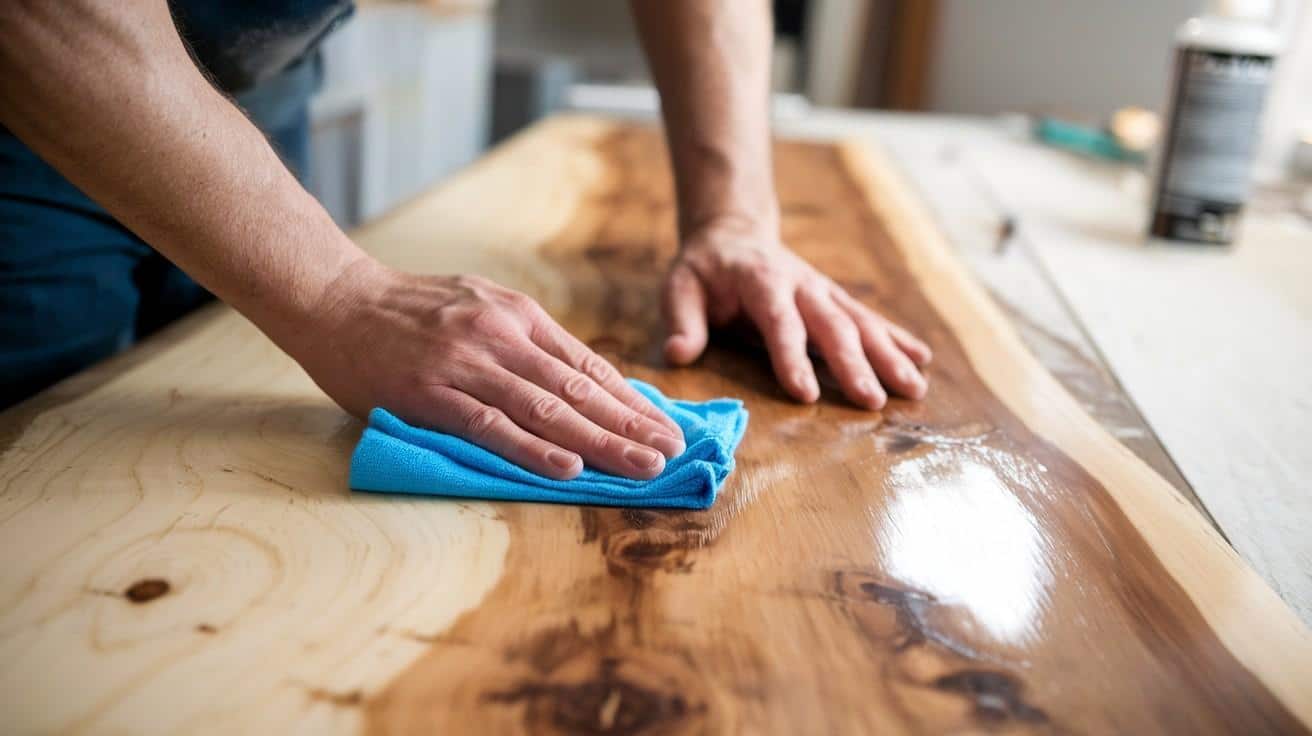
Step 6: Apply Stain Correctly
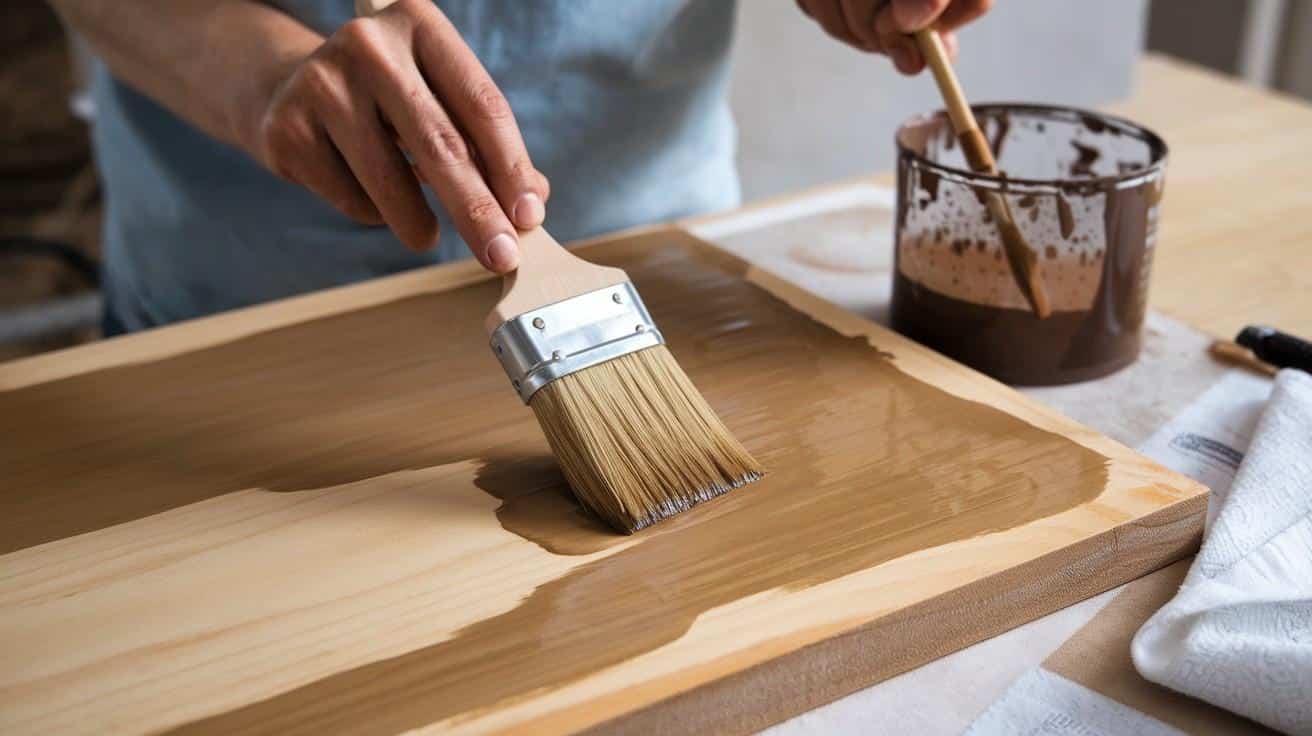
Stir the stain thoroughly, without shaking, to prevent bubbles from forming. Apply using a natural-bristle brush or lint-free cloth, working in small sections of about three feet at a time. Follow the wood grain and maintain a wet edge to prevent lap marks.
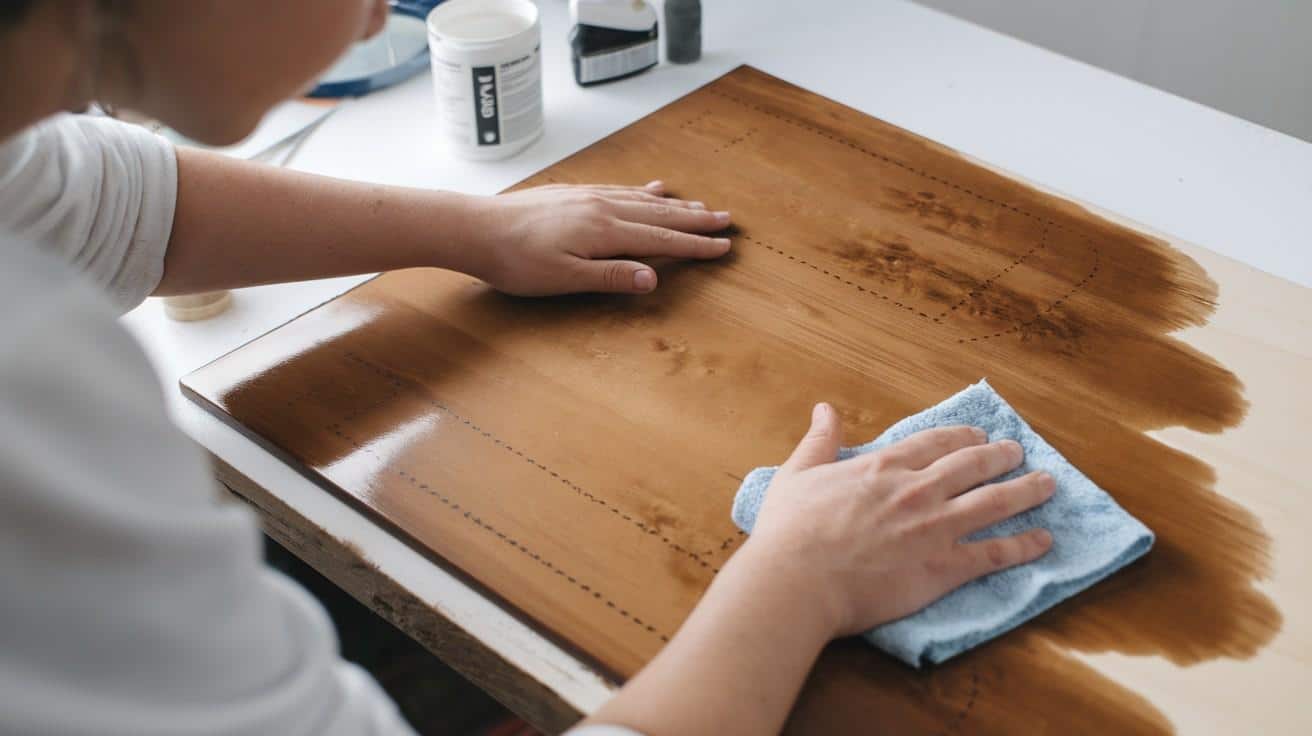
Allow the stain to penetrate for the recommended time, typically 5-15 minutes, then wipe off excess with a clean cloth. For more uniform results, apply multiple thin coats rather than a single heavy coat, allowing each coat to dry completely before applying the next one.
Step 7: Evaluate and Correct
After the first coat has dried completely, examine the surface for any remaining blotchiness. For areas that are too light, apply an additional coat of stain only to those sections, blending the edges carefully.
For areas that are too dark, lightly sand with 220-grit sandpaper to reduce color intensity. After making corrections, wipe the surface clean and allow it to dry fully.
Remember that subtle variations often add character to wood, and achieving absolute perfection may not be possible with certain species.
Step 8: Apply a Protective Topcoat
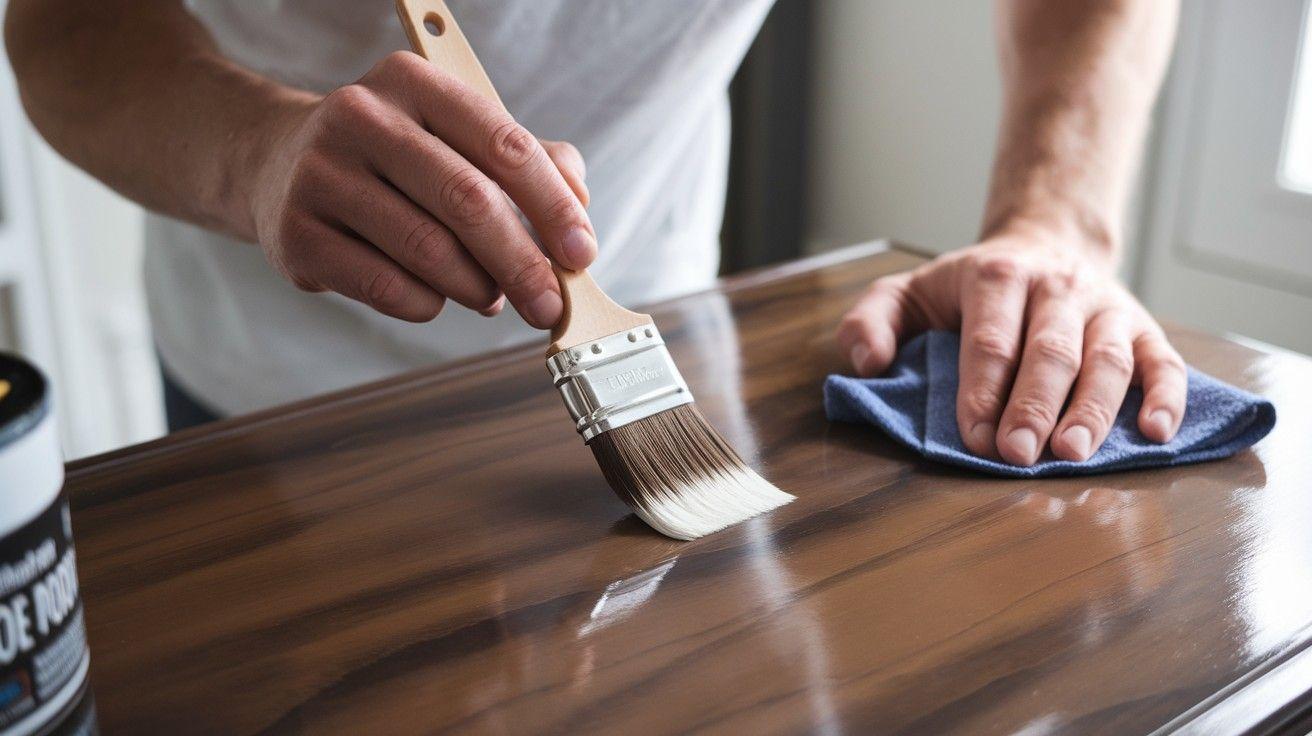
Once you are satisfied with the stain’s appearance, protect your work with a clear topcoat after it has dried completely, typically within 24-48 hours.
Stir the topcoat gently and apply it with a high-quality brush in thin, even coats, following the natural grain of the wood.
Allow each coat to dry completely, then lightly sand with 220-grit sandpaper before the next coat. Wipe away sanding dust with a tack cloth between coats. Apply 2-3 top coats for durability, leaving the final coat unsanded for maximum sheen and protection.
Step 9: Final Touches and Reassembly
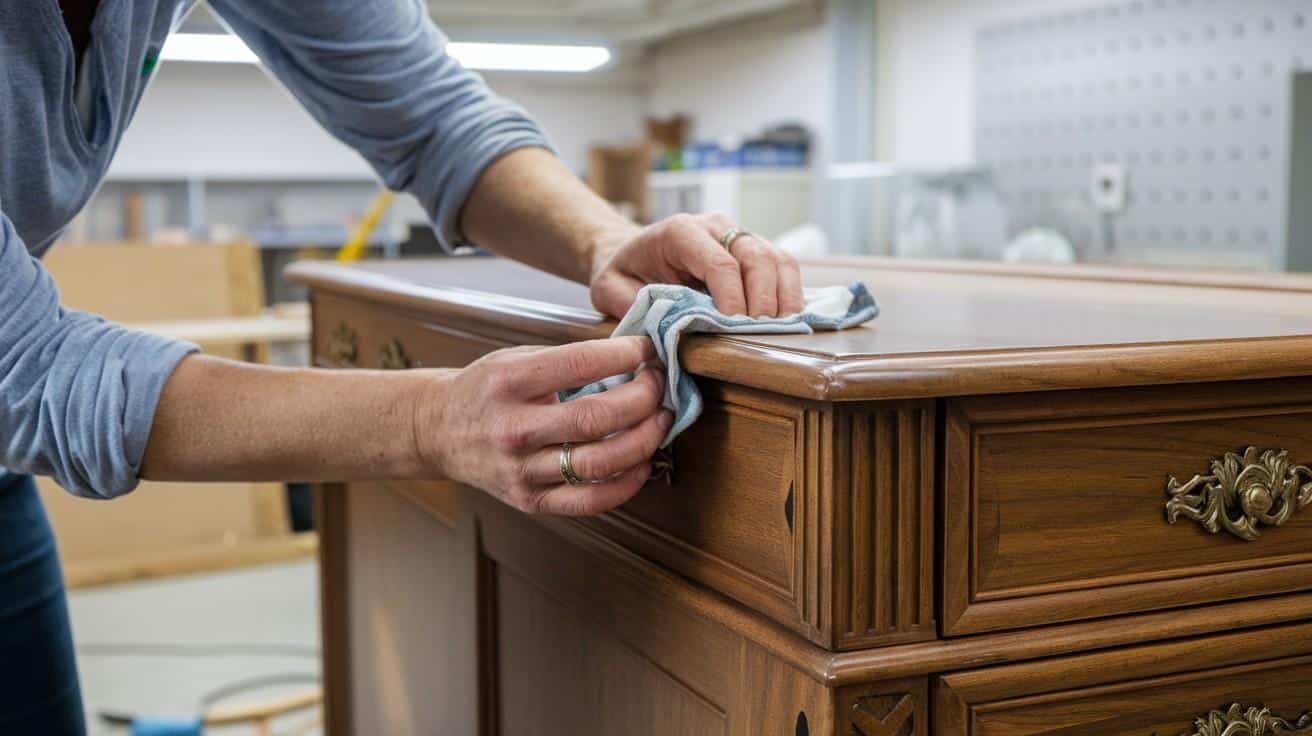
After the final topcoat has cured completely (usually 24-72 hours), reattach the hardware and reassemble the piece.
Buff the surface gently with a soft cloth to enhance its luster. For additional protection and sheen, consider applying furniture wax.
Position the piece in its final location, avoiding direct sunlight for the first week as the finish continues to harden. Take photos to compare with your “before” images—the transformation will demonstrate the value of your careful work.
Video Tutorial
I want to give credit to Lighthouse Woodworks for their informative video, which served as a reference for this guide.
Alternative Solutions to Fix Blotchy Wood Stains

1. Adopt the Rustic Look
If you’re not aiming for perfection, why not turn those blotches into a feature? By accentuating the natural imperfections, you can create a beautiful, rustic, or distressed look. A darker stain applied strategically can highlight the blotchy areas, giving your piece a vintage charm that looks intentionally weathered.
Tip: Try a glazing technique—apply a darker stain and wipe it off, focusing on the blotchy spots to create a soft, layered effect.
2. Use a Gel Stain for Control
Gel stains sit on top of the wood instead of soaking in, making them ideal for covering blotchy surfaces. The thicker consistency provides more control and prevents uneven absorption, allowing you to achieve a smooth finish that effectively masks blotchy spots.
Tip: Apply in small sections and work quickly to blend edges for a more uniform look.
3. Create a Two-Tone Effect
For a creative twist, embrace a two-tone stain effect. By applying a second layer of stain in a complementary color, you can blend the blotchy spots into the rest of the piece, transforming the unevenness into a beautiful design feature.
Tip: Test the new color in a small, hidden spot first to ensure it matches the original stain.
Simple Wood Care for Long-Lasting Beauty
1. Regular Cleaning
Wipe stained wood surfaces regularly with a soft, slightly damp cloth in the direction of the grain. For everyday dusting, use a microfiber cloth that attracts dust without scratching.
When deeper cleaning is needed, use a few drops of mild dish soap in warm water, wipe gently, and dry immediately. Establish a regular cleaning schedule to prevent buildup that might require harsh cleaning methods.
2. UV Protection
Position wood furniture away from direct sunlight when possible, or use window treatments with UV-filtering properties.
Consider UV-protective topcoats for wood in naturally bright spaces. Periodically rotate decorative items on wood surfaces to ensure even aging and prevent localized sun damage, which can cause blotchiness over time.
3. Humidity Control
Maintain a relative humidity level between 35% and 45% in your home to prevent wood movement that can stress finishes.
Avoid placing stained wood near temperature extremes. Use coasters under glasses and promptly wipe up any water spills to prevent moisture rings from forming. Consider using a hygrometer to monitor humidity levels in rooms containing valuable wooden items.
4. Periodic Maintenance
Every 6-12 months, assess wood surfaces for signs of wear and apply quality furniture polish to refresh protection.
For significant wear, consider a maintenance coat of the original topcoat after light sanding. Always test maintenance products in an inconspicuous area first to ensure compatibility with your existing finish.
5. Scratch and Damage Repair
Address minor damage promptly to prevent moisture penetration. For light scratches, try rubbing a walnut half over the area, as the natural oils often reduce visibility.
For deeper scratches, use touch-up markers that match your stain color. For dents, try the damp cloth and warm iron technique to raise compressed wood fibers before refinishing.
Wood Staining Mistakes: How to Get It Right
| Mistake | Why It’s Problematic | Better Alternative |
|---|---|---|
| Rushing the sanding process | Leaves a residual finish that prevents even absorption | Take time to sand thoroughly to bare, smooth wood |
| Skipping wood conditioner | Allows porous areas to absorb too much stain | Always use pre-stain conditioner on blotch-prone woods |
| Applying the stain too thickly | Creates a tacky surface and uneven color | Apply thin coats and wipe off excess promptly |
| Ignoring drying times | Causes adhesion problems between layers | Follow the manufacturer’s recommended drying times |
| Using incompatible products | Results in chemical reactions and finish failure | Test product compatibility on scrap wood first |
| Sanding against the grain | Creates visible cross-grain scratches | Always sand in the direction of the wood grain |
| Insufficient topcoat | Leaves stain vulnerable to moisture and damage | Apply multiple thin coats for proper protection |
| Working in poor lighting | Makes it difficult to spot uneven application | Use bright, direct lighting to see your work clearly |
Conclusion
Fixing blotchy wood stain requires patience and attention to detail, but the results are well worth the effort.
By following the comprehensive steps outlined in this guide, you can convert disappointing, uneven staining into a rich, uniform finish that showcases the natural beauty of your wood.
Remember that proper preparation is the foundation of success—thorough sanding and conditioning the wood before staining prevents most blotching problems.
Consistent care protects your investment and prevents future issues when maintaining your newly restored finish. The satisfaction of seeing a beautifully finished wood surface that you’ve personally restored cannot be overstated.
Your refinished piece will not only look professional, but it will also be a valuable addition to your collection. Still, it will also be durable enough to remain beautiful for years to come, allowing the wood’s natural character to shine through a perfect finish.
Frequently Asked Questions
Why Does My Wood Stain Look Blotchy?
Blotchy wood stain occurs due to uneven absorption, improper preparation, old finishes, or environmental factors such as humidity.
How to Fix a Stain that Is Too Dark?
To fix a stain that’s too dark, lightly sand the area, apply a lighter stain, and use a wood conditioner for even absorption. Wipe off excess stain promptly.
Can You Lighten a Wood Stain After It Dries?
Yes, you can lighten a wood stain after it dries by lightly sanding the surface and applying a lighter stain or wood bleach. Be sure to test on a small area first to ensure the desired result.