Stone & Simplicity: Crafting a Minimalist Garden Bench
After searching for a simple outdoor seating solution that would withstand the elements while complementing my garden’s natural sight, I decided to create my own stone bench.
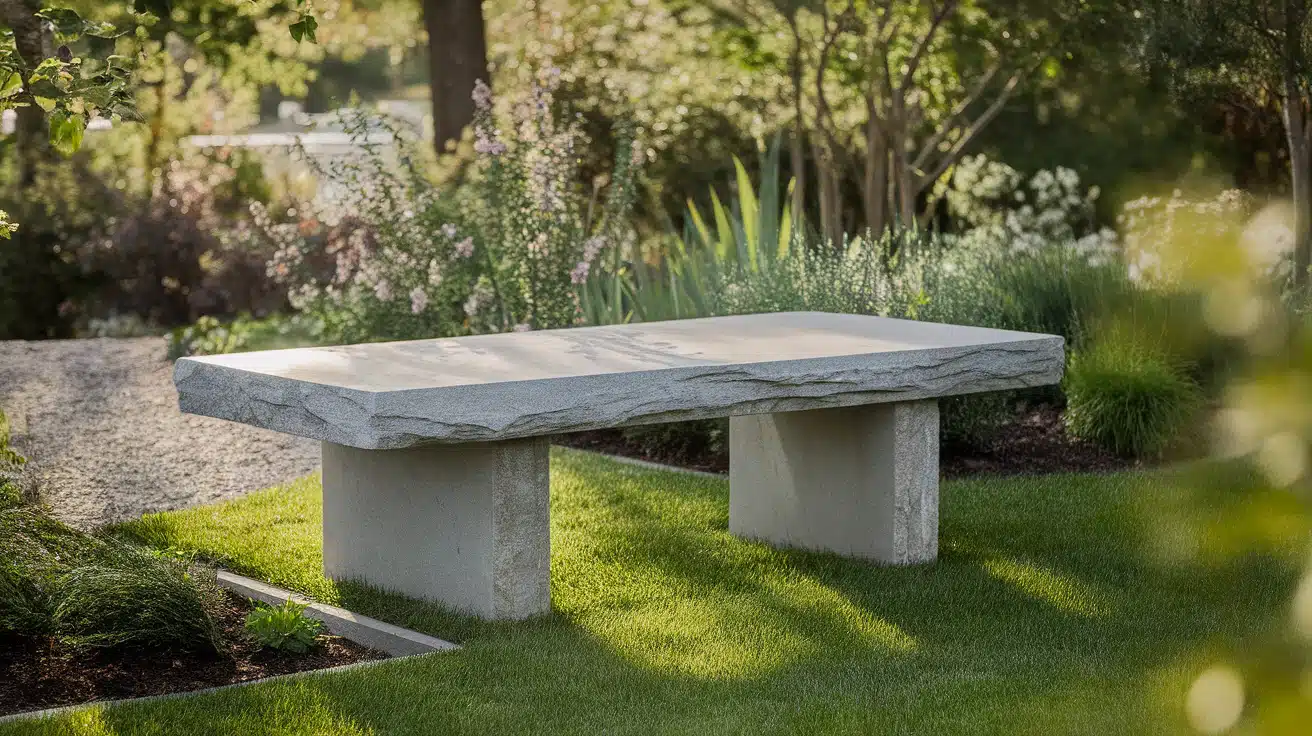
Using bluestone – a gorgeous grayish-blue sandstone popular in Northeast landscaping – I designed a minimalist bench with clean lines and a striking silhouette.
This project requires minimal materials and tools, yet results in a functional piece that will last for years. I was pleasantly surprised at how manageable cutting stone can be with the right equipment.
In just 2.5 hours, I converted four bluestone slabs into a sleek, weather-resistant bench that adds both practicality and visual interest to my outdoor space.
The best part? It can be disassembled for easy relocation when needed.
Why Stone Benches Make Perfect Garden Features
When planning my garden redesign, I wanted seating that would blend harmoniously with the natural landscape while providing durability against the harsh seasonal changes we experience.
Stone benches offer an unmatched permanence in the garden; they don’t rot like wood, rust like metal, or degrade from UV exposure like many synthetic materials.
Bluestone particularly appealed to me for its subtle color variations and natural texture that develops a beautiful patina over time. While most commercially available stone benches come with hefty price tags, I found that creating one myself was surprisingly achievable with basic tools and some patience.
The simple Japanese-inspired design I chose emphasizes the material’s inherent beauty through clean lines and minimal joinery. This project demonstrates how accessible stonework can be for home DIYers willing to take on something a bit different from standard woodworking projects.
Tools and Materials Needed
| Category | Item | Details |
|---|---|---|
| Materials | Bluestone slabs | 2-inch thick, 4 pieces, 1 ft x 5 ft each (~80 lbs) |
| Lexel adhesive | Crystal clear synthetic rubber adhesive | |
| Walnut wood | Used for alternative version | |
| Mineral oil | For finishing | |
| Tools | Circular saw | With 7-inch diamond blade |
| Speed square | For marking straight lines | |
| Clamps | For securing materials | |
| Straight edge | For guiding cuts or alignment | |
| Chisel | For shaping or cleaning edges | |
| Measuring tools | General measuring (tape measure, ruler, etc.) |
Step-by-Step Stone Bench Building Guide
This comprehensive guide walks you through the complete process of installing your stone bench, from preparing the materials to final placement and maintenance recommendations.
Step 1: Material Selection and Preparation
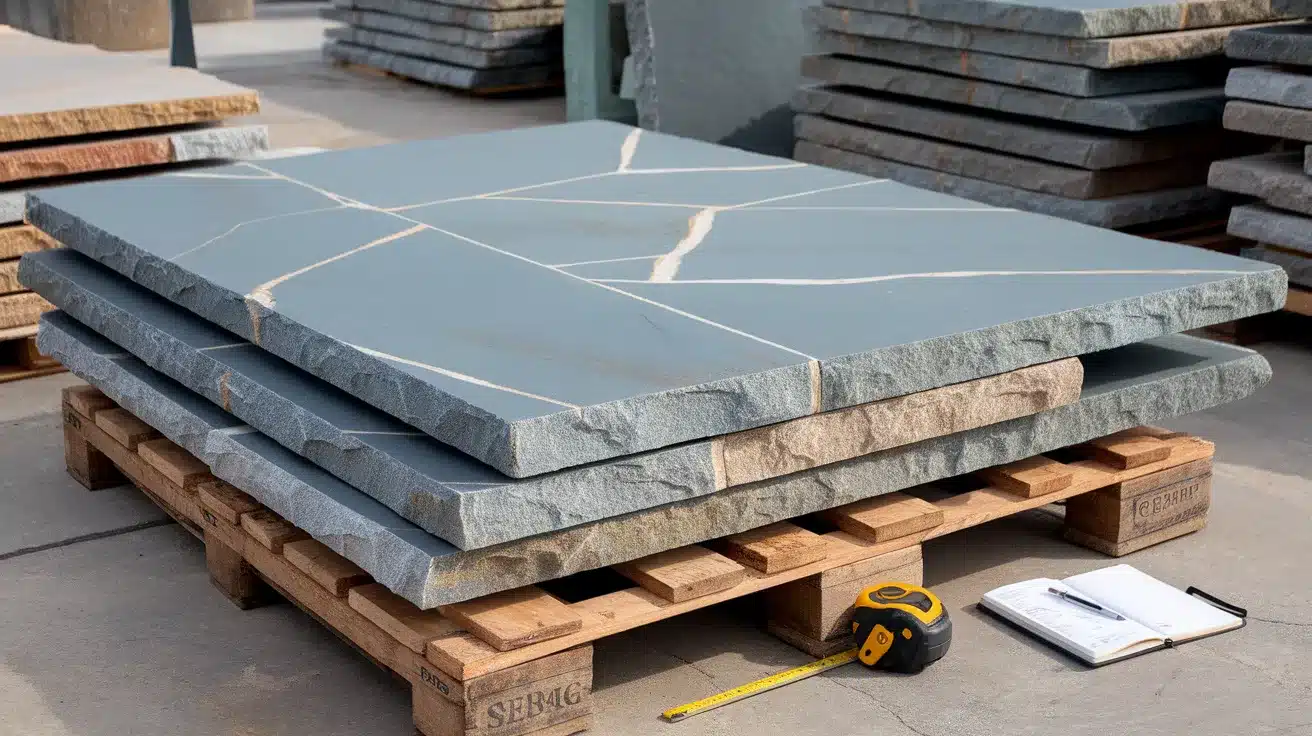
Obtain four 2-inch-thick bluestone slabs from a stone yard. Each slab should measure 1 foot wide by 5 feet long and will weigh approximately 80 pounds. Bluestone is a grayish-blue sandstone commonly used in landscaping projects in the Northeastern United States.
Considerations: Select bluestone for its durability, visual appeal, and ability to withstand outdoor elements, making it ideal for a long-lasting bench that can remain outdoors year-round.
Step 2: Cutting the Bench Components
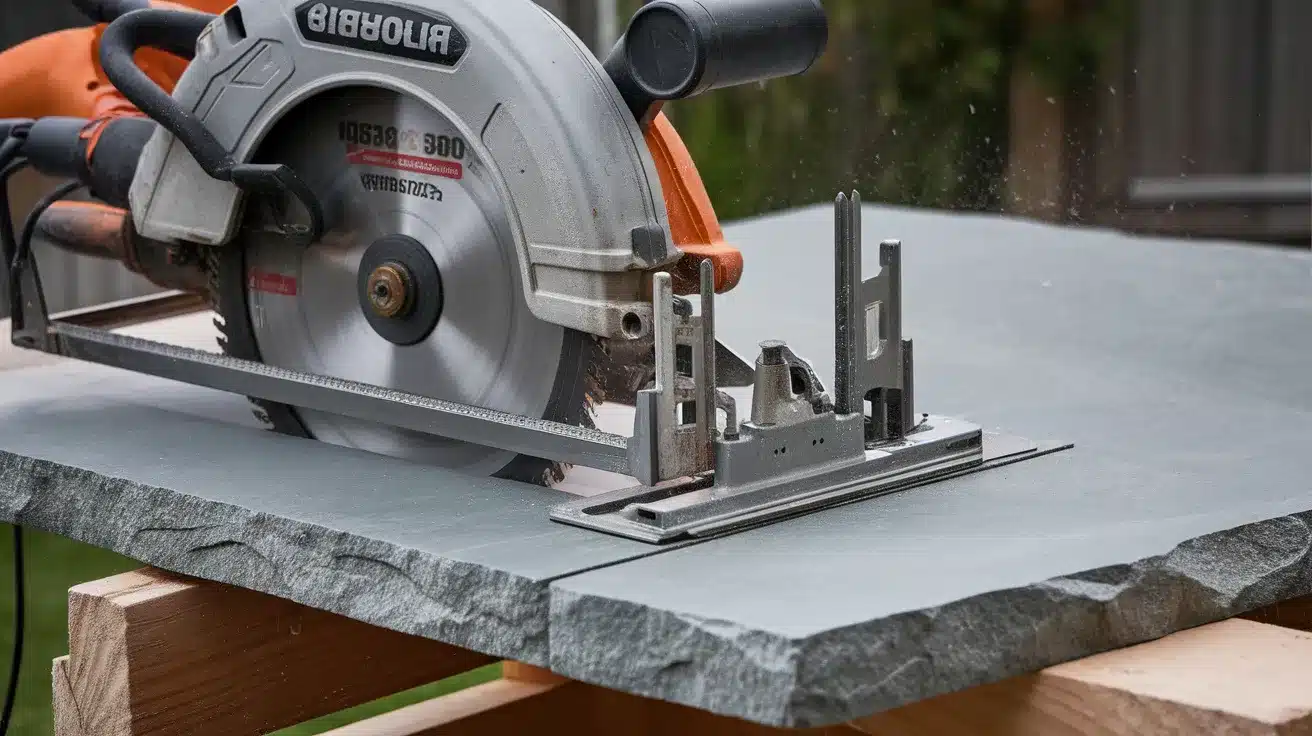
Use a circular saw equipped with a 7-inch diamond blade to cut 14-inch pieces from the ends of two slabs to create the bench legs. For straight cuts, clamp down a speed square to guide the saw, ensuring precision and clean edges.
Blade Selection: A 7-inch diamond blade is essential for cutting through dense stone material efficiently; regular wood-cutting blades will quickly dull and potentially cause dangerous kickback.
Step 3: Creating the Support Piece
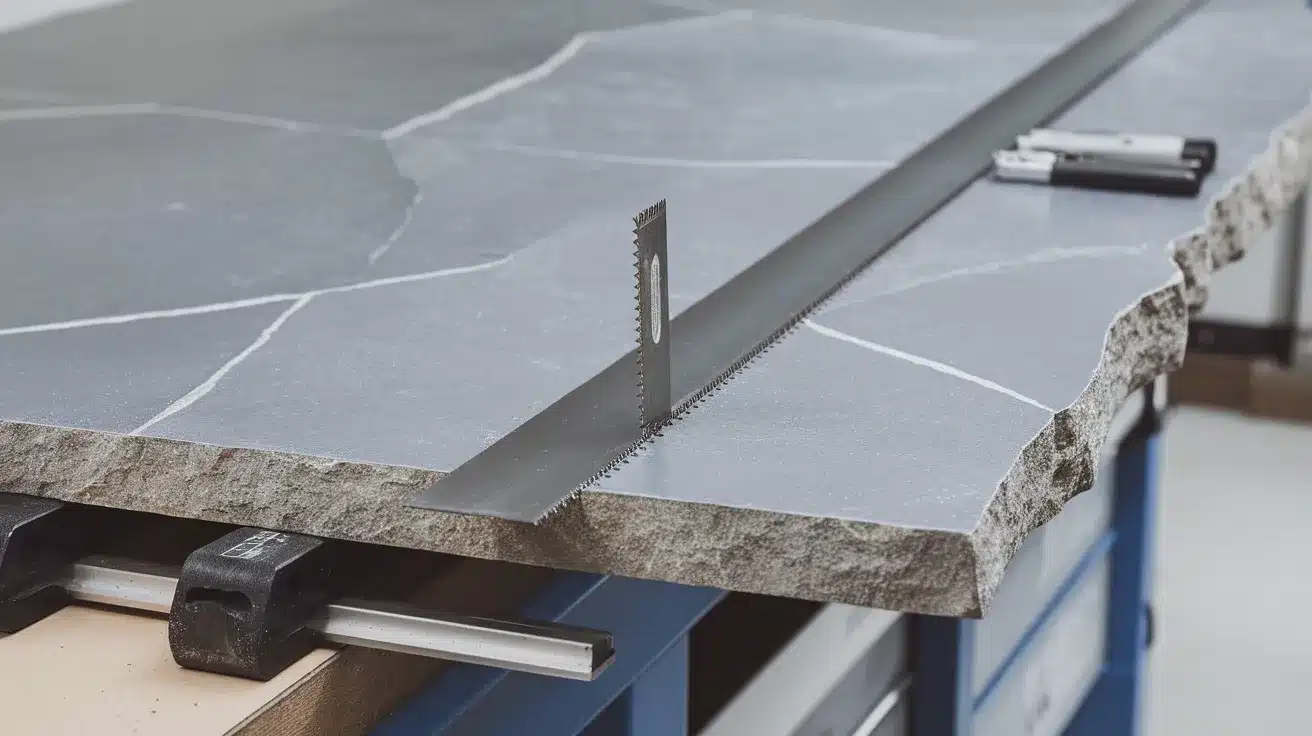
Clap a straight edge to one slab and rip (cut lengthwise) a 4.5-inch-wide strip of stone. This narrow piece will serve as the connecting support between the legs.
Precision Requirements: Cut the support piece with extreme accuracy to ensure proper fit between the legs, requiring careful measurement and secure clamping of the straight edge to prevent any movement during cutting.
Step 4: Notching the Legs
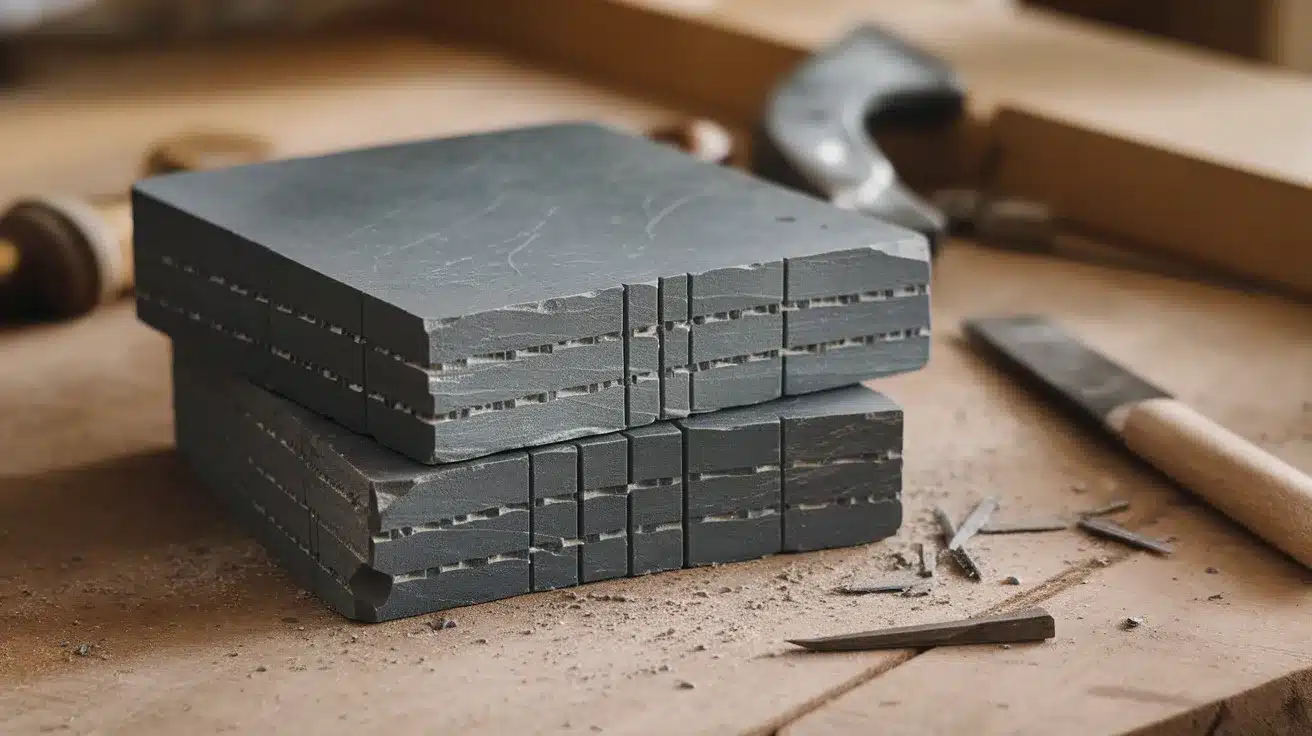
Stack the two 14-inch leg pieces together, mark the center, and make multiple cuts about 1/8 inch apart. These closely spaced cuts create a slot for the support piece. Use a chisel to chip away the slivers of stone between cuts, forming a clean channel through both leg pieces.
Technique Detail: Make multiple narrow cuts rather than attempting to remove the entire slot at once to prevent excessive pressure on any single part of the stone, reducing the risk of cracks or breakage.
Step 5: Cutting Matching Notches in Support
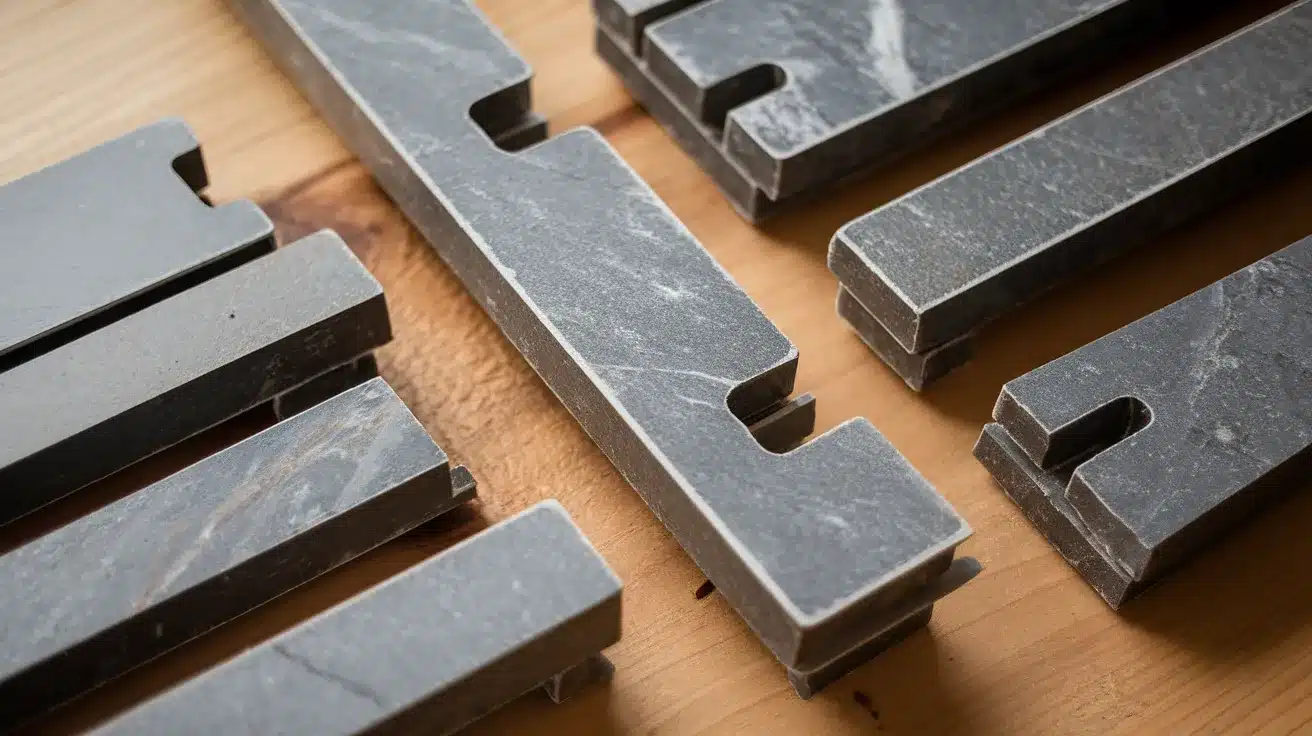
Cut matching notches in the long support piece to accommodate the limited depth capacity of the circular saw. These notches will allow the support and legs to interlock in a secure joint.
Joint Design: Create an interlocking notch design that distributes weight evenly and prevents the support from sliding out of position, a crucial consideration for a functional bench that will bear significant weight.
Step 6: Assembly and Fitting
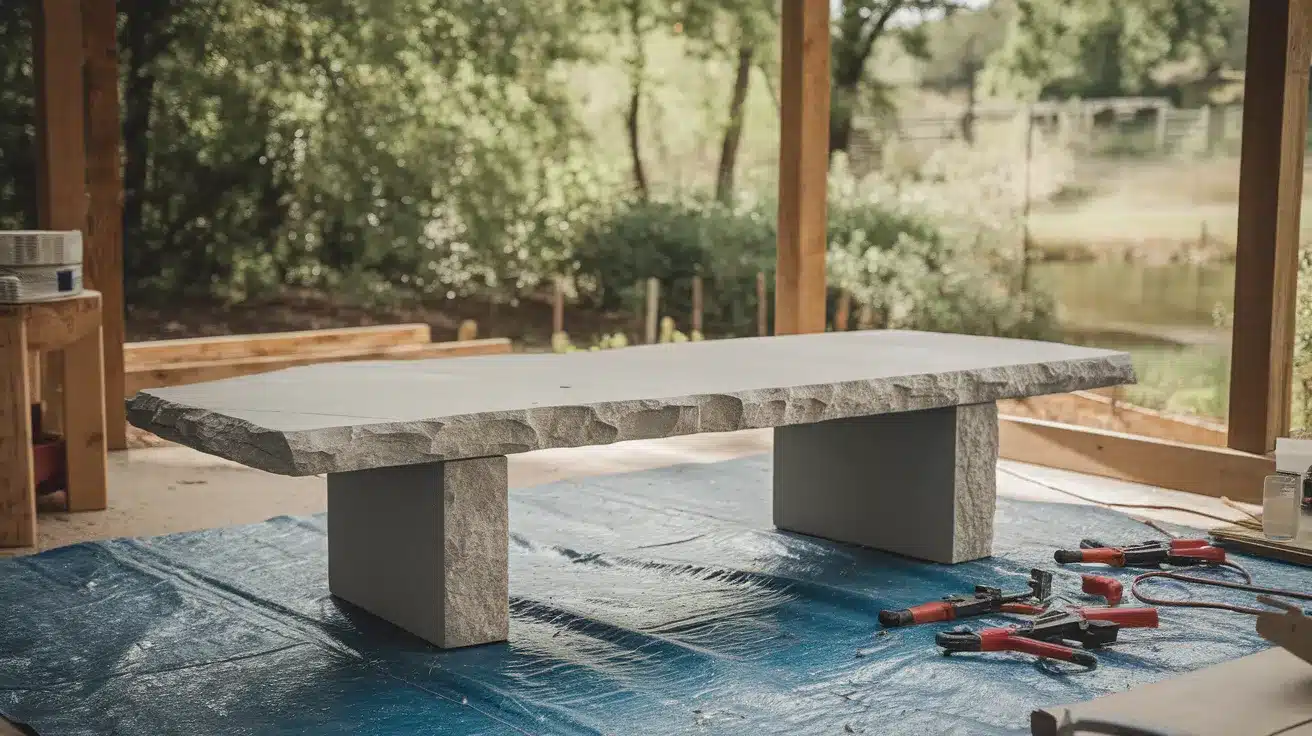
Perform a dry fit of all stone pieces, testing how the components lock together. Some connections may be slightly loose, which will need addressing for a stable bench.
Workspace Flexibility: Have an alternative indoor workspace available in case of inclement weather, as stone materials cannot be quickly covered or protected.
Step 7: Securing the Connections
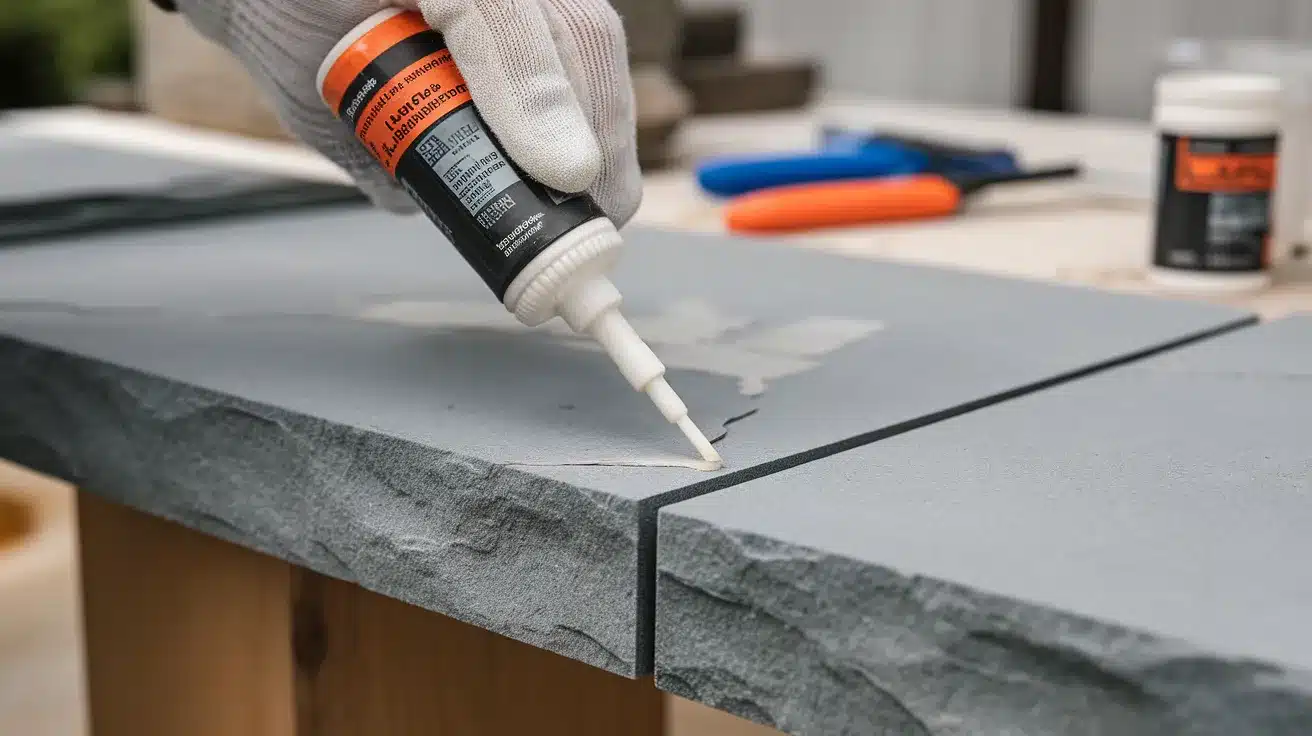
Apply Lexel (a clear synthetic rubber) to fill gaps and prevent stone-on-stone grinding. This approach allows for potential disassembly and relocation of the bench in the future.
Adhesive Properties: Choose Lexel for its clear appearance, flexibility, and water resistance, making it ideal for outdoor applications while being virtually invisible in the finished project.
Step 8: Finishing Options
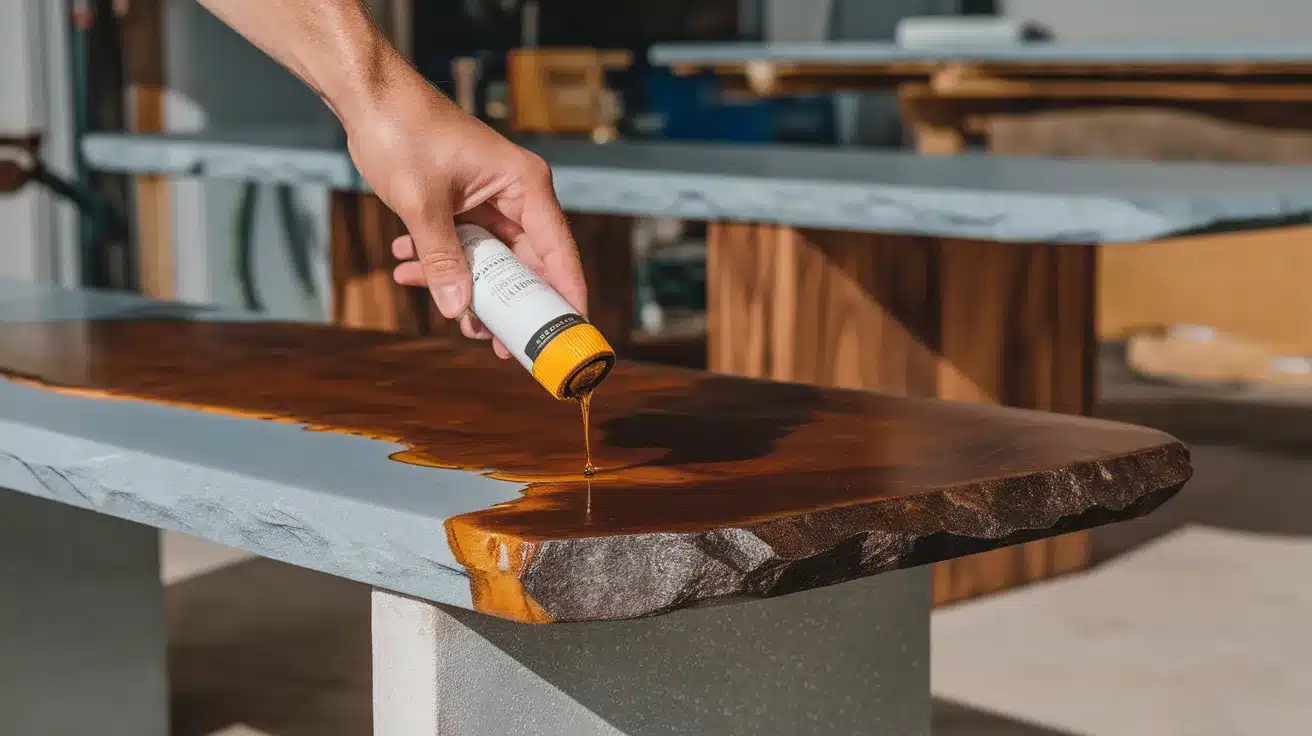
Experiment with mineral oil as a finish, which darkens the stone and gives it a “wetter” appearance that highlights its natural patterns. For an alternative design, consider substituting a wood piece (like walnut) for the stone support.
Material Variations: Consider combining different materials to create visual interest through the contrast between warm wood tones and cool stone coloration, offering an alternative visual suitable for indoor environments.
Video Tutorial
I’d like to acknowledge HomeMadeModern for the insightful video, which was a key reference in putting this guide together.
Maintenance and Care Tips
- Regularly clean your stone bench by gently brushing away debris and rinsing with clean water; avoid harsh chemicals or pressure washing.
- In colder climates, consider covering or moving the bench indoors during winter months to prevent freeze-thaw damage.
- Reapply mineral oil annually to maintain the stone’s appearance and provide additional weather protection.
- Check connections periodically and reapply Lexel if gaps develop or connections become loose.
- Position the bench on level ground to prevent stress on the joints and ensure stability.
- For moss or algae growth, use a mild vinegar solution and a soft brush rather than commercial cleaners.
Conclusion
Creating this bluestone bench has converted my outdoor space in ways I hadn’t anticipated. Beyond providing functional seating, it serves as a focal point that anchors the garden design with its quiet dignity.
The process taught me that working with stone isn’t as intimidating as it might seem—with the right tools and approach, even beginners can achieve professional-looking results.
I’ve found myself admiring how the bench changes throughout the day as light plays across its surface, highlighting different aspects of the stone’s natural texture.
Whether you opt for the all-stone version for outdoor durability or experiment with mixed materials for interior spaces, this minimalist design offers endless possibilities for customization while maintaining its fundamental simplicity and strength.

