As a homeowner with a cedar fence, I’ve learned that proper staining isn’t just about visuals—it’s essential protection. I created this guide to share everything I’ve learned about keeping cedar fences looking beautiful while extending their lifespan.
Cedar naturally brings warmth and character to any property, but without proper care, even this durable wood surrenders to the elements. In my experience, the right stain makes all the difference between a fence that deteriorates prematurely and one that stands strong for years.
Whether you’re weighing different stain options, preparing for your first application, or looking to avoid common mistakes, I’ll walk you through each step of the process.
Let’s change your cedar fence into a lasting, beautiful boundary that improves your home’s curb appeal.
Cedar naturally brings warmth and character to any property, but if you’re still weighing your options, it’s worth exploring how cedar compares to other popular materials in our detailed guide on Cedar vs Pine Fences.
Why Does Your Cedar Fence Need Staining in the First Place?
Cedar is beautiful, but it’s also vulnerable to the elements. Want to keep it looking fresh? Here’s why staining is a must!
Cedar fences are an investment in your property’s beauty and security. However, left untreated, even this naturally resilient wood will eventually surrender to nature’s forces.
- UV Protection: Without staining, the sun’s ultraviolet rays break down the wood’s lignin (the natural glue holding wood fibers together), causing that rich cedar color to fade to a dull gray.
- Moisture Defense: Untreated cedar absorbs water, leading to warping, cracking, and splitting. A quality stain creates a water-resistant barrier that helps maintain your fence’s structural integrity.
- Mold and Mildew Prevention: Staining helps prevent the growth of fungi that not only look unsightly but can also accelerate wood deterioration.
Over time, an unstained cedar fence doesn’t just lose its appearance—it loses its strength and longevity. Proper staining can extend your fence’s lifespan by 5-10 years or more, making it one of the smartest maintenance decisions you can make.
What Should You Look for When Choosing the Right Stain for Your Cedar Fence?
It’s not just about color! Find out what factors matter most when choosing a stain that will protect and improve your cedar fence.
Selecting the perfect stain involves considering several critical factors that will influence both the appearance and longevity of your fence:
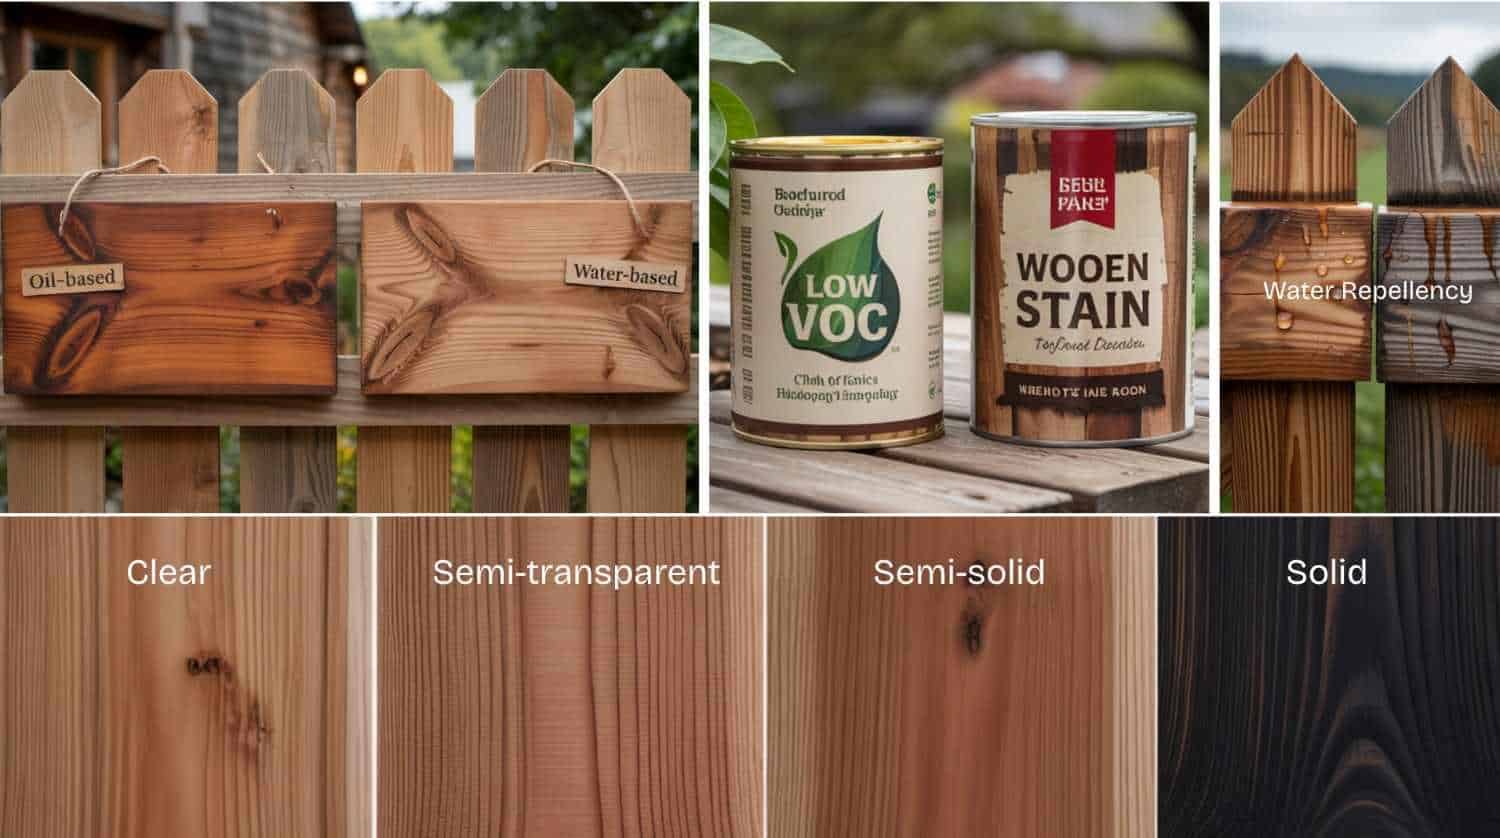
Oil-Based vs. Water-Based: Oil-based stains penetrate deeper into the wood and typically last longer but might require more drying time. Water-based stains are easier to clean up and often more environmentally friendly.
Transparency Level: From clear to solid, the opacity of your stain affects both protection and appearance:
- Clear/Transparent: Highlights natural grain but offers minimal UV protection
- Semi-Transparent: Provides a hint of color while still showcasing the wood grain
- Semi-Solid: More color with less visible grain
- Solid: Maximum protection with color that masks most of the natural wood grain
VOC Content: Lower volatile organic compound (VOC) stains are better for the environment and have less odor during application.
Water Repellency: Look for stains specifically designed to repel water, not just resist it.
The best stain for your cedar fence depends on your local climate, the amount of direct sunlight your fence receives, and your visual preferences. Consider these factors before making your final decision.
Which Stain Is the Best for Your Cedar Fence? Let’s Break It Down!
Best Overall: Which Stain Is the Crowd Favorite?

The top choice for durability, ease of use, and long-lasting beauty.
Ready-Seal Natural Cedar Semi-Transparent Stain and Sealer consistently earns top marks from both professionals and DIY enthusiasts. This oil-based formula delivers a perfect balance of protection and natural beauty that makes cedar shine.
What makes it stand out:
- No primer needed, making application straightforward
- Self-leveling formula that prevents streaks and lap marks
- Doesn’t require back-brushing
- Improves the natural grain while providing significant UV protection
- One coat typically does the job, though two coats offer maximum protection
Many cedar fence owners report their Ready-Seal application looking fresh for 3-5 years before needing a maintenance coat, even in challenging climates.
What’s the Stain That Can Handle Extreme Conditions?
From blazing sun to heavy rain, here’s your go-to stain for all seasons.
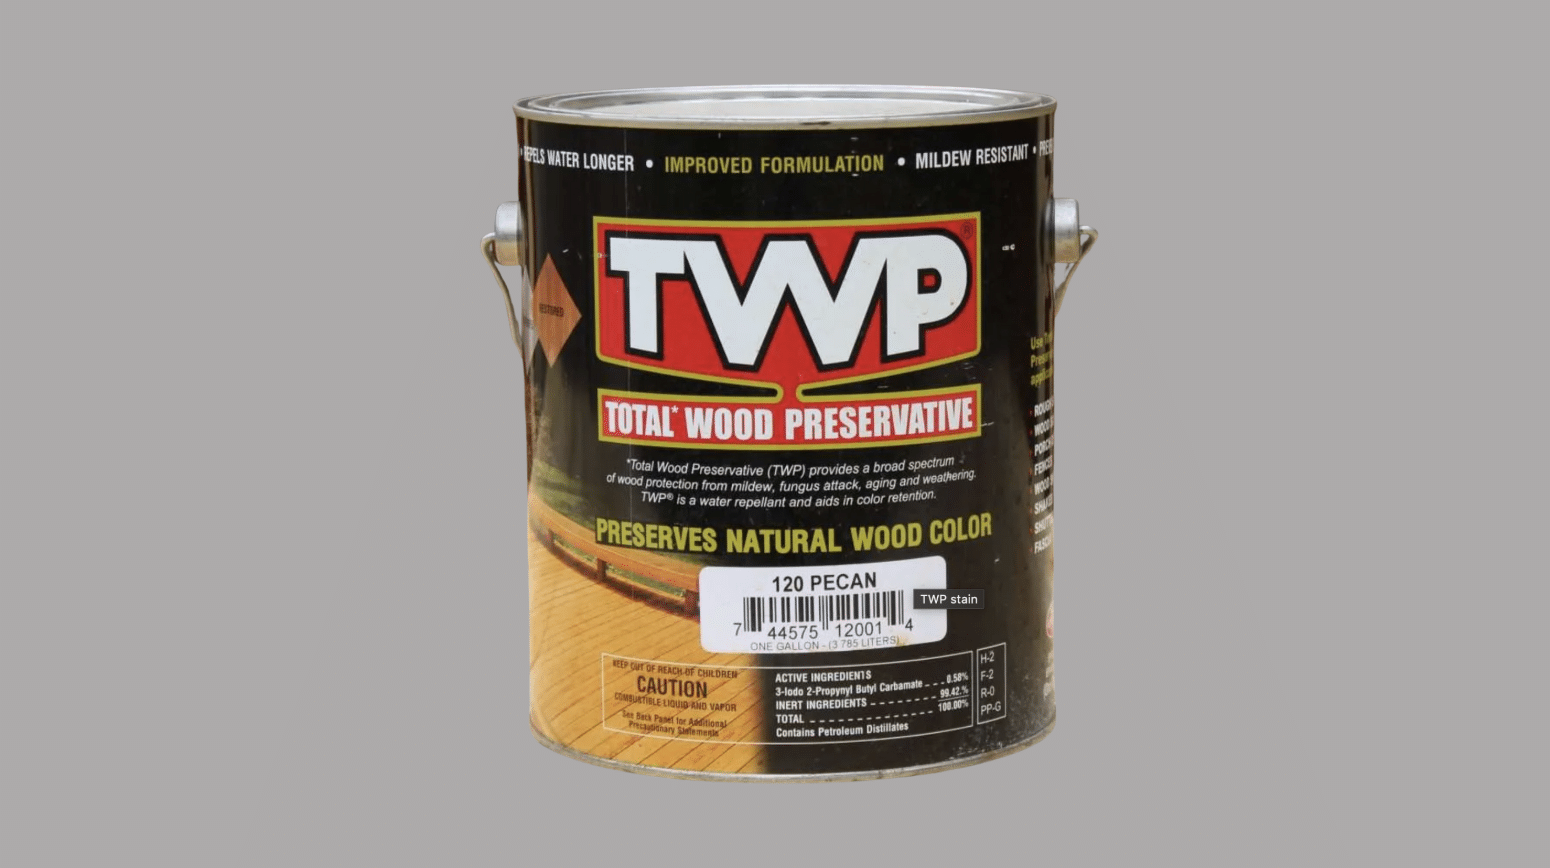
TWP (Total Wood Preservative) 100 Series is the champion when it comes to standing up to Mother Nature’s worst. This professional-grade stain is specifically formulated to combat elements that typically accelerate wood deterioration.
Why it excels in harsh weather:
- Contains specialized UV blockers that prevent premature graying
- Advanced water repellents that prevent moisture absorption even during extended rainy periods
- Mildewcides that prevent fungal growth in humid conditions
- Deep-penetrating oils that stabilize wood fibers against extreme temperature fluctuations
For homeowners in coastal areas, regions with heavy snowfall, or locations with intense summer heat, TWP offers remarkable resilience that justifies its slightly higher price point.
Best for Keeping It Natural: Want to Show Off That Gorgeous Cedar Grain?
These stains highlight the beauty of the wood without hiding it.
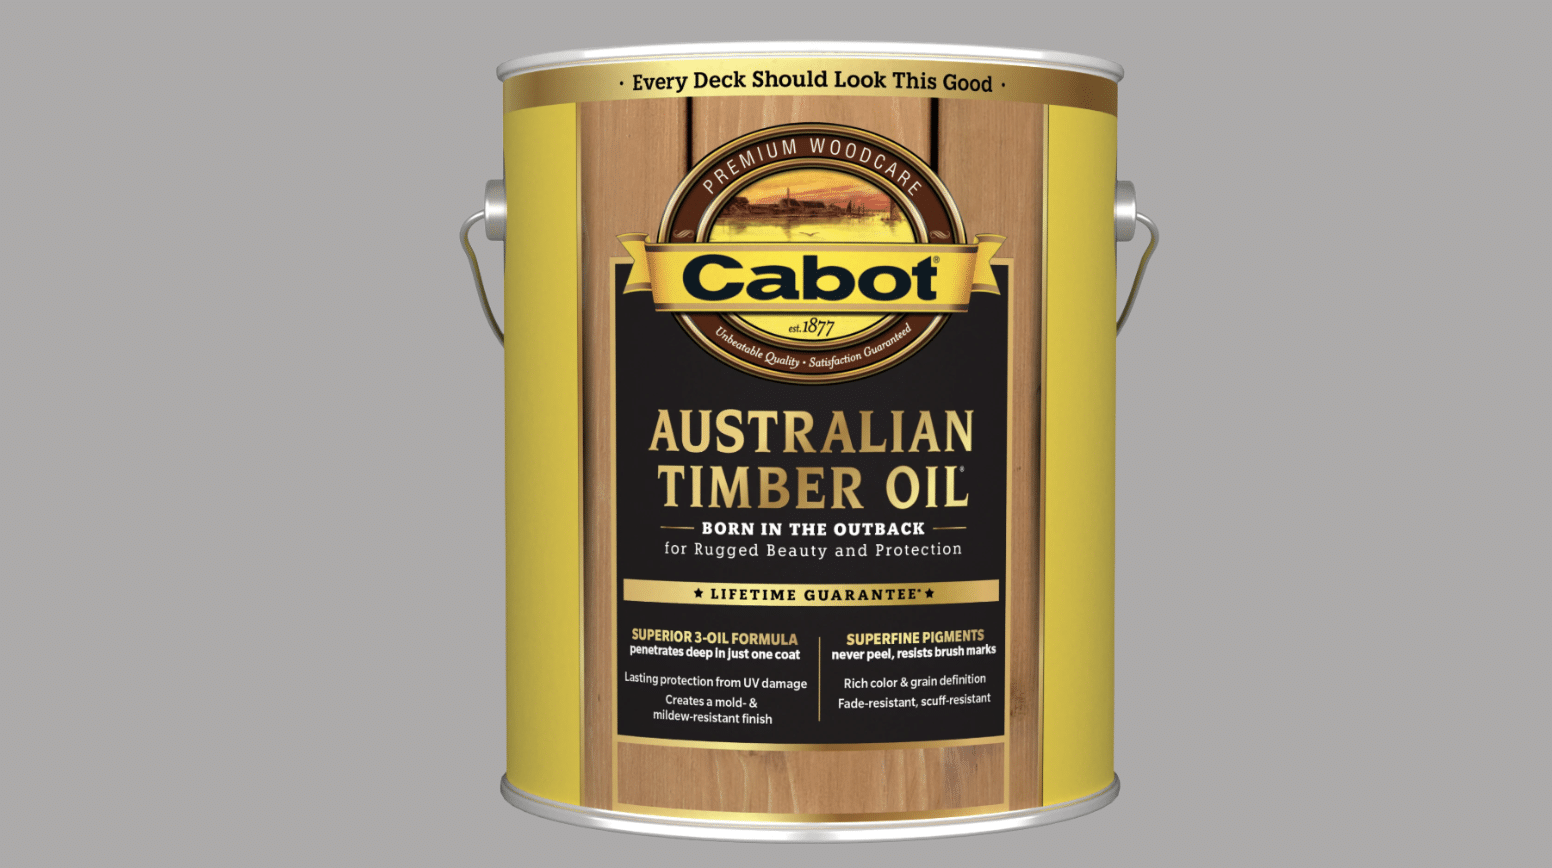
Cabot Australian Timber Oil excels at improving cedar’s natural beauty while still providing adequate protection. This unique blend of linseed oil, long-oil alkyds, and careful pigmentation works to accentuate cedar’s distinctive grain patterns.
How it showcases natural cedar beauty:
- Penetrates deeply to nourish wood fibers from within
- Contains translucent iron oxide pigments that enhance grain without masking it
- Creates a rich, warm patina that deepens slightly with age
- Maintains a natural look that doesn’t appear “painted” or artificial
The subtle amber tones in this stain complement cedar’s natural reddish hues, creating a finished product that looks sophisticated yet authentically wooden.
Best Budget Option: Can You Protect Your Fence Without Breaking the Bank?
Affordable stains that get the job done without hurting your wallet.
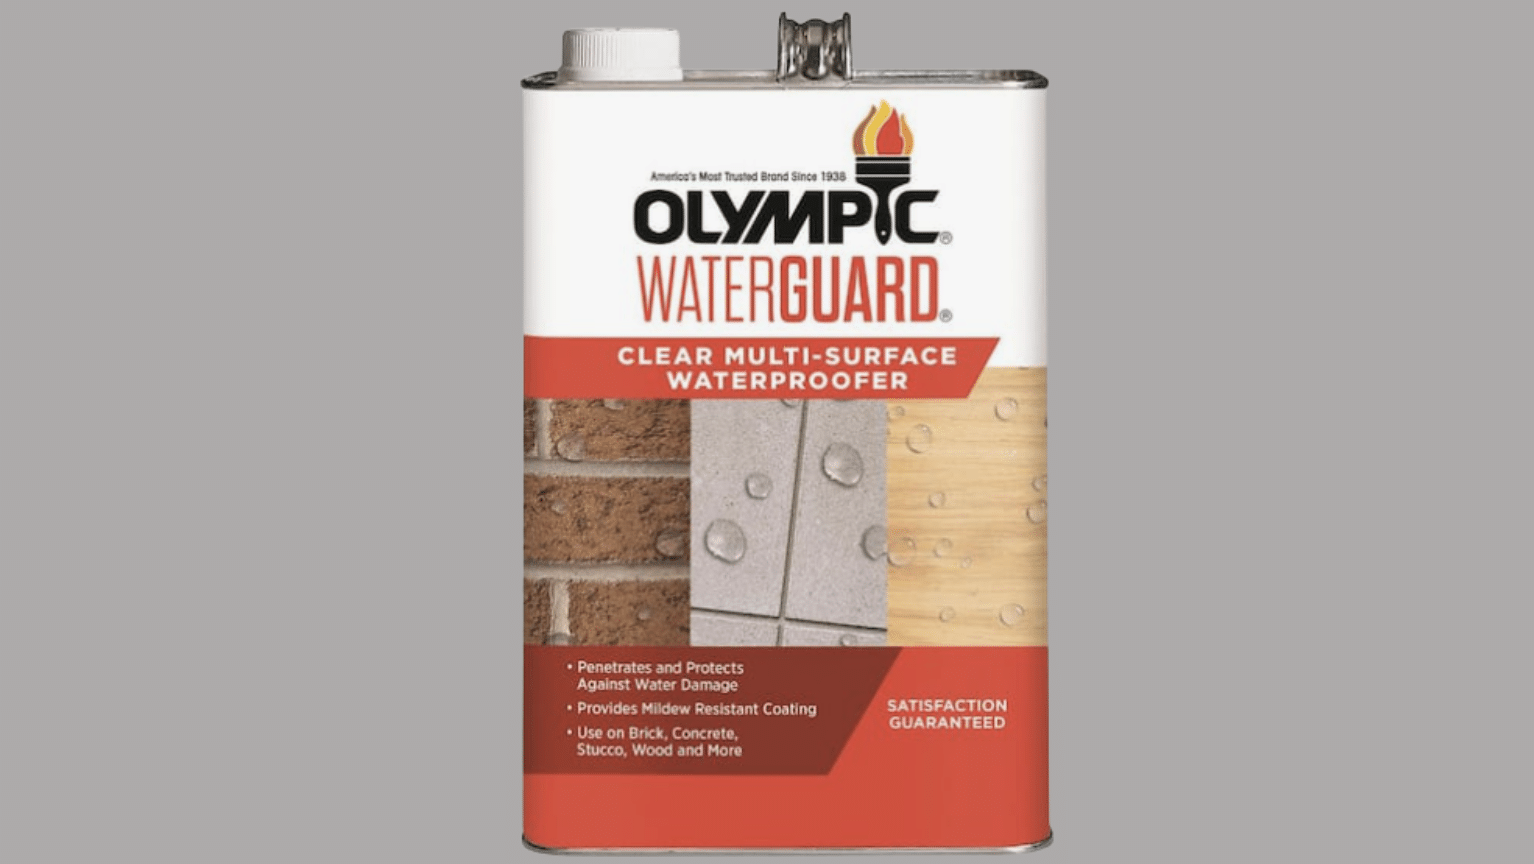
Olympic WaterGuard Waterproofing Sealant offers impressive performance at a fraction of the cost of premium brands. This water-based formula provides essential protection without unnecessary frills or marketing hype.
What makes it a smart economical choice:
- Coverage of approximately 250-350 square feet per gallon
- Single-coat application for most situations
- Simple water cleanup that saves on additional supplies
- Available in bulk sizes that further reduce per-gallon costs
- Dries quickly, allowing you to complete your project in a single weekend
While it may require reapplication slightly sooner than premium brands (typically every 2-3 years), the significantly lower upfront cost makes Olympic a sensible choice for budget-conscious homeowners.
How Do You Properly Stain Your Cedar Fence Like a Pro?
Step 1: How Do You Prep Your Fence for Staining?
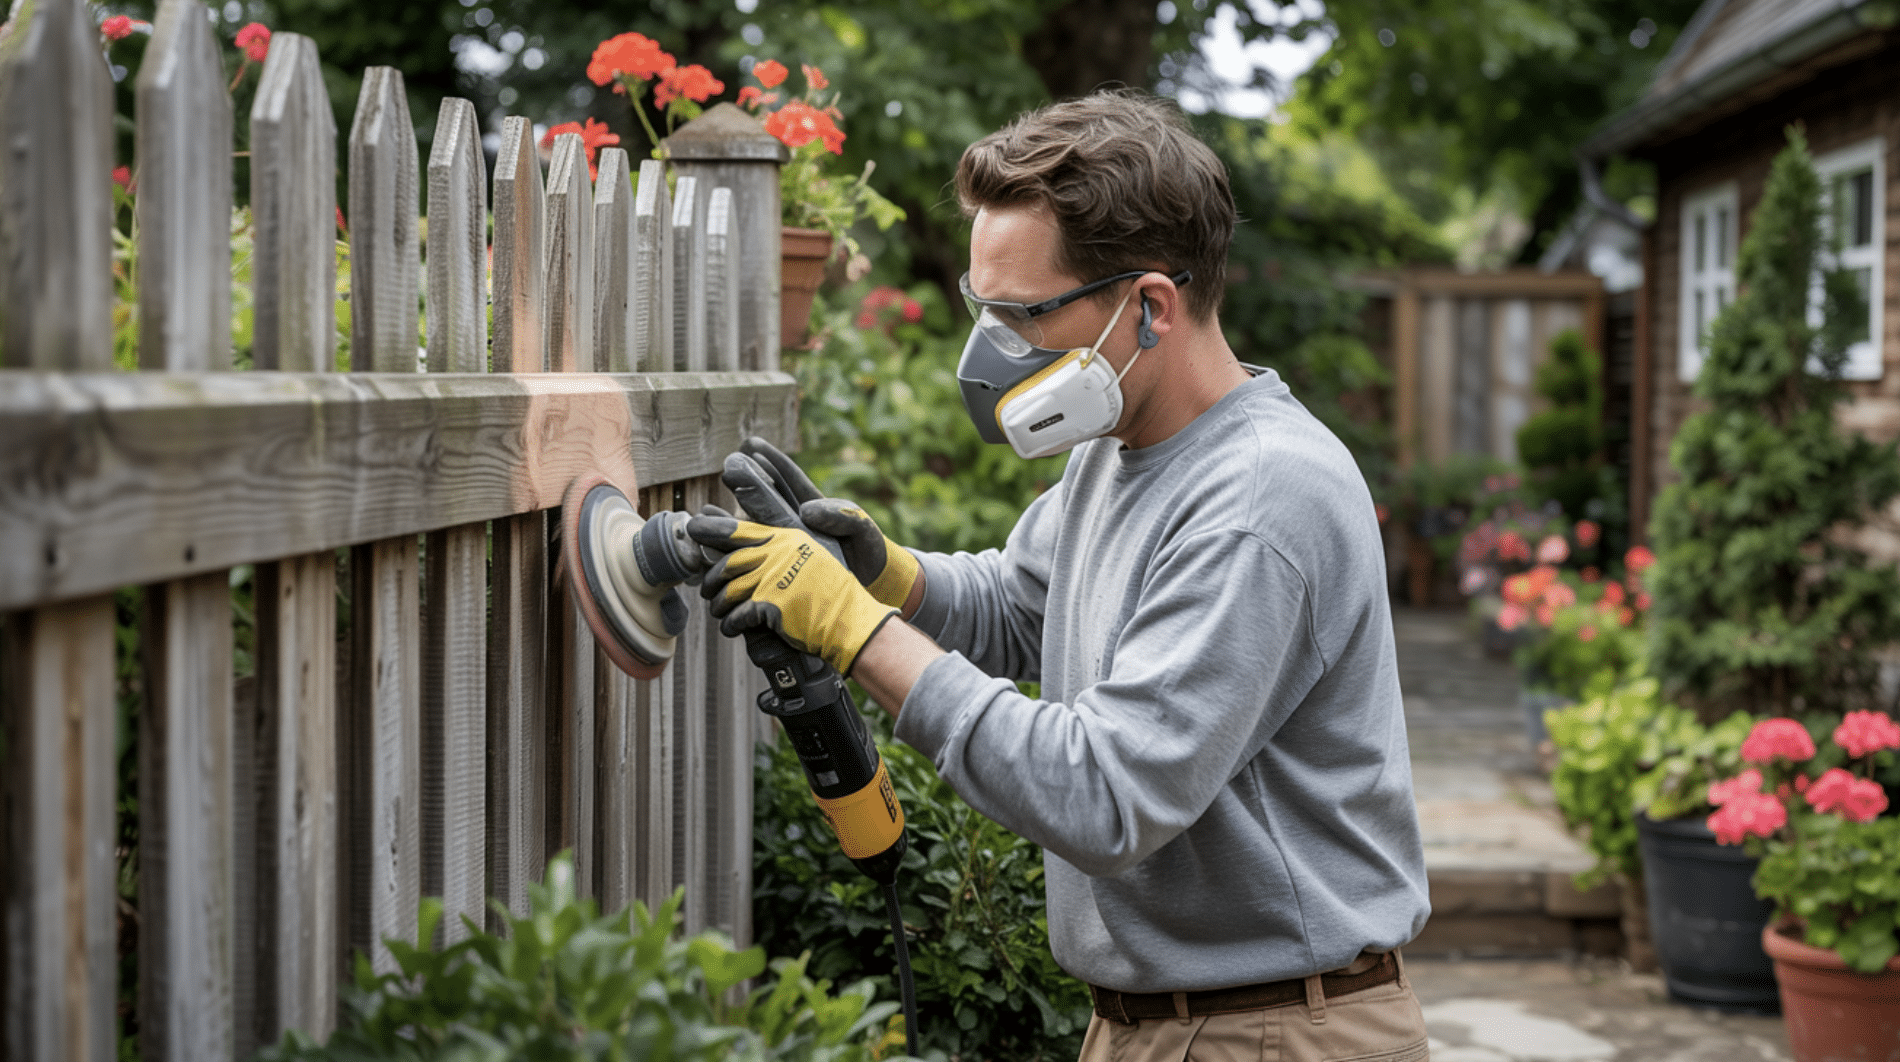
Prep is everything. Here’s how to get your fence ready for its glow-up!
The difference between an amateur-looking stain job and a professional result often comes down to proper preparation. Investing time in this crucial step pays dividends in both appearance and longevity.
For new cedar fences:
- Allow new cedar to weather for 1-3 months before staining to ensure proper absorption
- Check for mill glaze (a shiny surface created during manufacturing) and remove it with a light sanding
- Clean the fence with a mild detergent solution to remove any surface dirt or manufacturing residues
For existing fences:
- Inspect thoroughly for damaged boards that need replacement
- Remove any old, flaking stain with a pressure washer (use low pressure, 500-800 PSI maximum) or chemical stripper
- Treat any visible mildew with a solution of one part bleach to four parts water
- Allow the fence to dry completely (typically 2-3 days of sunny weather)
- Sand rough areas or splinters with 80-grit sandpaper
The cleaner and smoother your starting surface, the better your stain will adhere and perform over time.
Step 2: What’s the Best Way to Apply Stain Evenly?
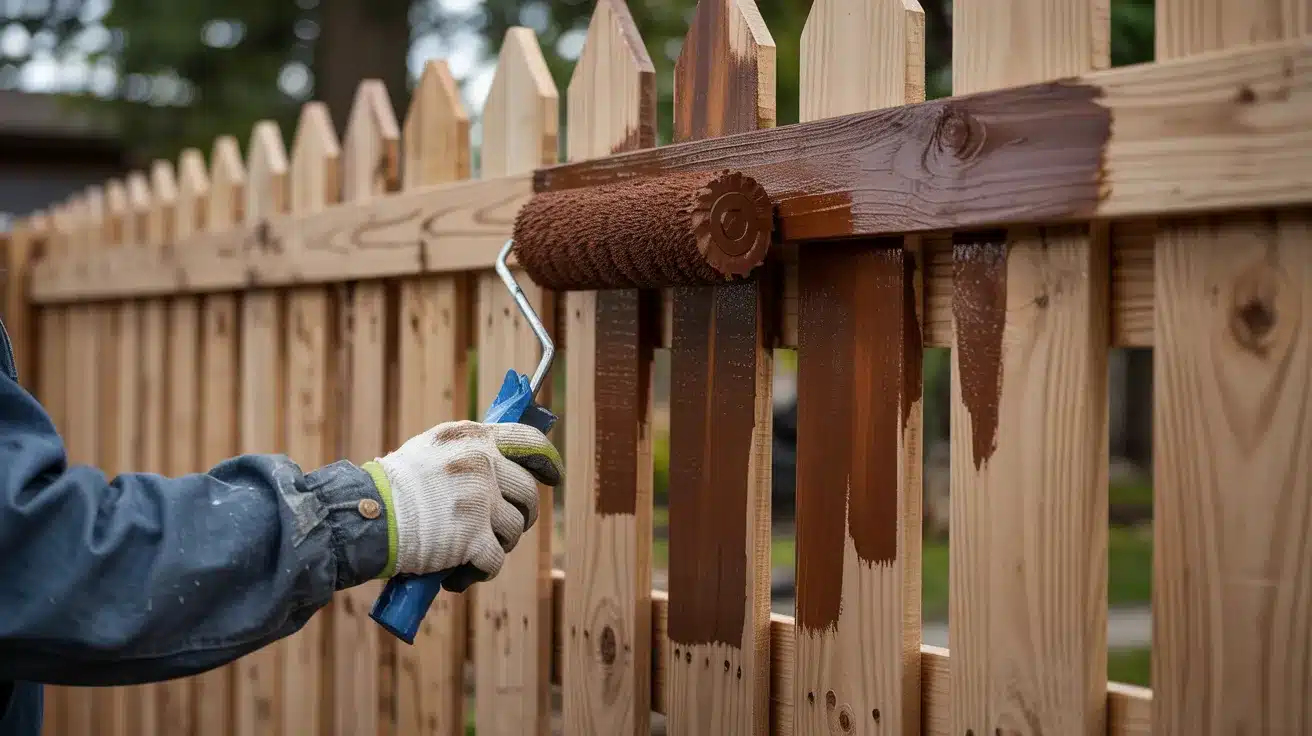
Don’t worry, staining doesn’t have to be intimidating. Let’s make sure it goes on smoothly and evenly.
The right application technique ensures even coverage without streaks, runs, or missed spots. Here’s how to achieve professional-level results:
Choose the right tools:
- Pump sprayers work well for large areas and speed
- Rollers provide good coverage with moderate speed
- Brushes are slower but offer superior control and penetration
Application sequence matters:
- Start at the top of each fence section and work downward
- Stain one to two fence panels completely before moving to the next section
- Maintain a “wet edge” by not allowing the leading edge to dry before connecting to the next section
Technique tips:
- Apply in the direction of the wood grain whenever possible
- Back-brush any drips or puddles immediately
- Pay extra attention to end grain, which absorbs more stain
- Apply a slightly thicker coat to the top edges where water tends to collect
Temperature and humidity significantly impact application, so aim for a mild day (between 50-85°F) with moderate humidity and no rain in the forecast for at least 24-48 hours.
Step 3: How Do You Maintain That Beautiful Finish?
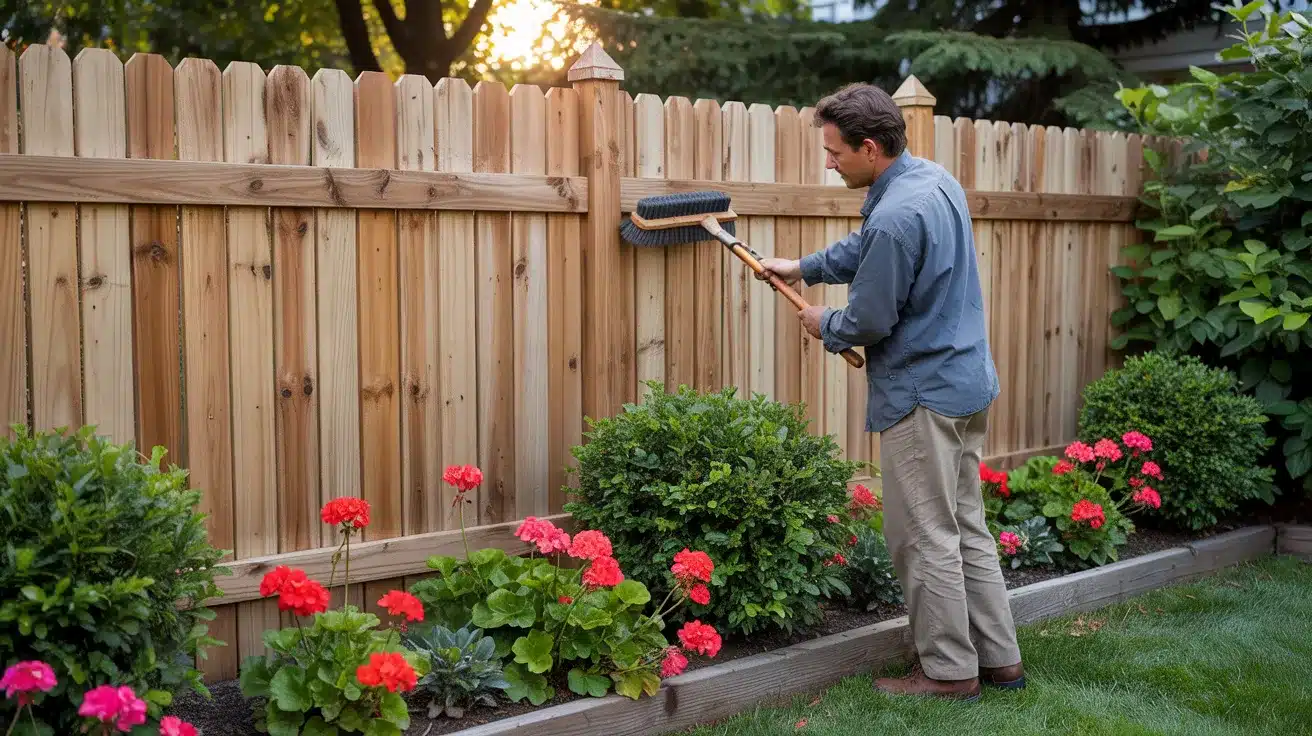
Keep your fence looking fresh with a little care and attention after the stain job is done.
Proper maintenance can double or even triple the effective lifespan of your stain job. Implement these practices to keep your cedar fence looking its best year after year:
- Seasonal cleaning: Every 6-12 months, gently clean your fence with water and a soft brush to remove dirt, pollen, and organic debris before they can damage the finish.
- Spot checks: After severe weather events, inspect your fence for any areas where staining has failed or water has penetrated.
- Touch-ups: Keep a small amount of your stain product stored properly for quick touch-ups of scratches or areas showing premature wear.
- Maintenance coats: Most cedar fences benefit from a maintenance coat every 2-4 years, depending on sun exposure and climate. A maintenance coat uses significantly less stain than the initial application.
- Trimming vegetation: Keep plants, shrubs, and grass trimmed back from direct contact with your fence, as these can trap moisture against the wood.
By implementing a regular maintenance schedule, you’ll catch small issues before they become major problems, extending both the appearance and lifespan of your stained cedar fence.
What Are the Common Staining Mistakes You Should Avoid?
Even with the best intentions, certain mistakes can compromise your cedar fence staining project. Here are the critical errors to avoid:
Too Much Stain: Could You Be Overdoing It?
Applying excess stain creates problems rather than providing extra protection. Watch for:
- Sticky surfaces that never fully dry
- Unnatural shiny appearance instead of natural wood
- Hardened drips and runs
- Premature peeling within months
For best results, follow the manufacturer’s coverage recommendations (typically 150-300 sq ft per gallon) and apply thin, even coats. Cedar naturally resists absorption, requiring less stain than more porous woods.
Staining in Bad Weather: Is Mother Nature Not on Your Side?
Weather conditions dramatically impact results:
- Avoid temperatures below 50°F (stain becomes too thick) or above 90°F (stain dries too quickly)
- Never apply to damp wood or when rain is forecasted within 24-48 hours
- Skip extremely humid days (above 80%)
- Protect from direct, intense sunlight that causes rapid drying
Aim for moderate temperatures (60-80°F), low humidity, indirect sunlight, and several dry days ahead.
Wrong Stain Choice: Did You Pick the Right Stain for Your Fence?
Common selection mistakes include:
- Using interior stain outdoors
- Selecting deck stain for vertical fence surfaces
- Choosing based solely on color
- Using paint instead of stain
Consider your specific region when selecting a stain. Northern climates need freeze-thaw stability, southern exposure requires UV protection, coastal areas benefit from mildew resistance, and high altitudes need enhanced UV blocking.
Research products specifically recommended for cedar fencing in your climate, possibly consulting local professionals for regional insights.
Selecting the perfect stain isn’t just about protection-it’s also about curb appeal. If you want inspiration or guidance, check out our comprehensive analysis of the Best Fence Stain Colors for Your Yard.
Conclusion
Staining your cedar fence isn’t just a maintenance task—it’s an investment in protecting your property’s visual appeal and structural integrity. The right stain, applied correctly under proper conditions, transforms vulnerable wood into a resilient barrier against nature’s harshest elements.
Remember that successful cedar fence staining comes down to three fundamental principles: choosing quality products matched to your specific needs, preparing your fence thoroughly before application, and maintaining a consistent care routine afterward.
Whether you opt for Ready-Seal’s convenience, TWP’s weather resistance, Cabot’s natural beauty, or Olympic’s budget-friendly performance, your cedar fence will reward your efforts with years of added life and enhanced appearance.
With the knowledge shared in this guide, you now have everything needed to make your cedar fence a lasting highlight of your outdoor space.