Do you have a stained or worn-out recliner that’s still comfortable but looks terrible? I understand the frustration of having to choose between expensive replacement furniture and living with an eyesore in your living room.
Good news! You can make a custom cover that fits perfectly and stays in place, unlike those store-bought versions that bunch up and slip off after just an hour of sitting.
In this guide, I’ll show you how to create a recliner cover using simple materials like a canvas drop cloth. You’ll learn the exact measuring process, cutting techniques, and sewing steps needed to make a cover that looks good and actually stays put.
No more constant readjusting or embarrassment when guests visit!
Step-by-Step Instructions to Create Your DIY Recliner Cover
Follow these easy step-by-step instructions to create a custom DIY recliner cover that fits perfectly and adds a personal touch to your furniture.
Materials Required:
| Material | Quantity | Purpose |
|---|---|---|
| Canvas painter’s drop cloth (9×12 feet) | 1 | Main fabric for the recliner cover |
| Matching thread | 1 spool | For stitching and reinforcing seams |
| Plenty of pins | 20-30 | To hold fabric pieces together before sewing |
| Optional: belts/straps | 2-3 | To secure the cover for a snug fit |
Tools Required:
| Tool | Quantity | Purpose |
|---|---|---|
| Sewing machine | 1 | For stitching the cover |
| Measuring tape | 1 | To measure fabric dimensions accurately |
| Scissors | 1 pair | To cut fabric and thread |
| Marker/chalk | 1 | For marking fabric cutting lines |
| Optional: serger | 1 | To finish edges for a clean look |
Step 1: Measure Your Recliner

- Measure back width (side to side)
- Measure from the top center down to the seat
- Measure arm width and depth
- Measure seat depth
- Write down all measurements
Step 2: Cut Your Fabric
- Draw a pattern on the drop cloth based on measurements
- Cut the main piece for the back, arms, and seat
- Add 1 inch extra for seam allowances
- Cut side panels larger than needed (can trim later)
Step 3: Test Fit

- Drape the main fabric over the chair
- Mark where side panels will attach
- Note any needed adjustments
Step 4: Pin Side Panels

- Place the cover on the recliner (wrong side out)
- Position the main piece correctly
- Pin side panels starting at top back
- Pin around chair curves
- Continue down arm sides
- Repeat for all panels
Step 5: Sew Panels

- Use longer stitch length (around 4)
- Start with small seams where panels meet
- Remove pins as you sew
- Backstitch at the start and end of seams
- Keep excess fabric pulled aside
Step 6: Check Fit

- Turn cover right side out.
- Put on chair (back first, then arms)
- Tuck in excess fabric
- Verify fit
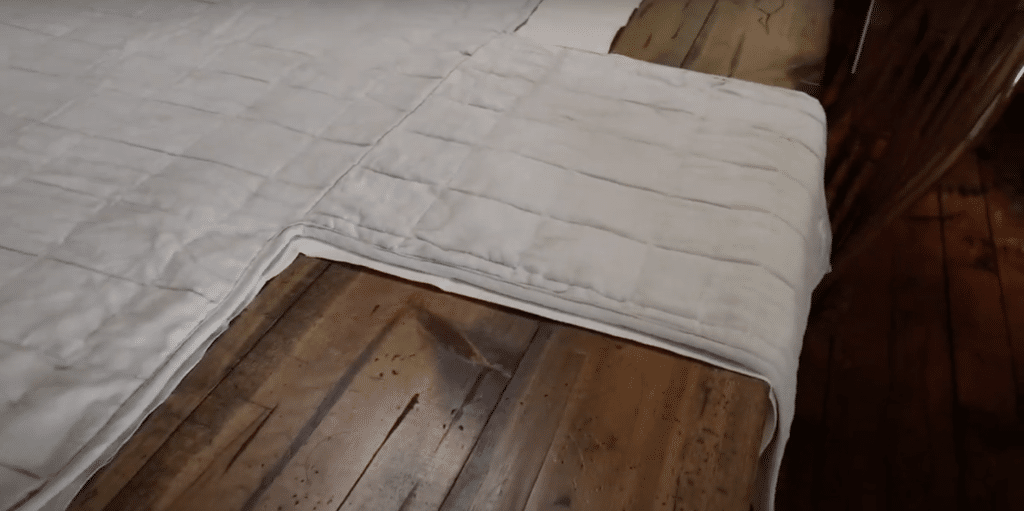
Step 7: Finish Edges

- Trim uneven seams (not too close to stitching)
- Finish raw edges with serger or zigzag stitch
- Hem bottom edges
Step 8: Add Securing Features (Optional)

- Add straps under the footrest.
- Cut belts to size and sew in place
Video Tutorial
Check out this YouTube video tutorial for detailed step-by-step guidance for a DIY Recliner Cover.
Tips And Tricks For DIY Recliner Cover
Here are some tips and tricks for making a DIY recliner cover:
- Pre-wash your drop cloth or fabric before cutting to prevent shrinkage after your cover is made. This helps ensure your carefully measured cover doesn’t become too small after its first wash.
- Use spring-loaded clips (like large binder clips) instead of pins while fitting fabric on the chair – they’re easier to place and remove on thick fabrics like canvas.
- Mark “top,” “back,” “left arm,” etc., directly on your pattern pieces with a fabric marker to avoid confusion during assembly.
- When measuring, sit in the chair to see where the fabric naturally falls or bunches – these are areas where you might need extra fabric or darts.
- Cut small squares from leftover fabric and sew them onto areas that get the most wear (arm fronts and headrest) – these can be easily replaced when worn out.
- Add a layer of thin batting between the chair and cover in high-use areas for extra padding and wear protection.
- Sew small lead fishing weights into the corners of the cover to help it stay in place better.
DIY Recliner Cover Mistakes to Avoid
- Measuring Incorrectly: Taking inaccurate measurements is the most common mistake. Always measure twice before cutting, and add extra fabric for seams and tucking. Remember that chairs have curves, not just straight lines.
- Choosing the Wrong Fabric: Some fabrics look great but perform poorly. Very thin fabrics wear out quickly, while extremely thick ones are hard to work with and don’t drape well. Test how your fabric moves and folds before committing.
- Forgetting About the Reclining Function: Many first-timers create a cover that fits perfectly when the chair is upright but pulls tight or comes loose when reclined. Make sure to test your pattern with the footrest up and back reclined.
- Pinning While Flat: Pinning fabric pieces together on a flat surface rather than directly on the chair creates fit problems. Always pin it with the fabric draped on the chair for the most accurate fit.
- Skipping the Test Fit: Failing to check how everything fits before final sewing makes adjustments much harder later. Always do a complete test assembly with pins before sewing any seams.
Conclusion
So what’s the next step for your newly covered recliner? Take a moment to snap a before-and-after photo – you’ll be amazed at the difference your handmade cover makes!
This project does more than just hide stains. It extends your furniture’s life, saves you money, and gives you the satisfaction of creating something useful with your own hands.
Remember, if your first attempt isn’t perfect, that’s okay. Each small fix makes your cover better.
Now I’d love to hear from you! Did you try making this cover? What fabric did you choose? Share your experience in the comments below or tag me in your social media posts.
Ready for more DIY home projects? Subscribe to my newsletter for fresh ideas delivered straight to your inbox!
Frequently Asked Questions
1. What Are the Parts of A Recliner Called?
A recliner consists of the backrest, seat, armrests, footrest, reclining mechanism, headrest, and lever or button control. Some also have a swivel base and lumbar support.
2. How Long Does It Take to Reupholster a Recliner?
Completely reupholstering a recliner typically takes 8-15 hours of work spread over several days for a beginner. Professionals might complete it in 4-6 hours of focused work.
3. What Is Considered the Most Common Fabric for Beginners?
Cotton is generally considered the most common fabric for beginners making DIY recliner covers. It’s easy to work with, machine-washable, affordable, and comes in many colors and patterns.