Want to display your beautiful plates, cutting boards, or picture frames but lack wall space? Many homeowners struggle with finding attractive storage solutions that don’t take up counter space.
A custom wall-mounted plate rack offers the perfect answer to this common problem. This project turns plain wall areas into useful display spots for your cherished items.
In this guide, you’ll learn how to build a practical and good-looking plate rack using basic materials from your local hardware store.
The best part? This project costs under $50 and can be completed in a weekend, giving your kitchen or dining area a fresh look without major renovations.
Why Build Your Plate Rack?
Store-bought plate racks often come in standard sizes that might not fit your space or needs. By making your own, you control every aspect – the dimensions, shelf heights, and finish.
This means you can create something that perfectly fits your wall space and the items you want to display. A custom plate rack also lets you match your home’s exact style.
Whether your home features farmhouse, modern, or traditional decor, you can adjust the design and finish to blend in or stand out.
Complete List of Tools and Materials for a DIY Plate Rack
| Item | Purpose |
|---|---|
| Beadboard (approximately 24″ wide) | Forms the backing of the plate rack |
| Four 1×4 pine boards | Creates the frame, shelves, and shelf stops |
| Wood glue | Bonds wooden pieces together for added strength |
| Brad nailer and brads | Secures wooden pieces quickly and neatly |
| Saw (circular or miter saw preferred) | Cuts boards to exact sizes needed |
| Measuring tape | Ensures accurate dimensions for all pieces |
| Pencil | Marks cutting lines and shelf positions |
| Level | Keeps the rack straight during installation |
| Wall anchors and screws | Secures the rack firmly to the wall |
| Paint (wall color for background, white for frame) | Gives the rack a finished look |
| Paintbrushes | Applies paint to all surfaces |
| Sandpaper | Smooths rough edges and prepares for painting |
| Drill | Makes pilot holes for screws and anchors |
| Safety glasses and gloves | Protects you during cutting and assembly |
Step-by-Step Guide to Crafting a Plate Rack
Step 1: Prepare Your Materials

Cut your beadboard to the desired width and height for the back panel. For this project, the beadboard measures about 23½ inches wide. Next, cut the 1×4 boards to create the frame.
You’ll need two pieces for the vertical sides, matching the height of your beadboard. Then cut horizontal pieces for the top, bottom, and shelf supports. Set aside some 1×4 material to cut into smaller pieces for the shelf lips that will keep items from sliding forward.
Step 2: Create the Shelf Lips

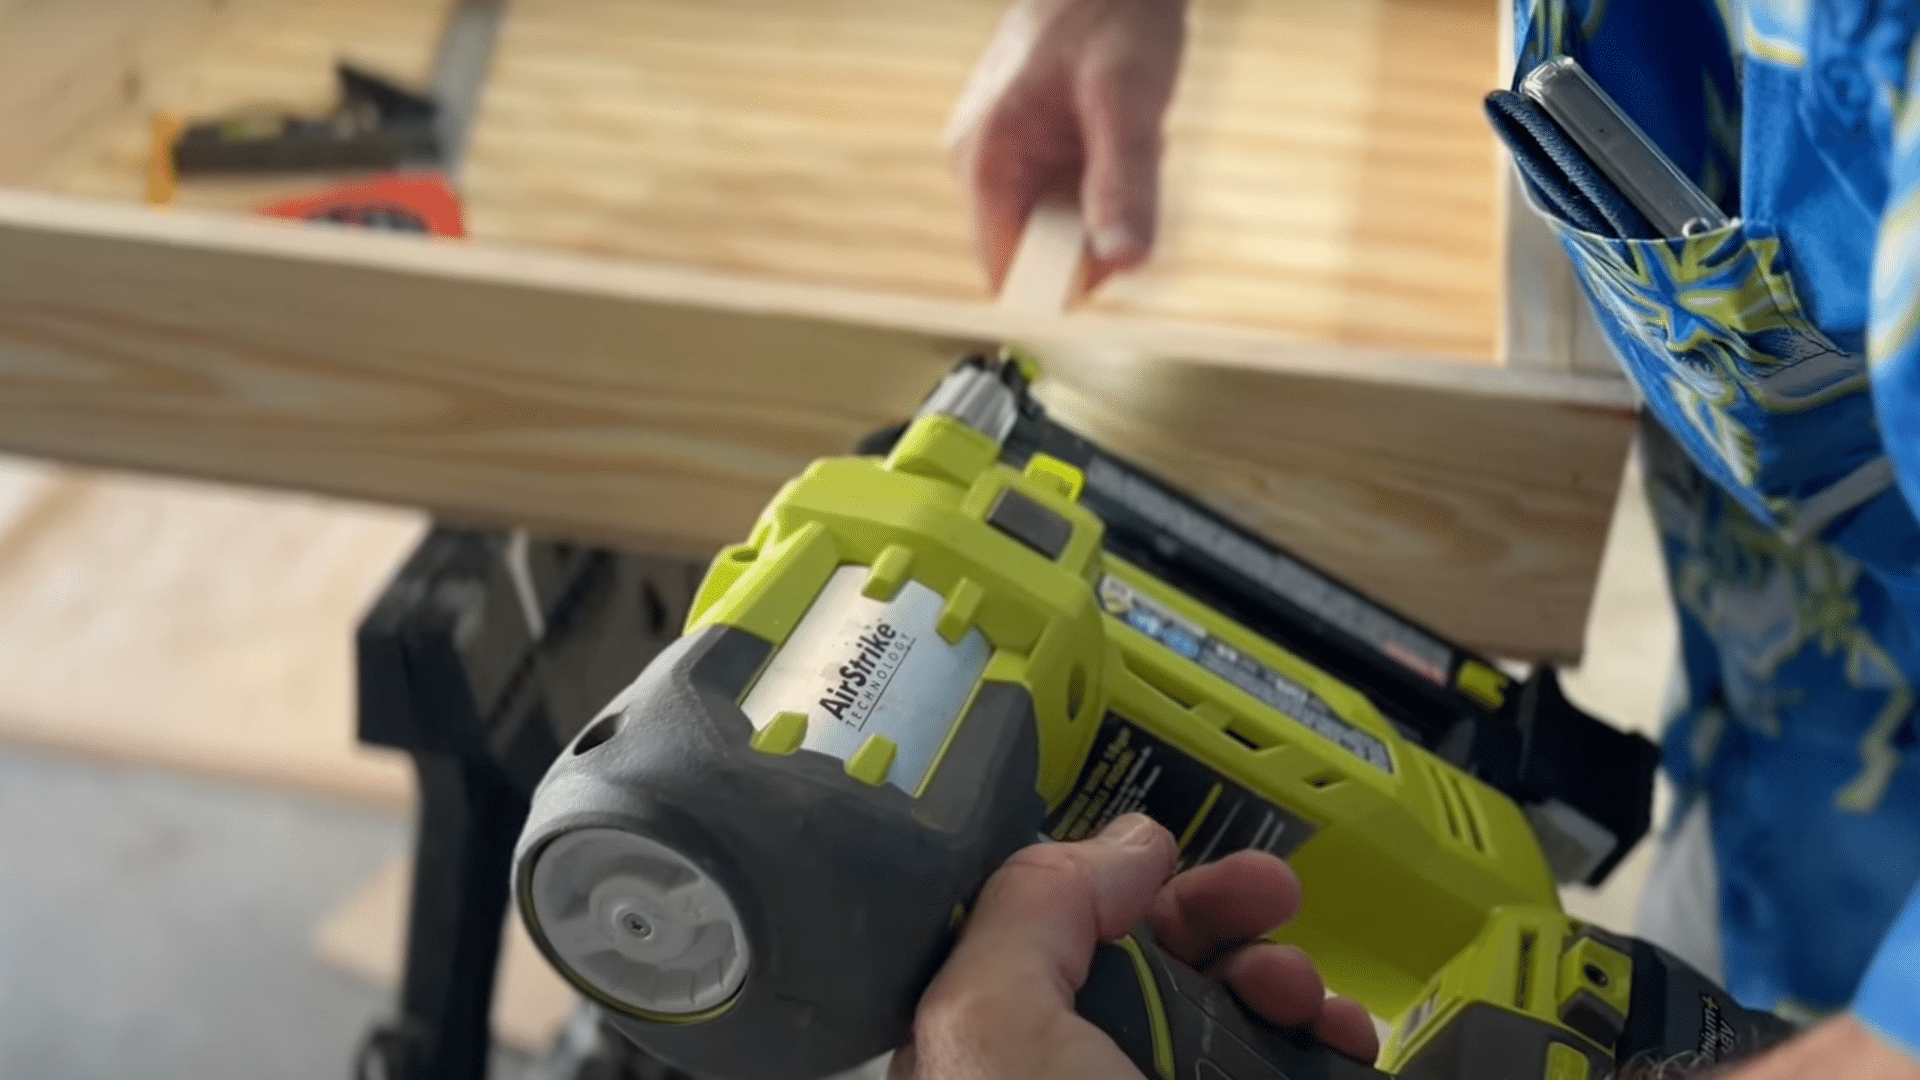
Cut the 1×4 boards to make small lips for each shelf. These prevent plates or cutting boards from sliding off. Measure each shelf length and cut matching pieces. Apply wood glue to one edge of each lip piece, then attach it to the front edge of each shelf board.
Secure with brad nails for extra strength. Let the glue dry completely before moving to the next step. Sand any rough edges to prevent splinters.
Step 3: Assemble the Frame

Lay out the beadboard on a flat surface. Position the side pieces of the frame along the edges of the beadboard. Add the top and bottom horizontal pieces to complete the outer frame. Using a square tool, check that all corners form right angles.
Attach the frame to the beadboard using wood glue and brad nails. Make sure the frame sits flush with the edges of the beadboard for a clean look.
Step 4: Add the Shelves

Mark the positions for each shelf on the side pieces according to your plan. Apply wood glue to the ends of each shelf board, then position them at your marked lines. Secure with brad nails through the side pieces into the shelf ends.
Double-check that each shelf is level before securing it. If your shelf is particularly wide, add any center supports to prevent sagging under the weight of items.
Step 5: Install Shelf Stops
Cut small pieces from your remaining 1×4 material to create vertical stops for each shelf. These pieces should be tall enough to keep your items from falling forward. Position these stops vertically at regular intervals along each shelf (about 6-8 inches apart works well).
Attach them to the shelves using wood glue and brad nails. Before proceeding, make sure they’re straight and secure.
Step 6: Mount to the Wall

Find the wall studs where you plan to hang your plate rack for secure mounting. If mounting to drywall, use appropriate wall anchors. Position the rack on the wall and check that it’s level—Mark screw positions at the top and bottom of the rack.
Pre-drill holes to prevent splitting the wood. Attach the rack to the wall with screws, ensuring it’s firmly secured. For this project, three screws at the top and two at the bottom provided solid support.
Video Tutorial
Check out this YouTube video for a detailed step-by-step Tutorial on DIY Plate Rack.
How to Avoid Failures in Your DIY Plate Rack Build
| Issue to Avoid | Consequence | Better Alternative |
|---|---|---|
| Weak wall anchors | The rack may fall, damaging items | Install into studs or use heavy-duty anchors |
| Overloading shelves | Causes sagging and collapse | Distribute weight evenly, and follow weight limits |
| Skipping the planning phase | Poorly fitted rack, instability | Measure, plan dimensions before cutting |
| Low-quality paint | Chipping, frequent touch-ups | Invest in high-quality, washable paint |
| Incorrect shelf spacing | Items won’t fit or look awkward | Plan based on actual items |
| Insufficient shelf stops | Items may slide and fall | Install proper stops at intervals |
| Rushing assembly | Weak joints, uneven finish | Take time, and allow glue to dry completely |
| Ignoring wood grain direction | Unprofessional appearance | Align visible wood grain for a cohesive look |
Creative Ways to Enhance Your Rack for More Style
- Add Extra Storage – A small shelf on top or bottom provides space for mugs, bowls, or spices.
- Install Hanging Hooks – Hooks under shelves let you hang mugs or cooking tools for easy access.
- Use Fancy Trim – Adding trim to edges makes your rack look more finished and matches your home style.
- Try Different Colors – Paint your rack in bright colors or create a worn look for a country feel.
- Change the Stop Design – Square wood pieces instead of round ones create a more modern, clean look.
- Make Angled Slots – Slots cut at angles hold plates more securely but need more exact cutting skills.
Conclusion
Building your plate rack brings both practical storage and visual appeal to your home. This project changes wall space into a functional display area for your favorite items, whether they’re decorative plates, cutting boards, or framed artwork.
The custom approach lets you fit the rack perfectly to your space and needs, unlike mass-produced options. With basic tools and materials costing under $50, this project offers excellent value compared to buying pre-made racks.
The skills you learn can be applied to other home projects, too. The satisfaction of creating something useful with your own hands adds special meaning to the finished piece. When friends ask about your stylish display, you can proudly say you made it yourself.
Frequently Asked Questions
1. How Long Does This Project Take to Complete?
You can finish this plate rack in a weekend if you have all materials ready.
2. Can I Make This Rack Without a Brad Nailer?
Yes, you can use small finishing nails and a hammer instead of a brad nailer.
3. Will This Plate Rack Work in Small Spaces?
You can adjust the width and depth to fit any wall space in your home.
4. How Much Weight Can Each Shelf Hold?
Each shelf can hold about 5-10 pounds when properly mounted to wall studs.