Making seasonal decor can be costly and difficult when you want something unique. Store-bought wreaths are often expensive, and finding one that matches your style can be challenging. I understand this struggle.
I promise that creating your own pine cone wreath is not only budget-friendly but also allows you to customize it exactly how you want. With some basic materials and a bit of patience, you can make a stunning wreath for your home.
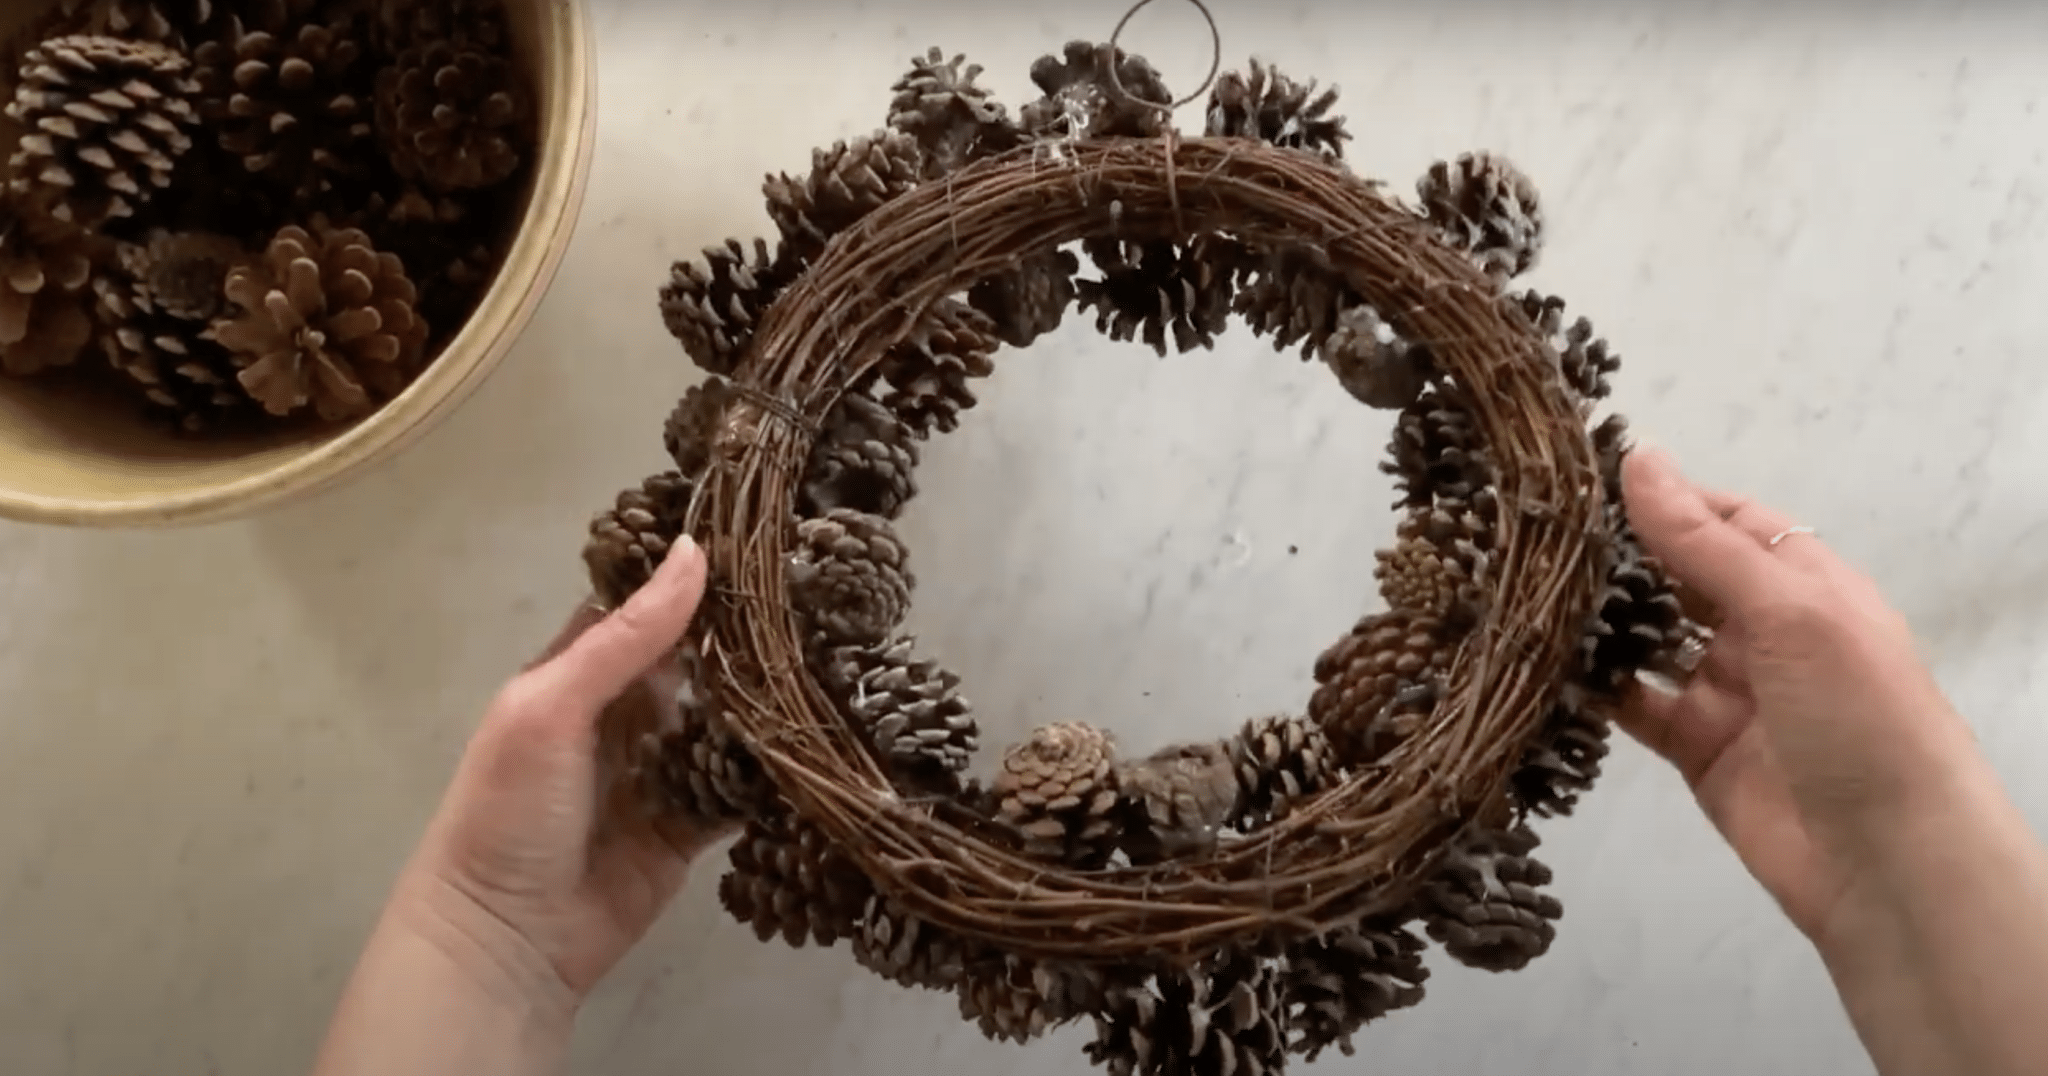
In this guide, I’ll show you how to gather supplies, prepare pine cones, wire them securely to a frame, and finish your wreath with personal touches.
By the end, you’ll have a beautiful handmade pine cone wreath that will impress your guests and save you money.
Tools And Materials Required For Creating Pine Cone Wreath
| Item | Purpose | Quantity |
|---|---|---|
| Pine Cones | The main decorative element for the wreath | Varies (30–60 depending on wreath size) |
| Wreath Form (small preferred) | Base structure to attach pine cones | 1 (smaller size recommended) |
| Hot Glue Gun with Glue Sticks | Attaching pine cones securely to the wreath form | 1 glue gun + 5–10 glue sticks |
| Ribbon for Bow (Optional) | Adds the decorative finishing touch to the wreath | 1 ribbon (approx. 1–2 feet) |
Step-by-Step Guide: Your Wreath-Making Process
Step 1. Plan Your Layout

First, lay out pine cones along the wreath form. This helps you see how they fit together before starting to glue them in place.
Step 2. Begin Gluing

Start gluing pine cones to the wreath form. Apply hot glue to the base of each pine cone, then press firmly onto the form.
Step 3. Fill the Wreath

Keep adding pine cones, placing them as close together as possible. The first few might look odd, but continue filling in all spaces.
Step 4. Check Your Work

Occasionally, pick up the wreath to make sure everything stays in place. This helps you spot loose pieces early.
Step 5. Add More Where Needed
Once the entire wreath is filled, look for gaps. Add more pine cones to areas that need filling for a full look.
Step 6. Optional: Add a Bow

If desired, tie a ribbon into a bow and glue it onto the wreath for extra decoration.
Video Tutorial
Check out this YouTube video for detailed step-by-step guidance for creating a Pine Cone Wreath.
Tips and Tricks For Pine Cone Wreath
- Break off one side of round pine cones to help them fit better on the wreath form.
- No need for a specific pattern—aim for a natural, organic look
- Try hanging the wreath to better see where more pine cones need to be added
- Pine cones can face different directions for a more natural appearance
- The bigger your wreath form, the more pine cones you’ll need
- Similar to making a dried orange wreath if you’ve done that before
- Thrift stores are good places to find affordable pine cones
The finished product will look full and natural and make an attractive seasonal decoration.
Alternate Ideas for DIY Pine Cone Wreath
- Seasonal Themes: Create a spring wreath with pastel-colored pine cones, summer with bright colors, fall with orange and brown tones or winter with white “snow-dusted” pine cones
- Frosted Effect: Brush pine cone tips with white paint or glue, then sprinkle with clear or iridescent glitter for a snowy look.
- Rustic Country Style: Weave twine or burlap ribbon throughout the wreath and add small wooden ornaments
- Coastal Theme: Paint pine cones in blues and whites, then add seashells, starfish, and netting
- Farmhouse Style: Use a wooden embroidery hoop as the base and arrange pine cones in a half-wreath design
- Modern Minimalist: Space pine cones farther apart on a metal hoop for an open, contemporary look
- Herbal Accent: Tuck sprigs of dried rosemary, thyme, or lavender between pine cones for a pleasant scent
- Holiday Kids’ Craft: Let children paint pine cones in bright colors and add googly eyes to create little creatures
Common Mistakes When Making a Pine Cone Wreath
1. Overcrowding the Wreath
Adding too many pine cones creates excessive weight on the wreath form. This strain can break the form or pull apart the glue bonds. A single pine cone might seem light, but thirty or forty quickly add up to several pounds of weight, making hanging difficult and increasing the risk of falling.
2. Poor Weight Distribution
Many crafters place larger pine cones on one side, creating an imbalanced wreath. This uneven weight makes the wreath hang crookedly and stresses certain attachment points. The wreath might spin on the wall or door, showing its less attractive backside.
3. Inadequate Glue Application
Hot glue needs a sufficient contact surface to create a strong bond. Placing just a small dot of glue on the tip of a pine cone creates a weak attachment point. The wreath needs glue applied to multiple points on each pine cone for security, especially on the heavier ones.
4. Rushing the Drying Process
Moving or hanging the wreath before the glue fully sets weakens the structure. Hot glue needs about 5 minutes to completely cool and set. Rushing this step leads to pine cones shifting from their intended positions or falling off entirely.
5. Using Uncleaned Pine Cones
Pine cones collected from outdoors often contain sap, dirt, small insects, or mold spores. These can cause staining on walls or doors, unpleasant odors, or pest problems. Proper cleaning with a mild bleach solution and thorough drying prevents these issues.
Fascinating Pine Cone Facts for Your DIY Wreath Project
- Pine Cones Have Genders
Pine trees produce both male and female cones. The male cones are smaller, softer, and release pollen. The female cones are the larger, woody ones most people collect for crafts. They stay on trees longer to catch pollen and produce seeds. - They’re Ancient Plant Structures
Pine cones have existed for about 300 million years, with fossils dating back to when dinosaurs roamed Earth. Their design has remained largely unchanged, making them one of nature’s most successful seed protection systems. - Natural Fire Starters
Due to their high resin content, pine cones make excellent fire starters. Many campers and homeowners collect them to help start fires in fireplaces or fire pits. This same resin gives pine cones their pleasant smell. - They Open and Close With the Weather
Beyond just closing before rain, pine cones act as hygrometers. Their scales open in dry conditions to release seeds when they can travel far on the wind. They close in wet weather to protect seeds until better dispersal conditions return.
Conclusion
Ready to show off your handmade pine cone wreath? You now have all the steps to create a beautiful decoration that costs much less than store-bought options. Your wreath will add a personal touch to your home that guests will notice.
Remember to choose pine cones in good shape, secure them tightly with wire, and take your time with each step. The care you put into your wreath will show in the final product.
What’s next? Try making one as a gift for a friend or family member. You could also experiment with different sizes and color schemes for various seasons. If you make your pine cone wreath, I’d love to see how it turns out! Share your creation in the comments section below.
Frequently Answered Questions
1. how do I Make Sure Pine Cones are Bug-Free?
To ensure pine cones are bug-free, bake them on a foil-lined tray at 200°F for 30 minutes. Let them cool completely before using them in your wreath project.
2. how do You Tell if it’s Going to Rain with a Pine Cone?
Pine cones close when humidity rises before rain. Dry pine cones stay open, but their scales shut tight as moisture increases, serving as a natural weather forecaster for coming rainfall.
3. Do Pine Cones Repel Mosquitoes?
Pine cones themselves don’t repel mosquitoes. However, pine cones soaked in essential oils like citronella, eucalyptus, or cedar can help deter mosquitoes when placed around outdoor areas.