9 Types of Ceiling Cracks with Pictures and Fixes
What does a ceiling crack mean? Just a flaw or a red flag?
Some ceiling cracks are simply cosmetic. Others may hint at deeper concerns like structural pressure, shifting surfaces, or moisture. Recognizing what you’re seeing is the first step to protecting your space.
This guide helps you spot common ceiling crack patterns and understand what they might signal. From fine lines to visible gaps, each mark has a cause and a response that fits.
You’ll also learn how to examine the surrounding area for added context, know when to seek help, and take action before minor problems spread.
With clear images and practical tips, this resource offers the clarity you need to stay ahead of damage and keep your home stable.
What Causes Ceiling Cracks?
Ceiling cracks can result from a variety of structural or environmental factors. While some are minor and related to surface changes, others may indicate deeper concerns. Identifying the cause is a key step in understanding the risk level and deciding on the next steps.
Common causes include:
- Foundation movement: Shifting or settling can place stress on the ceiling materials.
- Water or moisture: Leaks from roofs or plumbing can weaken ceiling surfaces.
- Poor drywall installation: Loose tape or thin joint compound may lead to visible seams.
- Aging materials: Over time, plaster or paint can crack as it contracts or dries out.
- Heavy weight above: Bathtubs, furniture, or stored items overhead can strain the support.
- Humidity and temperature changes: Seasonal shifts may cause materials to expand and contract
Now that you know the common causes, let’s understand the most recognizable ceiling crack patterns.
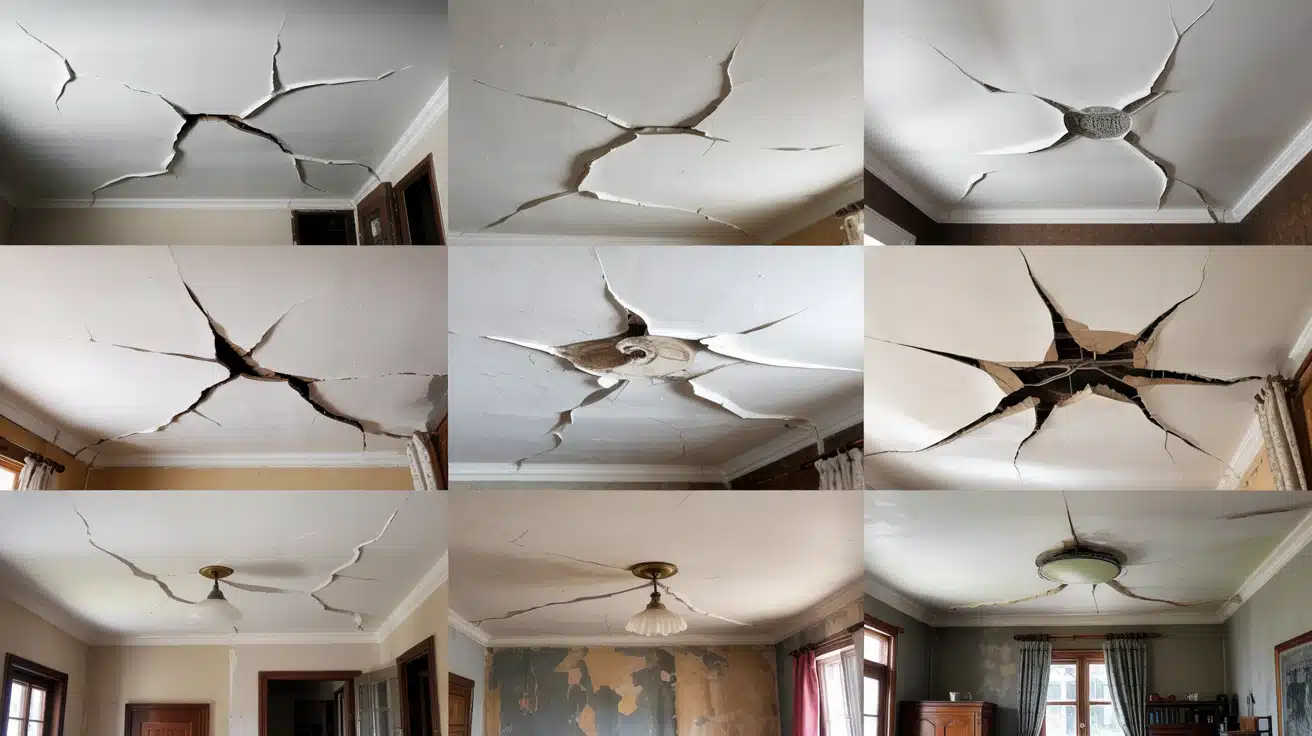
What Are the Different Types of Ceiling Cracks?
Spotting ceiling cracks can be alarming. Learn to identify types of ceiling cracks with pictures empowers homeowners to take swift action and prevent minor issues from becoming costly repairs.
1. Hairline Ceiling Cracks
Hairline cracks are extremely thin, fine lines that resemble hair strands on your ceiling surface. The narrow fissures measure less than 1/16 inch wide and often appear as barely visible marks that run in various directions across painted or plastered surfaces.
Tip: Use a magnifying glass to inspect hairline cracks closely and mark their location to monitor any expansion over time.
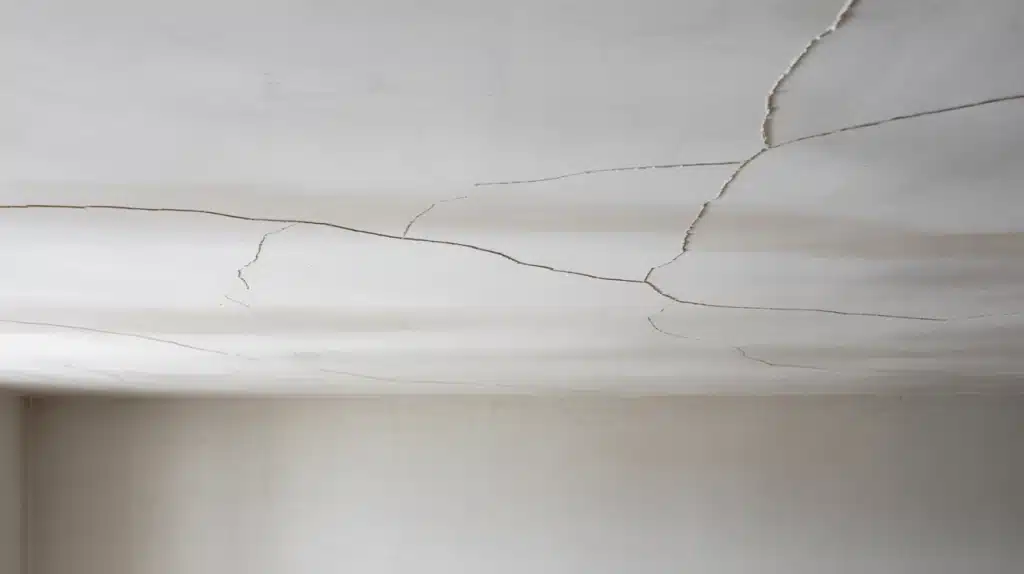
2. Straight Line Ceiling Cracks
Straight line cracks appear as linear fractures that follow perfectly straight paths along drywall seams and joints. Cracks run in continuous straight lines where two drywall panels meet, creating visible separations along the ceiling’s construction joints.
Tip: Press gently along the crack to check if drywall tape has separated, which indicates the need for retaping and refinishing.
3. Spiderweb Ceiling Cracks
Spiderweb cracks create intricate patterns that radiate outward from a central point, resembling an actual spider’s web. Interconnected fractures branch out in multiple directions, forming a network of thin lines that spread across the ceiling surface like web strands.
Tip: Identify the central point where all cracks originate, as this area likely experienced the most stress or impact damage.
4. Sagging Ceiling Cracks
Sagging cracks appear alongside visible drooping, bulging, or downward bowing of the ceiling surface. The fractures accompany areas where the ceiling material has lost structural support and begins to hang lower than the surrounding surface, creating dangerous conditions.
Tip: Measure the depth of sagging with a level and evacuate the area immediately if the bulge exceeds one inch.
5. Water-Damaged Ceiling Cracks
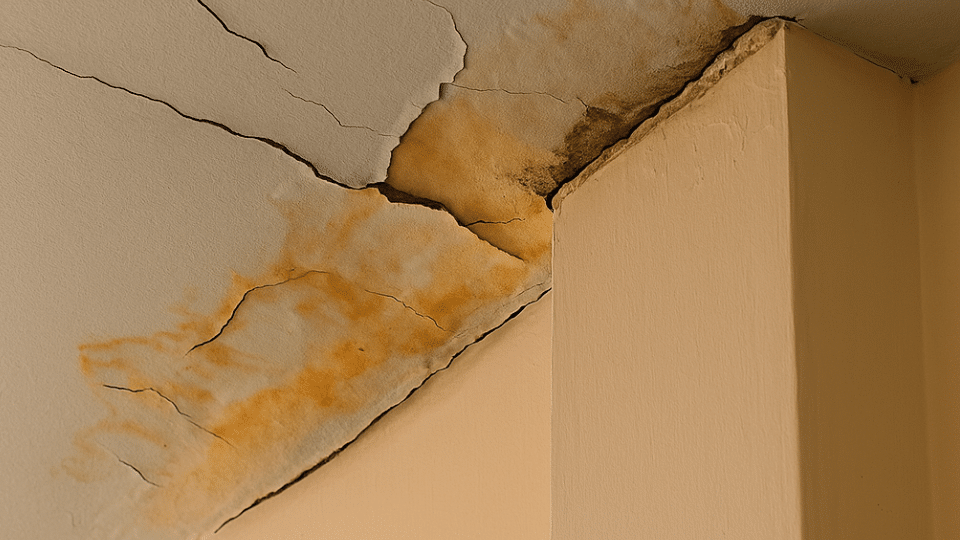
Water-damaged cracks appear with discoloration, including yellow, brown, or dark stains surrounding the fracture. Cracks develop when moisture infiltration weakens ceiling materials, causing both cracking and visible staining that indicates ongoing or past water problems.
Tip: Touch the area around water-damaged cracks to check for dampness, soft spots, or crumbling materials that need immediate attention.
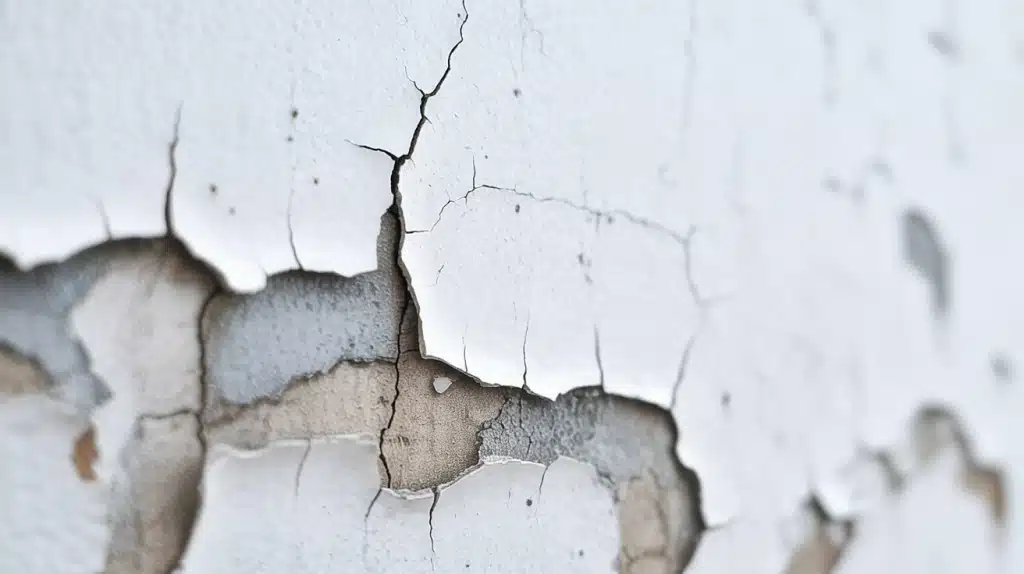
6. Peeling Ceiling Cracks
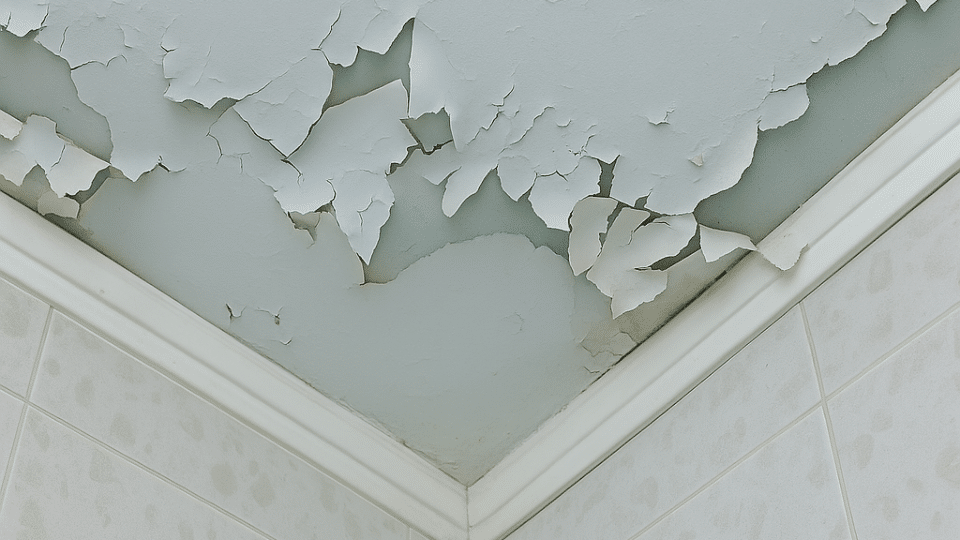
Peeling cracks occur when the surface layer of paint or plaster separates and curls away from the underlying ceiling material. The fractures show visible flaking, chipping, or peeling edges where the top coating has lost adhesion and begins falling away.
Tip: Gently scrape around peeling cracks to remove loose material and assess how much surface preparation will be needed.
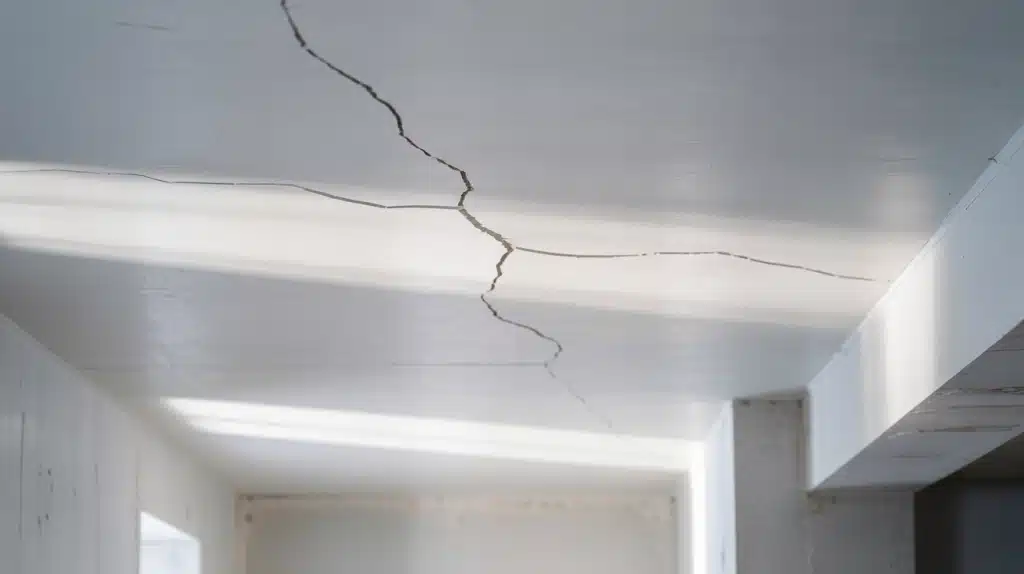
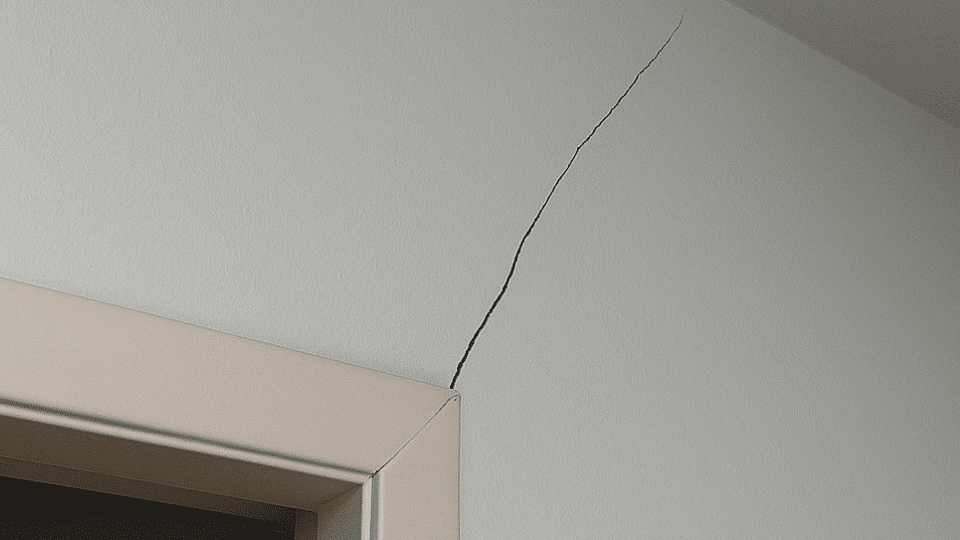
7. Ceiling-to-Wall Cracks

Ceiling-to-wall cracks start at the ceiling and extend downward onto the wall surface, creating continuous fractures that cross the joint between these two surfaces. Cracks indicate structural movement that affects both the ceiling and wall connection points.
Tip: Measure the crack length on both ceiling and wall surfaces to document the full extent of structural movement.
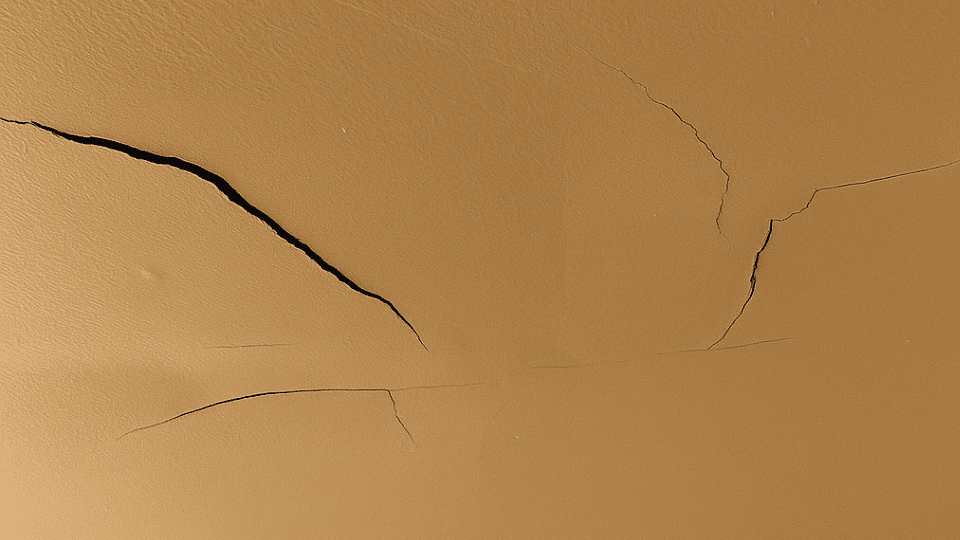
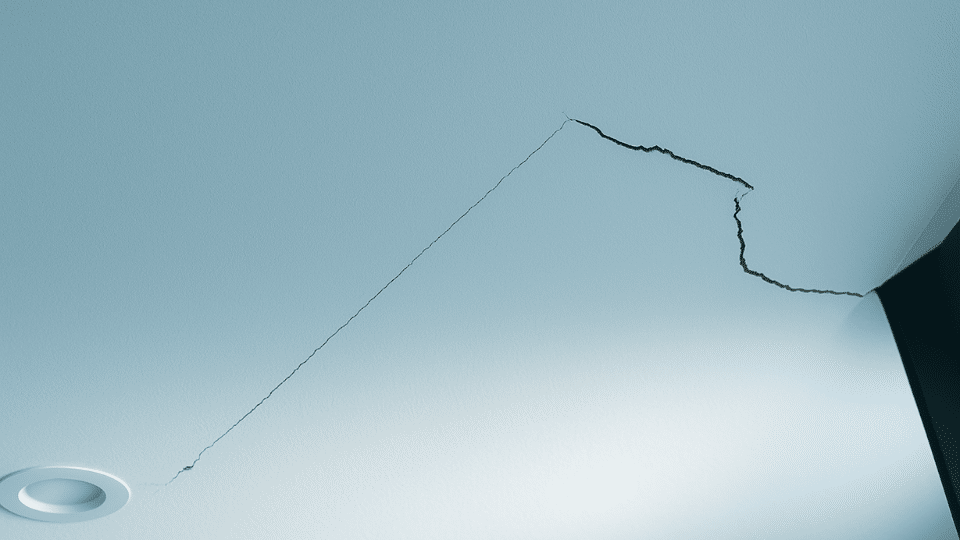
8. Diagonal Ceiling Cracks
Diagonal cracks run at sharp angles across the ceiling, creating slanted lines that don’t follow construction joints or seams. The angled fractures often indicate foundation settlement, earthquake damage, or structural stress that causes the ceiling to crack along stress lines.
Tip: Use a level to determine the exact angle of diagonal cracks and photograph them for professional structural evaluation.
9. Fixture Ceiling Cracks
Fixture cracks form circular or radiating patterns around ceiling-mounted lights, fans, or other installed equipment. Fractures appear near mounting points where hardware attachments create stress concentration, often showing crack patterns that follow the fixture’s outline or radiate outward.
Tip: Check fixture mounting screws for looseness and ensure proper anchoring to prevent further cracking around the installation point.
Once you can identify the crack, the next step is to determine its severity.
How to Respond to Different Types of Ceiling Cracks?
Responding early can prevent further damage. Begin by checking the size, depth, and location of the crack. Thin cracks near corners are usually not a concern. However, wider or stained cracks may need closer attention.
Take photos and measure any changes. Related signs like sticking doors or sloped floors may point to bigger issues. Fix the cause, such as a leak, before repairing the surface.
Once the cause is known, apply the correct fix:
- Hairline cracks: Fill with spackle, sand, and repaint.
- Straight line cracks: Re-tape, apply joint compound, and finish.
- Discolored cracks: Fix leaks, replace drywall, and repaint.
- Sagging cracks: Support the ceiling and replace damaged material.
- Cracks from ceiling to wall: Get a structural inspection.
- Cracks around fixtures: Tighten the fixture and patch the area.
If you are unsure or the damage appears extensive, contact a professional.
How to Tell If a Ceiling Crack Is Serious?
Not all ceiling cracks are serious. Some are surface flaws from regular wear. Others may indicate deeper issues.
Warning signs include cracks wider than 1/8 inch, spreading over time, sagging areas, discoloration, cracks near beams, or multiple cracks across rooms. These signs may point to structural strain or foundation problems.
If unsure, consult a qualified expert to assess the situation. Knowing the risk level helps, but who should you call to get it fixed? Let’s find out.
Who to Call for Ceiling Cracks?
Different ceiling issues require help from various professionals. Matching the crack’s location or pattern to the right expert can save time and ensure effective repairs.
| Type of Crack or Issue | Who to Contact |
|---|---|
| Hairline or surface cracks | Drywall or painting specialist |
| Straight cracks along seams | Drywall contractor |
| Cracks with water stains | Roofer or plumber |
| Cracks near fixtures or vents | Electrician or HVAC technician |
| Sagging with cracks | General contractor |
| Cracks running down the walls | Structural engineer |
| Multiple cracks across rooms | Foundation repair specialist |
If you’re unsure who to call, a general contractor or home inspector can help evaluate the situation and point you in the right direction.
Conclusion
Each ceiling crack offers insight into whether moisture, settling, or aging materials may be at play. Not all cracks demand concern, but deeper, wider, or stained ones should be reviewed closely.
Surface marks can often be patched, while structural signs like sagging or uneven areas call for closer evaluation.
Document any changes, and look beyond the ceiling sticky doors, tilted floors, or nearby wall gaps that may signal a larger issue. Resolving the root cause, not just the surface flaw, helps ensure a stable outcome.
If there’s ever doubt, reach out to a qualified professional. Save this resource for future reference or pass it along to someone facing similar concerns.
It could help protect a home from more serious damage. Still having doubts? Comment below your query and get the answer to your question.