Dreaming of a boutique-style closet without the designer price tag? Convert that dusty spare bedroom into a fashionista’s paradise!
This budget-friendly makeover turns wasted space into a personal styling sanctuary where every piece of your collection gets its moment to shine—no more cramming clothes into overstuffed drawers or forgetting about buried treasures.
With simple materials and a dash of creativity, you’ll create a functional fashion haven that makes getting dressed feel like shopping your collection.
The best part? This project costs a fraction of professional closet systems while giving you complete control over the design.
Maximizing Bedroom Space for an Efficient Closet Design
Before you start turning your bedroom into a closet, it’s important to assess the space. Here’s how to get started:
-
Measure the Room Dimensions and Layout
First, measure the room’s size. Knowing how much space you have will help you plan the best closet setup. Measure the length, width, and height of the room to understand your storage options. -
Identify Key Areas for Storage
Look around the room and identify areas that can be used for storage. Think about the walls, corners, and any under-utilized spaces. These areas can be perfect for adding shelves, hanging racks, or storage bins. Don’t forget to check the space under the bed or in closets for additional storage. -
Consider Natural Lighting and Ventilation
Good lighting is essential for a closet, so check if the room has enough natural light or if you’ll need to add artificial lighting. Ventilation is also important to keep your clothes fresh. If the room has a window, that’s great! If not, you may want to think about ways to improve air circulation.
By carefully assessing the space, you can make the most of the room and create a functional and organized closet.
Creating a Stylish Closet from a Spare Bedroom
Necessary Tools and Supplies Needed:
| Essential Items | Purpose | Budget-Friendly Options |
|---|---|---|
| Clothing Racks (2-4) | Main storage for hanging clothes | Amazon basics or secondhand shop finds |
| Shoe Organizer | Keeps footwear visible and protected | Bookshelf repurposed with added dividers |
| Full-Length Mirror | For complete outfit checks | Door-mounted or leaning style from discount stores |
| Area Rug | Defines space and adds comfort | Washable options from home goods clearance |
| Picture Frames | Adds personality to the space | Thrift shop frames with DIY art |
| Wall Hooks | For small storage solutions | Command hooks (no wall damage) |
| Measuring Tape | Ensures proper spacing | Dollar-store variety works fine |
| Small Stool | For reaching high items | Repurpose from kitchen or living areas |
| Storage Baskets | Contains smaller accessories | Cardboard boxes covered in fabric |
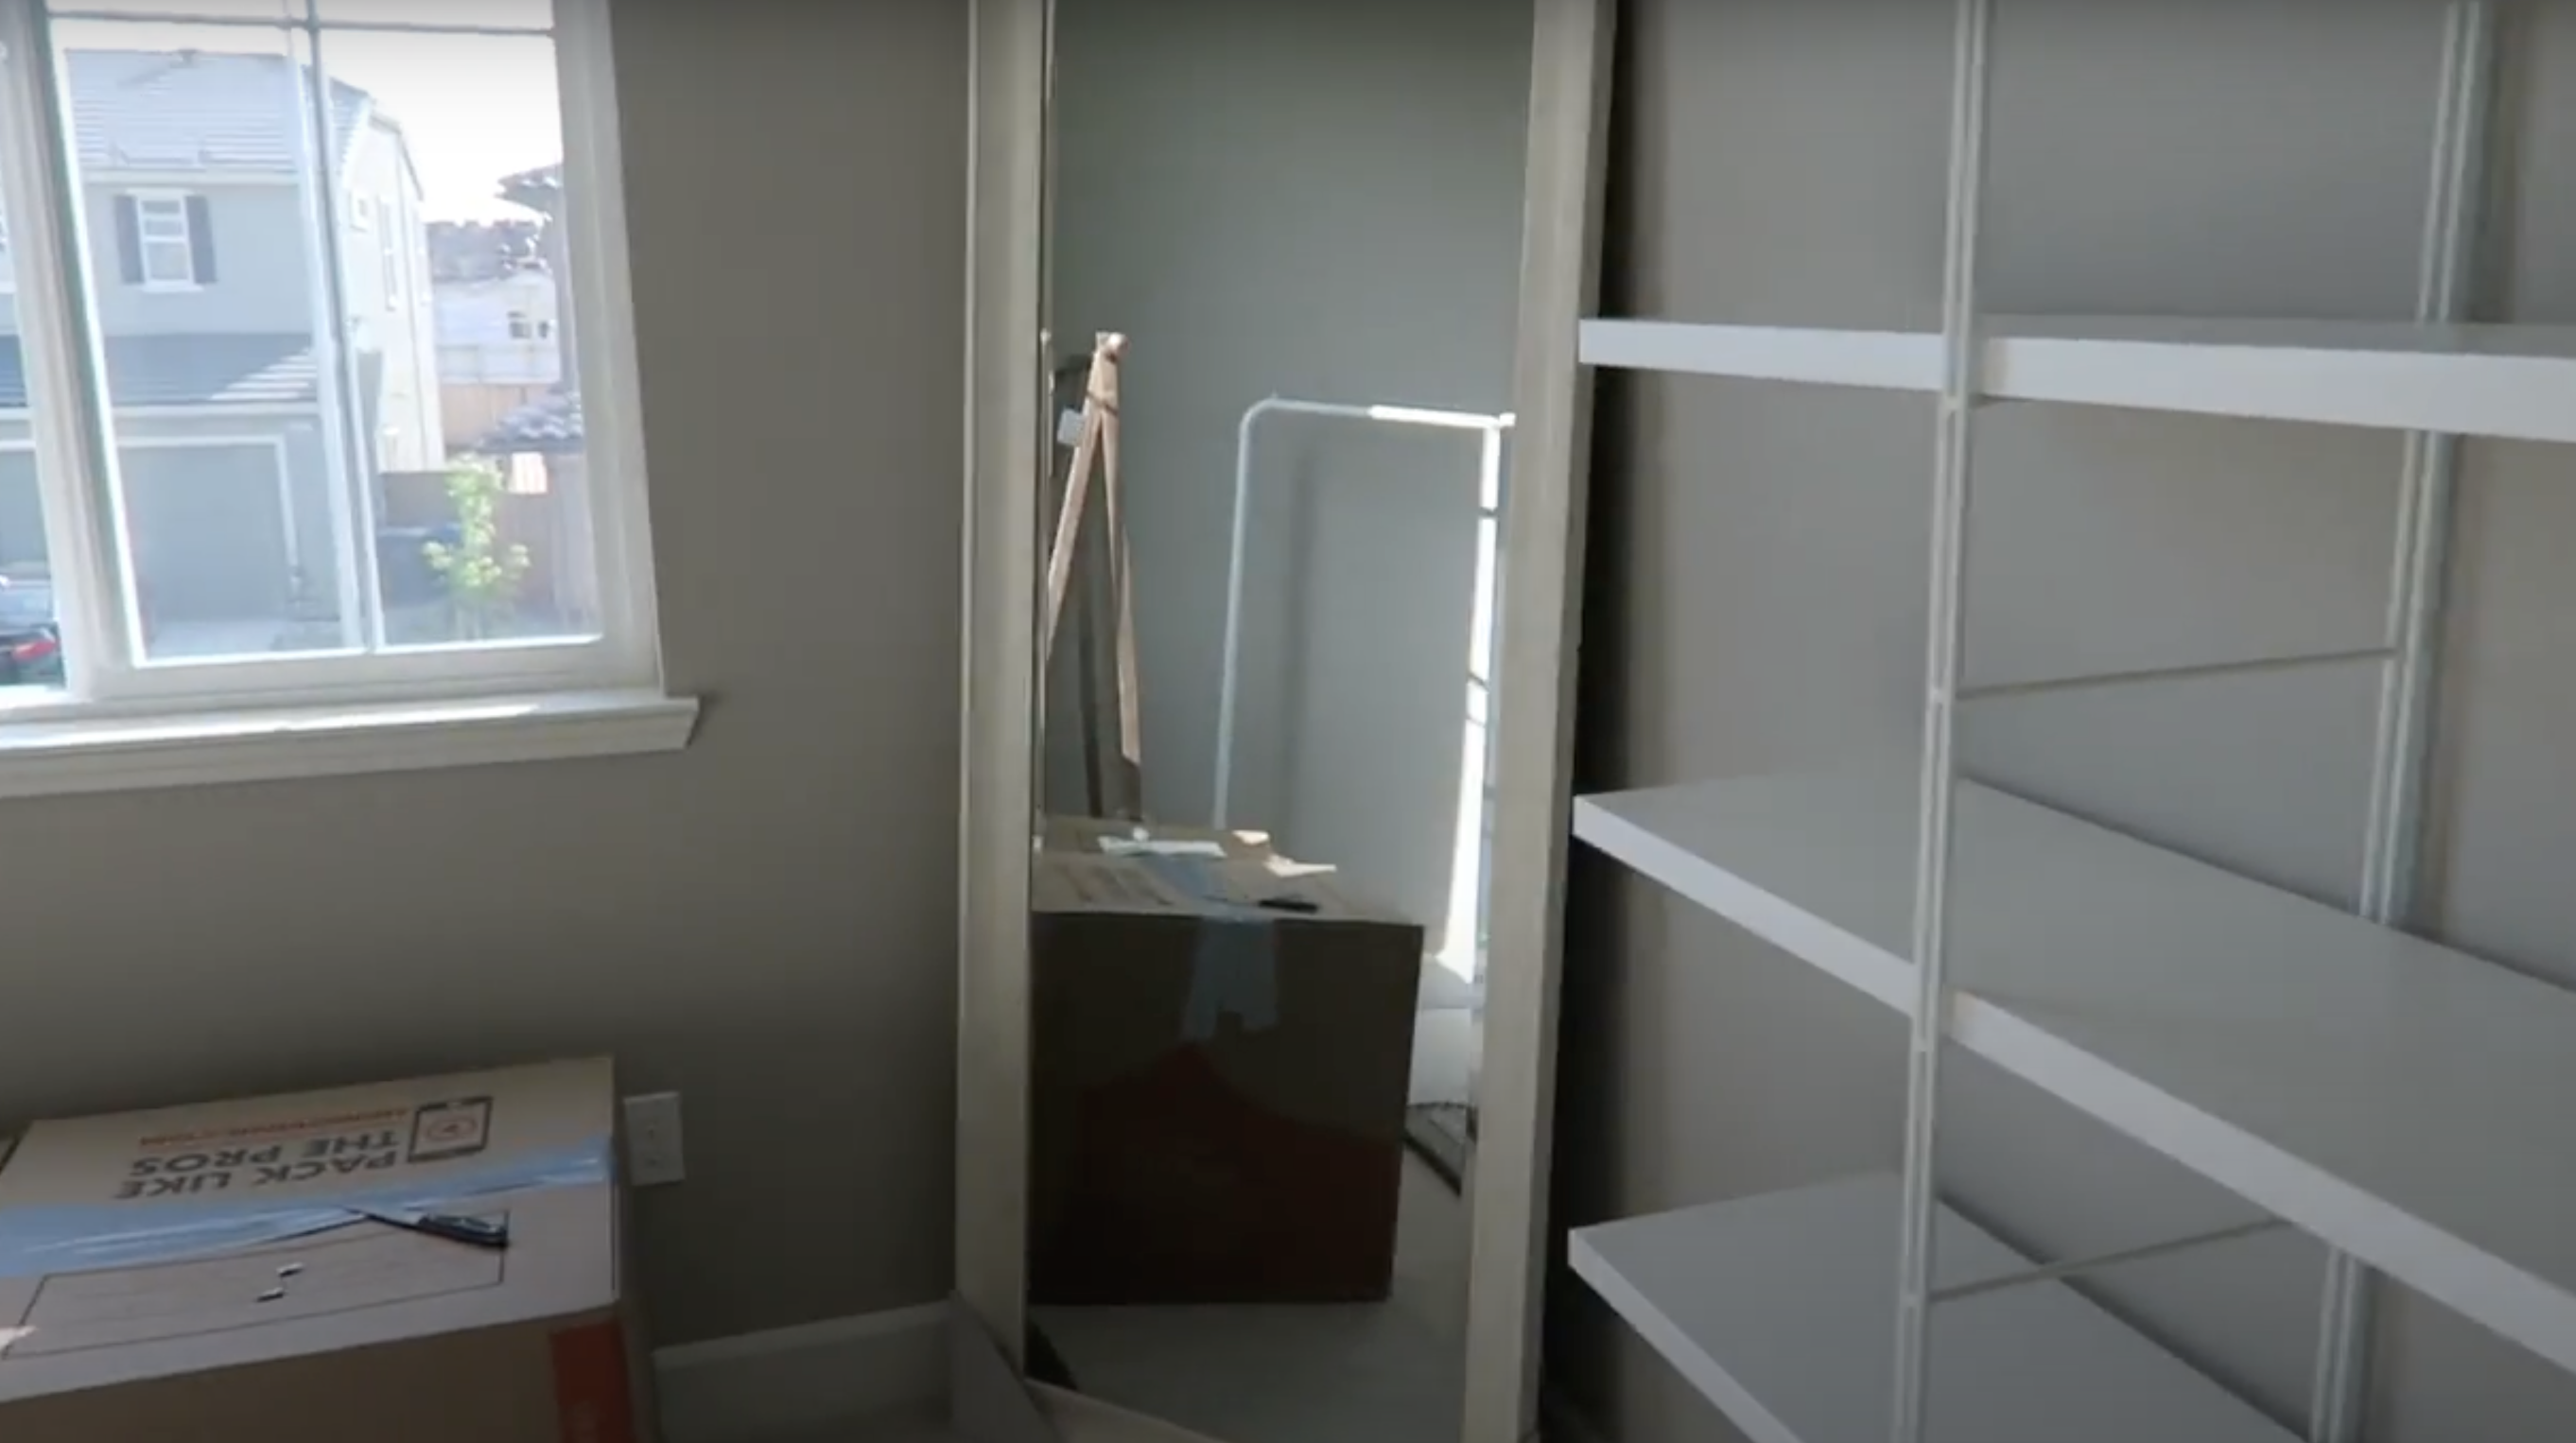
Step 1: Clear the Room and Plan Your Layout

Remove everything from the spare bedroom to create a blank canvas. Measure wall and floor space to plan element placement. Consider your clothing habits and map out the room on paper.
Note where natural light falls and keep doorways clear with enough space to move around. A well-planned layout makes the rest of the project flow more smoothly and helps you avoid costly mistakes or rearrangements later.
Step 2: Select and Assemble Clothing Racks

Choose sturdy clothing racks based on your budget and needs. Place them along walls where they won’t block windows or doors. When assembling, follow instructions carefully, ensuring all screws are tight.
Position racks with enough space between them so clothes don’t feel cramped. Check that height clearance is sufficient for longer items. These racks form the backbone of your new closet space.
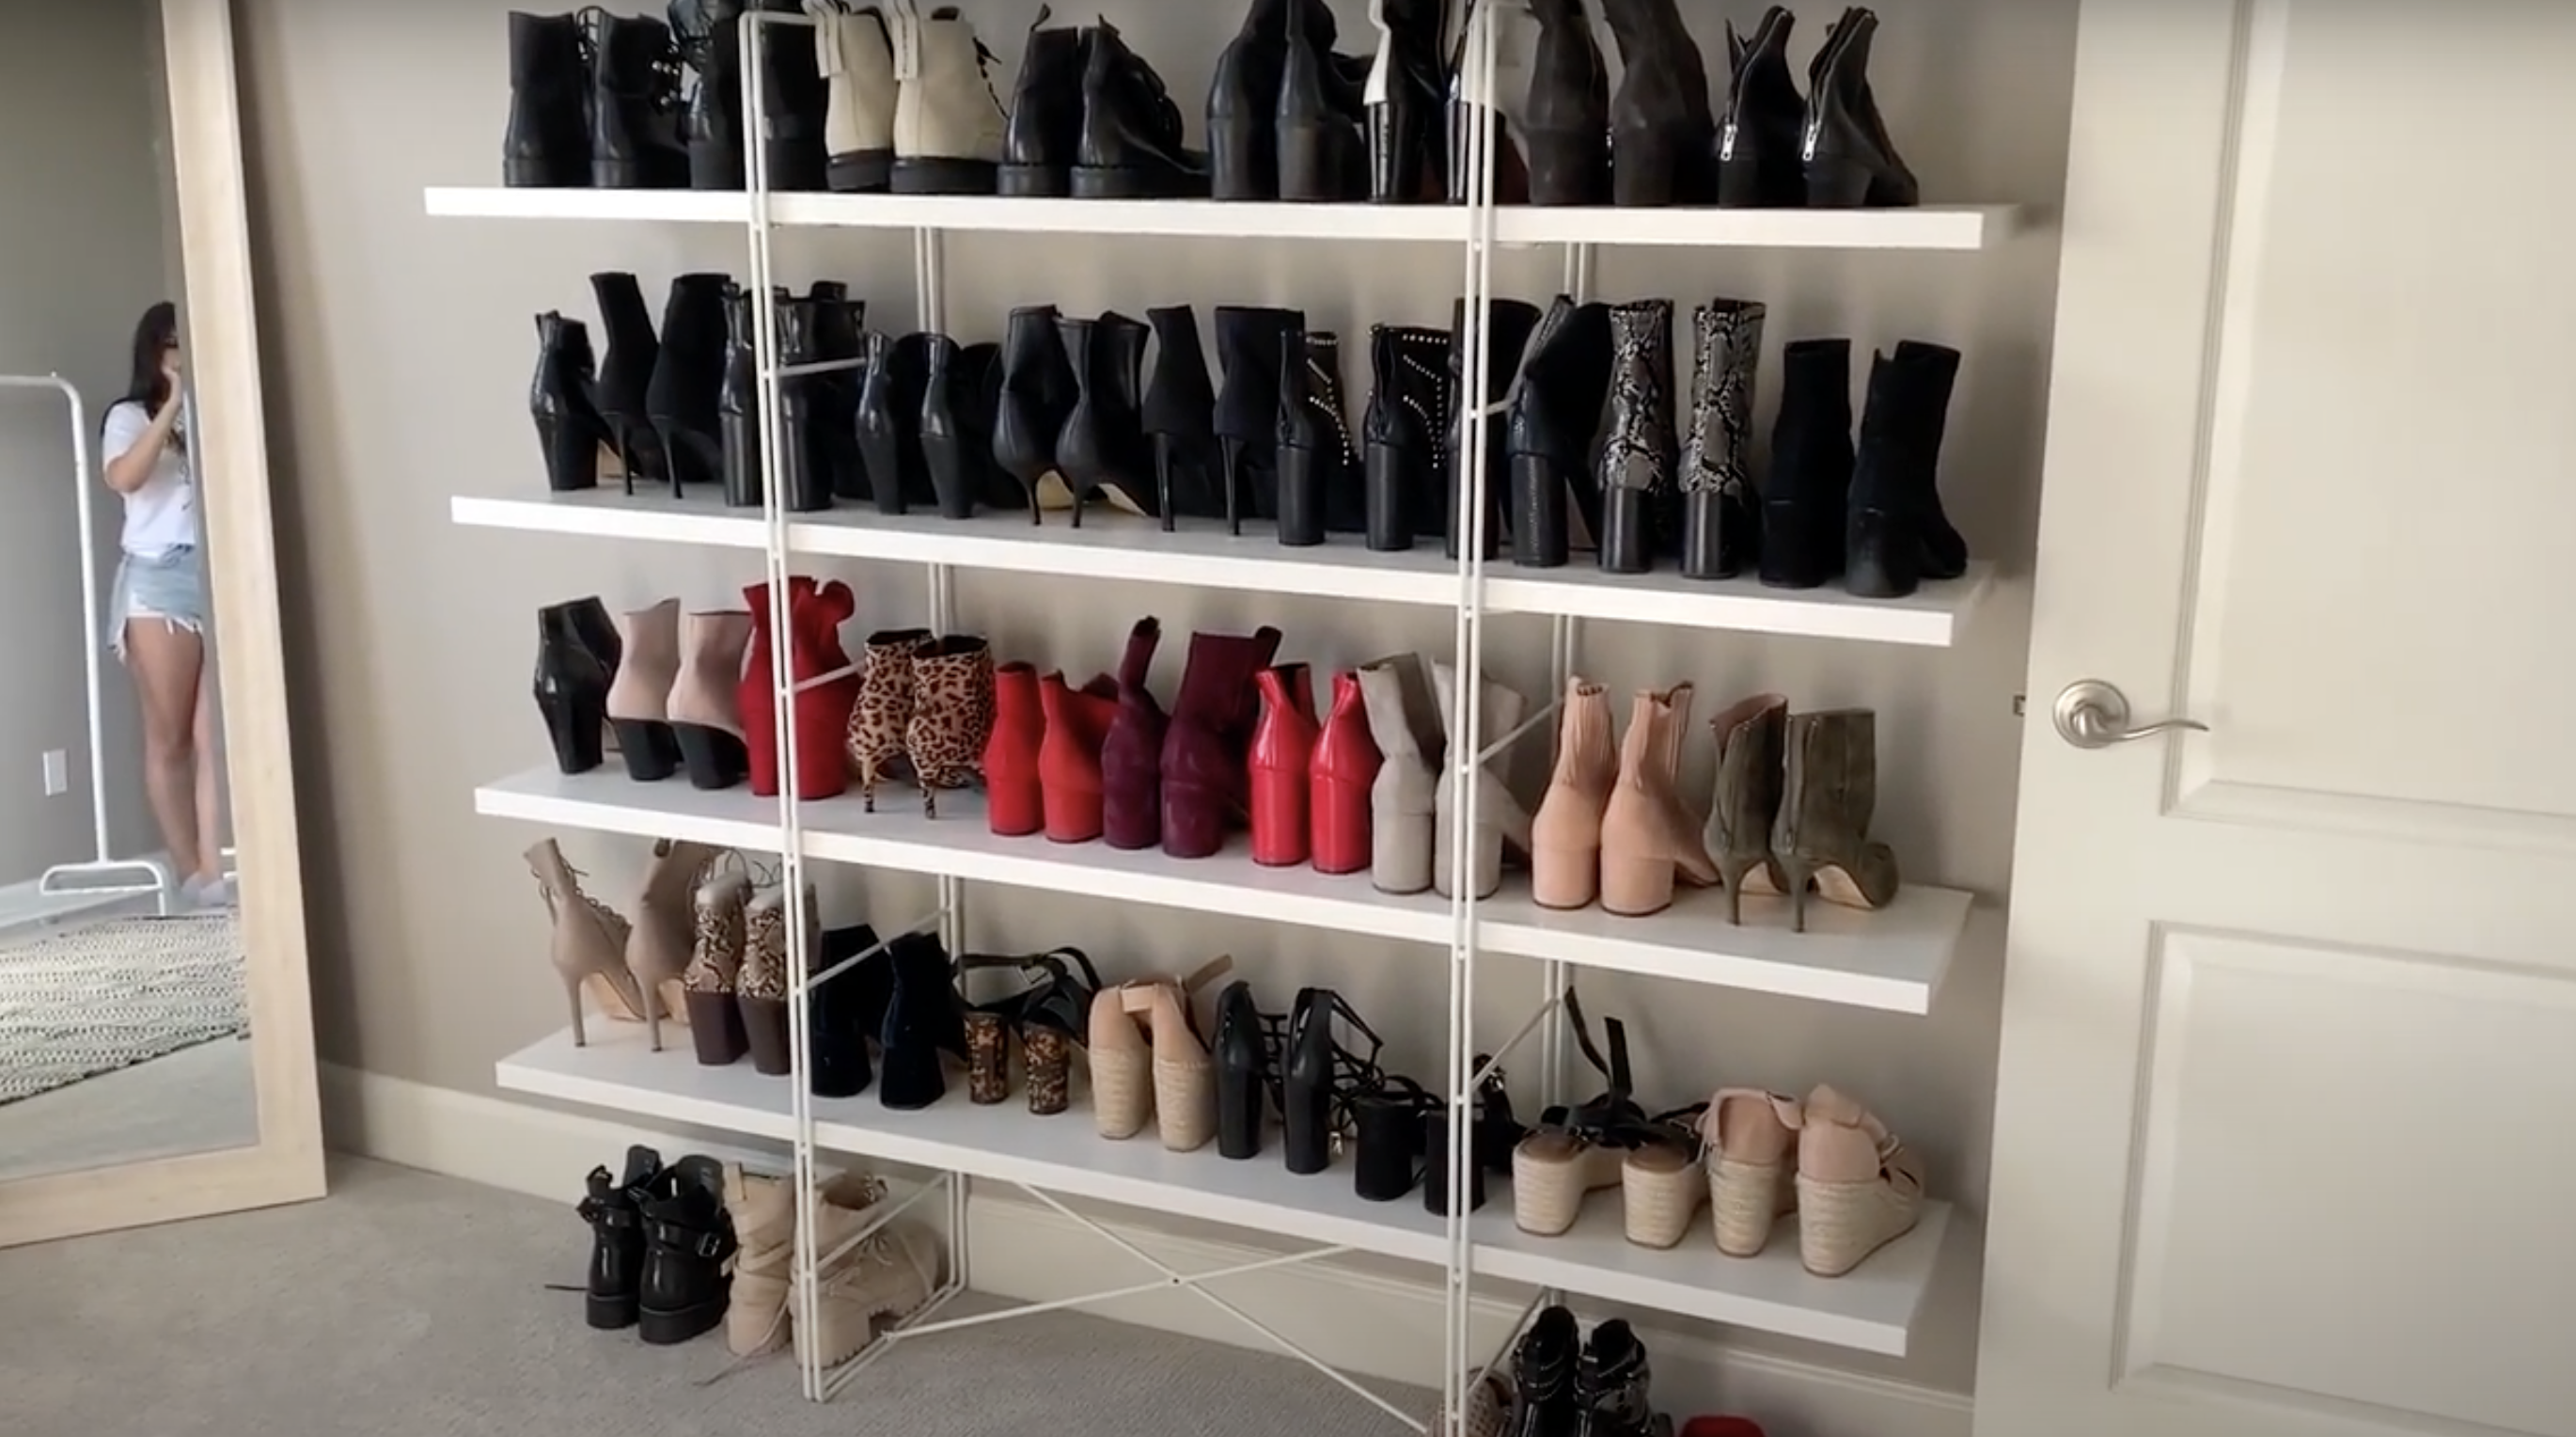
Step 3: Set Up Shoe Storage

Install a shoe organizer against a wall where it won’t block movement. Make sure the unit is stable and level. Sort shoes by type – boots on top shelves, everyday shoes at eye level, and less-used pairs lower.
This arrangement makes finding the right pair quick and easy. Good shoe storage prevents clutter, protects footwear from damage, and keeps everything visible.
Step 4: Add a Full-Length Mirror
Select a mirror tall enough to show your entire look from head to toe. Place it where natural light hits it to see the colors accurately. Secure it safely to the wall or lean it if it has a stand.
Position it near clothing racks for easy outfit checks. The mirror serves both practical purposes and makes the room feel larger and brighter.
Step 5: Install Wall Art and Decor
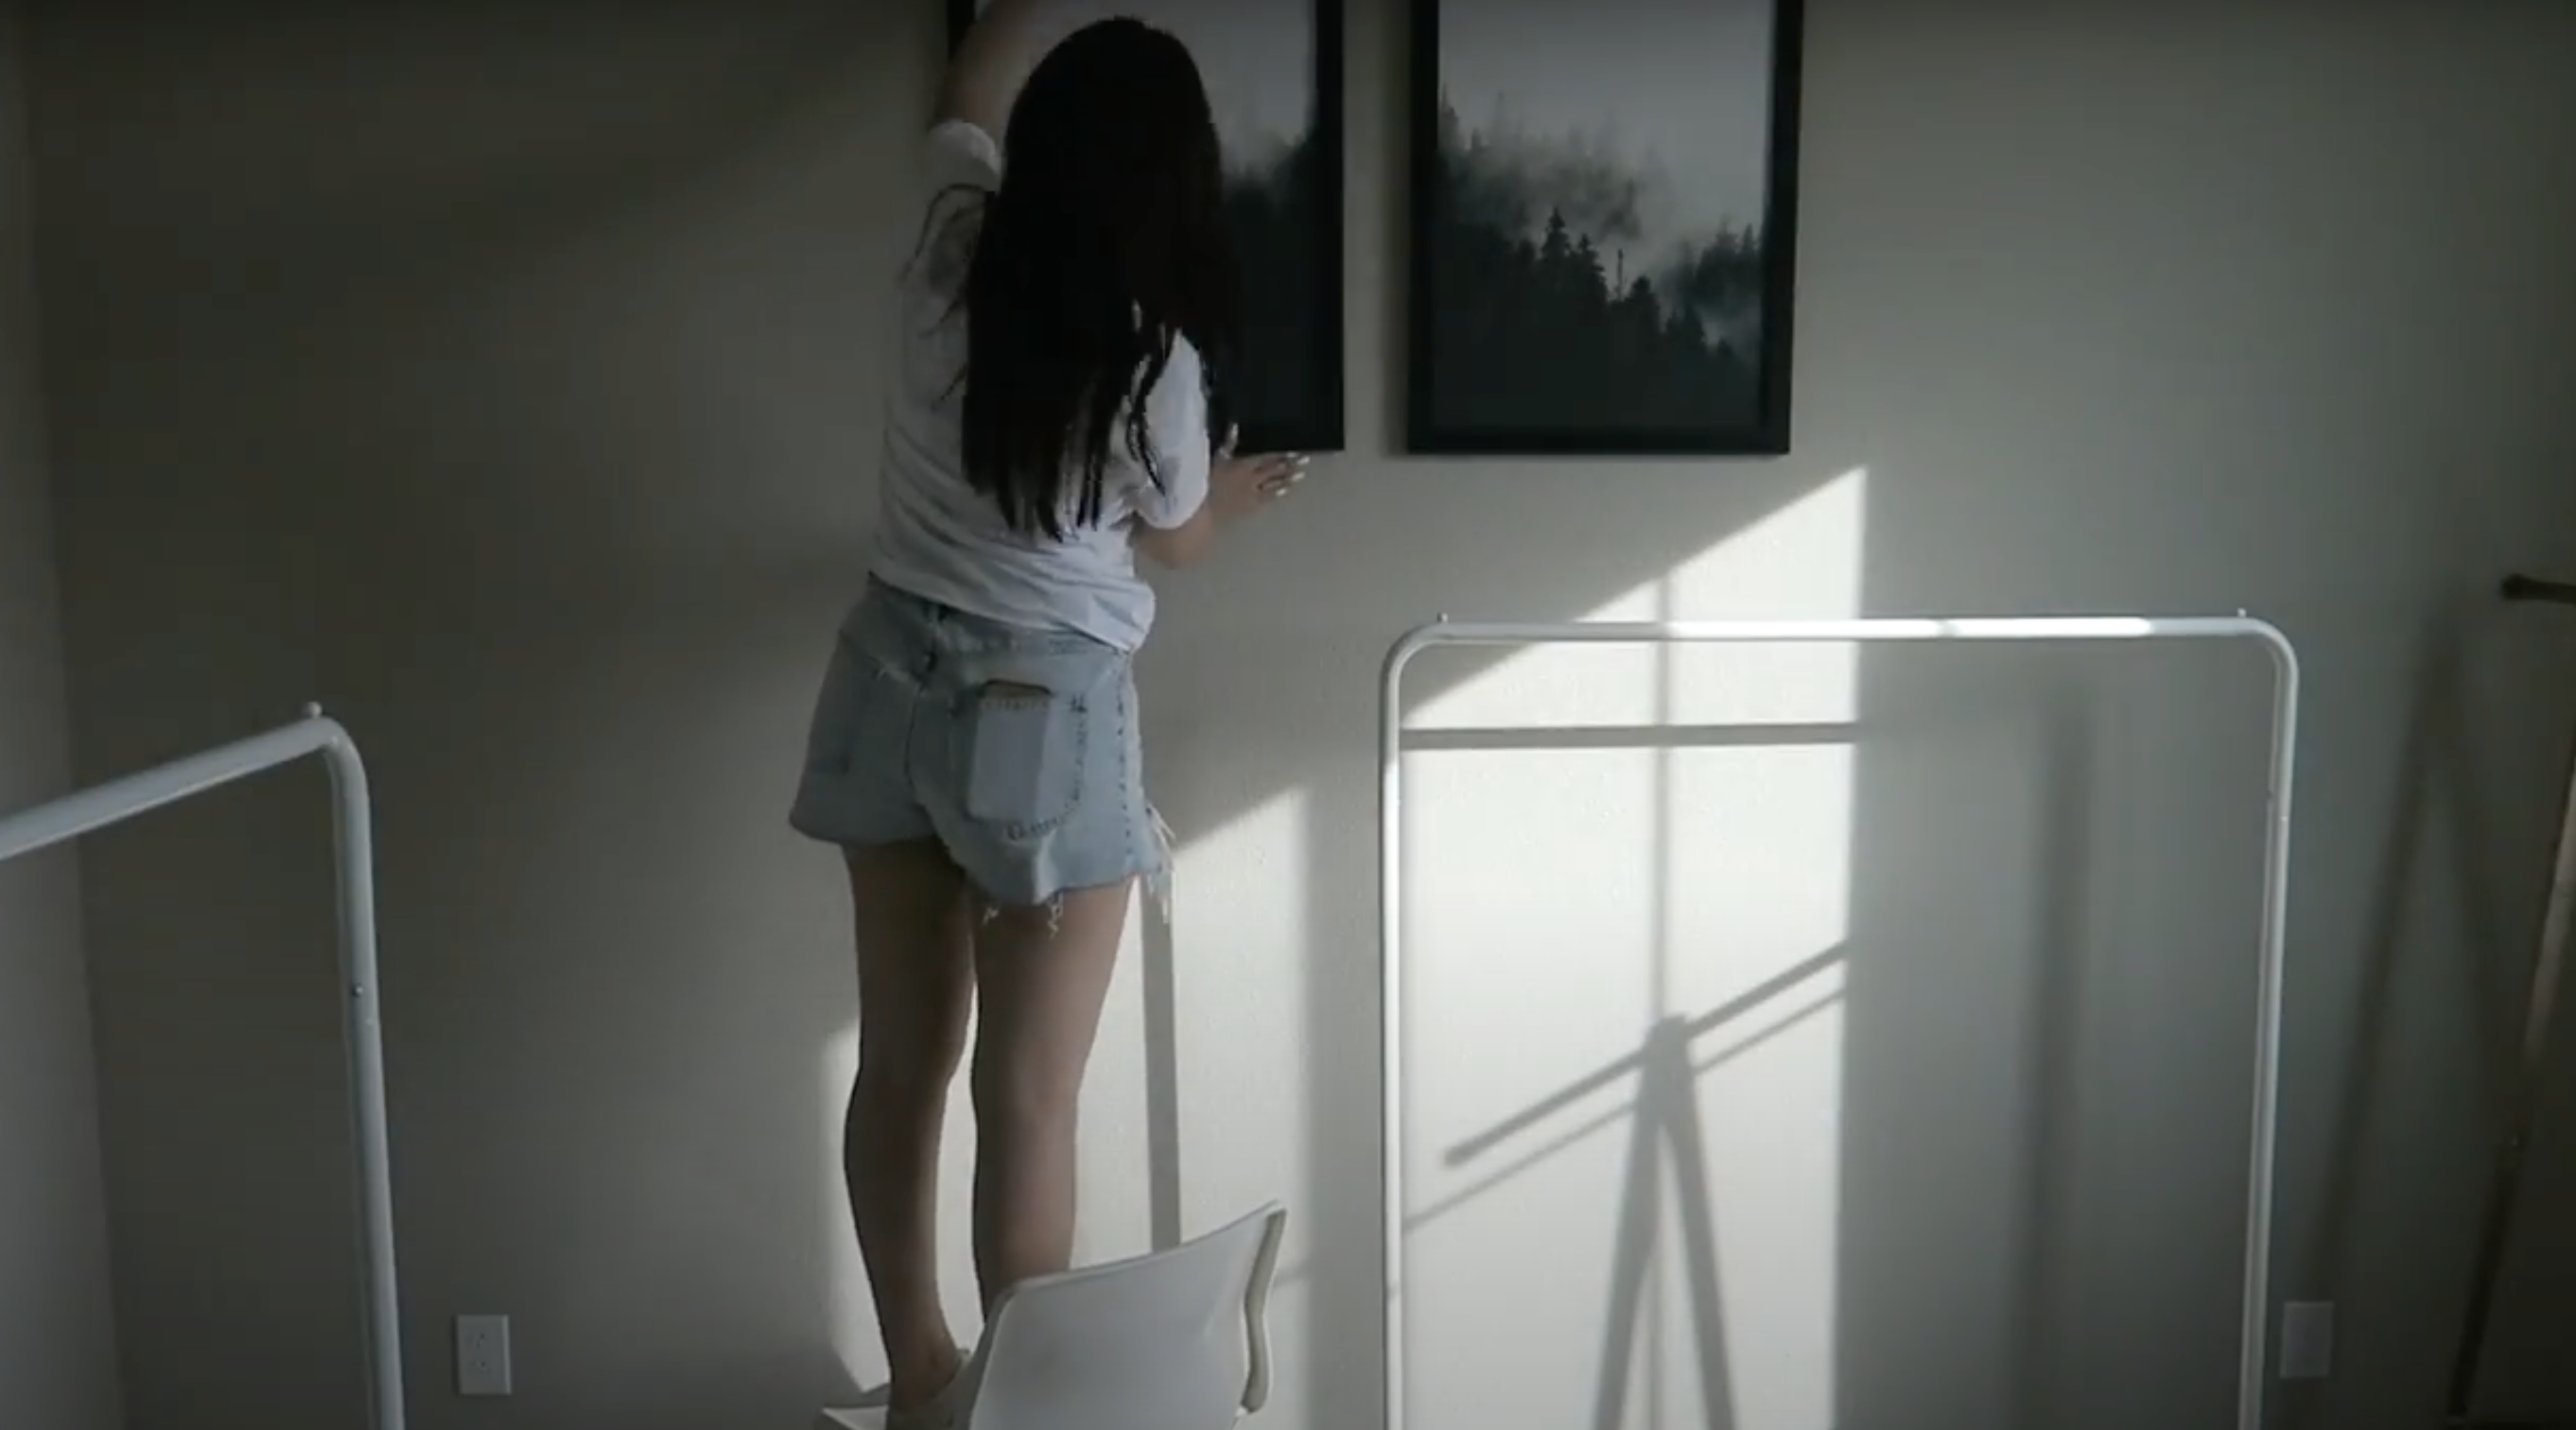
Add personality with simple wall art that fits your style. Black frames with minimalist images create a clean, timeless look. Hang frames at eye level using monkey hooks for easy installation.
Keep decor minimal. The focus should be on your clothes and accessories, with art serving as complementary background elements that tie the room together visually.
Step 6: Lay Down an Area Rug
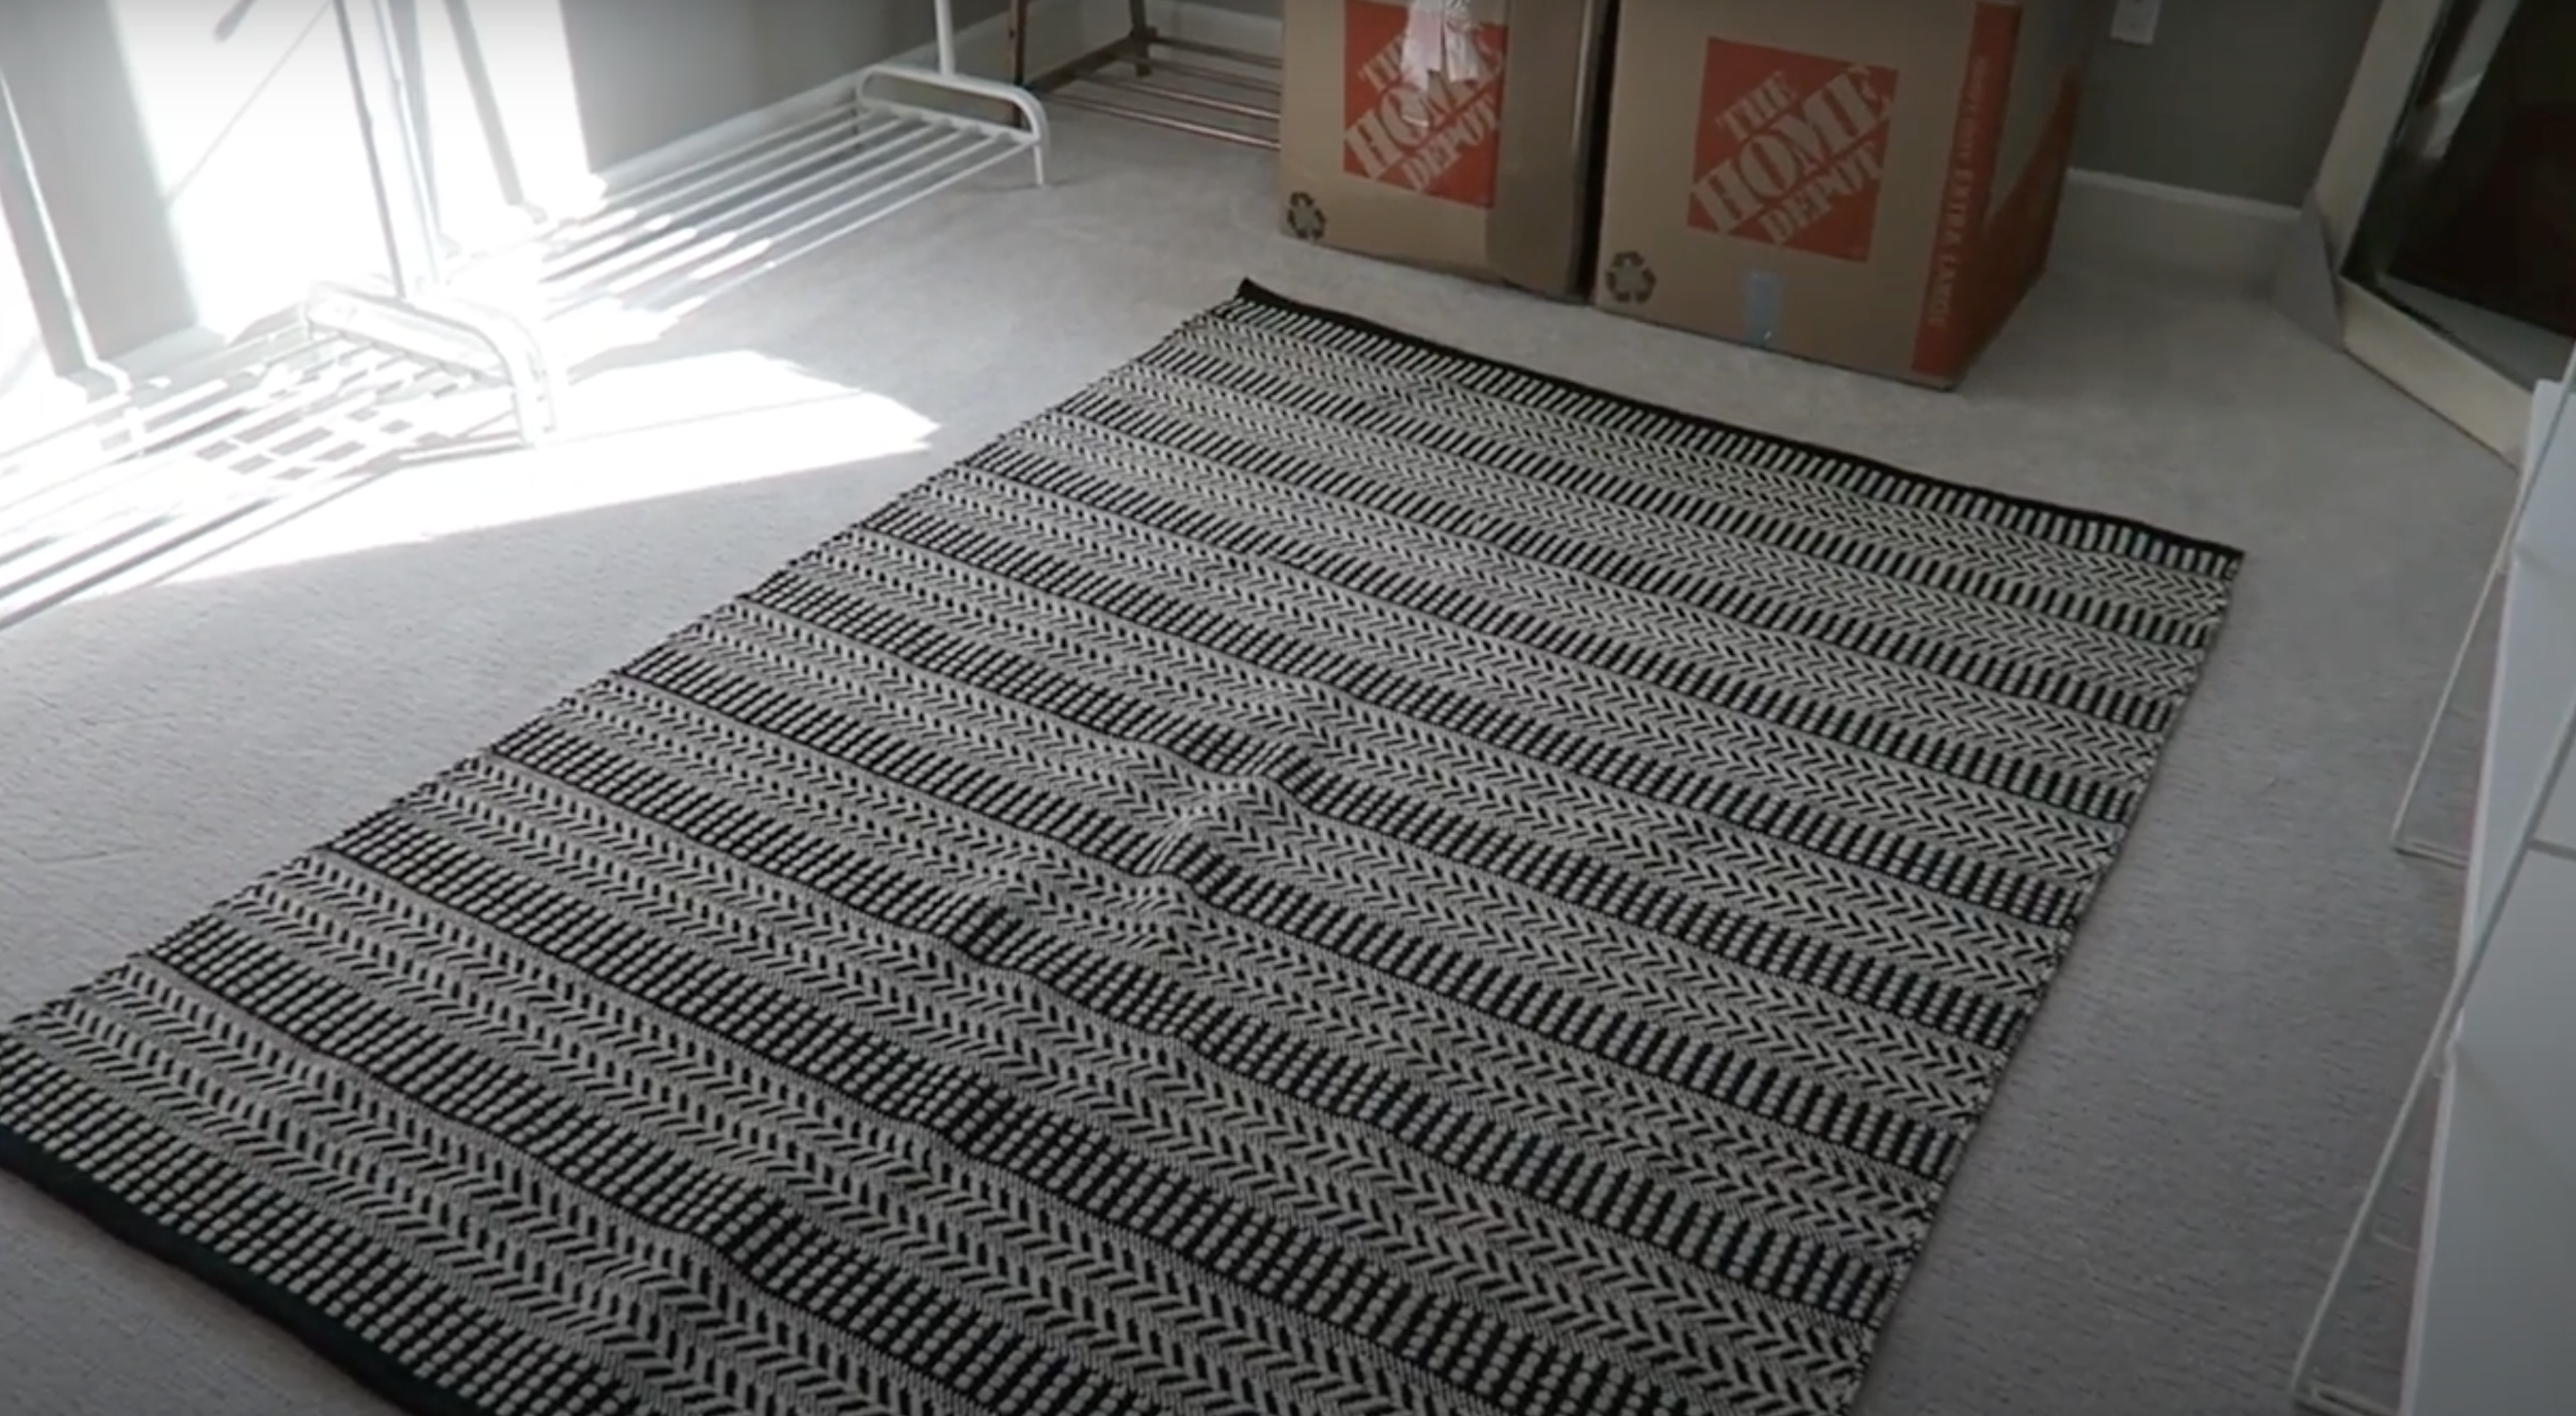
Add a rug for warmth and to define the space. Position it where it makes sense for your layout—under clothing racks or in the center of the room. Ensure it lies flat to prevent tripping.
The rug doesn’t need to be expensive—look for sales at home goods stores. A neutral pattern works well as a background, while a bolder design can add character to the space.
Step 7: Organize Your Clothing by Type and Color
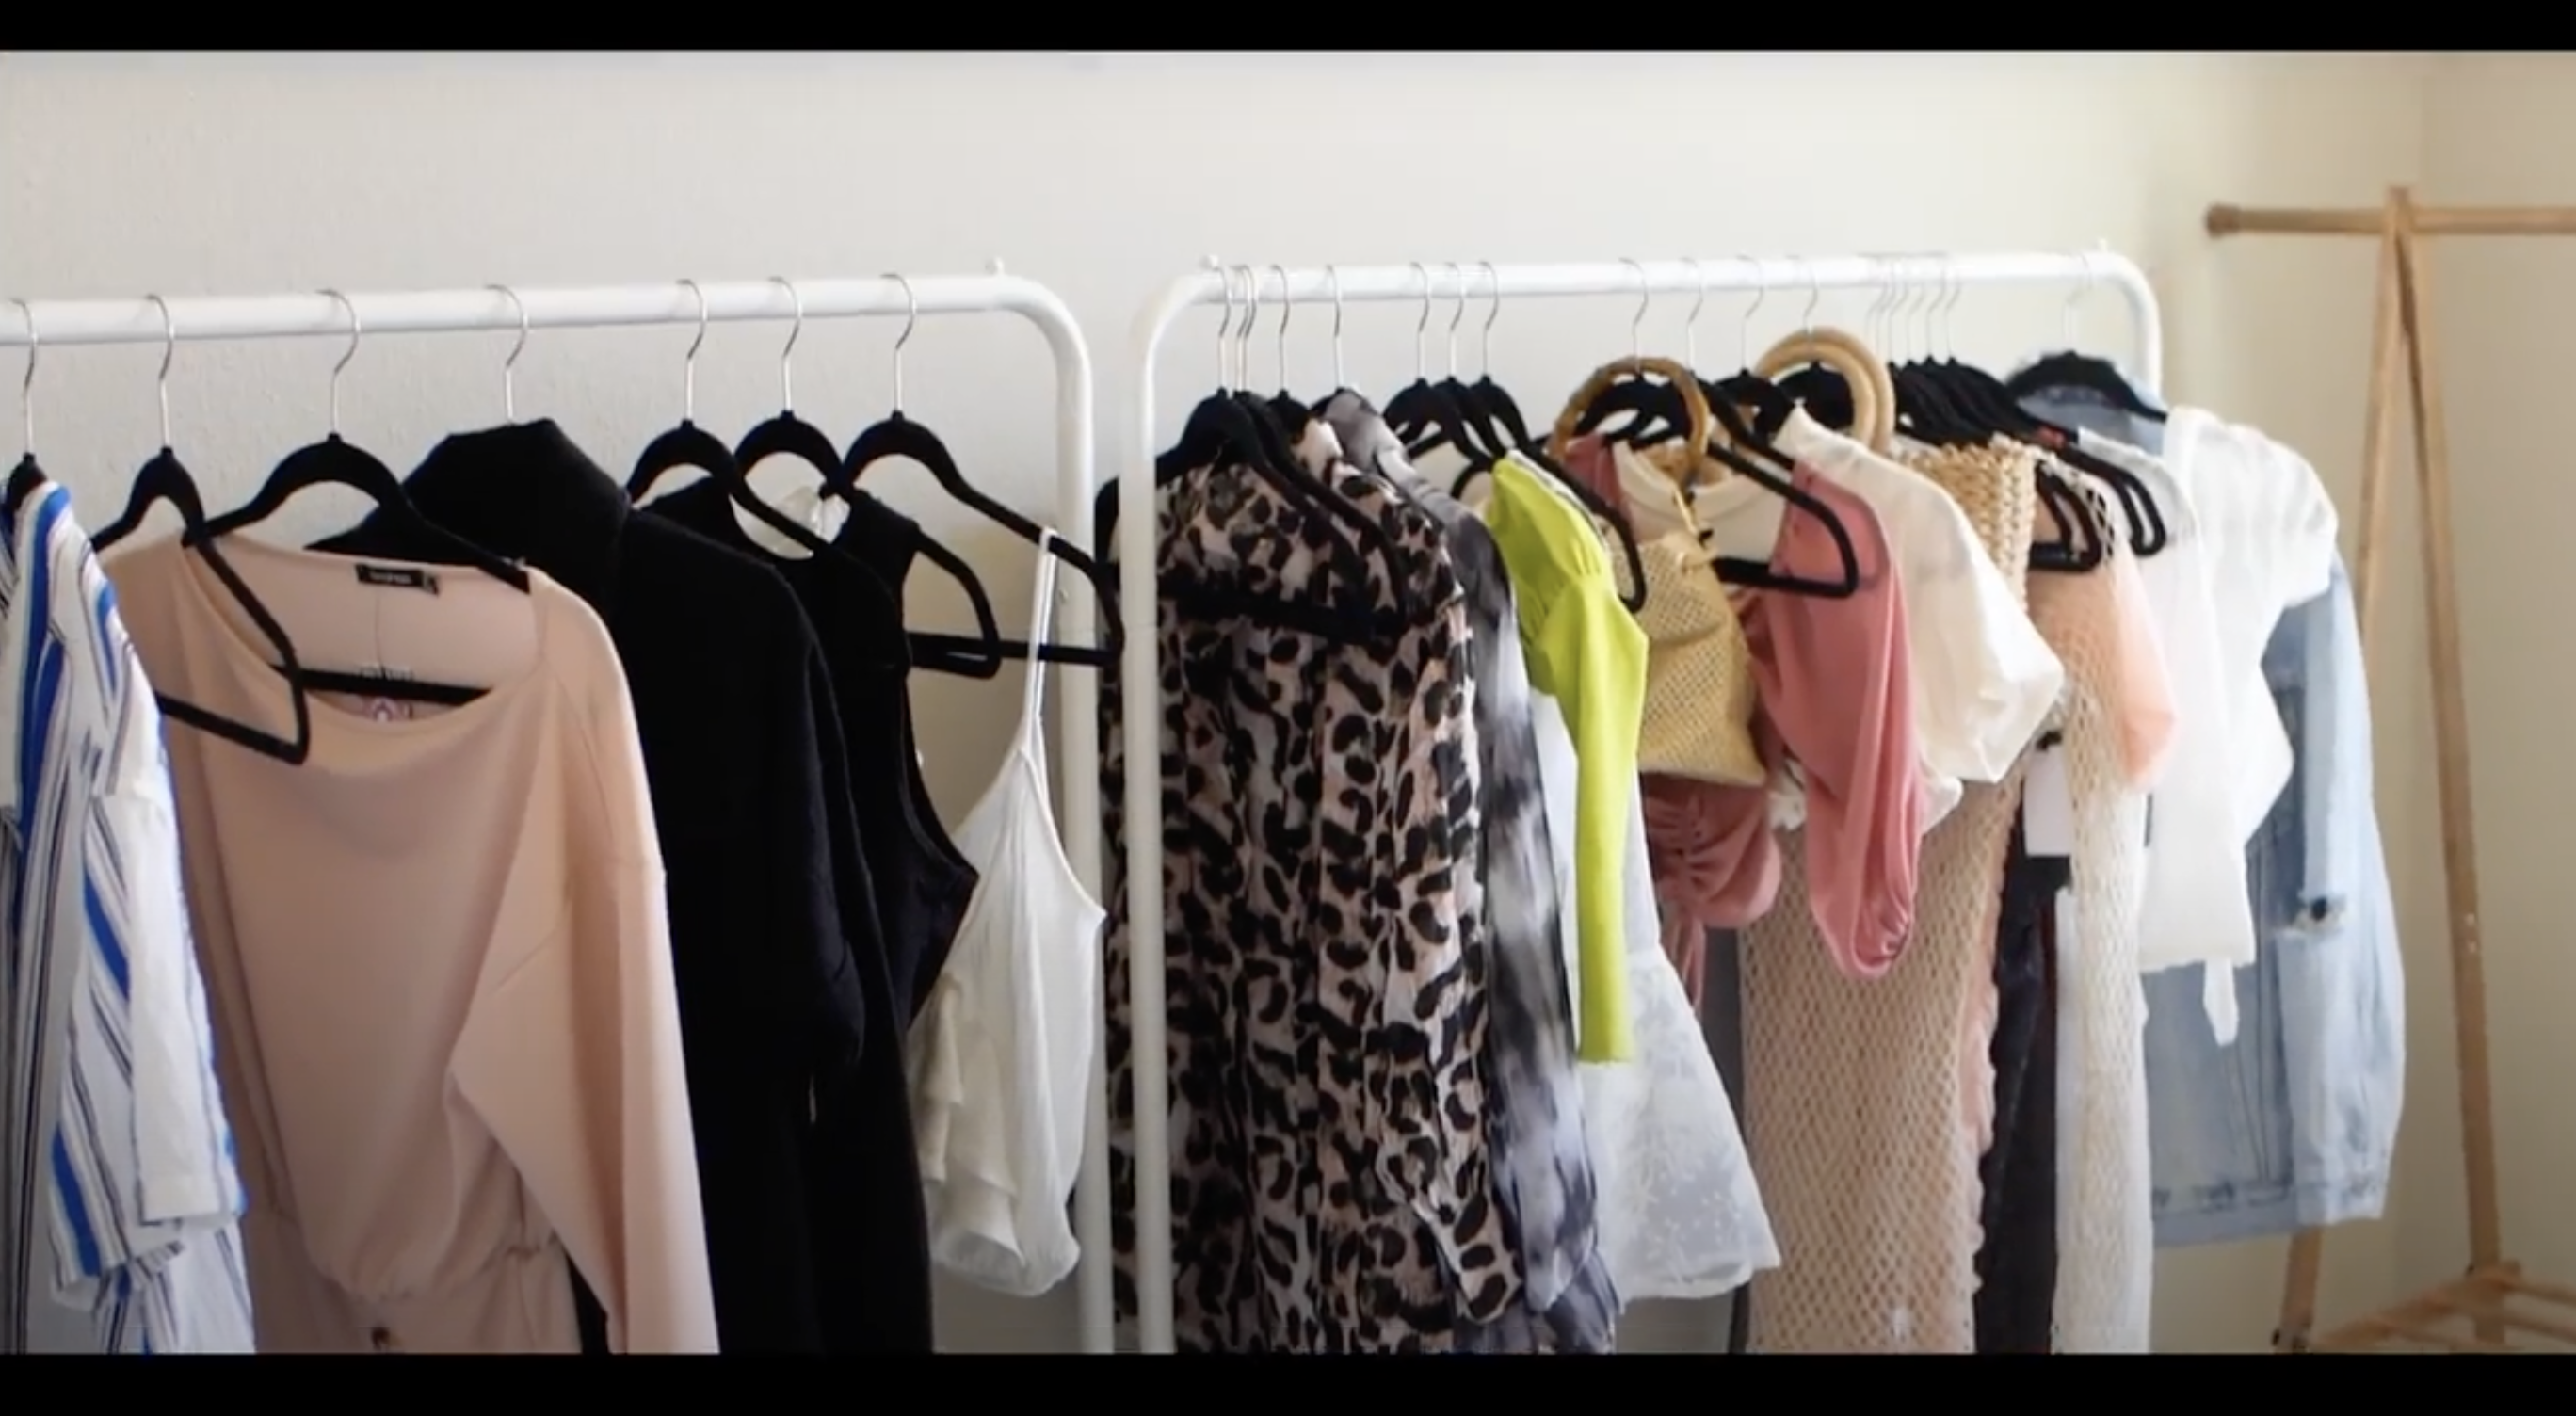
Group similar items together and arrange them by color for visual appeal. Put the clothes you wear most often in the most accessible spots.
Use the front of the racks for current-season items. This system makes finding what you want quick and easy. Keep special occasion clothes separate from everyday wear. Good organization is the key to a functional closet room that saves you time each morning.
Step 8: Add Finishing Touches
Complete your closet room with small details. Consider adding a stool for putting on shoes, hooks for tomorrow’s outfit, or a tray for jewelry. If space allows, add a small lamp for evening light.
These elements make the space more usable and comfortable. Think about what would make your morning routine easier and add those elements for a truly personalized space.
Video Tutorial
Check out this YouTube video for a detailed step-by-step Tutorial by Arlyne Sanjines.
Cost Breakdown for Closet Renovation Options
| Budget Level | Cost Range | Key Components | What You Get |
|---|---|---|---|
| Basic DIY | $200-$500 | • Clothing racks ($30-$150) • Mirror ($25-$100) • Shoe storage ($0-$80) |
Functional closet with essential storage using affordable, off-the-shelf items |
| Mid-Range DIY | $500-$1,500 | • Better racks ($150-$400) • Custom shoe storage ($100-$300) • Quality decor ($200-$550) |
More durable materials, attractive fixtures, and customized organization systems |
| Premium DIY | $1,500-$3,000 | • Custom elements ($700-$1,500) • Premium flooring ($300-$600) • High-end fixtures ($500-$900) |
Long-lasting, boutique-quality closet with specialized storage solutions and upscale finishes |
| Professional | $3,000-$10,000 | • Design services • Custom installation • High-end materials |
Complete custom closet system with professional design, premium materials, and expert installation. |
Keeping Your Closet Neat and Well-Maintained
1. Keeping Your Clothing Racks Stable
Check rack connections monthly to ensure they remain tight. Avoid overloading any single section, as this can cause bending or tipping. Clean the racks with a damp cloth to remove dust that might transfer to your clothes.
For metal racks, watch for rust spots and treat them early. Proper care extends the life of your racks and protects your clothing from sudden collapses that could damage your favorite pieces.
2. Caring for Your Shoe Collection
Wipe shoes clean before placing them on shelves to prevent dirt buildup. Use shoe trees in leather footwear to maintain shape. Allow wet shoes to dry completely before storing to prevent odors and mildew.
Rotate your collection regularly so that pairs at the back don’t get forgotten. For boots, consider rolled magazine inserts to help them stand tall without creasing. Monthly shelf cleaning keeps your footwear looking its best.
3. Maintaining Good Air Quality
Open windows occasionally to allow fresh air to flow through your closet room. If the space feels damp, consider using a small dehumidifier, as moisture can damage fabrics.
Avoid storing even slightly damp clothes, as this can create musty smells. Place lavender or cedar block sachets around the room to keep things smelling fresh and help deter moths. Good air quality keeps your clothes fresh and extends their wearable life.
4. Managing Seasonal Clothing Transitions
Rotate your wardrobe when seasons change, storing off-season items to free up prime space. Clean all garments before storing so stains don’t set. Use cotton storage bags rather than plastic ones, which can trap moisture.
Label storage containers clearly for easy retrieval. This seasonal switch gives you a chance to assess what you actually wear and what might be donated, keeping your closet room functional year-round.
5. Preserving Your Full-Length Mirror
Clean your mirror weekly using a lint-free cloth and glass cleaner applied to the fabric, not directly to the glass.
Check mounting hardware monthly to ensure wall security. Keep the mirror away from direct sunlight to prevent backing deterioration. Cover any small edge chips with clear nail polish to stop further damage. A well-maintained mirror gives you the accurate reflection needed for confident outfit decisions.
Conclusion
Your bedroom-to-closet modification isn’t just about storage—it’s a lifestyle upgrade that saves time, reduces stress, and reconnects you with your style. This budget-friendly project proves that luxury organizing doesn’t require professional installers or custom cabinetry.
Instead, thoughtful planning and creative repurposing turn ordinary items into extraordinary space. As you enjoy your morning routine in your new fashion haven, you’ll wonder how you ever managed with a standard closet.
Your personalized dressing room awaits—where getting ready feels like a treat rather than a chore, and your wardrobe finally gets the showcase it deserves.
Frequently Asked Questions
How Much Does It Cost to Turn a Bedroom Into a Closet?
Converting a bedroom into a closet can cost anywhere from $2,000 to $10,000, depending on the size, design, and materials used.
Is It Cheaper to Build or Buy a Closet System?
Building a closet system is usually cheaper than buying a pre-made one, especially a DIY one.
Does Home Depot Do Custom Closets?
Yes, Home Depot offers custom closet design and installation services.