Renovating your home can be a thrilling transformation — but it’s also an enormous project that needs both planning and teamwork. While it might seem like the responsibility lies mainly with your contractor, the truth is that as a homeowner, knowing the sequence of renovations is just as important. Understanding the process helps you stay on schedule, manage your budget, and avoid costly mistakes.
Whether you’re renovating your first apartment or giving your family home a much-needed upgrade, this comprehensive 14-step renovation guide — based on real insights from seasoned designers and project managers — will walk you through what to expect and how to stay in control.
Inspect Before You Begin: Bring the Tape, Notebook, and Calculator
Before you bring in any designers or start browsing furniture, do a thorough inspection of the space. Check for:
- Cracks in the walls
- Leaky pipes or radiators
- Clogged drains
Bring a tape measure to take accurate dimensions, a calculator to help you budget, and a notebook to track needed repairs or purchases. Use your phone to take photos of problem areas — they’ll come in handy during consultations.
Pre-Construction: Final Measurements and Budget Review
Before the official kickoff, double-check your floor plans and measurements. This step ensures your material estimates are accurate and that you don’t overspend. Make note of square footage for:
- Tiles and flooring
- Paint or wallpaper
- Custom cabinetry
- Major wall dimensions
Knowing these numbers now helps you shop smarter later.
Structural Work: Demolition and Custom Woodwork Planning
Now the real work begins. Walls may be knocked down, old pipes removed, and window frames replaced. During this time, it’s critical to finalize decisions around:
- Doors and windows
- Built-in wardrobes and shelving
- Any custom carpentry work
Be sure to remove debris promptly to keep the site safe and accessible.
Plumbing and Electrical: Plan for Everything — Down to the Light Switch
Once the structure is in place, it’s time to get into the walls. Water and electrical lines must be accurately planned. This is when you’ll need to:
- Confirm light fixture and outlet placements
- Plan water access for sinks, washing machines, and water heaters
- Install lines for air purifiers, central AC, or a smart home system
At this stage, your kitchen cabinet designer should take precise measurements to accommodate appliances and outlets.
Pipe Boxing in Kitchens and Bathrooms: Choose Furniture Style Now
This step is often overlooked but makes a huge difference in the look and noise level of your bathroom or kitchen. Use materials like:
- Light steel framing + cement board instead of bulky red bricks
- Water-resistant construction to withstand moisture
Now’s also a great time to decide on your furniture style. Whether you’re going rustic, modern, or minimalist, make sure the decor aligns with your renovation choices.
Tiling Work: Floor Drains First, Then Sanitaryware
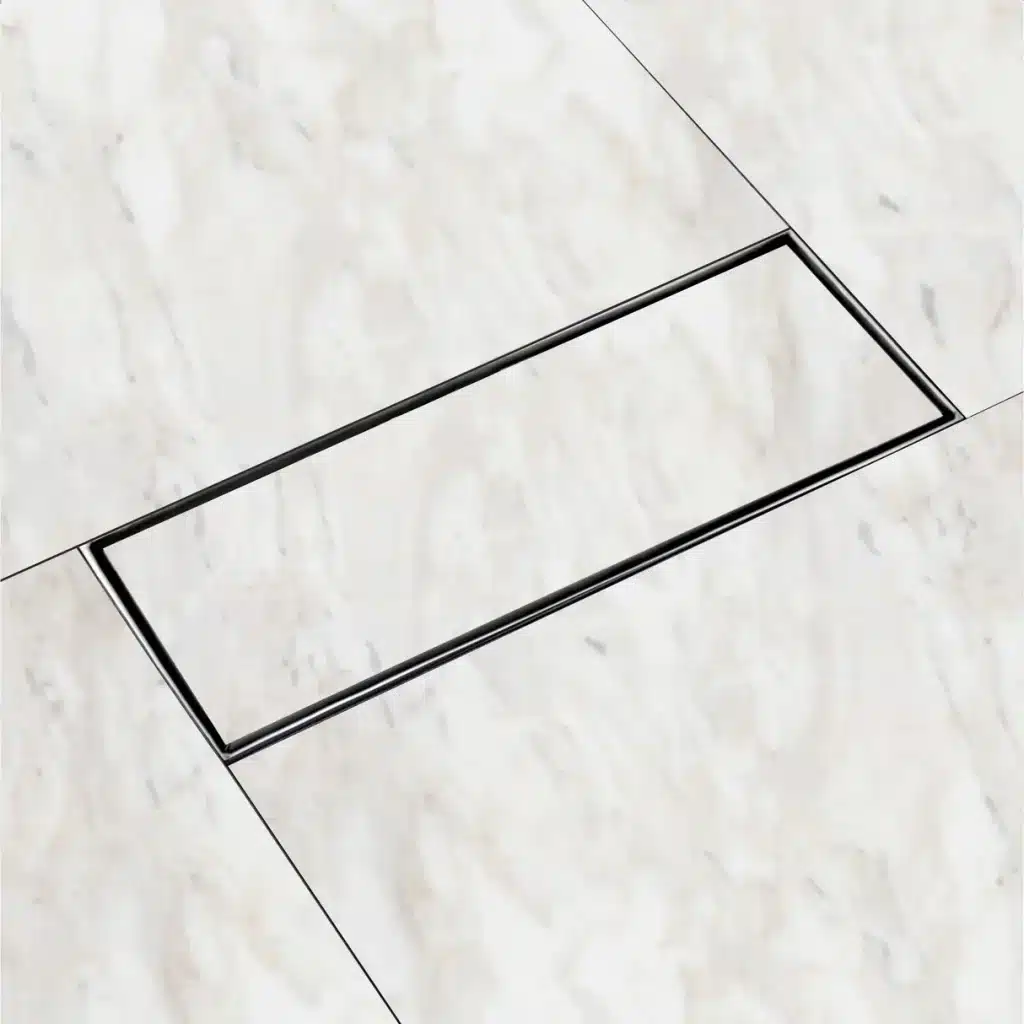
Before laying a single tile, purchase and install anti-odor floor drains. Waterproofing and wall preparation should be done first. While tiling:
- Clean grout lines immediately
- Wipe tile surfaces often to prevent stains
- Choose neutral or bold grout colors depending on your room’s aesthetic
Once the tiles are in place, you can order toilets, sinks, and bathroom cabinets — ready for installation as soon as they’re delivered.
Carpentry and Painting: Be Present for Paint Color Mixing
After tiling, carpenters and painters move in. In fact, woodwork can begin right after plumbing, especially if you’re doing custom panels or entertainment walls. Key tips:
- Always leave small gaps between drywall sheets to prevent future warping
- When choosing paint, pick a color that looks slightly lighter than your desired shade
- Try to be there in person when colors are mixed and sample walls are painted
Paint darkens with each layer, and what looks perfect on a sample card may look entirely different on a full wall.
Wallpapering: No Open Windows for 48 Hours
Once paint is dry, areas requiring wallpaper will be primed with a special base coat. Once installed:
- Don’t open windows for at least 48 hours
- Monitor for bubbles or corners peeling up
- Have the installer return for touch-ups if necessary
This is also the perfect time to buy your light switches, outlets, and lighting fixtures — ensure everything’s in harmony.
Electrical Fixtures and Ceiling Panels: Choose Smart
Now you’re really seeing progress. Start installing:
- Light switches and outlets (opt for multi-functional ones)
- Kitchen and bathroom ceilings (we recommend aluminum composite panels for durability and elegance)
Avoid PVC ceiling tiles if possible — they often lack visual and functional quality.
Kitchen Cabinet Installation: Be There on Delivery Day
You’ve already planned for cabinets — now they’re here! Schedule installation along with:
- The sink
- The cooktop and range hood
- The oven or microwave
Be present to verify the brand, color, and dimensions before anything is permanently installed. Last-minute corrections are much easier before the work begins.
In some tight workspaces, a lightweight portable gantry crane can help safely lift heavy components like marble countertops or bulky cabinets into place — especially if elevator access is limited.
Doors and Flooring: Timing Matters
Before flooring, install clothes racks, towel bars, and air conditioning lines. Then proceed in this order:
- Install interior doors
- Then lay the flooring
Why this order? Door installations require tools that might scratch or chip freshly laid floors — going in reverse could lead to avoidable damage.
Final Grouting and Deep Cleaning: Handle with Care
At this stage, tiles are grouted to seal them against dust and water. Once complete, it’s time for the initial deep clean, also known as the “post-construction clean.” Best practices:
- Avoid wire scrubbers or harsh chemicals
- Use soft cloths to protect tile surfaces
- Monitor the cleaners to avoid accidental damage
Move in Furniture and Appliances: Protect Your Investment
All set! Bring in the essentials:
- Beds, sofas, dining tables
- Fridge, washer/dryer, and electronics
Use protective materials like foam wraps and floor liners to avoid scuffs and chips. Also, shield wall corners and doors from bumps during the move.
Soft Furnishings and Decor: The Final Touch
Now it’s time to make the house a home:
- Install curtains and blinds
- Add throw pillows, artwork, and decorative lighting
- Incorporate soft greenery or potted plants
Avoid decor with sharp edges or overly bold designs. And above all, ventilate your home well for 3 to 6 months before fully moving in — fresh air is the best remedy for any lingering paint or material odors.
Conclusion
Home renovation is as much about patience and preparation as it is about vision. With the right plan — and a handy timeline like this — you can confidently move from demolition to decoration without unnecessary stress.
Whether you’re updating a kitchen or giving the whole home a makeover, take your time, check your list, and work with people who listen. Your dream space is closer than you think!