Convert bare walls into a personal gallery with perfectly framed posters that captivate and protect.
Proper framing promotes ordinary prints into statement pieces while shielding them from damage and deterioration.
This guide reveals professional techniques that turn novices into framing experts without specialty tools or experience.
Whether showcasing vintage movie posters or beloved art prints, these steps help create museum-quality displays that preserve treasures while improving your space.
Master these insider details and watch your posters become conversation-starting focal points that maintain their brilliance for decades.
The Psychology of Framed Art
Did you know that properly framed artwork can change how our brains perceive the piece? Studies in visual cognition suggest that frames create a psychological boundary that helps our minds separate the art from its surroundings, improving our focus and appreciation.
This phenomenon, sometimes called the “framing effect,” can make even inexpensive prints appear more valuable and meaningful. A thoughtfully chosen frame doesn’t just physically protect your poster—it signals to viewers that this piece deserves special attention.
Throughout history, frames have evolved from elaborate gold leaf masterpieces in Renaissance galleries to the sleek, minimalist designs favored in contemporary spaces. Your choice of frame not only reflects the poster’s style but also reveals something about your artistic sensibilities.
Complete Poster Framing Instructions
Read the step-by-step guide to professionally framing posters at home—from measuring and selecting materials to mounting, assembling, and hanging your finished piece with minimal tools and maximum impact.
Tools and Materials for the Job
| Item | Purpose |
|---|---|
| Frame | Metal or wood frame in your preferred style (thin profiles like 117V work well for movie posters) |
| Acid-free foam backing board | Provides support and protection |
| Glazing | Glass or acrylic (acrylic is lighter and less breakable) |
| Mat board (optional) | Creates visual space and prevents artwork from touching the glazing |
| Acid-free hinging tape | For mounting the poster to the mat without causing damage |
| Spring clips | To secure contents in the frame |
| Hanging kit | Includes wire, mounts, and wall bumpers |
| Flathead screwdriver | For removing spring clips |
| Microfiber cloth | For cleaning glazing without scratching |
| Leather weights | To flatten rolled posters (optional) |
| Frame backing paper | For dust protection and a professional finish (optional) |
| Wire cutters | For trimming excess hanging wire |
Step 1: Prepare Your Poster

Examine your poster for damage or creases before framing. For rolled posters, unroll them several days ahead and place weights on the corners to flatten them naturally. Never reverse-fold a poster, as this weakens the paper.
Consider professional linen backing for valuable or delicate posters. Ensure your poster is completely flat and dust-free before proceeding to the next steps.
Step 2: Choose the Right Mat and Frame

Select framing components that improve your poster’s presentation. Mats create visual space, protect the poster from touching the glazing, and accent colors within the artwork. Thinner frame profiles are traditionally preferred for movie posters.
Choose complementary colors that improve the poster’s palette, like a black mat with a red core that picks up colors from the artwork. Select frame material that aligns with your decor and preservation needs.
Step 3: Remove Frame Contents

For pre-assembled frames, carefully remove the spring clips using a flathead screwdriver or by hand. Loosen the screws on one of the shorter sides’ corner hardware, then slide off that side of the metal molding.
Carefully remove all frame contents and set them aside on a clean surface, keeping track of all hardware pieces.
Step 4: Mount Your Poster to the Mat

Place your poster face down on a clean table with 1-2 inches hanging off the edge. Position the mat board on top, ensuring the poster is centered within the window. Apply two pieces of acid-free hinging tape to connect the poster’s top edge to the mat’s bottom, creating a hinge.
Move everything fully onto the table and press firmly to secure the tape. Lift the mat with the poster hanging down and slide your backing board underneath for a secure, conservation-quality mounting.
Step 5: Prepare the Glazing

Clean both sides of the glass thoroughly and allow to dry before assembly. For acrylic, remove protective film from both sides using a microfiber cloth to prevent scratches and reduce static electricity.
Start at one corner and slowly peel the movie while holding the exposed acrylic with the towel. Immediately place the clean side down in your frame to prevent dust accumulation.
Step 6: Assemble the Frame Package

Position clean glazing in the frame, then carefully place your mounted poster and backing board on top, ensuring all components are perfectly aligned and centered.
For metal frames, slide the assembled package into the three-sided frame, handling the edges to avoid fingerprints. Reattach the remaining side and ensure all corners are properly aligned before securing.
Step 7: Secure the Contents
Replace all spring clips by pressing them firmly into position around the frame’s perimeter, ensuring each is fully engaged for even pressure.
For additional protection and a professional finish, consider adding frame backing paper to seal against dust and insects. Apply the backing paper with adhesive tape around the frame edges and trim excess for a neat appearance.
Step 8: Install Hanging Hardware

Position two D-ring or Omni mounts on the back of your frame, about one-third down from the top edge. For metal frames, insert these into the appropriate grooves and tighten securely.
Thread a picture picture-hanging wire through one mount, leaving about two inches of slack, then wrap the wire around itself five times. Pull to the opposite mount, creating a slight V-shape, and repeat the wrapping process. Trim excess wire to prevent scratches.
Step 9: Final Touches and Display

Apply clear wall bumpers to the lower back corners to protect your wall and help keep the frame level. Avoid displaying in areas with direct sunlight or high humidity.
Use appropriate wall anchors based on your wall type and frame weight, considering two hooks for heavier frames to distribute weight evenly. Once hung, check that your frame is level for a professional presentation.
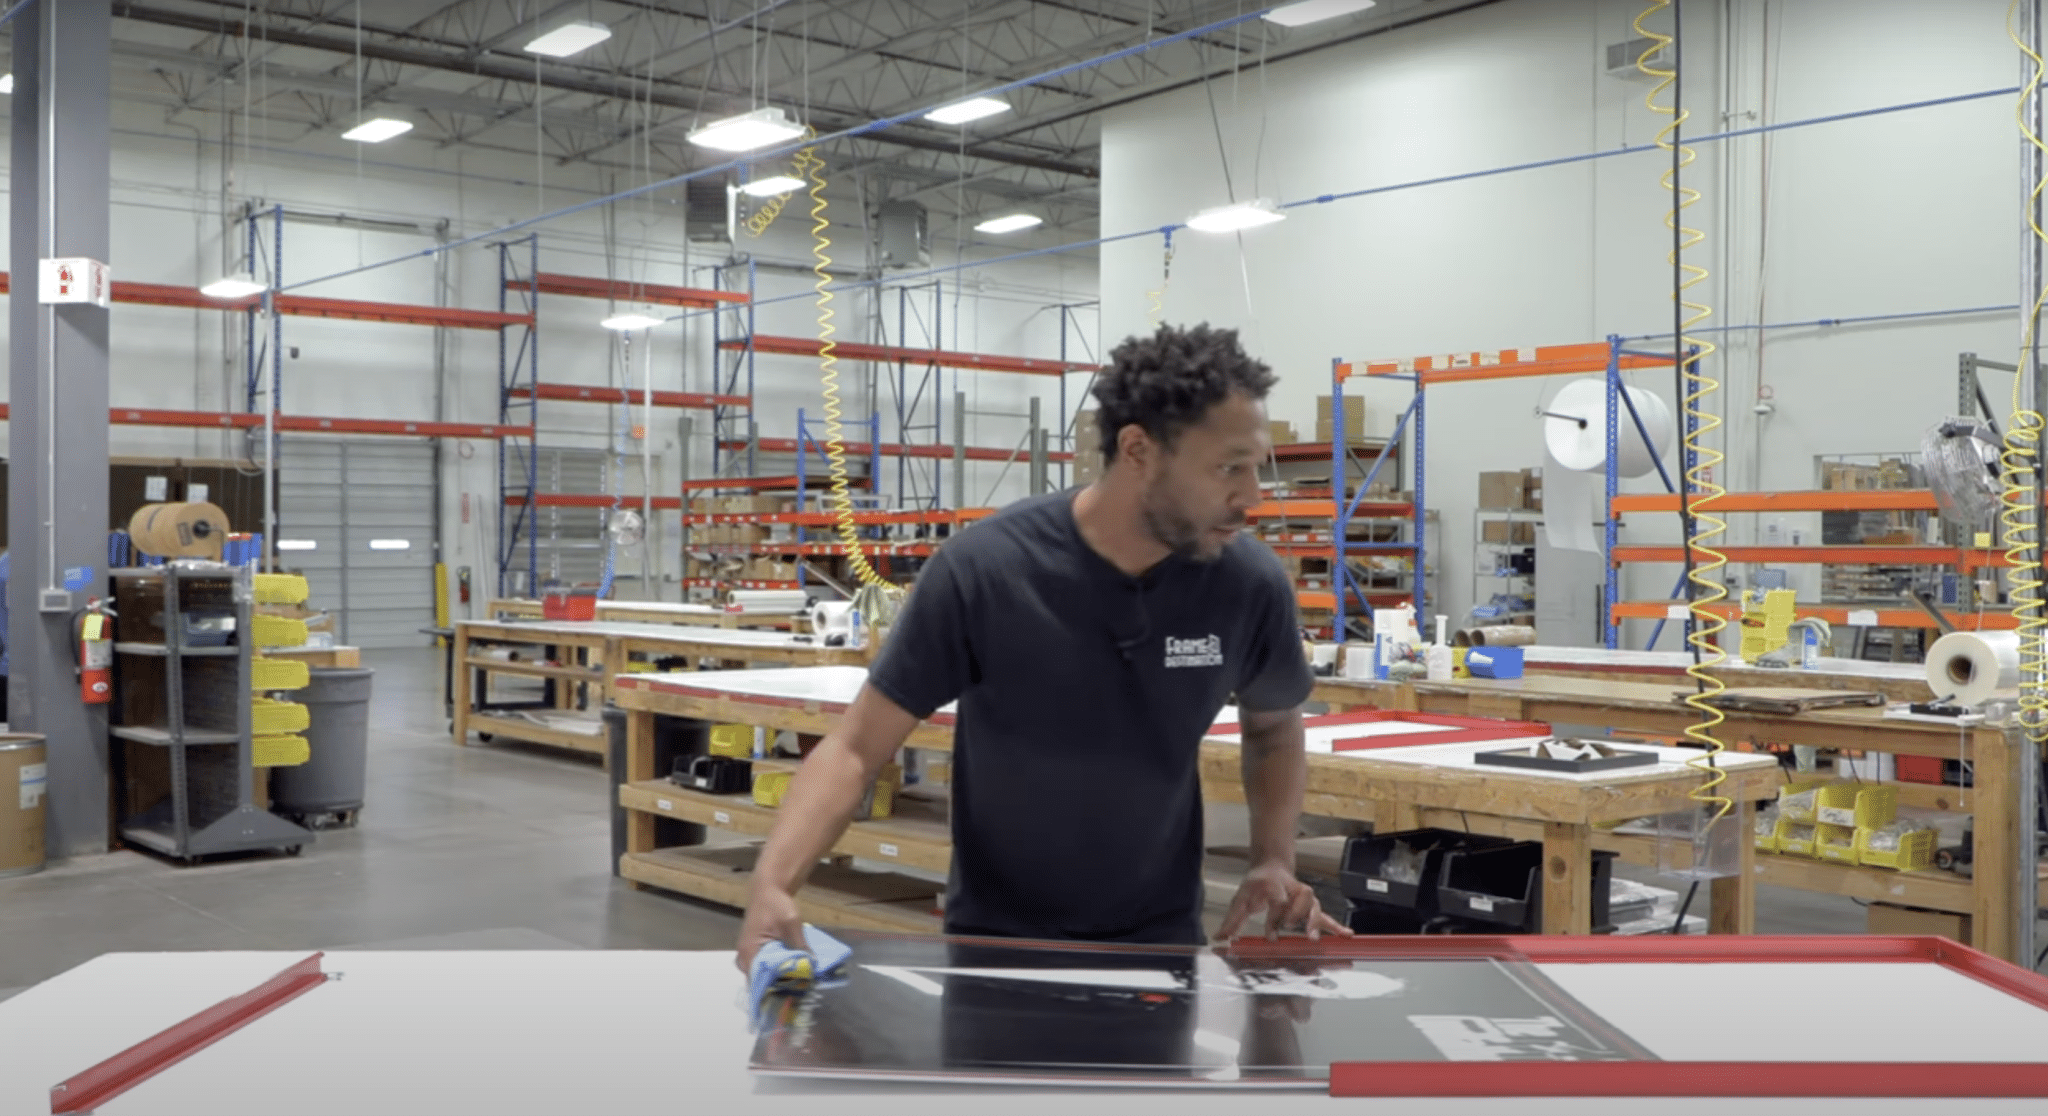
Video Tutorial
Check out this YouTube video for a detailed step-by-step Tutorial by Frame Destination.
Essential Maintenance and Care Advice
Regular Cleaning
Clean the glass or acrylic surface with microfiber cloths using gentle circular motions. Never spray cleaning solution directly on the glazing; instead, lightly dampen your cloth with non-ammonia glass cleaner.
Remove dust from wooden moldings with a soft brush vacuum attachment, or wipe metal frames with a slightly damp cloth followed by a dry one. Establish a monthly cleaning schedule for high-traffic areas and quarterly for other spaces to prevent buildup requiring aggressive cleaning methods.
Light Exposure Management
Position framed posters away from direct sunlight and rotate valuable pieces to different walls seasonally for even aging. Invest in UV-filtering glazing to block harmful rays while maintaining visibility.
Use indirect lighting where possible and keep spot lighting at moderate levels, remembering that even artificial light causes cumulative damage. Lower light levels in display areas significantly extend the life and vibrancy of your poster collection.
Climate Control Considerations
Maintain stable temperature (65-70°F/18-21°C) and relative humidity (40-55%) in display areas. Keep framed posters away from heating/cooling vents, fireplaces, and exterior walls where temperature fluctuations occur.
Avoid basements and attic spaces for valuable pieces. Consider using a hygrometer to monitor humidity levels and use dehumidifiers or humidifiers as needed through seasonal changes.
Proper Handling Techniques
Lift frames by holding opposing sides rather than by the top molding alone. Transport frames vertically rather than horizontally to prevent contents from shifting. For temporary storage, lean frames vertically against walls, never flat on floors.
Wait for assistance before moving larger frames to prevent accidental drops. Developing careful handling habits significantly extends your collection’s life, as the greatest risk often comes during transportation and repositioning.
Professional Assessment
Schedule periodic professional evaluations of valuable framed posters to catch preservation issues early. Professionals can identify acid migration, insect activity, or moisture intrusion not obvious to untrained eyes.
Consult a framer immediately if you notice discoloration, warping, or condensation inside the frame. Consider reframing particularly valuable pieces with fresh materials every five years, as even conservation-grade materials degrade over time.
Poster Framing: Things to Watch Out For
| Issue to Avoid | Potential Consequence | Better Alternative |
|---|---|---|
| Using regular tape for mounting | Acid damage, discoloration, and paper deterioration | Use only acid-free hinging tape or corners |
| Standard foam board backing | Yellow discoloration and brittleness over time | Invest in acid-free foam backing board |
| Direct sunlight exposure | Fading, paper yellowing, embrittlement | Hang in areas without direct sun or use UV-filtering glazing |
| Hanging in bathrooms or kitchens | Moisture damage, mold growth, paper warping | Display in regions with stable humidity |
| Paper towels for cleaning glazing | Surface scratches, especially on acrylic | Use only microfiber cloths for cleaning |
| Overly tight wire hanging | Frame damage, wall anchor failure | Allow proper slack in hanging wire |
| Touching acrylic with bare hands | Fingerprints and oils that attract dust | Handle only by edges or wear cotton gloves |
| Using non-archival materials | Accelerated deterioration of valuable posters | Choose conservation-grade materials for all components |
| Stacking frames during storage | Pressure damage, broken glazing, bent frames | Store frames vertically in climate-controlled areas |
| DIY mat cutting without proper tools | Uneven edges, improper fit, potential damage | Purchase pre-cut mats or use professional services |
Creative Framing Inspirations

Framing can advance your artwork, photos, or memories, making them stand out in a room. If you’re looking to add a creative touch to your framing, here are some fresh ideas that can inspire you:
1. Mix and Match Frames
Don’t feel the need to stick to one style or color. Mixing different frames, such as wood, metal, or vintage ones, creates a dynamic display. This approach works well for galleries, where each piece stands out on its own but still looks cohesive.
2. Floating Frames
For a modern look, use floating frames that allow the artwork or photo to “float” within the frame. This creates a clean, sleek look that emphasizes the image itself without distraction. It works great for modern art and black-and-white photos.
3. Repurposed Materials
Get creative with unconventional materials for framing. Think old window panes, barn doors, or even leather straps. Repurposing these items adds a rustic, personalized touch and works wonderfully with vintage or rustic decor.
4. Bold and Colorful Frames
If you love color, why not choose bold, vibrant frames to make your artwork pop? Bright colors can bring energy to a room and complement the hues in your artwork, while pastel frames can create a soft, calming effect.
5. Gallery Wall with Uniform Frames
If you’re going for a minimalist look, choose frames that are uniform in size and color for a neat, organized gallery wall. This method highlights the artwork itself, allowing the collection to shine as a cohesive group rather than individual pieces.
Conclusion
Your poster collection deserves more than pushpins and sticky tack. With the techniques in this guide, you’ve gained the skills to create gallery-worthy displays that protect and showcase your art for generations. Remember, the frame you choose doesn’t just surround your poster; it changes it.
A thoughtfully framed poster draws the eye, starts conversations, and brings personality to any space. The magic happens in the details: acid-free materials that prevent yellowing, proper mounting that prevents warping, and strategic placement that prevents fading.
Your newly framed pieces will reward you daily with their improved visual impact and preserved condition. Go ahead—upgrade your posters from mere decorations to cherished artwork that reflects your unique taste and style.
Frequently Asked Questions
What’s the Best Way to Frame a Poster?
To frame a poster, flatten it, use an acid-free mat and hinging tape, and choose a frame that complements the design. For preservation, keep it out of direct sunlight.
How to Cheaply Mount a Poster?
Use double-sided tape or poster strips to mount the poster on foam board or cardboard.
How to Adhere a Poster to Wood?
Use spray adhesive or Mod Podge to gently adhere the poster to the wood, ensuring it’s smooth and wrinkle-free.