Welcome to the festive world of DIY wood slice ornaments, where rustic charm meets holiday cheer.
In this blog, we’ll explore unique wood slice ornament designs, perfect for adding a personal touch to your Christmas tree or giving as heartfelt gifts.
Each design offers a creative and enjoyable DIY project, from the serene tranquility of Tranquil Nature Scenes to the playful whimsy of Whimsical Snowman Caricatures.
Whether you are a seasoned crafter or a beginner looking for simple holiday crafts, these ornaments inspire your festive spirit and spread joy throughout the season.
Join us as we discuss each magical design, complete with step-by-step DIY instructions to transform simple wood slices into stunning holiday decorations.
1. Arctic Snowflake Impressions
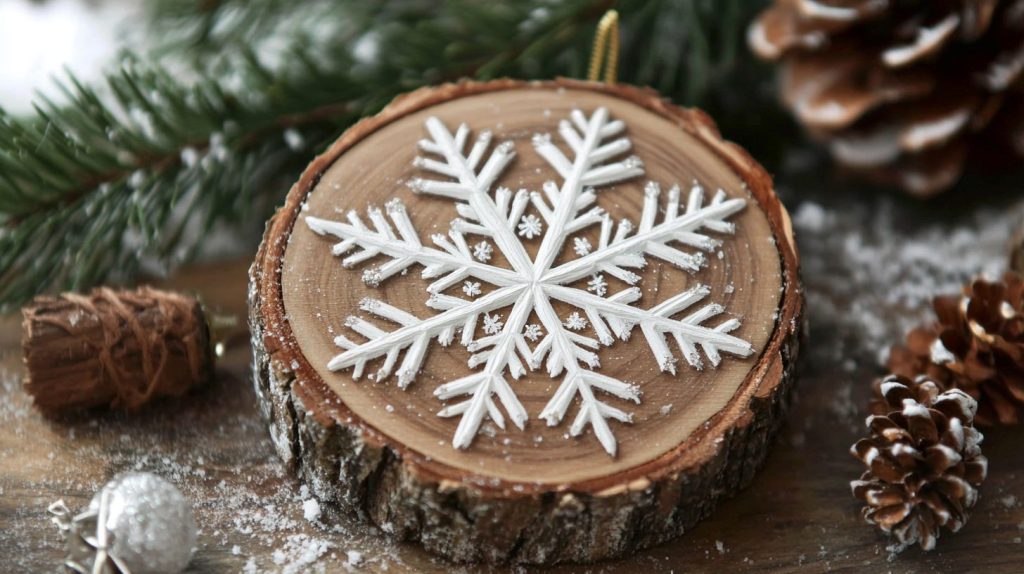
Celebrate the delicate beauty of winter with Arctic Snowflake Impressions. These ornaments capture the intricate patterns of snowflakes, each unique and finely detailed. They are perfect for adding a touch of winter wonder to your holiday decor.
DIY:
- Choose Your Wood Slice: Select a smooth, flat wood slice for the best imprint quality.
- Paint and Print: Apply white paint to a snowflake stamp; press firmly onto the wood slice.
- Seal the Ornament: Use a clear acrylic sealer to protect the paint and enhance durability.
2. Birch Forest Scenes
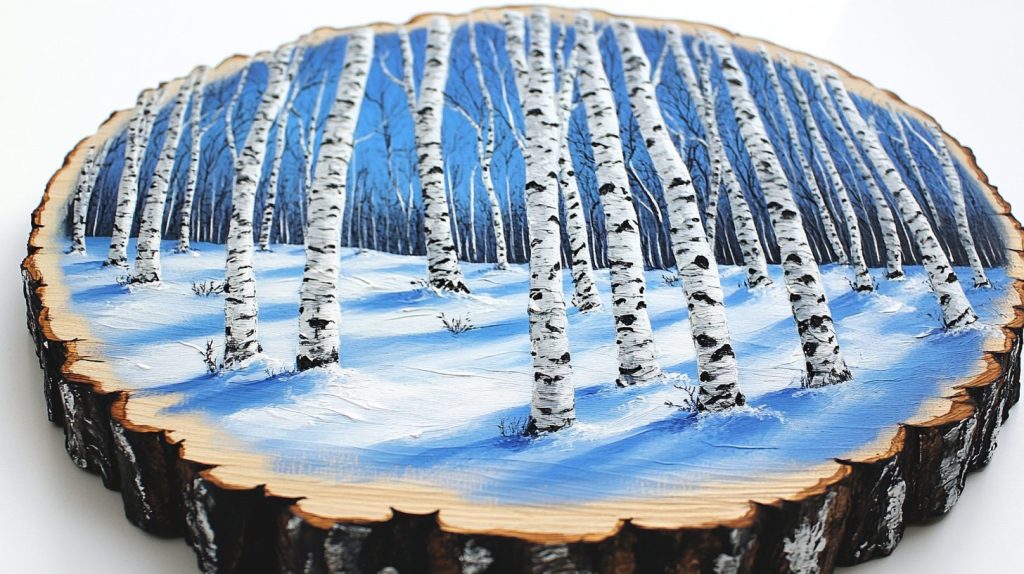
Birch Forest Scenes depict serene winter forests, bringing the calmness of snowy woodlands into your home. These ornaments feature silhouettes of birch trees against a twilight sky.
DIY:
- Prepare Your Surface: Sand the wood slice for a smooth finish.
- Sketch and Paint: Use black and white acrylic paints to create birch tree designs.
- Add Details: Use a fine brush to add details like branches and snow.
3. Celestial Moons and Stars

Capture the night sky with Celestial Moons and Stars ornaments featuring shimmering moons and twinkling stars that evoke a magical holiday spirit.
DIY:
- Select Your Shapes: Use moon and star templates for consistent shapes.
- Paint: Choose metallic or glitter paint for a celestial glow.
- Finish with Gloss: Apply a gloss sealer to sparkle your designs under light.
4. Dazzling Geometric Patterns
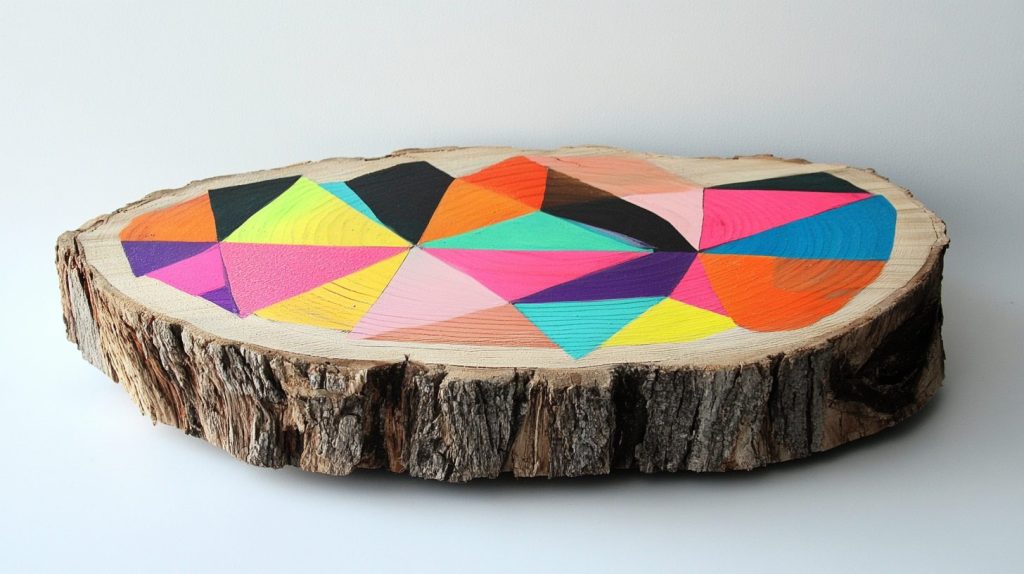
These ornaments are all about symmetry and vibrant colors, with Dazzling Geometric Patterns that stand out on any Christmas tree.
DIY:
- Design Your Pattern: Plan out a geometric design on paper first.
- Tape and Paint: Use painter’s tape to create sharp lines and fill in with different colors.
- Seal and Protect: Seal with a clear coat to keep the paint from chipping.
5. Magical Forest Animals
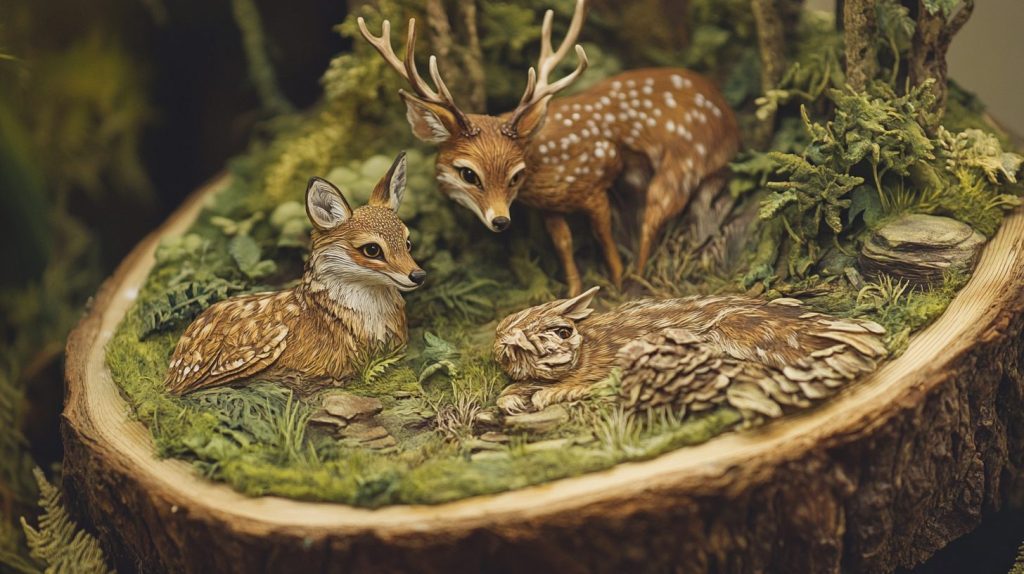
Magical Forest Animals bring the charm of woodland creatures to your holiday decor, featuring detailed illustrations of deer, foxes, and owls.
DIY:
- Sketch or Transfer: Draw or transfer your animal designs onto the wood slice.
- Paint with Detail: Use fine brushes to add details and vibrant colors.
- Varnish for Shine: Apply a layer of varnish for a glossy finish and added protection.
6. Festive Holiday Messages

Spread the season’s joy with Festive Holiday Messages, from “Merry Christmas” to “Happy Holidays,” elegantly scripted on wood slices.
DIY:
- Choose Your Font: Print a festive font as a guide.
- Paint or Burn: Use a paintbrush or a wood-burning tool to inscribe the message.
- Embellish: Add small painted holly or stars around the text.
7. Glittering Snowscapes
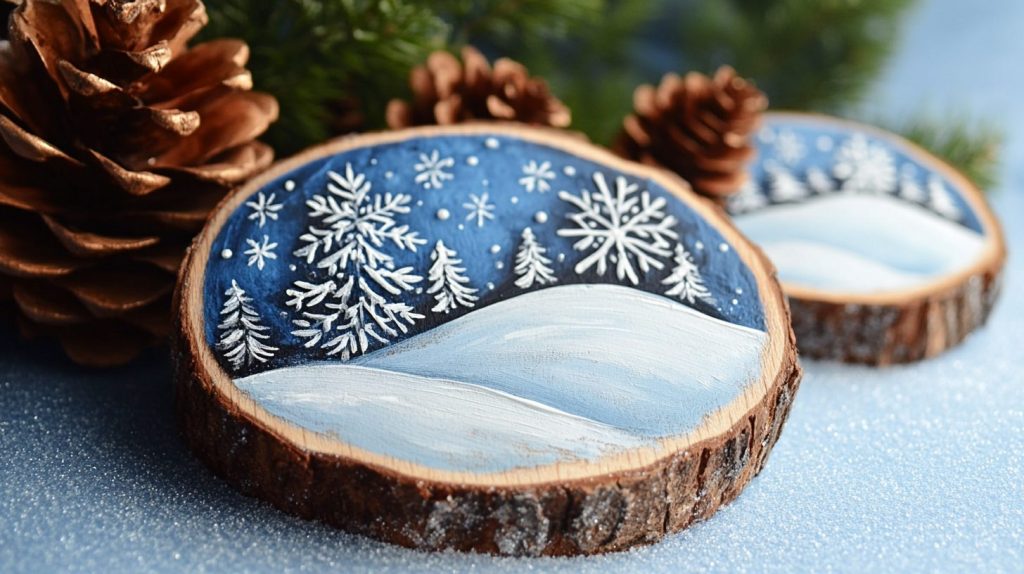
Glittering Snowscapes capture the sparkle of freshly fallen snow under a moonlit sky, perfect for adding a shimmer to your holiday display.
DIY:
- Layer Paint: Start with a dark blue base and add white highlights for snow.
- Sprinkle Glitter: While the paint is wet, sprinkle fine glitter over the surface.
- Seal with Care: Use a spray sealer to keep the glitter from shedding.
8. Heartfelt Holiday Quotes
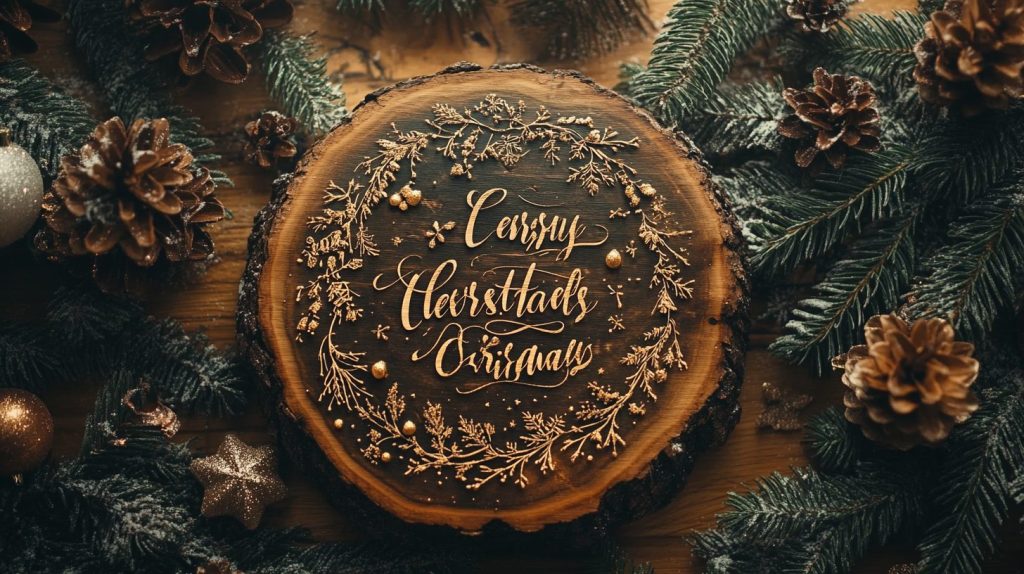
Share the season’s warmth with Heartfelt Holiday Quotes, beautifully written on wooden slices that can be personalized for loved ones.
DIY:
- Write or Stencil: Handwrite or use stencils for consistent lettering.
- Decorate: Add small, festive designs like stars or hearts.
- Protect: Finish with a layer of clear sealer to preserve your writing.
9. Icy Crystal Designs
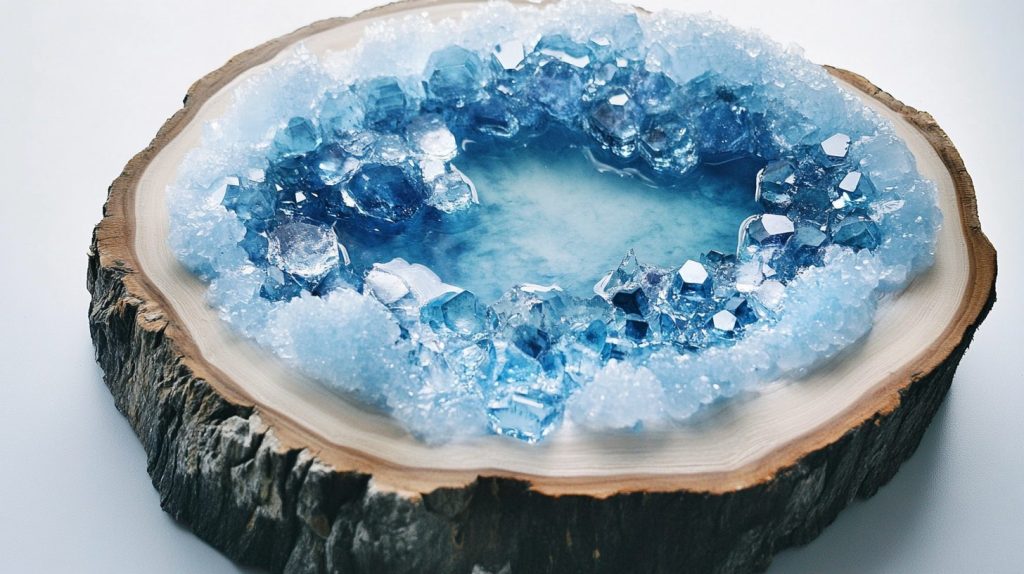
Icy Crystal Designs reflect the intricate beauty of ice crystals, combining clear and frosty paint effects for a chilled winter look.
DIY:
- Frost Effect: Use frosted glass paint to simulate ice crystals.
- Add Sparkle: Dot with clear glitter for extra shimmer.
- Seal: Apply a frost-effect sealer for a lasting icy finish.
10. Joyful Reindeer Portraits
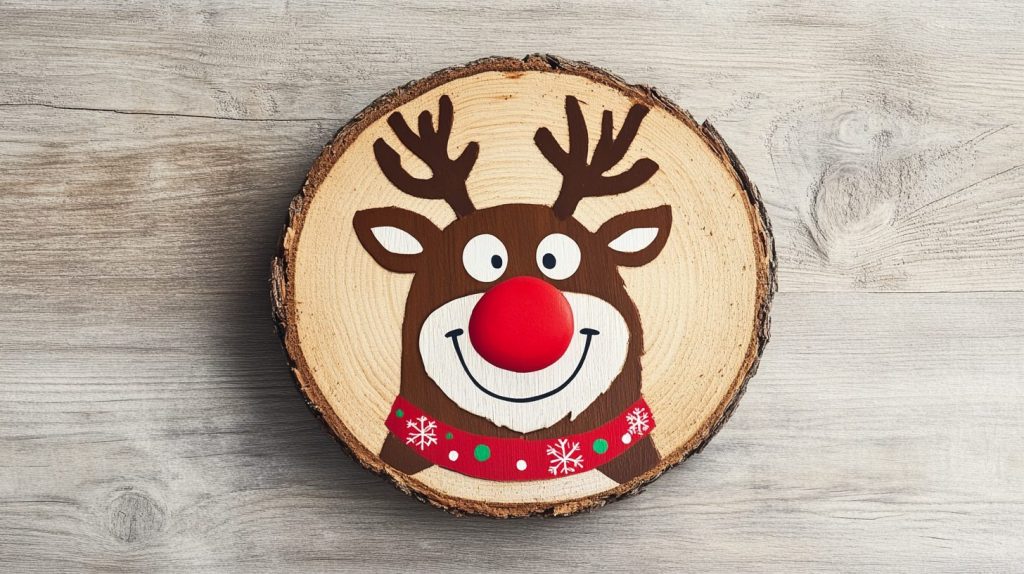
Joyful Reindeer Portraits bring the festive spirit of Santa’s helpers to life, w. Each ice depicts a playful and charming reindeer character.
DIY:
- Outline Your Design: Sketch the reindeer outline first.
- Paint: Fill in with brown, white, and red paints.
- Add Details: Use a fine brush for details like eyes and antlers.
11. Keepsake Family Names
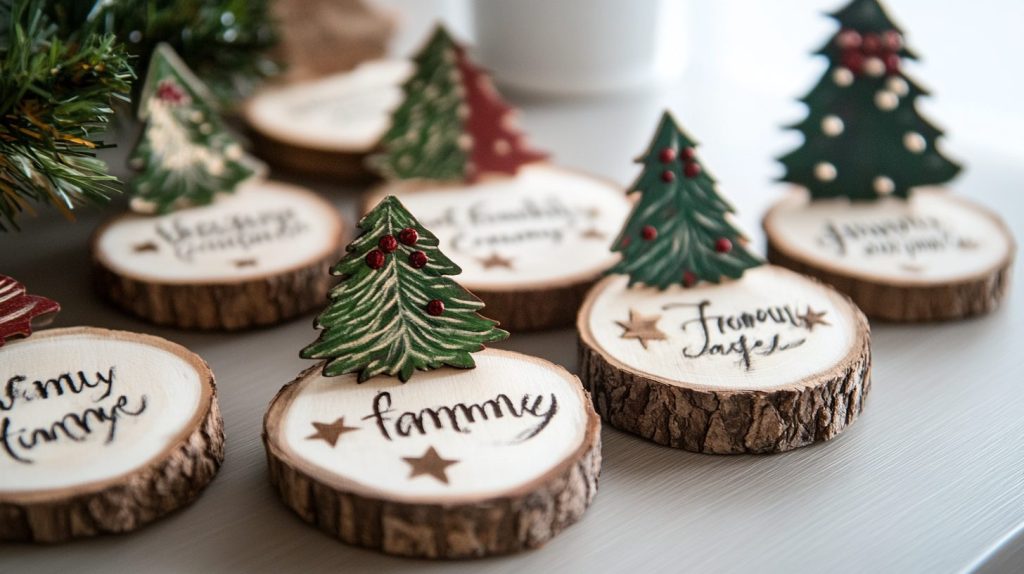
Celebrate family with Keepsake Family Names, each ornament personalized with a family member’s name surrounded by holiday motifs.
DIY:
- Personalize: Write each name with a wood-burning tool or paint.
- Decorate: Surround the names with small painted holly leaves or stars.
- Finish: Seal the ornament to keep it as a cherished keepsake.
12. Luminous Lantern Motifs
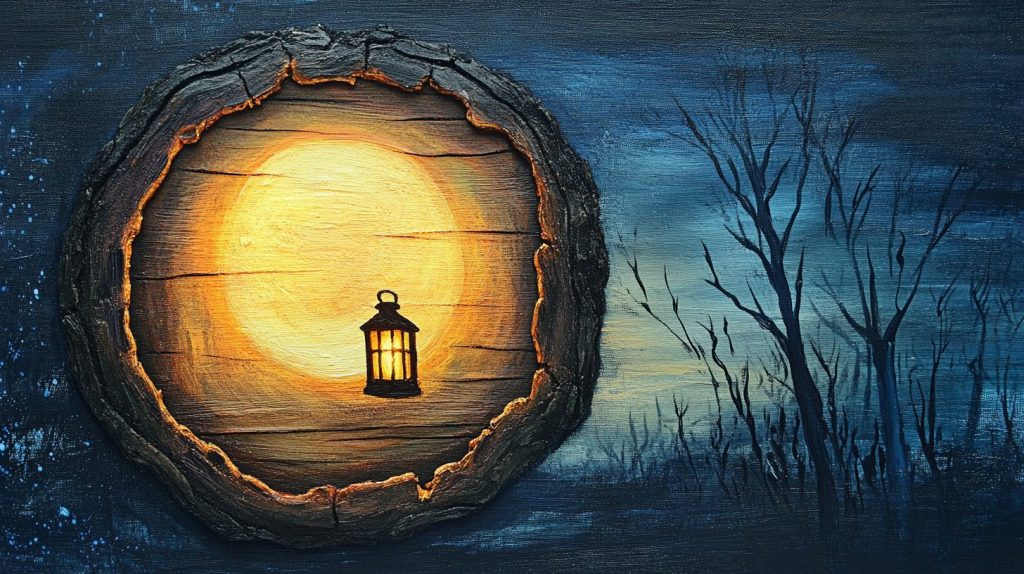
Luminous Lantern Motifs feature delicate lanterns painted or burned into wood slices, casting a glow of festive lights through painted glass panels.
DIY:
- Stencil Your Design: Use a lantern stencil for precision.
- Color and Highlight: Paint the lantern in festive colors and add highlights for a glowing effect.
- Finish with Glaze: Apply a glossy glaze to enhance the light effect.
13. Midnight Skyline Etchings
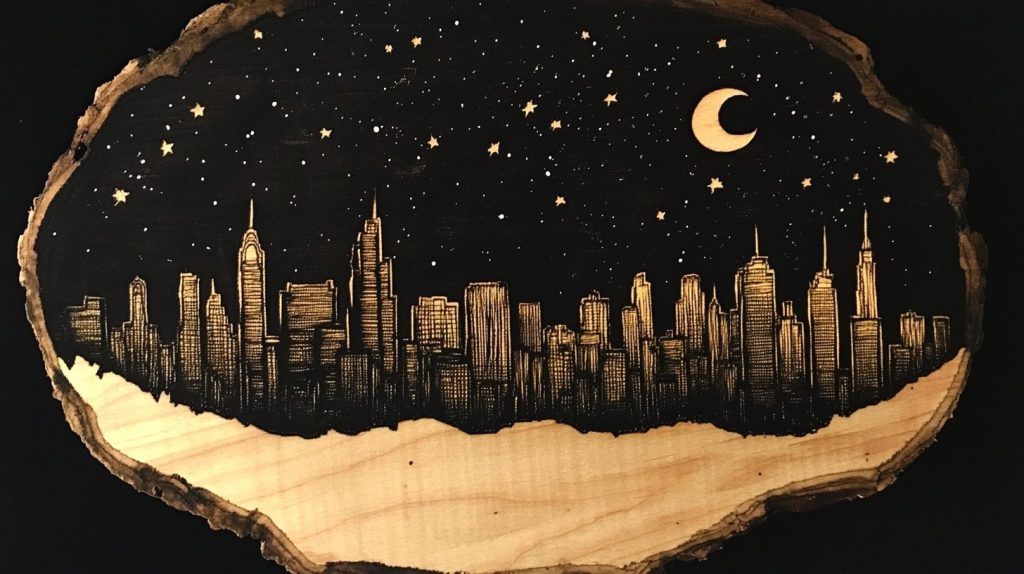
Midnight Skyline Etchings depict cityscapes under a starry night sky, perfect for urban dwellers or as a homage to favorite cities during the holidays.
DIY:
- Sketch the Skyline: Draw or transfer a city skyline onto the wood.
- Etch or Paint: Use a wood-burning tool or black paint to outline and detail the buildings.
- Star Detail: Add tiny white or silver stars to represent the night sky.
14. Nostalgic Winter Village
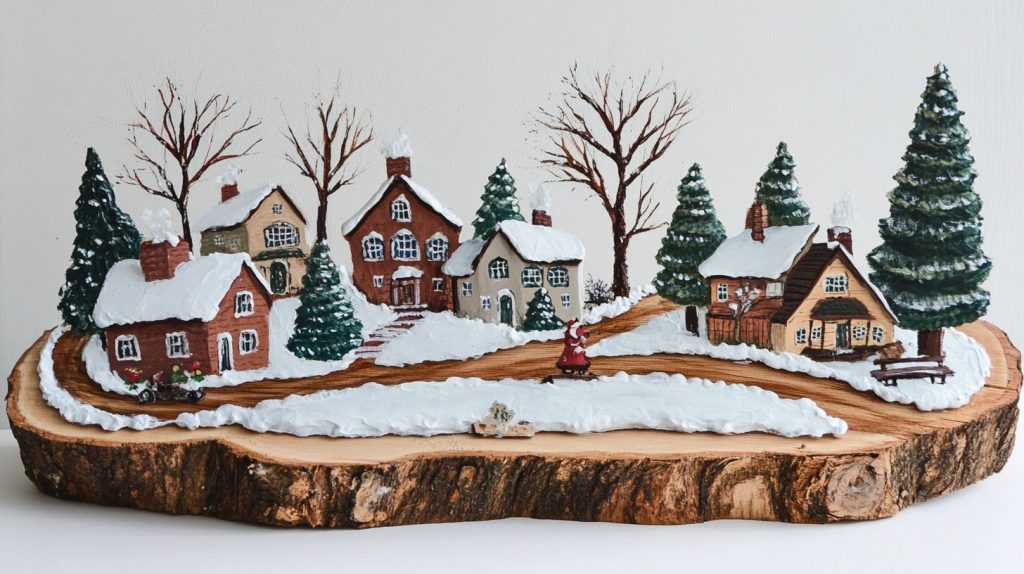
Nostalgic Winter Village ornaments feature quaint village scenes with snow-covered rooftops and twinkling holiday lights.
DIY:
- Paint Your Village: Create a simple winter village painting.
- Add Snow Effects: Use white paint to add snow on rooftops and trees.
- Glitter Touch: Sprinkle glitter while the paint is wet for a sparkling snow effect.
15. Ornate Floral Decorations
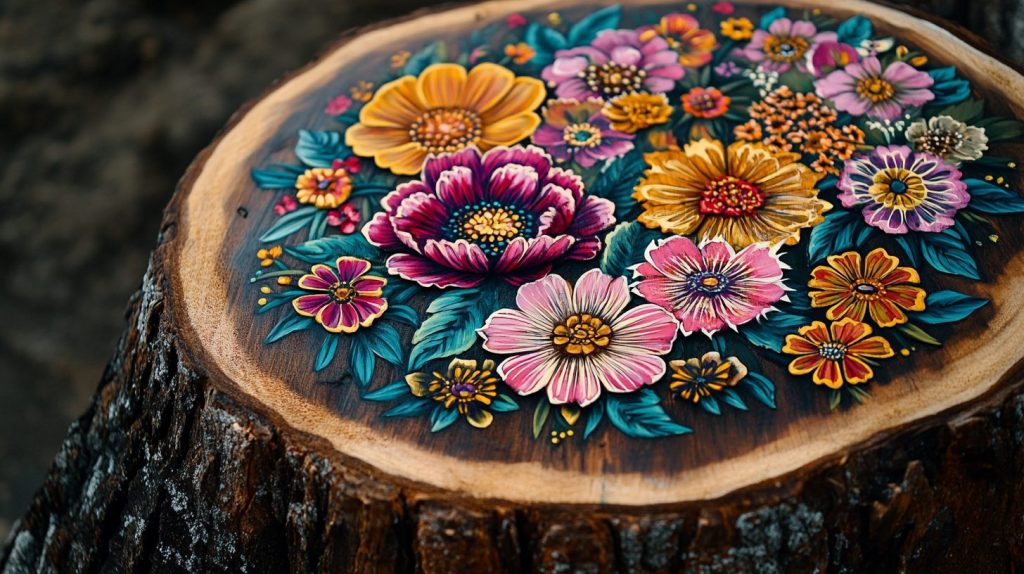
Ornate Floral Decorations bring a touch of spring to the winter season, with detailed floral patterns beautifully crafted on wood slices.
DIY:
- Select Floral Designs: Choose your favorite flowers to feature.
- Paint or Burn: Paint with vibrant colors or use a wood-burning tool for a rustic look.
- Detail Work: Add fine details to the petals and leaves for a realistic appearance.
16. Peaceful Dove Silhouettes
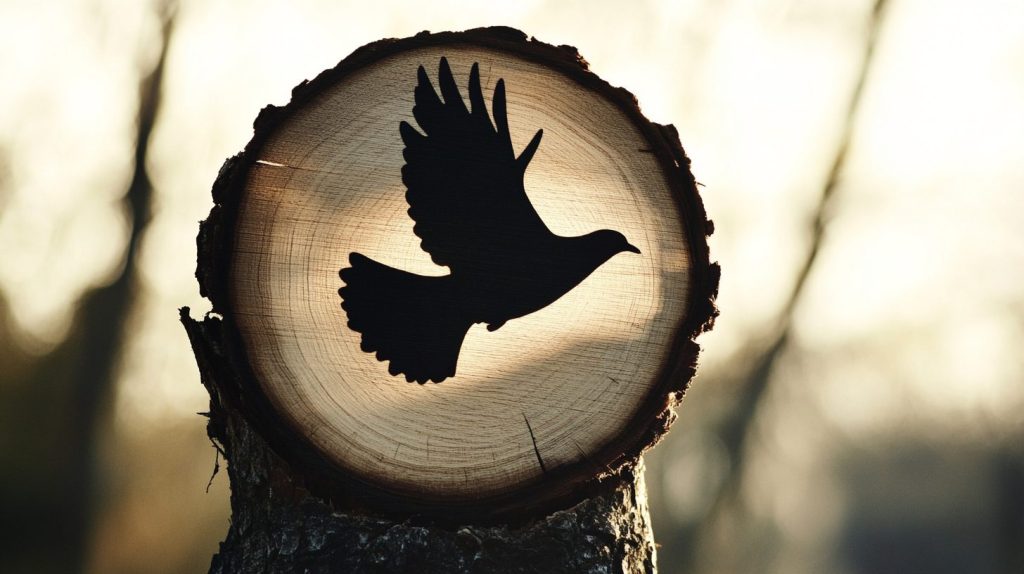
Peaceful Dove Silhouettes symbolize hope and peace; they feature the elegant form of a dove in flight, ideally set against a serene background.
DIY:
- Outline the Dove: Draw or trace a dove silhouette.
- Background Paint: Choose a calm color for the background and paint the dove in white.
- Add Olive Branch: Paint a small olive branch in the beak for a classic symbol of peace.
17. Quaint Cabin Illustrations
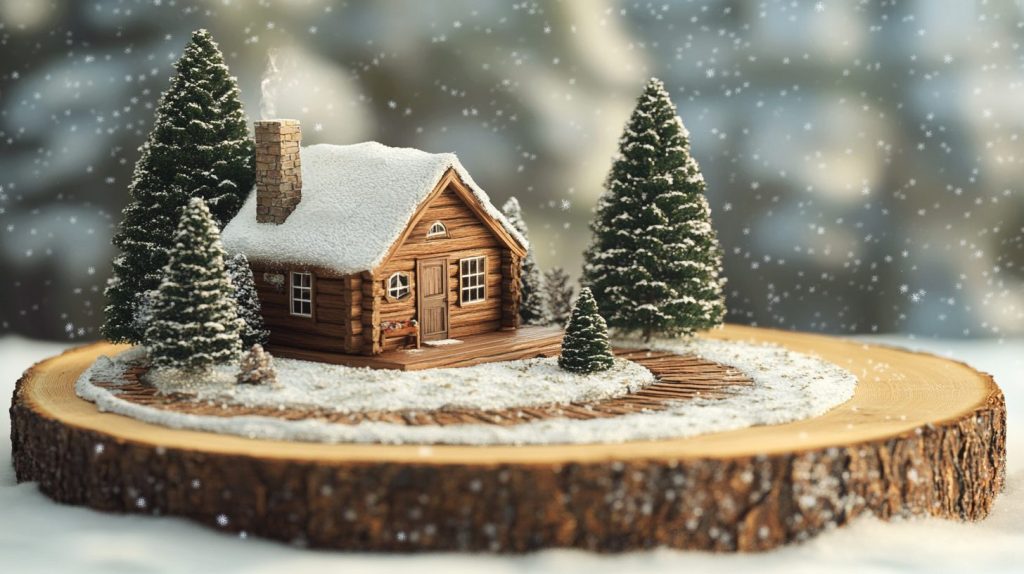
Quaint Cabin Illustrations capture the essence of a cozy winter retreat, with detailed depictions of cabins in snowy landscapes.
DIY:
- Draw Your Cabin: Sketch a small cabin surrounded by trees.
- Color Details: Use earth tones for the cabin and white for snow.
- Snow Effect: Add textured white paint for a realistic snow appearance.
18. Rustic Angel Figures
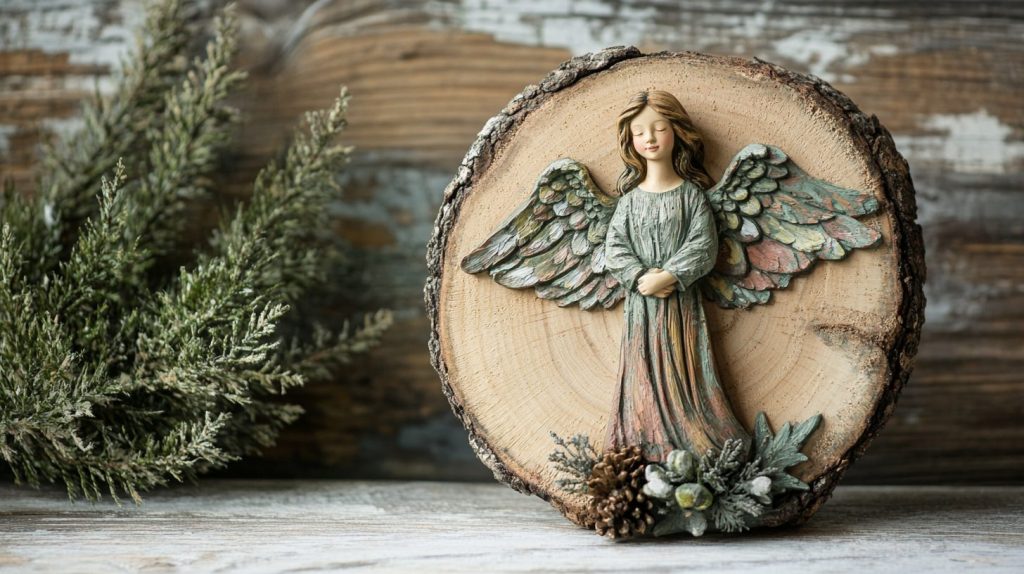
Rustic Angel Figures bring a heavenly touch to your decor w. Each ornament features hand-painted or carved angels in a simplistic style.
DIY:
- Carve or Paint: Choose to either carve or paint your angel figure.
- Simple Features: Keep the design simple and elegant.
- Add Sparkle: Use a bit of glitter on the wings for a subtle shimmer.
19. Sparkling Star Constellations

Sparkling Star Constellations is a celestial addition to your holiday decor, featuring famous constellations with points marked by tiny crystals.
DIY:
- Mark Constellations: Use a template to mark stars accurately.
- Connect the Stars: Paint or burn lines between the stars.
- Crystal Points: Glue small crystals at each star point for a sparkling effect.
20. Tranquil Nature Scenes
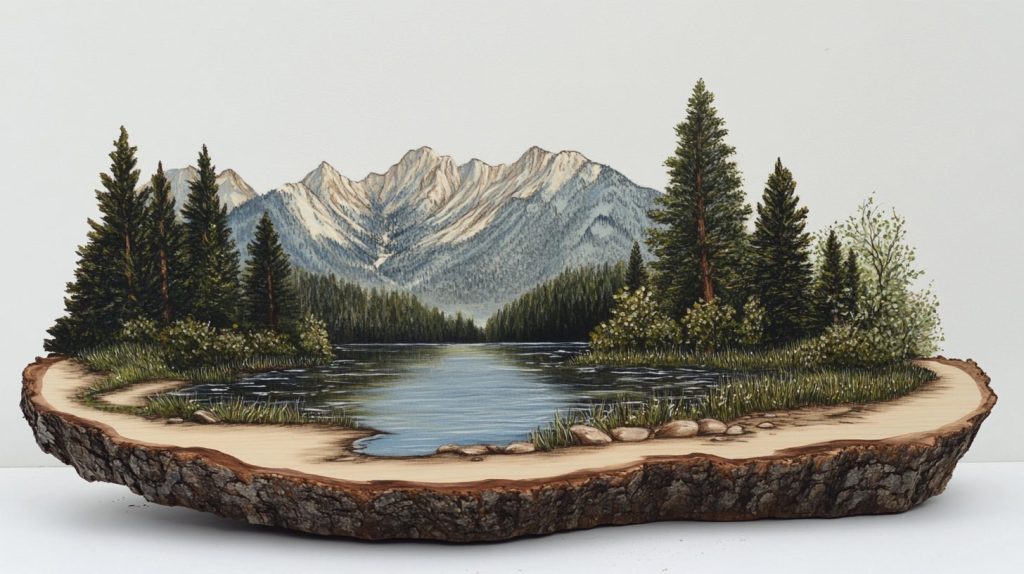
Tranquil Nature Scenes offer a peaceful glimpse into the natural world, with landscapes of forests, lakes, and mountains delicately illustrated on wood slices.
DIY:
- Choose Your Scene: Decide on a nature scene to depict.
- Detail Painting: Use fine brushes to paint detailed landscapes.
- Protective Coating: Seal with a clear coat to protect the detailed work.
21. Vintage Santa Portraits
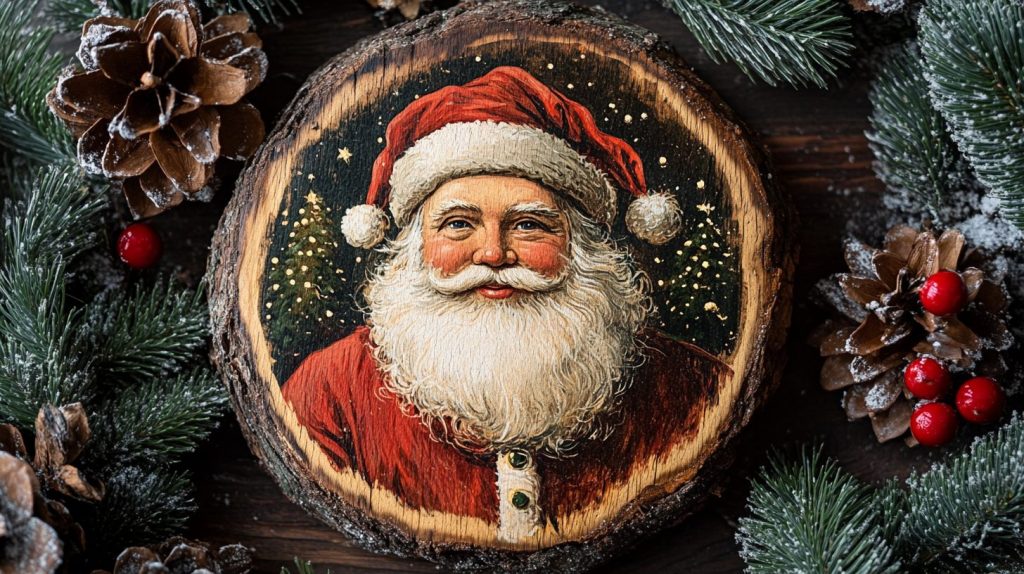
Vintage Santa Portraits bring a classic touch to your Christmas decor, featuring old-world Santa Claus images with a nostalgic flair.
DIY:
- Select Vintage Style: Choose a vintage Santa design.
- Paint or Transfer: Paint by hand or use a transfer technique.
- Aging Effect: Add a bit of brown wash over the paint to create an aged look.
22. Whimsical Snowman Caricatures
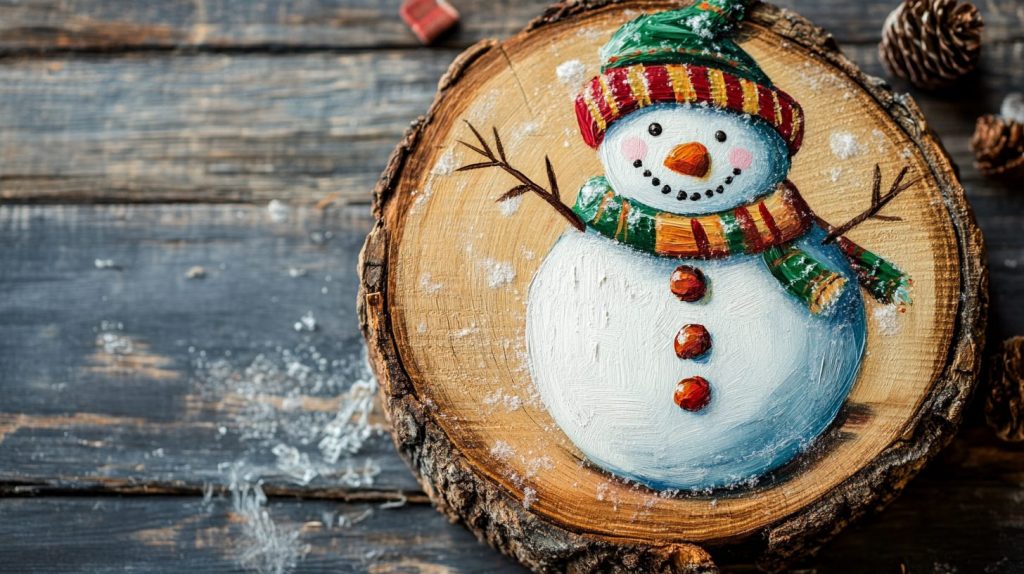
Whimsical Snowman Caricatures are fun and playful, featuring snowmen in various poses and expressions, perfect for a light-hearted holiday vibe.
DIY:
- Draw or Stencil: Sketch your snowman or use a stencil.
- Colorful Accessories: Paint bright scarves, hats, and buttons.
- Finish with Gloss: Apply a glossy sealer to protect your painting and add a festive shine.
Conclusion
We hope this collection of wood slice ornament designs has sparked your creativity and inspired you to create your unique holiday decorations.
Whether you craft the serene Midnight Skyline Etchings or the festive Joyful Reindeer Portraits, each ornament offers a special way to personalize your holiday decor.
Crafting these ornaments can also be a delightful activity to share with family and friends, making beautiful decorations and cherished memories.
So, gather your supplies, embrace the season’s spirit, and start crafting your magical wood slice ornaments. May your holidays be merry, bright, and filled with the joy of DIY creativity!
Happy crafting and happy holidays!
