Your child keeps asking for a lemonade stand, but you’re worried about the complexity and safety of building one from scratch.
What if we told you that building a lemonade stand doesn’t require advanced carpentry skills or expensive tools?
Many parents have built their first stand without any prior experience, and it turned out better than expected.
This guide will show you exactly how to create a safe, fun lemonade stand that your kids will love. You’ll learn simple construction techniques, safety tips, and creative ideas to make the project memorable for the whole family.
Let’s build something special together that will give your child their first taste of running a business while creating lasting memories.
Step-by-Step to Build a Lemonade Stand
Creating a lemonade stand from scratch may seem like a daunting task, but with the right tools, clear instructions, and a bit of creativity, it becomes a fun and rewarding project.
Tools Required:
| Tool | Purpose |
|---|---|
| Measuring Tape | To take accurate dimensions for wood pieces and frame alignment. |
| Saw (Hand/Circular) | Cut wood siding, boards, and slats to the required sizes. |
| Drill | For drilling holes and driving screws to join wooden parts together. |
| Screwdriver | To manually fasten or tighten screws during assembly. |
| Sandpaper | To smooth sharp or rough wooden edges before painting. |
| Paintbrushes | To apply primer and colorful paint (e.g., pixie dust pink) evenly. |
| Level | To ensure horizontal and vertical alignment during construction. |
Materials Required:
| Material | Purpose |
|---|---|
| Wood Siding | The primary surface material used for constructing the stand’s exterior. |
| Wood Boards | For framing the front, back, and sides of the lemonade stand. |
| Fence Posts | Used as upright supports, especially for holding the overhang. |
| Wood Slats | Individual pieces are used to mount each letter of the word “LEMONADE”. |
| Screws/Nails | Fasteners are used to securely join wood pieces together. |
| Wood Supports | Extra internal braces to hold up the shelf or provide stability. |
| Primer | Base coat to seal raw wood and ensure better paint adhesion. |
| Paint (Pixie Dust Pink + others) | For the final decorative finish and visual appeal. |
Step 1: Plan and Measure
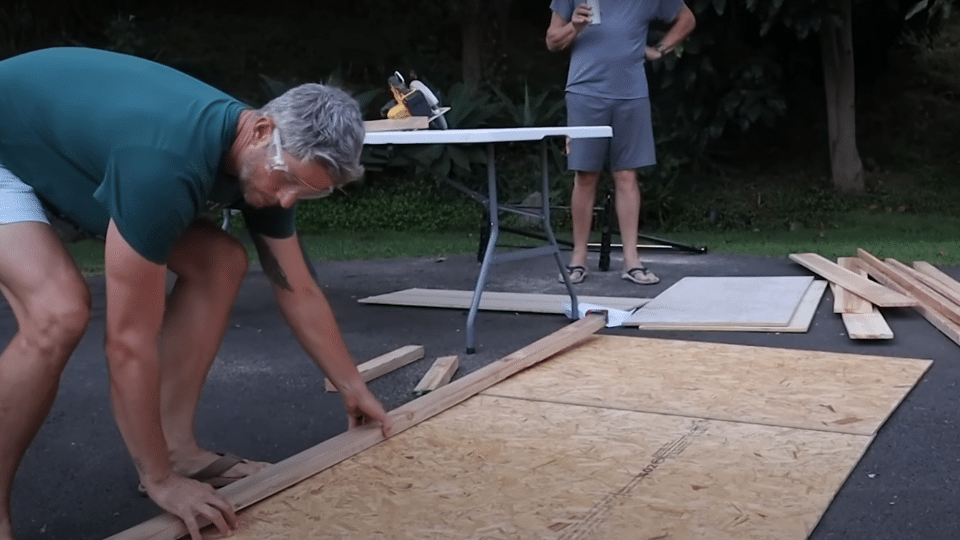
Start by creating a simple plan for your lemonade stand. Measure the height based on your child’s chest level (about 2 feet in this case).
Draw out the basic frame design showing front, back, and side panels. Get all your materials before starting to avoid multiple trips to the store. Take time to sketch your design and list all pieces needed.
Common Mistake to Avoid: Don’t skip the planning phase. Rushing into cutting without proper measurements leads to wasted materials and ill-fitting pieces.
Step 2: Cut and Build Frame Boxes
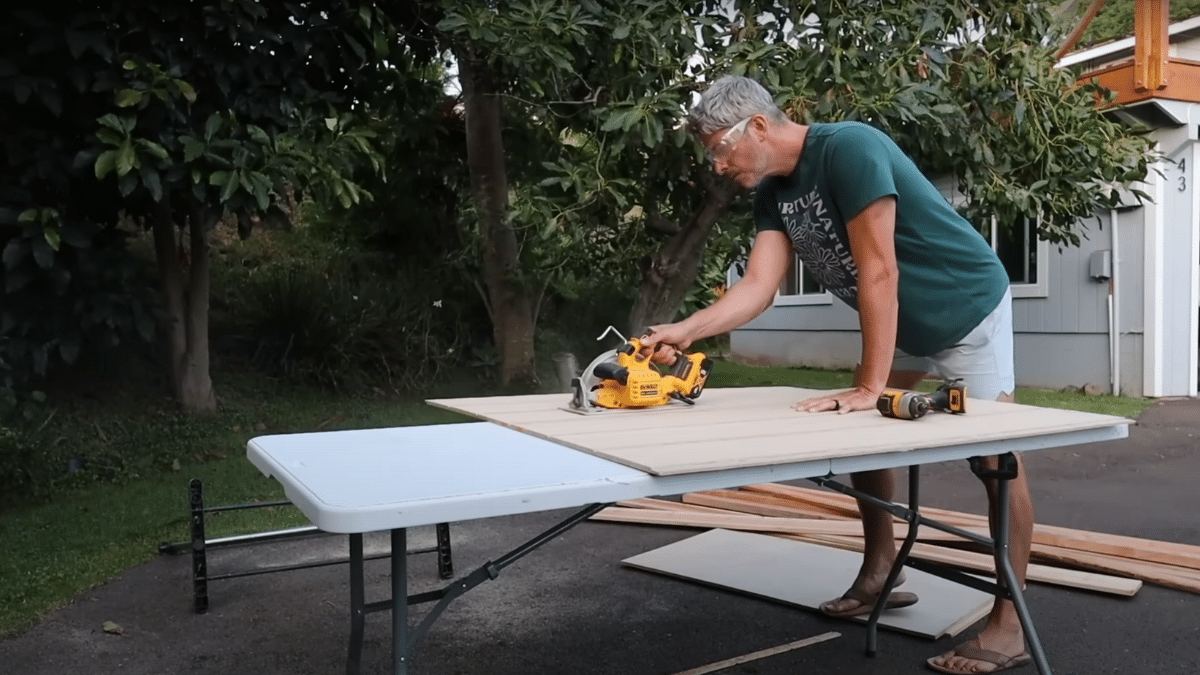
Cut all wood pieces according to your measurements, then assemble each frame separately, front, back, and sides. Use screws or nails to secure the corners.
Ensure each frame is square by checking its corners with a level. Start with the largest frame first, then work on smaller ones. Mark each piece clearly before cutting.
Common Mistake to Avoid: Not measuring twice before cutting. One wrong measurement can throw off your entire project and waste expensive materials.
Step 3: Connect All Frames
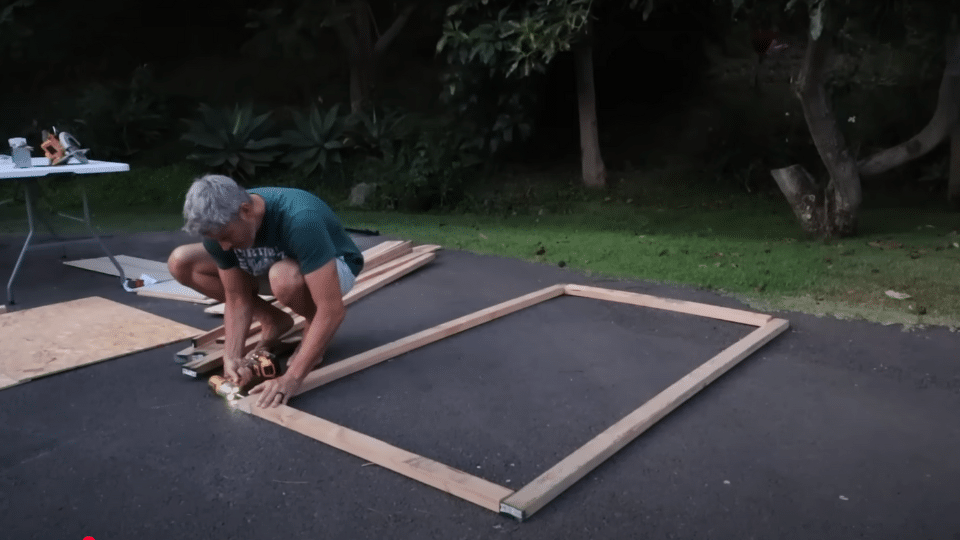
Line up all your completed frames and connect them to form the basic lemonade stand structure. This is when your project really starts to take shape.
Ensure everything fits properly before permanently attaching it. Use additional screws for extra strength at the joints. Check that the structure is level and stable.
Common Mistake to Avoid: Forcing pieces that don’t fit properly. If something doesn’t align, check your measurements rather than trying to make it work.
Step 4: Add Counter, Supports, and Siding
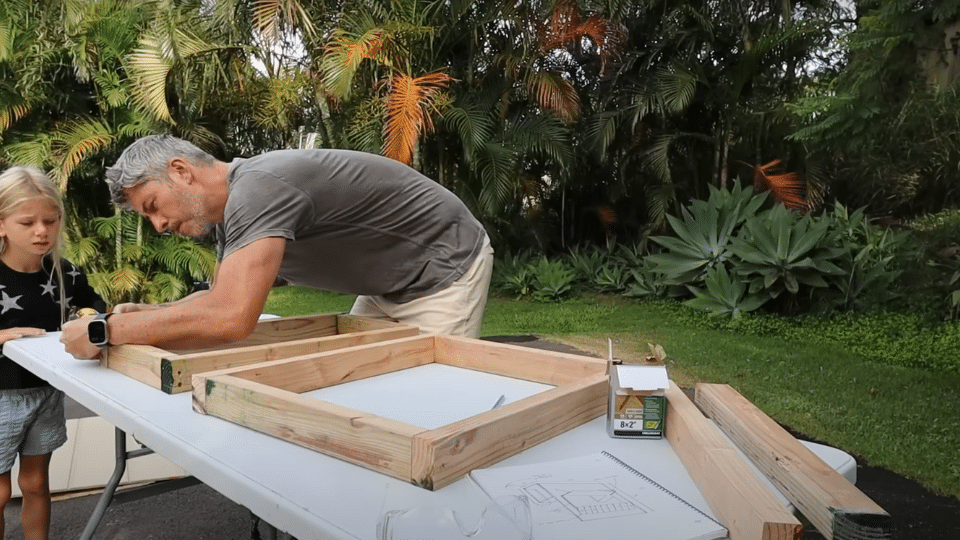
Install the central counter shelf at the proper height for your child. Add support brackets underneath any overhang to prevent sagging. Attach the wood siding to the frame structure.
Test the shelf strength by applying gentle pressure to ensure it can hold pitchers and supplies safely.
Common Mistake to Avoid: Skipping the support brackets. An unsupported shelf will sag or break when loaded with lemonade supplies.
Step 5: Install Decorative Elements and Overhang
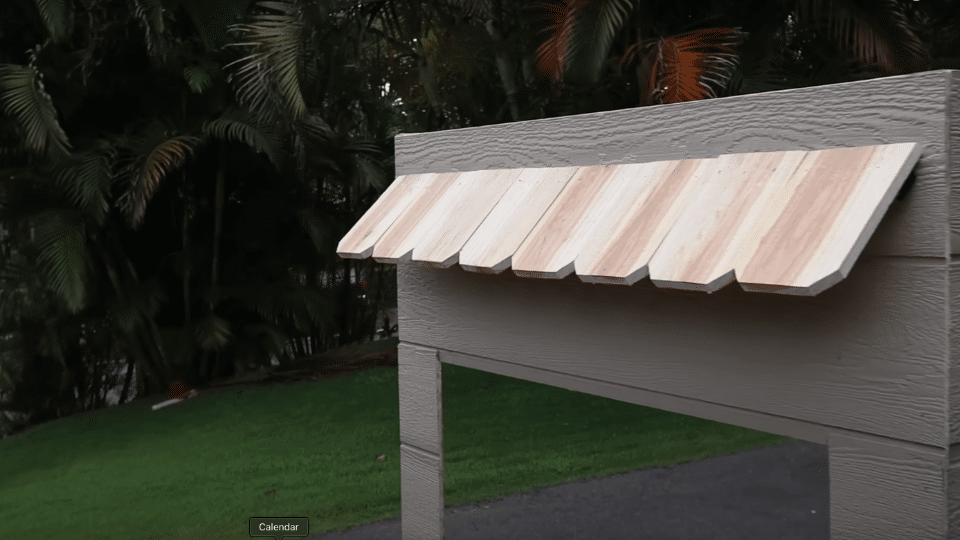
Cut and install fence posts for the overhang at an angle for a professional look. Add the individual slats for spelling out “LEMONADE” or your chosen design.
This step adds character and personality to your stand. Make sure all decorative pieces are securely attached and won’t come loose with use.
Common Mistake to Avoid: Not pre-drilling holes for screws in siding. This can cause the wood to split and ruin the appearance.
Step 6: Paint and Add Final Touches
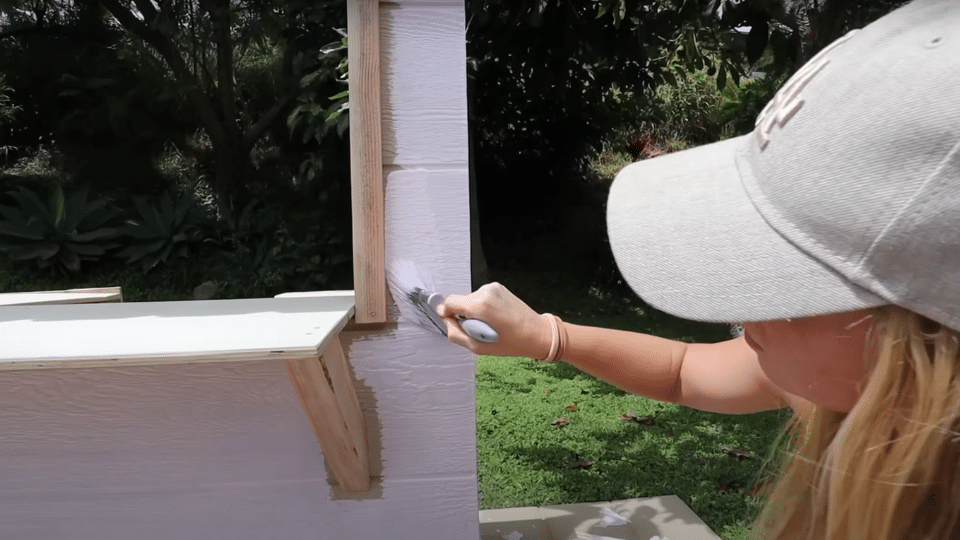
Apply your chosen paint colors in thin, even coats. Let each coat dry completely before adding another. Get your kids involved in this fun step; they can help choose colors and even do some painting themselves.
Add any final decorative touches once the paint is completely dry and cured.
Common Mistake to Avoid: Applying paint too thick or not letting coats dry properly. This leads to drips, uneven coverage, and longer drying times.
Video Tutorial
I would like to acknowledge Lauren and Arie for the insightful video, which served as a key reference in compiling this guide.
Fun Ideas to Personalize Your Lemonade Stand
Want to make your lemonade stand truly one-of-a-kind? These fun and creative personalization ideas will help your child’s stand stand out and shine.
1. Creative Signage Options
Themed Signs and Colors: Choose a fun theme, such as tropical, vintage, or rainbow colors. Match your paint colors to your theme for a cohesive and visually appealing look. Use bright, cheerful colors that attract customers and make kids excited to run their stand.
Custom Name Boards Create personalized signs like “Sophie’s Lemonade” or “Jake’s Fresh Squeeze.” You can paint these directly on wood slats or make separate signs to hang. Let your child pick their favorite fonts and colors for a truly personal touch.
2. Menu and Pricing Displays
Mini Chalkboard Menus: Install small chalkboards where kids can write daily specials, prices, or fun messages. This allows them to practice writing and easily change offerings. Chalkboards also give the stand a professional, cafe-like feel that customers love.
Price Tags and Specials: Create cute price signs or daily specials boards. Kids can update these themselves and feel more involved in running their business. Use colorful markers or paint pens for eye-catching displays.
3. Decorative Touches
Garland and Bunting String colorful fabric bunting or paper garland around the stand’s edges. This adds movement and festive appeal that draws attention from far away. Choose weather-resistant materials if the stand will stay outside.
Fairy Lights: Add battery-powered LED string lights for magical evening sales or just extra sparkle during the day. Warm white or colorful lights create a cozy, inviting atmosphere that makes the stand special and memorable.
Tips for Making Your Lemonade Stand Kid-Friendly & Safe
The following tips will help you design a stand that’s not only fun but also practical and worry-free for both parents and children.
| Tips | Description |
|---|---|
| Use lightweight materials | Choose sturdy but light wood so the stand is easier to move and manage. |
| Avoid sharp hardware | Use rounded or recessed screws and ensure all fasteners are flush and safe. |
| Secure the base firmly | Build a stable base or use weights to prevent tipping, especially outdoors. |
| Weatherproof your materials | Apply sealant or weather-resistant paint to protect against rain or sun. |
| Create a safe work zone | Place the stand away from streets, stairs, or high-traffic areas. |
| Use soft fabric for decor | Choose gentle, non-scratchy materials for banners or covers around the stand. |
| Label storage areas clearly | Add labels or bins for cups, napkins, and money to keep things organized. |
By keeping these simple safety and design tips in mind, you’ll create a lemonade stand that’s not only charming and functional but also a safe space where your child can learn, play, and proudly run their first little business.
Conclusion
Building a lemonade stand with your child is more than just a weekend project; it’s about creating confidence, teaching responsibility, and making memories that last a lifetime. You now have all the tools, materials, and step-by-step instructions needed to build a safe, fun lemonade stand from scratch.
Remember, this project doesn’t require perfect carpentry skills. What matters most is spending quality time with your kids and watching their faces light up when customers buy their first cup of lemonade.
The skills they learn from money handling to customer service will benefit them far beyond childhood.
Ready to start building?
Gather your materials this weekend and begin creating something special together. Share your lemonade stand with us! We’d love to see your designs and hear about your child’s first day of business.
Frequently Asked Questions
How Much Does It Cost to Build a Lemonade Stand?
Building a basic lemonade stand costs $50-150 for wood, screws, paint, and brushes. Prices vary based on size and materials chosen.
What Is an Alternative to a Lemonade Stand?
Use a folding table with a tablecloth, a cardboard box decorated with markers, or repurpose an old TV tray for a quick setup.
How to Decorate a Lemonade Stand?
Paint bright colors, add custom name signs, hang fairy lights or bunting, use chalkboard menus, and let kids draw fun designs.