Tired of rushing inside every time it starts raining while you’re enjoying your deck? I completely understand that frustration – there’s nothing worse than having your outdoor relaxation cut short by unpredictable weather.
Picture this: sipping your morning coffee on a covered deck while rain gently patters overhead, or hosting barbecues without worrying about sudden downpours. A roof over your deck transforms your outdoor space into a year-round sanctuary, adding significant value to your home.
I’ve put together this complete step-by-step guide that walks you through building a lovely polycarbonate roof over your deck. From obtaining permits to the final finishing touches, I’ll share the exact process and pro tips that helped me complete this project.
Ready to turn your exposed deck into the ultimate outdoor retreat? Let’s plunge in.
What To Know Before Building a Roof Over Your Deck?
Building a roof over your deck converts it into a versatile year-round outdoor space, but proper planning is essential for success. Nearly all construction projects must adhere to applicable codes and obtain permits before commencing construction. A building permit application for a roof deck typically requires detailed construction plans.
Key Considerations:
- Structural Assessment: Conduct a structural analysis to determine if your roof can support the additional load. Residential buildings must withstand a 60-pound live load per square foot, and a professional assessment is crucial for ensuring safety.
- Building Permits: Building permits are required for most deck roof projects, with exemptions only for decks under 200 square feet, not attached to structures, and less than 30 inches tall
- Material Selection: Choose appropriate decking materials like plywood or OSB for structural support, considering factors such as moisture resistance, spanning capabilities, and local climate conditions
- Safety Requirements: Install proper guardrails (36 inches for residential, 42 inches for commercial), ensure safe access points, and consider secondary egress for larger structures
- Building Codes: All work must comply with local building codes covering structural loads, accessibility requirements, and material specifications
DIY Deck Roof: Step-by-Step Guide
Convert your exposed deck into a year-round outdoor sanctuary with this comprehensive guide, featuring clear panels that maximize light while providing complete weather protection.
Tools
| Tool | Purpose |
|---|---|
| Circular saw | Cut panels and lumber |
| Miter saw | Precise angle cuts |
| Drill/driver | Install fasteners |
| Chisel | Cut rafter notches |
| Level | Ensure straight installation |
| Clamps | Hold warped boards |
| Measuring tape | Accurate measurements |
Materials
| Material | Purpose |
|---|---|
| Clear polycarbonate panels | Main roofing – blocks the weather, allows light |
| 6×6 posts | Vertical support columns |
| 2×8 ledger board | Attaches the roof to the house wall |
| 2×10 beams (doubled) | Main horizontal support beam |
| 2×6 rafters | Panel framework support |
| Joist hangers & hurricane clips | Secure rafter connections |
| Post brackets & lag bolts | Connect posts to footers |
| Roofing screws & H-channels | Install and connect panels |
| Wood stain & filler | Protect and repair lumber |
Step 1: Install Ledger Board
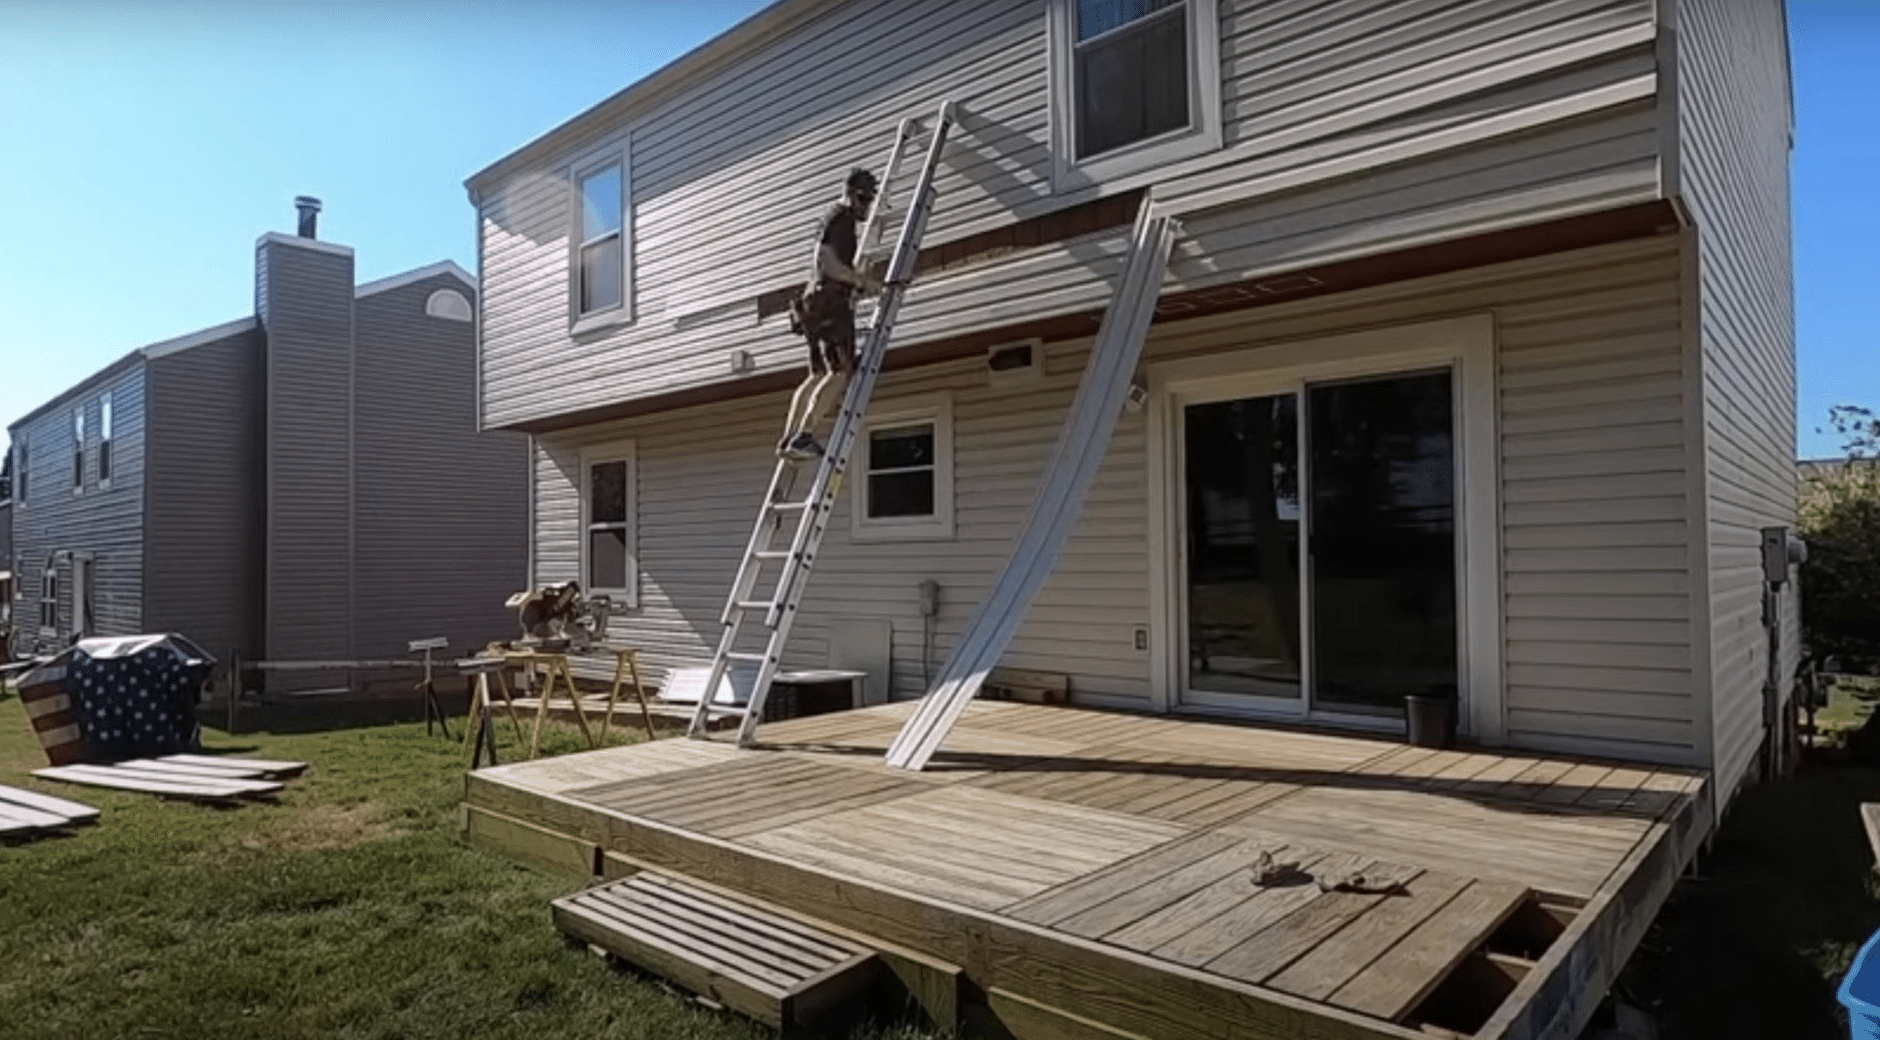
Mount the critical 2×8 ledger board against the house wall, ensuring it’s perfectly level and secured to every wall stud with lag bolts. Pre-drill holes for easier installation and use temporary nails to support the board while checking the level.
Pro Tip: Use two 8-foot boards side-by-side if you can’t source a single 16-foot piece, ensuring joints are properly supported.
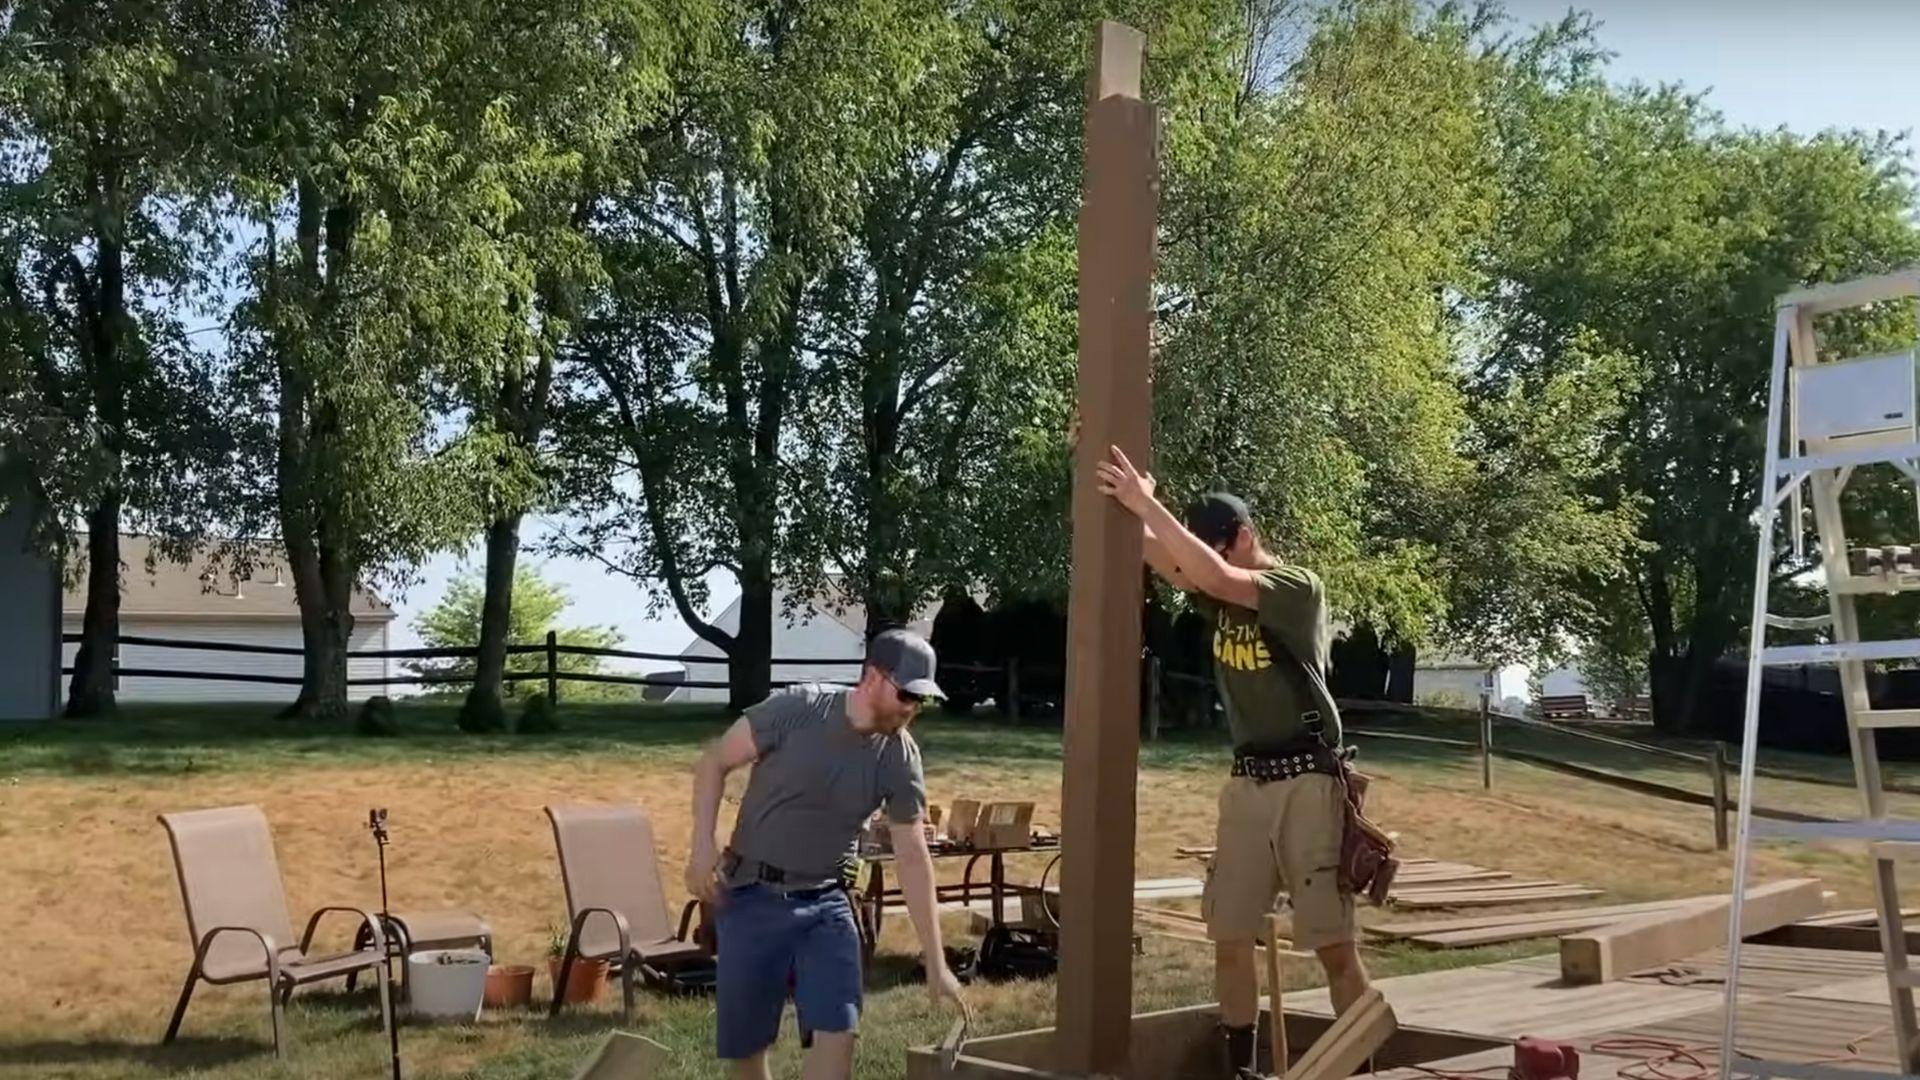
Step 2: Set Posts & Footers
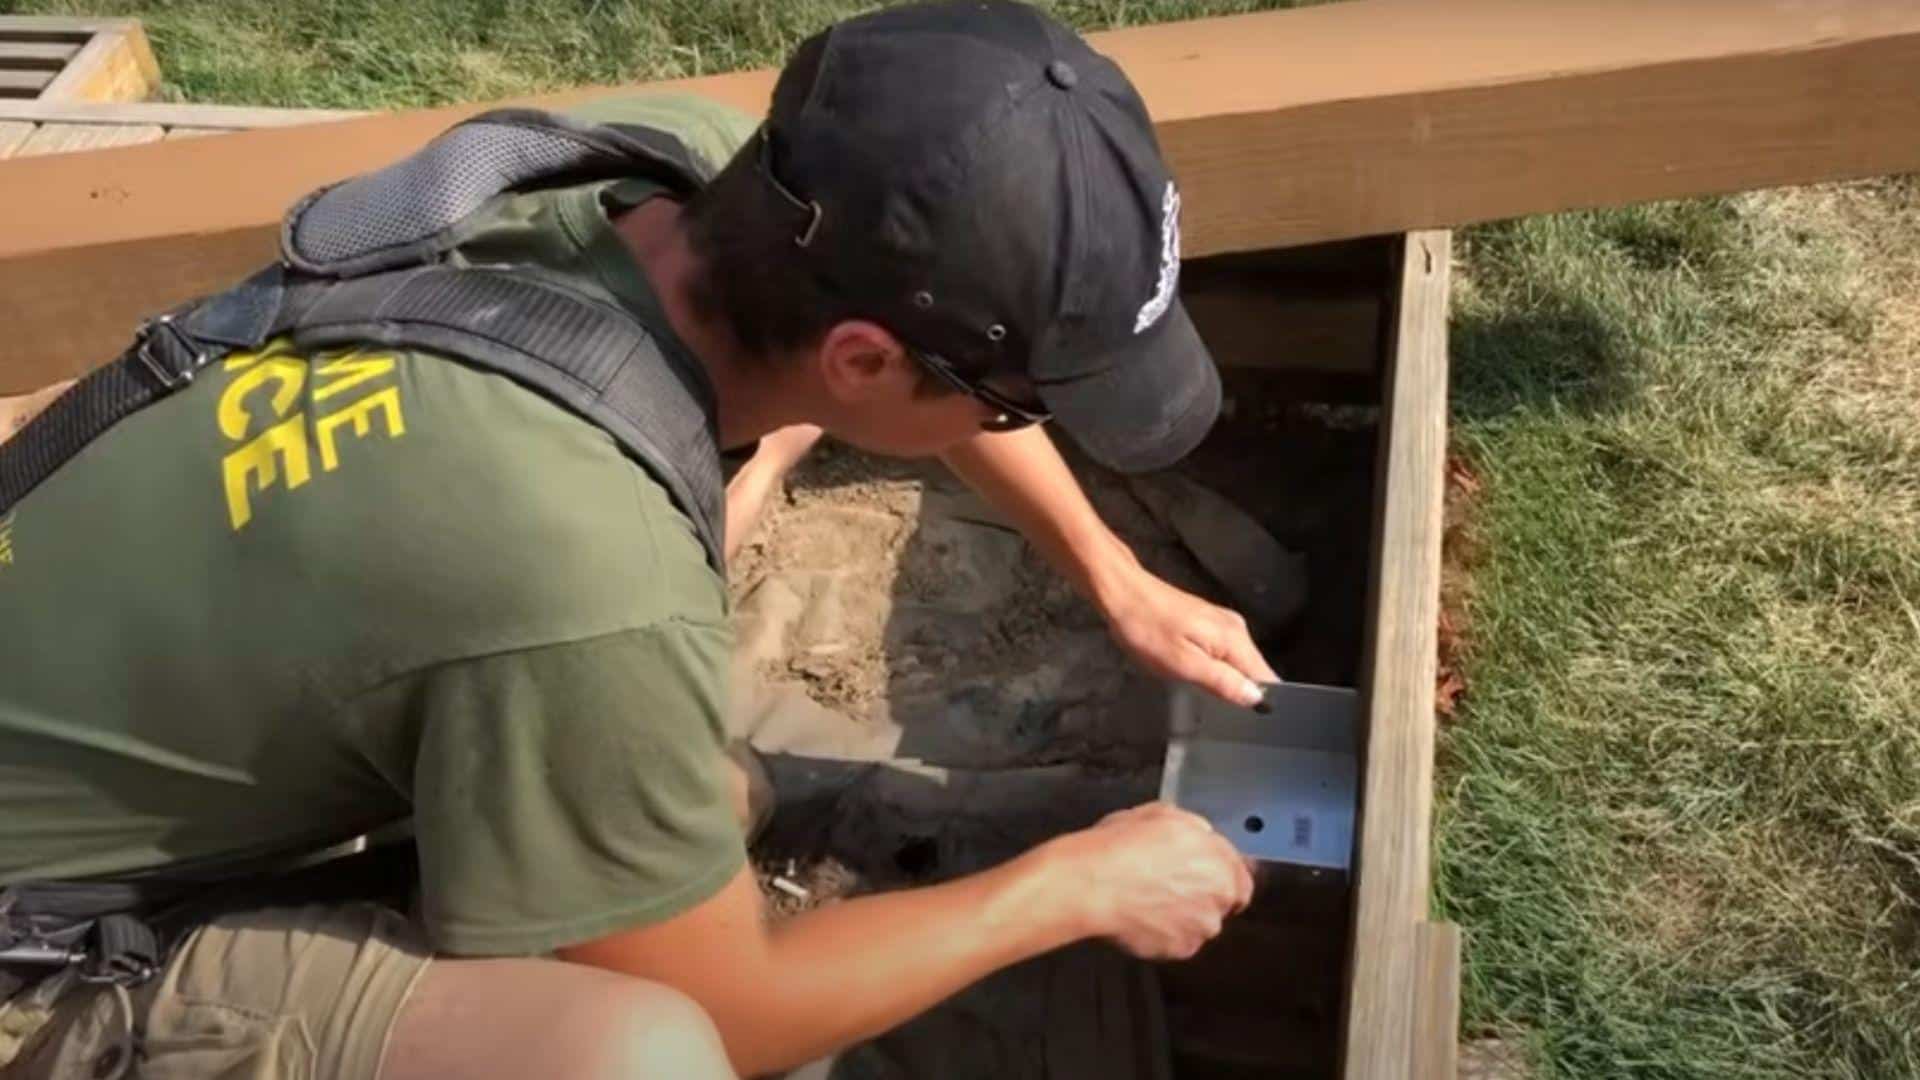
Install 6×6 posts on existing deck footers using metal mounting brackets. Cut posts to approximately 10 feet, leaving 9.5 feet of floor-to-ceiling clearance. Cut L-shaped notches at post tops for beam placement.
Pro Tip: Use temporary glue under brackets only for leveling—the structural connection comes from the bracket and deck joist anchoring system.
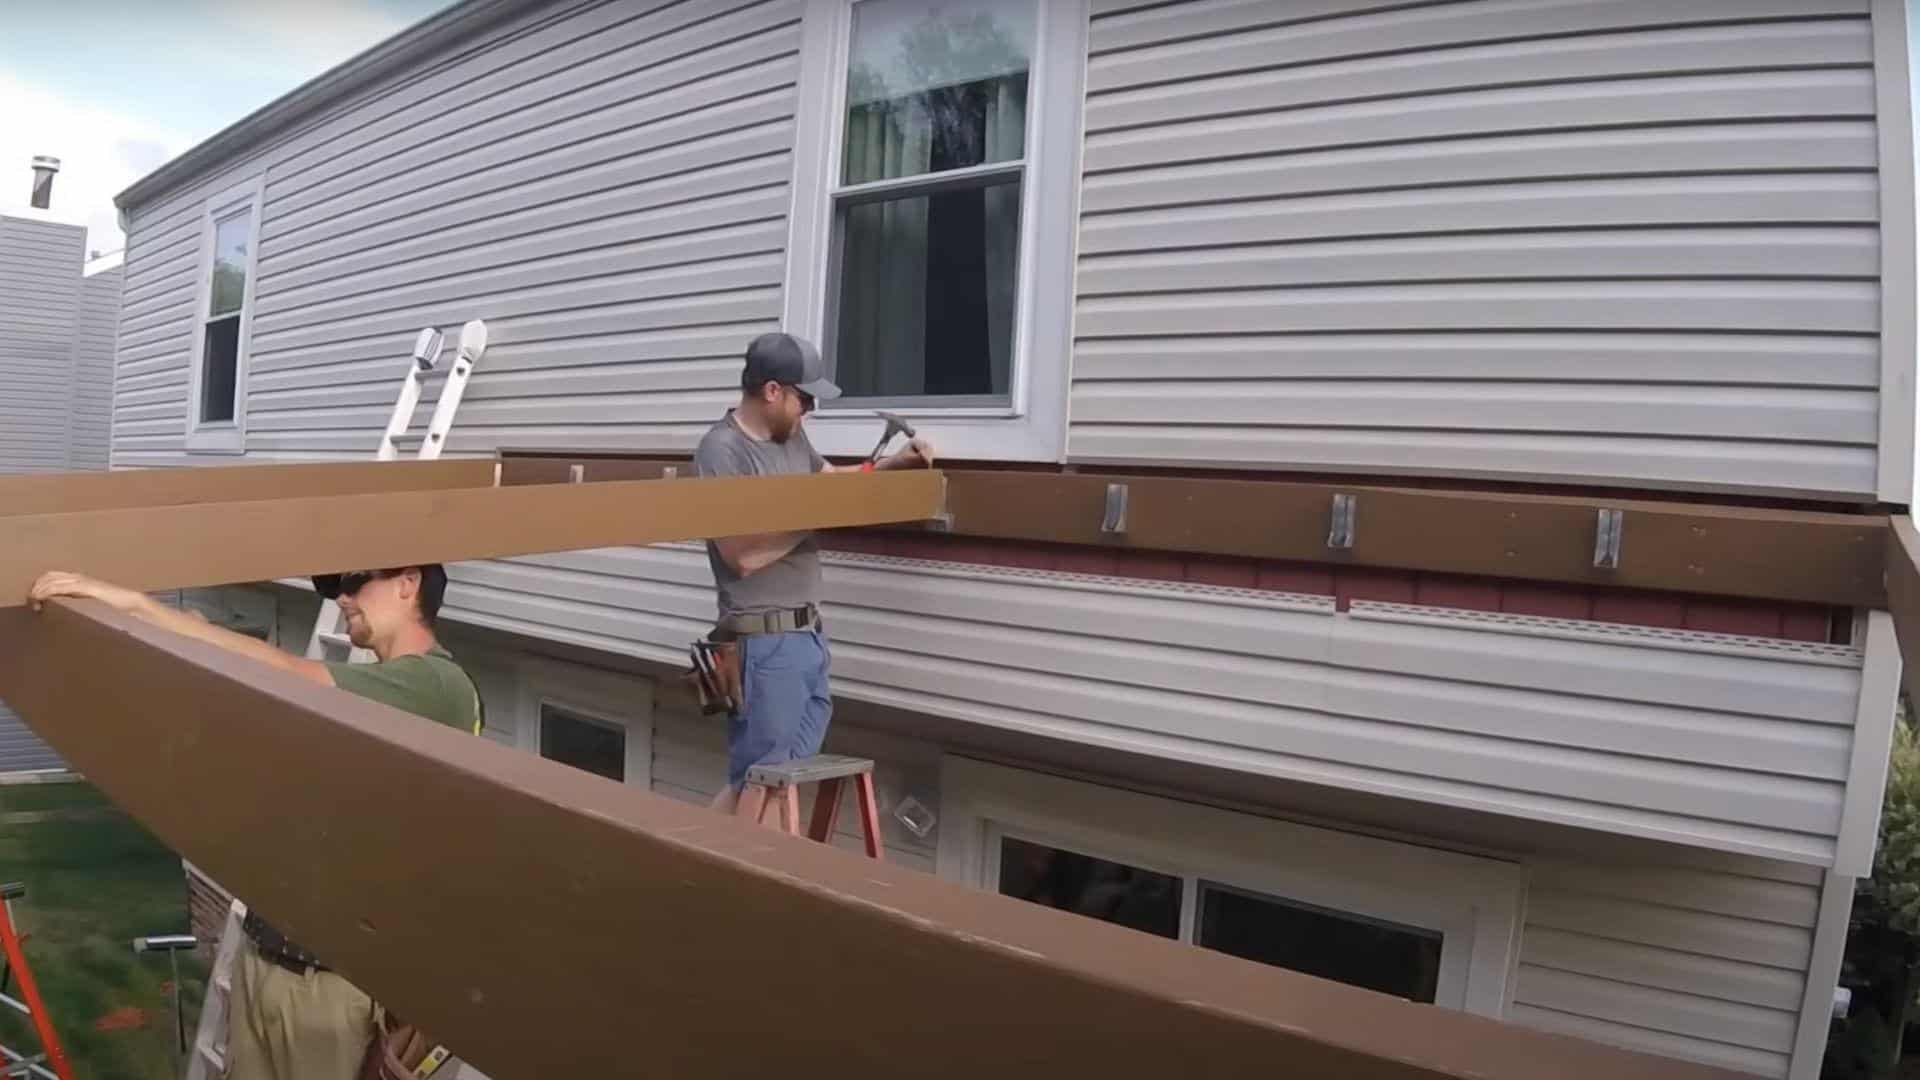
Step 3: Install Support Beams
Mount double 2×10 beams across the 14-foot span, ensuring they’re perfectly level. Use clamps and take careful measurements to mark the correct heights, as adjustments may be needed. The doubled beam provides the required structural support per local building codes.
Pro Tip: Check beam level multiple times before final installation—even small discrepancies will cause major problems with rafter installation.
Step 4: Frame the Rafters
Install rafters every 22 inches on center using joist hangers at the ledger board. Cut precise “bird’s mouth” notches where rafters meet the beam. Secure each rafter with six nails at the ledger and six more with hurricane clips at the beam.
Pro Tip: Expect warped lumber—use clamps to straighten boards and cut multiple bird’s mouths through trial and error for perfect fit.
Step 5: Add Cross Bracing
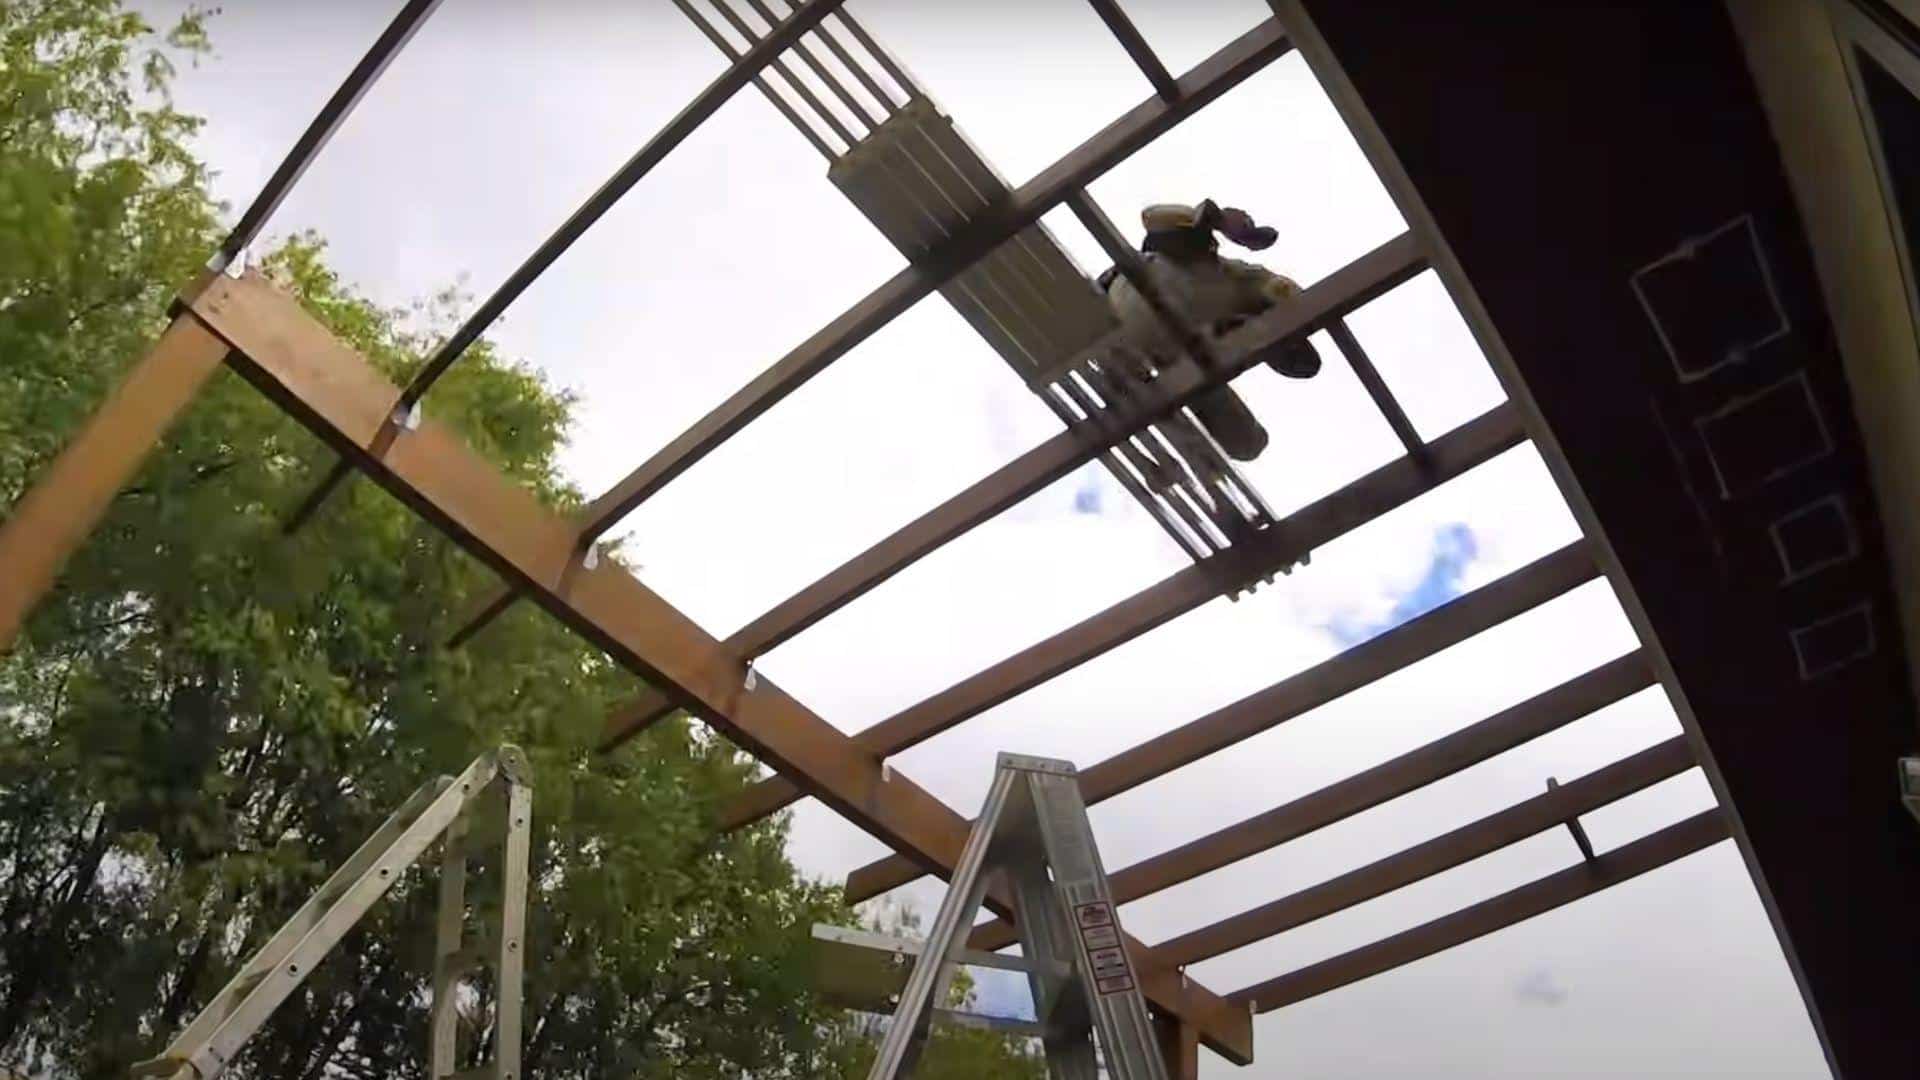
Install cross braces between rafters in an attractive cobblestone pattern for added stability and visual interest. This step is crucial before adding roofing panels to prevent racking and ensure the frame stays square under load.
Pro Tip: Take time with this decorative element—it’s visible from below and adds significant aesthetic value to your finished roof.
Step 6: Install Roofing Panels
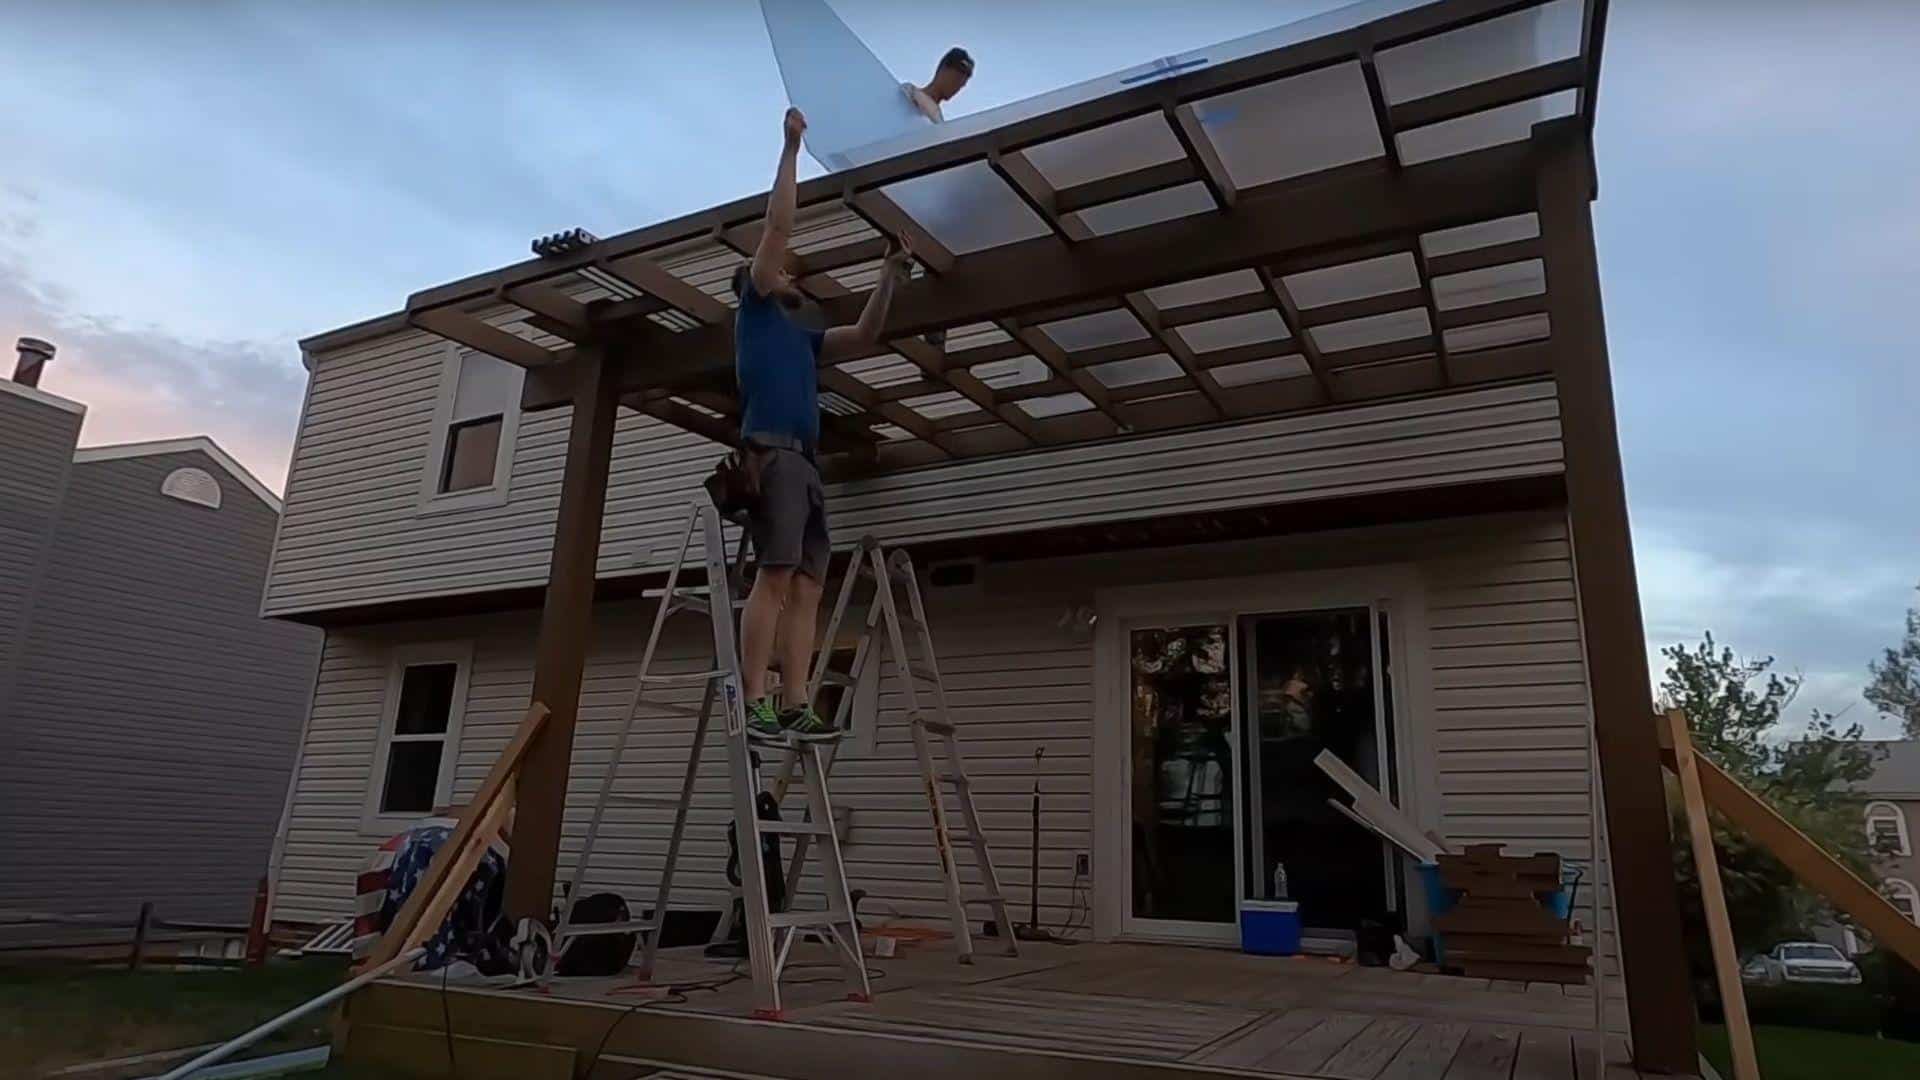
Mount clear polycarbonate panels using lag bolts with watertight washers every two feet. Connect panels with H-channels, removing protective film just before installation. Work systematically to maintain square alignment throughout installation.
Pro Tip: Assemble panel sections on the ground when possible—the long panels are extremely difficult to maneuver and connect while working on the roof.
Step 7: Finishing Touches
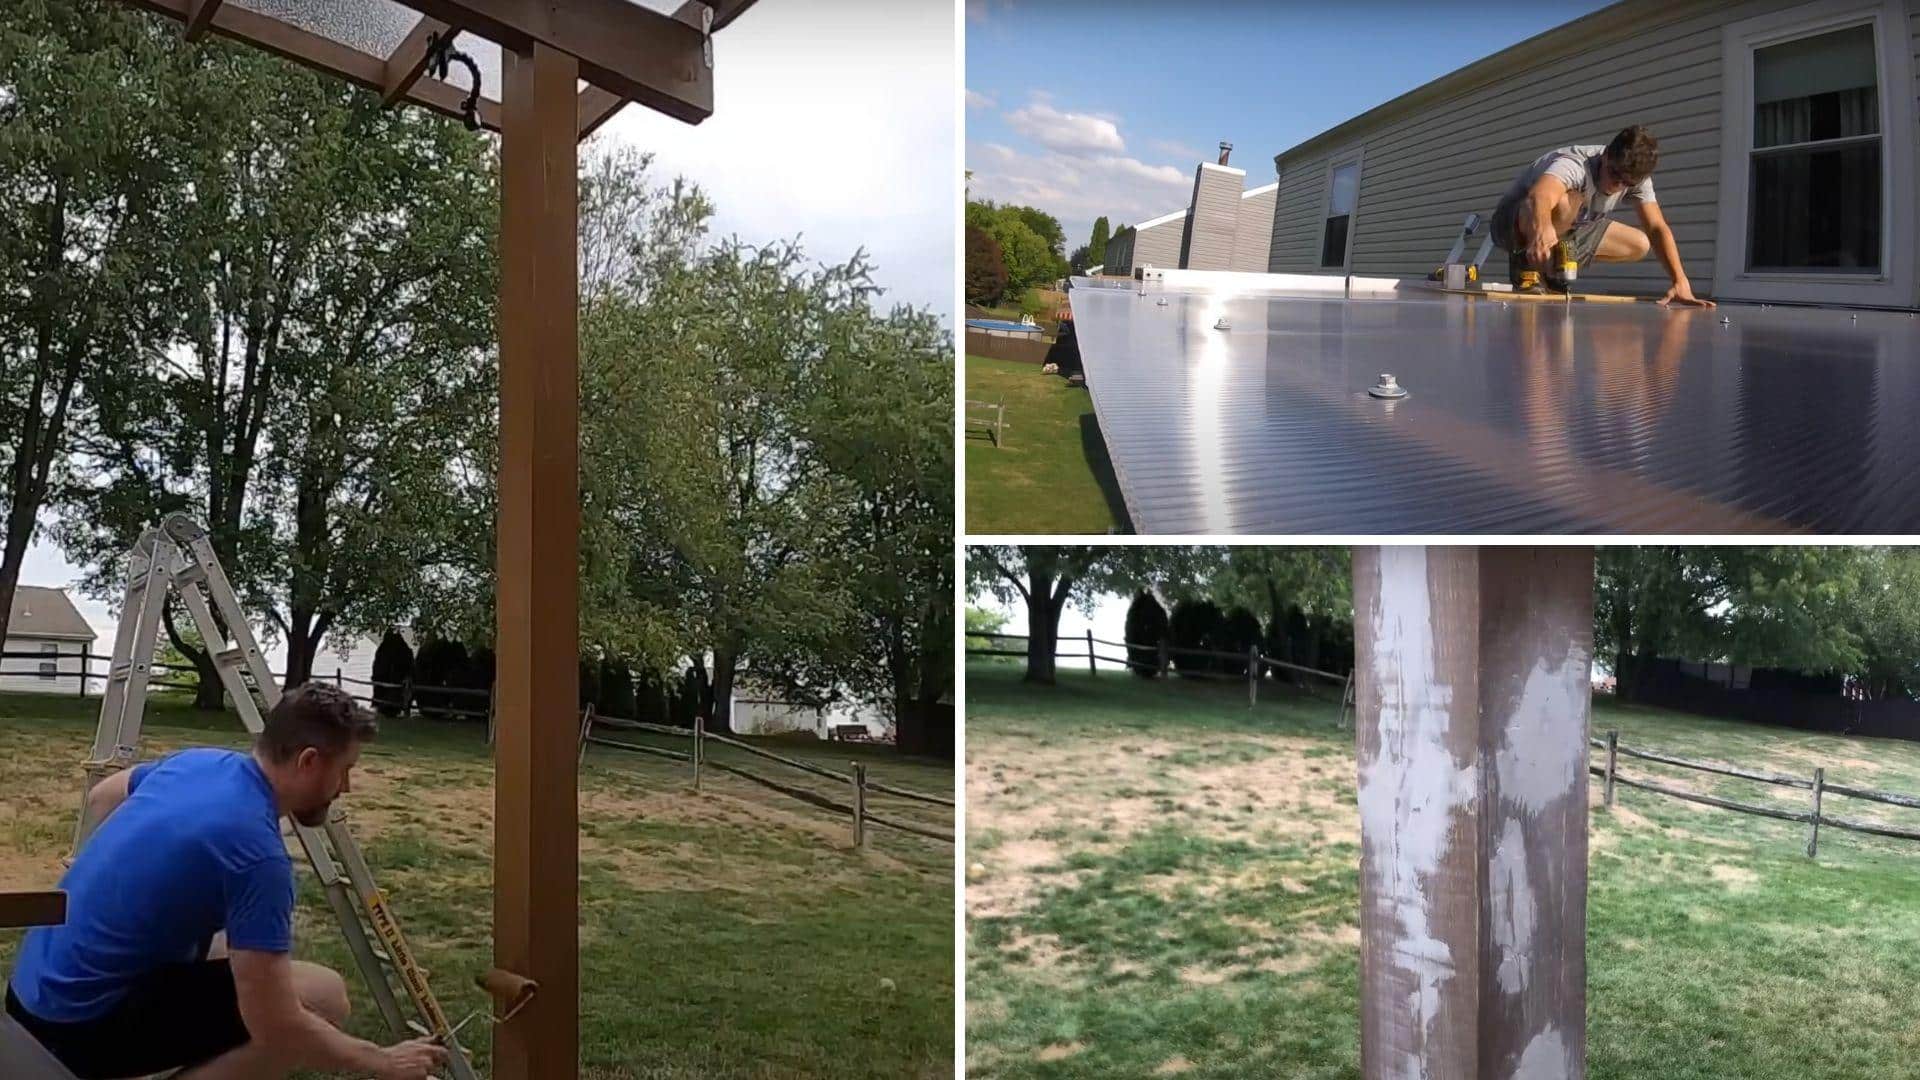
Seal any minor gaps around roofing screws with silicone caulk to prevent leaks. Touch up wood imperfections with epoxy wood filler, sand smooth, and apply the final stain coat. Reinstall siding carefully around the new structure.
Pro Tip: Leave siding slightly loose to allow for thermal expansion and contraction—this prevents cracking as the house moves throughout the seasons.
Video Tutorial
Special thanks to Building With Blake for providing valuable insights in their video, which I referenced while creating this guide.
How to Build a Roof Over a Deck: Essential Safety Tips
- Wear proper PPE – Safety glasses, work gloves, and non-slip footwear are essential for protecting yourself during all construction phases of your deck roof project.
- Secure ladder placement – Position ladders on stable, level ground and always have someone spot you while climbing to prevent dangerous falls or accidents.
- Never work alone – Have a helper present during critical phases, such as setting beams, installing panels, or working at height, for immediate assistance if needed.
- Check weather conditions – Avoid working during windy, wet, or stormy weather that could create dangerous situations and compromise your safety while building.
- Keep work area clean – Remove debris, tools, and materials from walkways to prevent trips and falls during the construction phases of your roofing project.
Maintenance & Longevity
- Bi-Annual Inspections – Check twice yearly in spring and fall for loose screws, cracked panels, and water leaks around connections and joints.
- Gentle Panel Cleaning – Clean polycarbonate panels with mild soap, warm water, and a soft cloth to maintain light transmission and prevent scratching.
- Annual Stain Assessment – Inspect wood stain condition yearly for fading, peeling, or wear patterns indicating weathering damage requiring reapplication.
- Pest Damage Monitoring – Regularly check wooden components for termite activity, carpenter ant holes, or wood-boring beetle damage requiring immediate attention.
- Drainage System Maintenance – Clear debris from gutters and drainage systems to ensure proper water flow away from the structure.
- Post-Storm Hardware Check – After severe weather, inspect and tighten loose hardware including lag bolts, roofing screws, and connection brackets for safety.
Common DIY Deck Roof Errors
- Ignoring permits – Always obtain proper building permits before starting construction to avoid fines, legal issues, and complications during future property sales.
- Underestimating structural load – Ensure your existing structure can support additional roof weight by conducting proper engineering assessments before beginning construction work.
- Poor water drainage design – Plan adequate slope and drainage systems to prevent water pooling, which can cause structural damage and create safety hazards.
- Inadequate foundation support – Failing to install proper footings or posts creates unstable structures that compromise safety and violate building codes.
- Wrong material selection – Using indoor materials outdoors or choosing inappropriate fasteners leads to premature failure and costly repairs within months.
- Improper spacing calculations – Incorrect beam and joist spacing creates weak points that sag under load and fail to meet structural requirements.
Conclusion
Building a roof over your deck is one of the most rewarding home improvement projects, delivering both immediate satisfaction and long-term value.
This comprehensive guide outlines every critical step, from initial planning and permit acquisition to final polycarbonate panel installation, ensuring a successful build within a reasonable budget.
The combination of explicit roofing materials, proper structural support, and meticulous attention to safety creates an outdoor sanctuary that withstands weather while maintaining natural light. Regular maintenance, adherence to building codes, and avoiding common pitfalls will ensure decades of enjoyment from this investment.
Ready to convert your deck into a covered oasis? Start planning your project today and share your progress photos with us in the comments below!
Frequently Asked Questions
What Is the Cheapest Way to Build a Roof Over a Deck?
Use basic treated lumber framing with corrugated metal roofing or clear polycarbonate panels. Skip expensive materials like composite decking or cedar for budget-friendly construction.
How Can I Cover My Deck Cheaply?
Install a simple canvas awning, use outdoor curtains with grommets, add a pop-up canopy, or build a basic pergola with climbing vines for shade.
What Is the Best Way to Cover an Old Deck?
Sand, clean, and apply deck stain or paint. For severe damage, install composite decking boards over existing structure or use outdoor deck tiles.