
Want to update your worn-out wood table without harsh chemicals or hours of sanding?
Many people believe that wood refinishing requires special tools or skills. I used to feel the same thing.
However, I found that you can revive old wood furniture using simple items you may already have at home. No need for costly products or risky chemicals that harm you and the air around you.
By the end of this guide, you’ll know how to turn dull, scratched tables into fresh, beautiful pieces. Your friends might even ask who did the professional work!
Ready to learn these gentle, effective methods that save time and money? Let’s start with the basics of no-sand, no-strip refinishing.
Why Avoid Stripping Your Wood Table?
Chemical strippers contain harmful substances that can cause serious health issues. These products release fumes that hurt your lungs and skin upon contact. I’ve seen people get rashes and breathing problems from using them.
Traditional strippers also harm the environment. They often contain toxic compounds that end up in water systems. Additionally, the waste requires specialized disposal methods.
Your wood can get damaged too. Chemical strippers may
- Raise the grain
- Causes uneven color
- Weaken the wood structure
- Seep into joints and loosen them
Many people don’t know that strippers can remove the natural character that makes old wood special. Your table’s history lives in those minor marks and patina.
Benefits of Refinishing Without Stripping
- Time Savings – No-strip methods enable you to complete a dining table in just one weekend, compared to the weeks it would take for traditional stripping.
- Cost Effectiveness- Gentle refinishing costs much less than chemical strippers, safety gear, disposal fees, and potential replacement costs from damage.
- Simple Process – No special ventilation, heavy protective equipment, multiple steps, or long waiting periods are required, making it perfect for homeowners.
- Preserves Character-Tables retain their natural wood color variations and grain patterns, rather than stripping them completely away.
- Protects History-Beautiful patina and story-telling marks remain intact, preserving the antique value that chemical stripping often destroys forever.
- Budget-Friendly – Most people don’t realize how quickly traditional stripping expenses add up, considering all the required materials and equipment.
- Accessibility – The entire project becomes much more manageable for regular homeowners, as it does not require professional experience or specialized knowledge.
Step-By-Step Guide to Refinish Wood Tables Without Stripping
Follow this simple process to restore the beauty of your wood table using gentle methods that preserve the original finish and character.
Tools Needed:
| Tool | What For |
|---|---|
| Spray bottle | Cleaning |
| Clean cloths | Wiping and applying |
| Small screwdriver | Fixing trim |
| Soft cloth | Finish application |
| Steel wool (0000) | Stubborn marks |
| Dry brush | Hardware update |
Materials Needed:
| Material | What For |
|---|---|
| Water + Vinegar | Cleaning solution |
| Wood putty | Fix missing parts |
| Water-based stain | Color matching |
| Restore finish | Main product |
| Beeswax | Protection |
| Gilding wax | Hardware shine |
Step 1: Clean Your Table Thoroughly
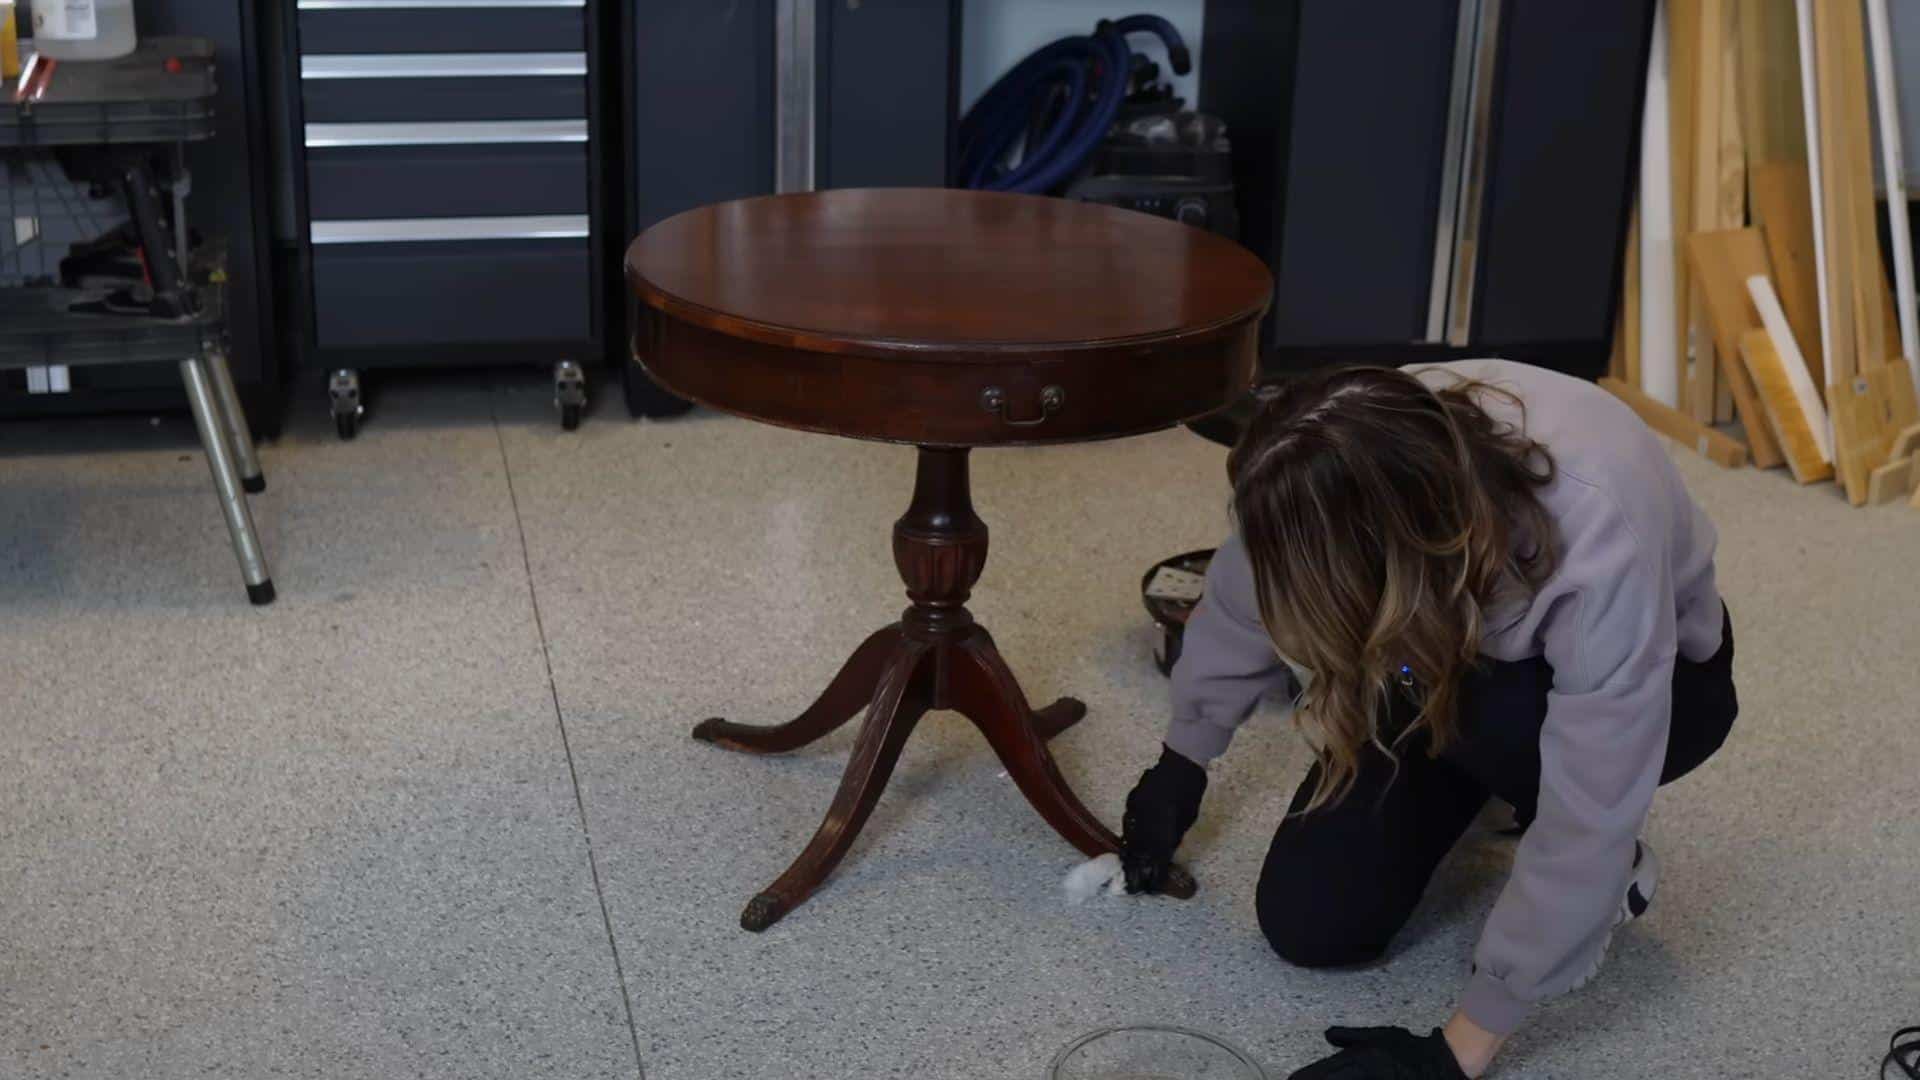
Start by mixing equal parts water and vinegar in a spray bottle. This simple cleaning solution works well to remove built-up grime. Spray this mixture evenly across the surface of your table.
Take a clean cloth and wipe down every part of the table. This removes all dust, dirt, and sticky spots that might block the new finish. You’ll be surprised how much dirt comes off on your cloth! Once you’ve cleaned the whole table, grab a fresh, dry cloth. Wipe the table until it’s fully dry and ready for the next step.
Pro Tip: Check how dirty your water becomes after cleaning. If it’s very dark, you might need a second cleaning round. A truly clean surface helps the restore finish work better.
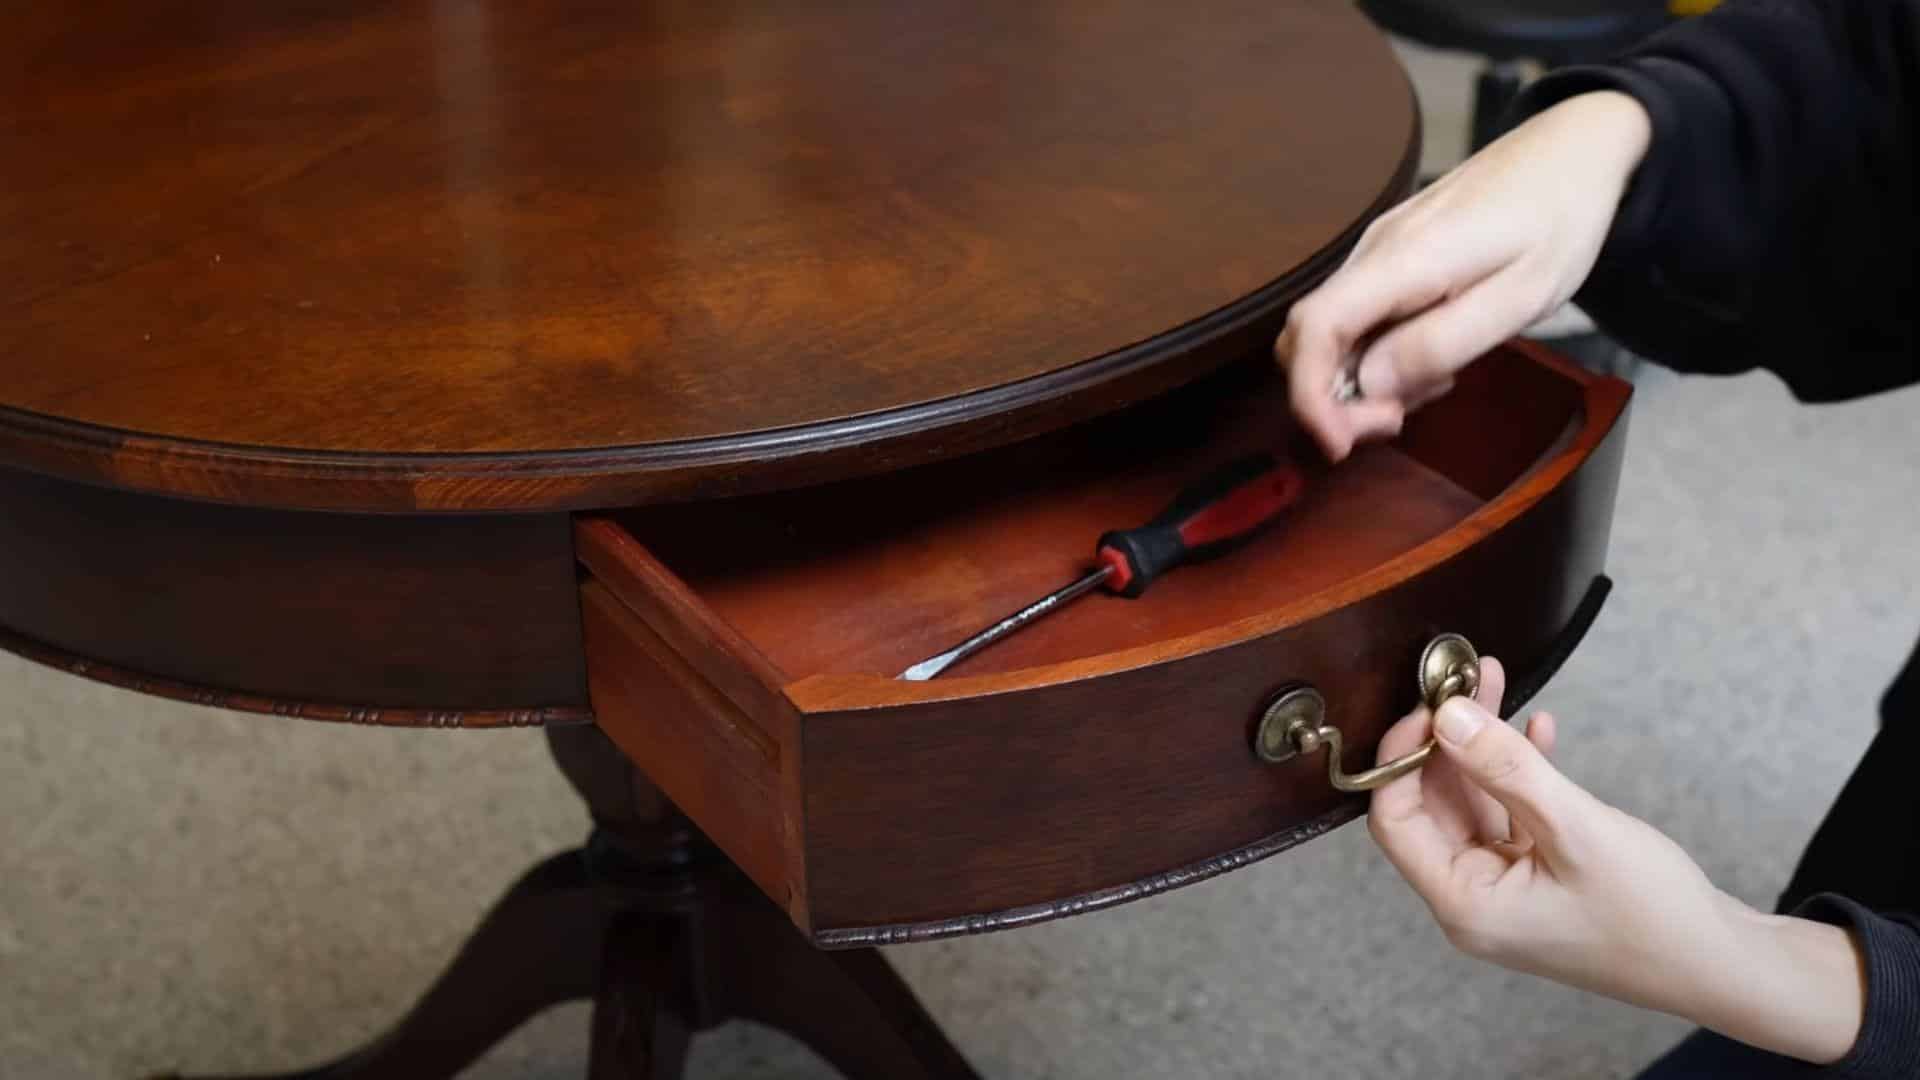
Step 2: Fix Any Missing Trim (Optional)
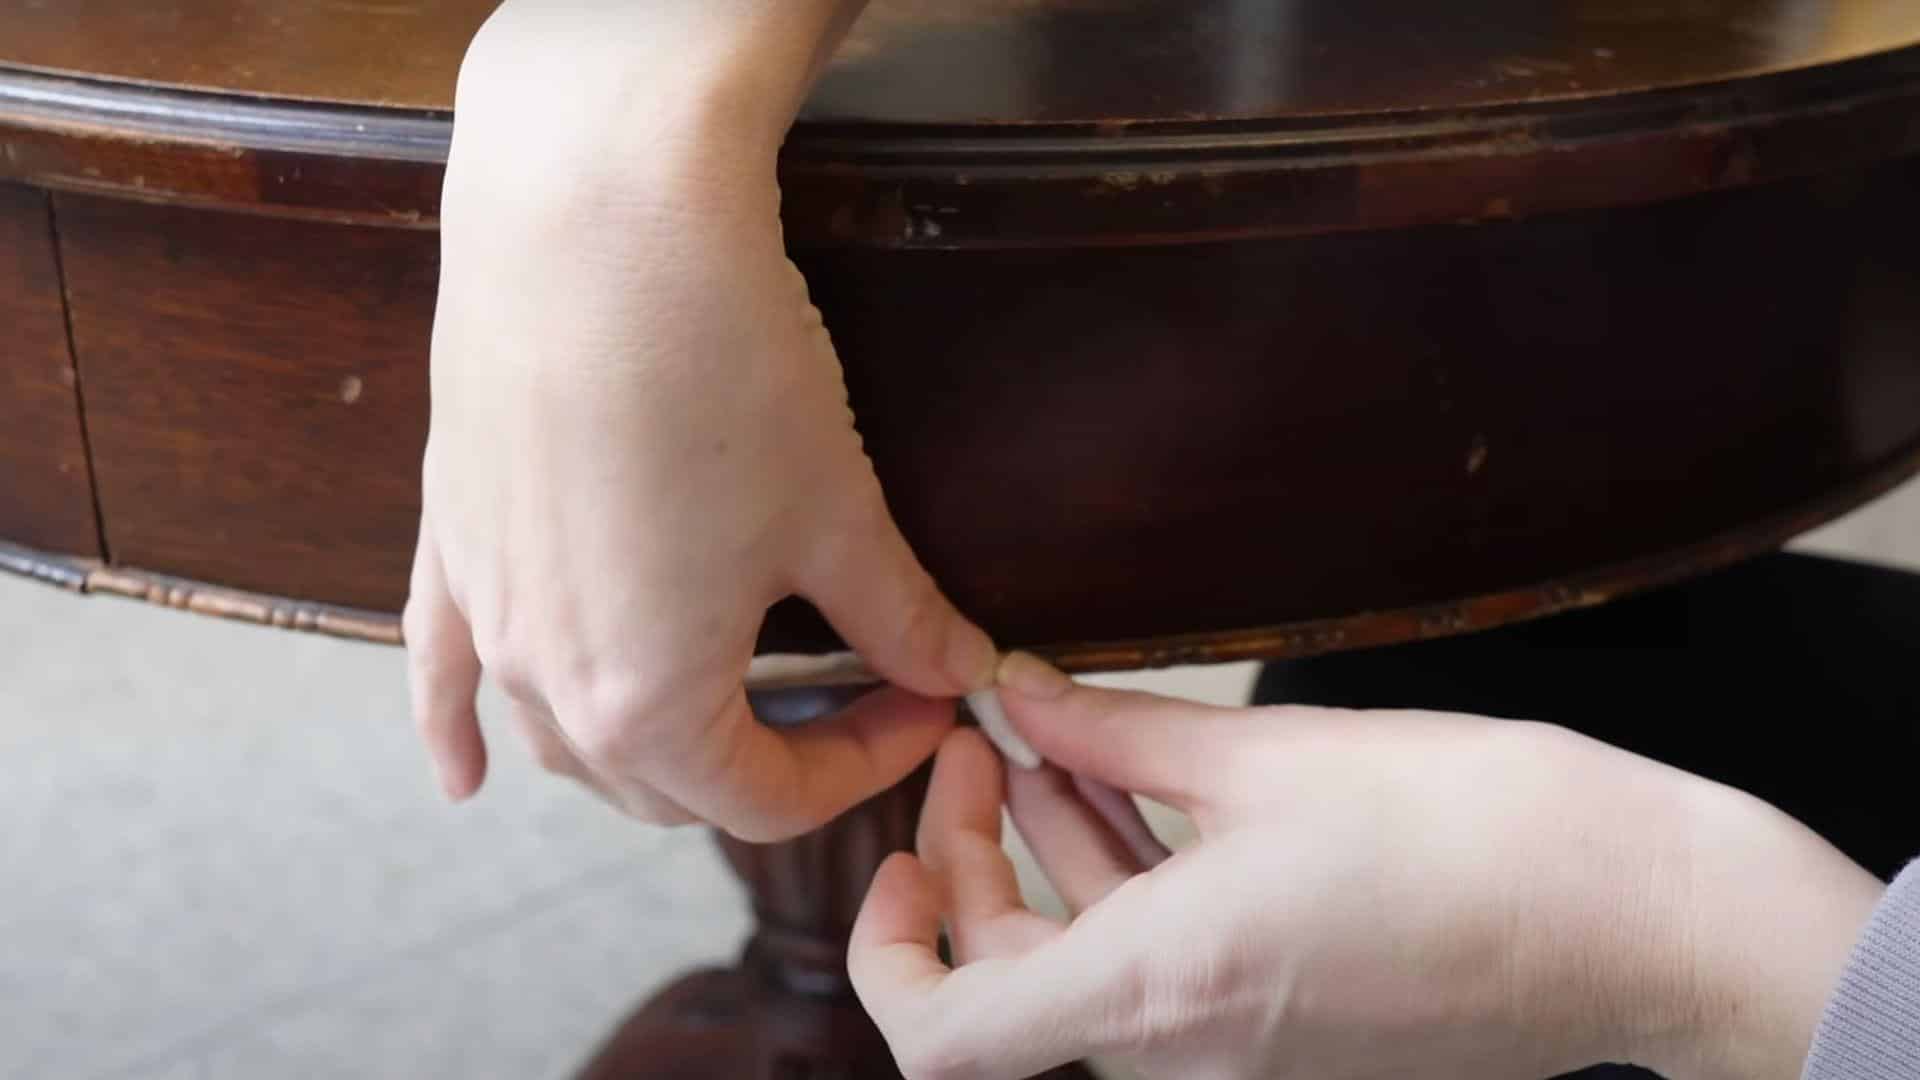
For tables with broken trim pieces, two-part wood putty offers a simple fix. Mix the putty according to package directions until it becomes workable. Shape the putty to match the missing sections of trim on your table. Press it firmly into place along the edge where the trim is missing.
Let the putty dry for about an hour until firm. Use a small screwdriver to add texture details that match your existing trim pattern. Once fully dry, apply a water-based stain that matches your table color to the new trim pieces.
Pro Tip: Take a close-up photo of the existing trim to use as a guide while you work. Water-based stains dry faster than oil-based ones, so you can finish your project sooner.
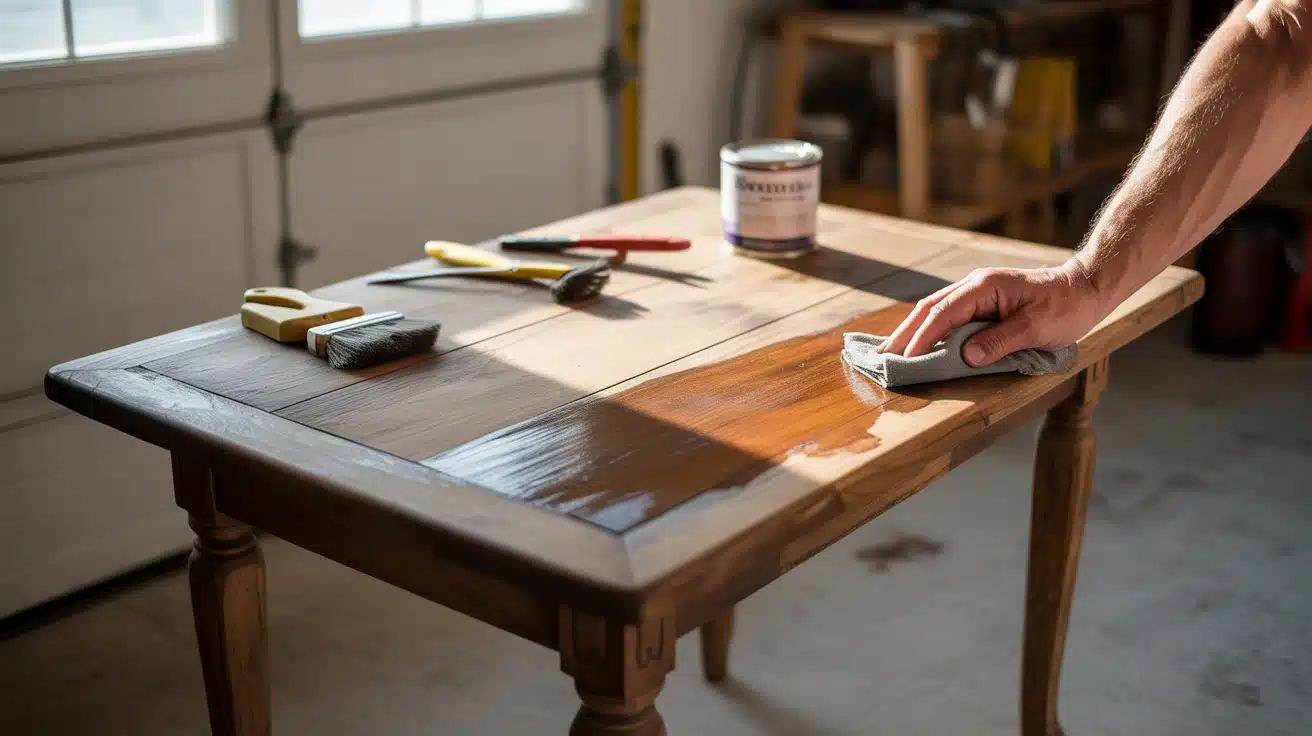
Step 3: Apply Restore Finish
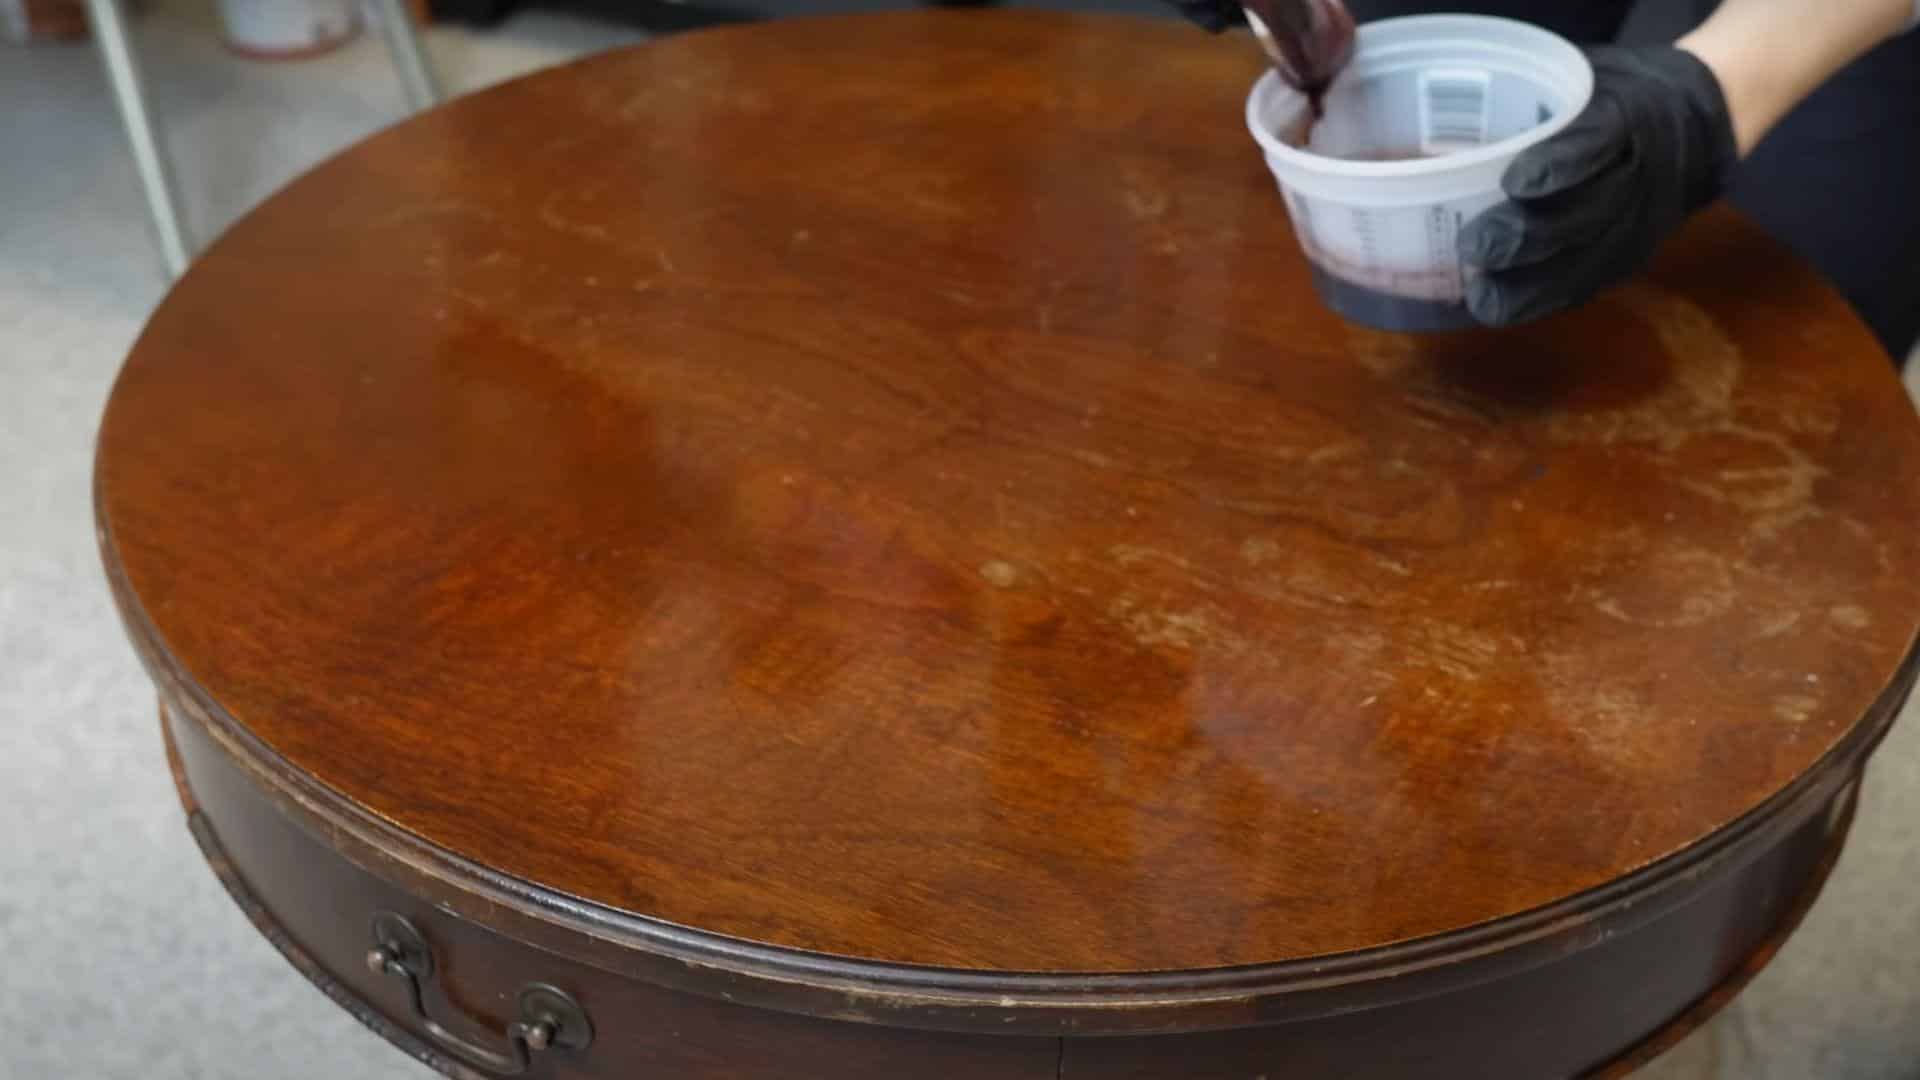
Select a restore finish color that matches your wood type. For tables with red undertones, mahogany works best. Pour a small amount of the product onto a soft, clean cloth.
Work in sections, wiping the cloth in the direction of the wood grain. Watch as scratches, water marks, and dull spots fade away. For more stubborn marks, try super-fine steel wool (0000 grade) with the restore finish. Always wipe away excess product with a clean cloth to prevent sticky spots. Let the table dry for at least 30 minutes before the next step.
Pro Tip: Not sure what wood type you have? Take a clear photo of the grain pattern and use Google image search to find matches. This helps you pick the right restore finish color for your table.
Step 4: Apply Protective Wax
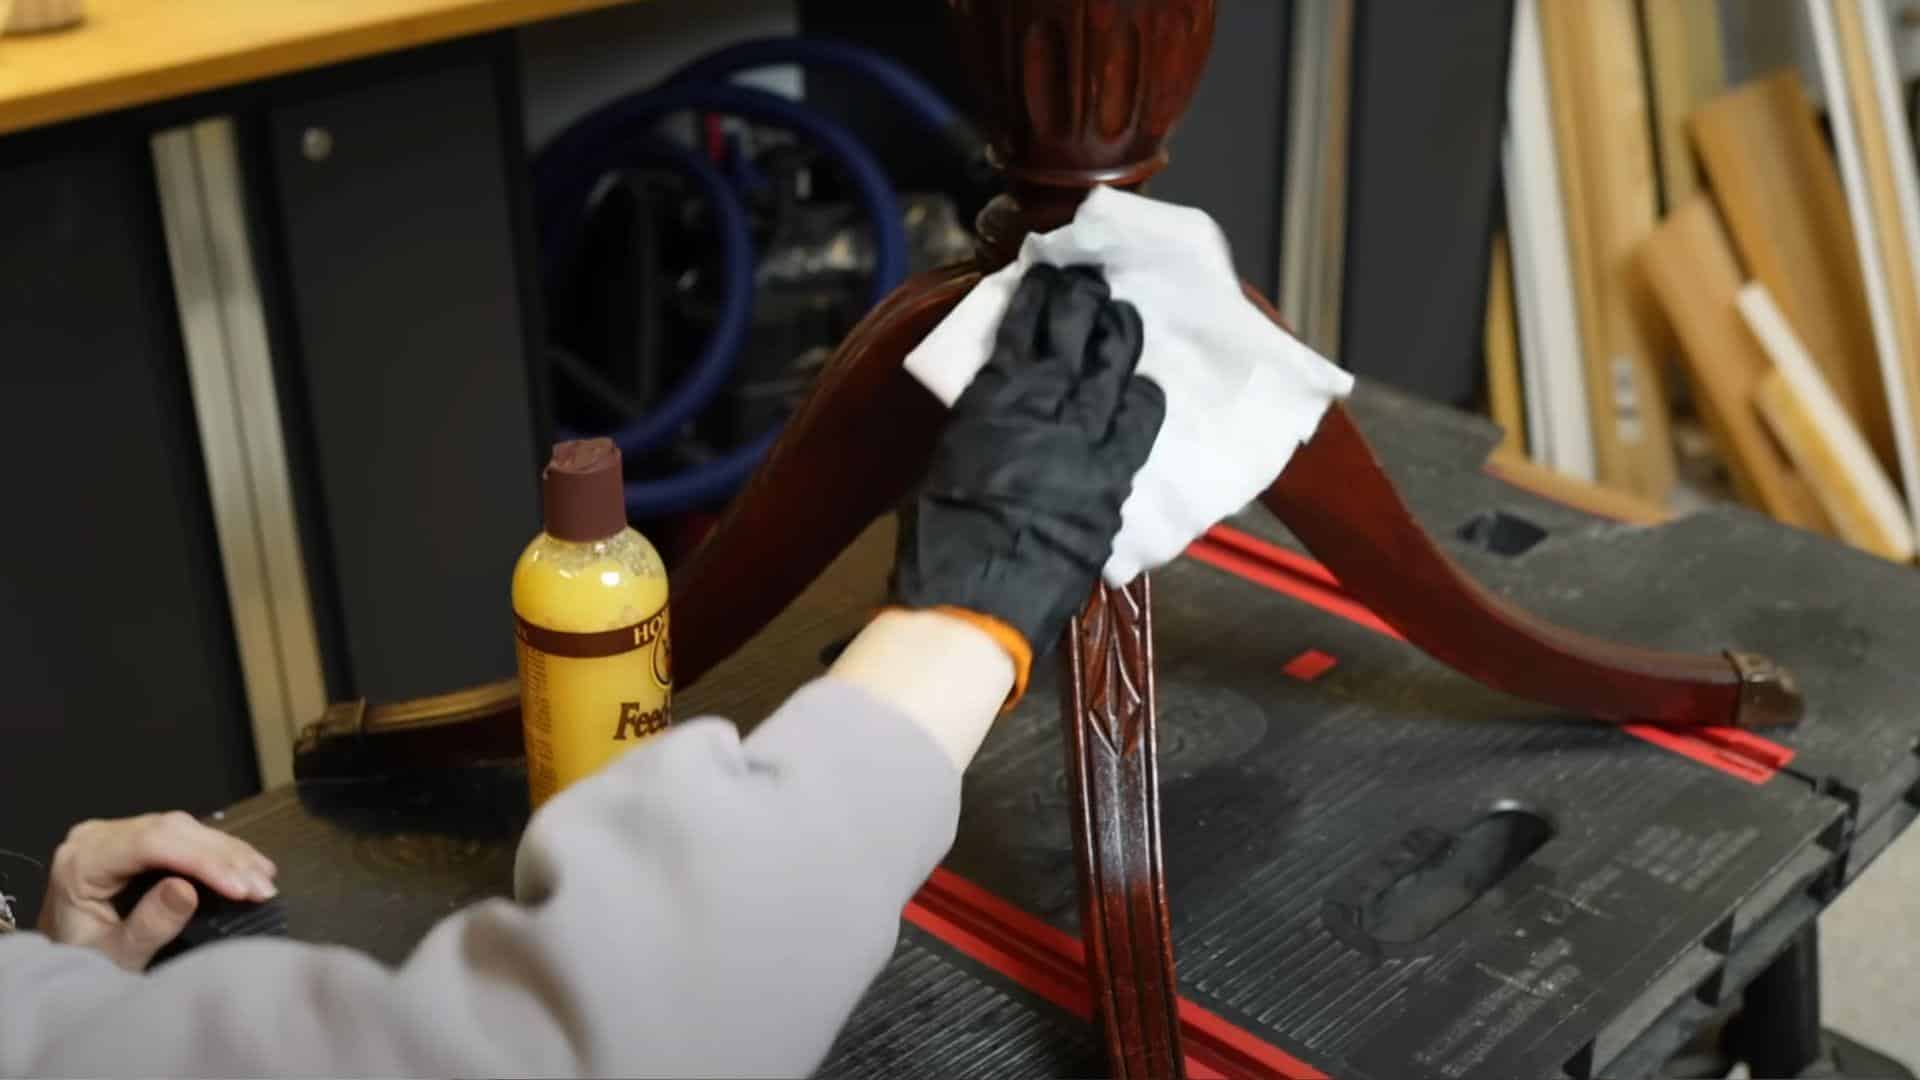
After the restore finishes drying, protect your work with a good-quality wax. Look for beeswax with orange oil, which has a pleasant scent and spreads easily. Apply a thin coat across the entire table using a soft cloth.
Work in small circles to help the wax penetrate the wood. Allow the wax to sit for about 20 minutes to bond with the wood surface. Then, use a clean, dry cloth to buff the entire table, removing any excess wax. This step adds a rich shine to your table and creates a protective layer that helps your finish last longer.
Pro Tip: The orange oil in the wax makes it smell great, but it also helps the wax spread more easily. Less is more with wax—a thin coat works better than a thick one.
Step 5: Update Hardware (Optional)
Old hardware can make even a fresh table look dated. Apply gold gilding wax to handles or feet using a dry brush technique. Load very little product on your brush tip.
Lightly feather the wax over the surface, hitting just the raised details. This gives an aged gold look without covering all the charming wear marks. Let the wax dry completely on the hardware. If you removed any hardware, now is the time to reattach it to your freshly finished table.
Pro Tip: Keep your brush nearly dry when applying gilding wax. Too much product makes the finish look fake. The goal is to highlight only the raised areas, not cover the whole piece.
The entire process takes approximately one day from start to finish, which is significantly faster than sanding and refinishing. Your table will keep its history and charm while looking fresh and clean!
Video Tutorial
Special thanks to Christina Muscari for providing valuable insights in their video, which I referenced while creating this guide.
Common Mistakes to Avoid When Refinishing Wood Tables
1. Skipping Proper Cleaning
Blocks the new finish from working properly. Check your cleaning cloth – if it’s dirty, keep cleaning. Never apply the restore finish to a wet surface, as trapped water causes streaks.
2. Choosing the Wrong Color
Makes your table look fake or patchy. Use the photo method to identify your wood type first. Always test the restore finish in a hidden spot before applying it to the entire table.
3. Leaving Excess Product Behind
Creates sticky spots and uneven color that won’t buff out. The restore finish should soak into the wood, not sit on top. Wipe away excess within a few minutes of application.
4. Rushing Between Steps
Results in poor results since each product needs a proper drying time. Don’t apply wax over a wet restore finish. Allow the restoration to finish drying for at least 30 minutes before proceeding to the next step.
5. Ignoring Safety Warnings
Can cause illness, and these products are flammable. Open windows, use fans, and soak used rags in water before disposing of them. Always read safety labels on every product.
Conclusion
Refinishing wood tables without sanding or chemical strippers works. You just saw how five simple steps can bring old furniture back to life in one day.
This method saves you money on expensive tools and harsh products. You avoid health risks from toxic fumes while keeping your table’s original charm. The restore finish technique protects both you and the environment.
Your table now has years of life ahead with proper care. The protective wax layer you applied will help maintain that fresh look longer.
Why not try this on other wood furniture around your home? Chairs, dressers, and cabinets can all benefit from this gentle approach. What piece will you restore next?
Frequently Asked Questions
Can You Refinish Wood Without Stripping?
Yes, you can refinish wood without stripping using restore-finish products. These penetrate existing finishes to repair scratches and watermarks, restoring color while preserving the original character.
Is It Better to Sand or Strip Wood Furniture?
Neither is ideal. Sanding removes wood and creates dust, while stripping uses harmful chemicals. Restored finish products work better by preserving the original character without health risks.
Is It Cheaper to Refinish Furniture or Buy New?
Refinishing is often a more cost-effective option than buying new furniture. Quality wood tables cost hundreds new, while refinishing costs under fifty dollars for materials and one weekend.