Creating custom curtains can seem overwhelming when you’re new to sewing.
I understand the frustration of finding the perfect window treatments that match your décor while staying within budget.
Professional-looking curtains are actually within your reach, even as a beginner.
With some basic materials and straight-line sewing skills, you can craft designer-quality drapes that completely transform your space.
In this guide, I’ll walk you through the process of making pleated drapes, from calculating fabric needs to hanging the finished panels. You’ll learn how to create that polished pinch-pleat look that adds instant elegance to any room.
The surprisingly simple technique requires patience and attention to detail rather than advanced sewing expertise.
Step-By-Step Guide to Make Curtains
Tools Required
| Tool | Purpose | Quantity |
|---|---|---|
| Hard ruler and/or square | To ensure straight and precise cuts and measurements | 1 |
| Measuring tape | To measure fabric accurately | 1 |
| Scissors | To cut fabric and pleater tape | 1 |
| Iron and ironing board | To press fabric and seams for a professional finish | 1 each |
| Stick pins | To hold the fabric in place while sewing | As needed |
| Sewing machine | To stitch fabric and pleater tape together | 1 |
Materials Required
| Material | Purpose | Quantity |
|---|---|---|
| Drapery fabric (cotton or cotton-linen blend) | The main material for making the curtains | As per window size |
| Pleater tape | Provides pleats and structure to curtains | As required per width of fabric |
| Curtain rings with hooks | Attaches curtains to the rod | As needed |
| Curtain hooks for pleater tape | It helps create uniform pleats | As needed |
| Thread suitable for drapery | Used for stitching fabric and pleater tape | As per the sewing requirement |
Step 1: Measure and Calculate Fabric Needs

Determine your desired curtain height and add 7 inches to account for hems. To achieve the proper pleating effect, multiply your window width by 2.
The tutorial shows you can use the full fabric width for narrower decorative panels.
Step 2: Cut Your Fabric

Mark three points at your calculated height measurement (the desired height plus 7 inches). Then, connect these points using a square or ruler, ensuring the cutting line is perpendicular to the fabric edges.
Step 3: Create Side Hems

Fold each vertical edge under ½ inch, press with iron, then fold under another ½ inch and press again. Using the steam function on your iron helps create crisp, professional-looking folds.
Step 4: Press the Top Hem

Fold the top edge under ½ inch and press, then fold under 4 inches and press again. This wider hem will accommodate the pleater tape later.
Step 5: Press the Bottom Hem

Fold the bottom edge under ½ inch and press, then fold under 1 inch and press again. If needed, you can pin all hems in place with stick pins.
Step 6: Sew the Side Hems
Using a longer stitch setting (suggested #4), sew along both side hems and backstitch at the beginning and end for security. Use the markings on your machine to keep your stitching line straight.
Step 7: Sew the Top Hem

Stitch about ¼ inches away from the fold of the top hem, remembering to backstitch at the start and finish. You can sew the bottom hem now if you’re confident about your measurements.
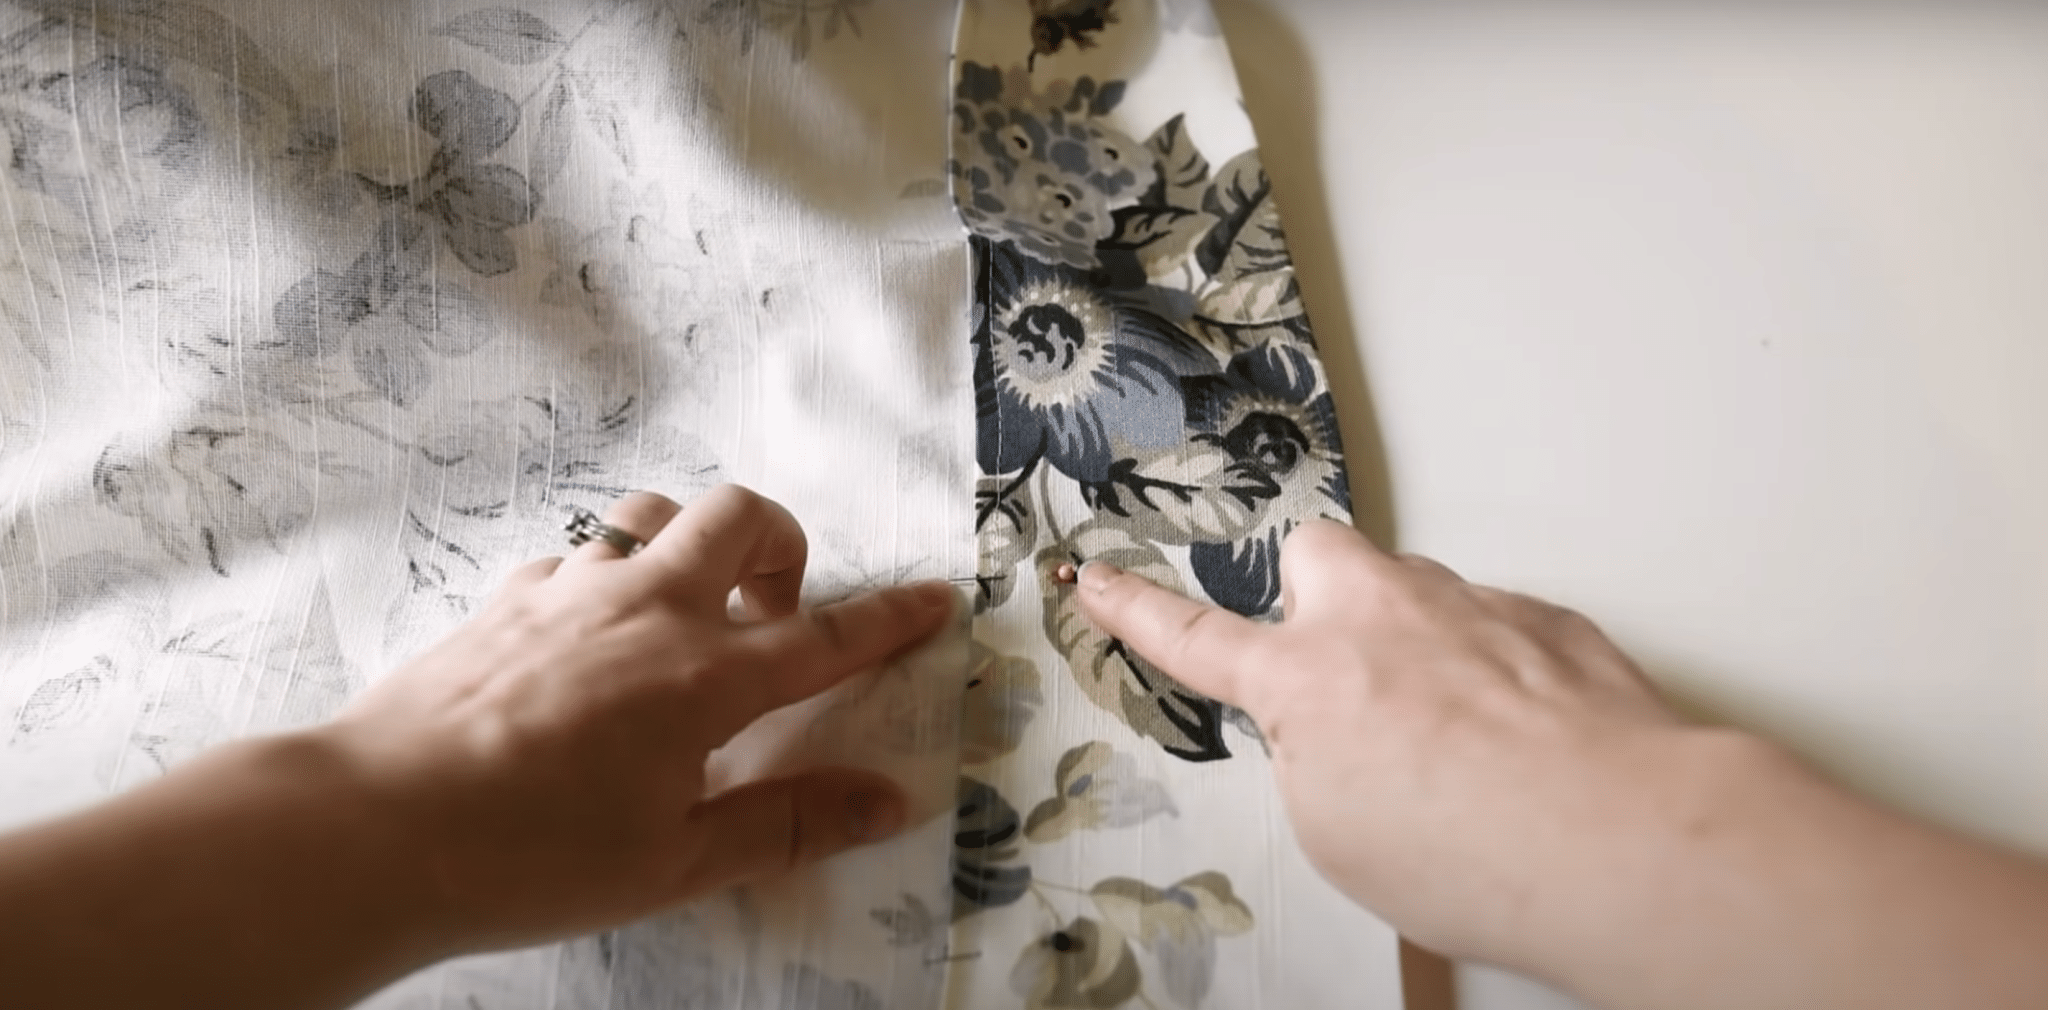
Step 8: Attach the Pleater Tape

Fold the tape under about ½ inches (to the first open loop), then pin it centered inside the top hem. Ensure the tape is right-side up so hooks can be inserted properly. Trim the tape ½ inches from the panel end, fold it under, and pin it. Sew along the stitch guides on the tape.
Step 9: Insert Curtain Hooks

Create your desired pleat spacing by counting loops between hooks. The tutorial suggests placing one side of the hook in the first loop, counting five loops, then inserting the next side in the following loop, leaving one loop-free before repeating the pattern.
Step 10: Hang and Train Your Drapes

Attach clips to rings and connect to hooks. Thread your curtain rod through the rings, then mount it on your wall brackets. Shape the pleats with your hands to “train” them into place for a professional appearance.
Checkout this YouTube video for a step-by-step guide on Making Your Own Curtains
Tips and Tricks
- For beginners, choose fabrics in the home decor or drapery section for appropriate weight.
- Use a longer stitch length when sewing drapery for better durability
- Double-check pleater tape orientation before sewing to avoid installing it upside-down
- You can hang drapes before hemming the bottom to ensure perfect floor clearance
- For a more casual look, hand-shape the pleats; for formal drapes, use a steamer
Maintenance and Longevity of Your Pleated Drapes
Proper care helps your handmade pleated drapes last longer. Good habits keep them looking fresh for many years. Here are some basic care tips:
- Dusting: Clean your drapes often with a vacuum brush or soft cloth. This stops dust from building up and keeps the fabric clean.
- Cleaning: Always check the care label before washing. Many cotton fabrics work well in washing machines on gentle cycles. Take off all hooks and pins first. Use a mesh bag to keep the fabric safe.
- Drying: Skip high heat when drying. Hang your drapes while still damp. This helps prevent wrinkles and keeps the right length.
- Ironing: When needed, iron your drapes using the right heat setting. Work from the back side to protect the fabric surface.
- Refresh Pleats: If pleats flatten over time, use a steamer or iron with a cloth. This helps bring back their shape.
Common Mistakes
First-time drapery makers often overlook proper measuring, resulting in too short or narrow panels. In your calculations, always account for hem allowances, pleating fullness, and rod height. Another frequent error is improper fabric selection. Choosing too lightweight materials leads to poor drapes and insufficient room darkening.
Skipping the pressing steps results in unprofessional-looking seams that detract from the finished appearance. Many beginners also incorrectly install pleater tape upside-down, making hook insertion impossible without removing and resewing.
Uneven hemlines occur when cutting isn’t precisely squared to the fabric grain or when measurements aren’t verified before final hemming. Insufficient backstitching at seam ends can cause hems to unravel over time. When hanging, failing to properly “train” the pleats leads to irregular folds that don’t hang correctly.
Finally, overhandling delicate fabrics during construction can cause distortion or stretching that becomes obvious once the drapes are hung.
Conclusion
Custom-sewn pleated drapes transform ordinary windows into striking design elements while offering the practical benefits of light control and privacy. With simple straight seams and basic tools, even newcomers to sewing can achieve professional results that would cost hundreds at design studios.
The satisfaction of selecting fabric that perfectly complements your space creates an unmatched personal connection to your home decor. Depending on your fabric choice and installation height, these pleated panels adapt beautifully to various styles, from traditional grace to modern simplicity.
Properly made drapes improve room acoustics and insulation properties. Mastering this accessible skill will give you the confidence to tackle other home textile projects, building a foundation for personalized decorating that expresses your unique taste and vision.